How To Get Good Quality Data On Zivid Calibration Object
이 튜토리얼에서는 핸드-아이 칼리브레이션을 위해 보정 객체의 고품질 포인트 클라우드를 얻는 방법을 설명합니다. 이는 핸드-아이 칼리브레이션 알고리즘을 작동시키고 원하는 정확도를 달성하는 데 중요한 단계입니다. 목표는 보정 객체가 FOV 내 어디에 위치하든 고품질 포인트 클라우드를 제공하도록 카메라 설정을 구성하는 것입니다. 이 튜토리얼에서는 Zivid calibration board 에 대한 포인트 클라우드 예제를 제공하지만, ArUco 마커에도 동일한 원리를 적용할 수 있습니다.
캘리브레이션 대상의 포인트 클라우드를 촬영할 로봇 포즈를 이미 지정했다고 가정합니다. 다음 글에서는 핸드-아이 캘리브레이션에 적합한 포즈를 선택하는 방법을 알아보겠습니다.
참고
Zivid calibration board 사용하여 교정하려면 ArUco 마커를 포함한 전체 보드가 각 포즈에서 완전히 보이는지 확인하세요.
참고
ArUco 마커를 사용하여 보정하려면 각 포즈에서 최소 하나의 마커가 완전히 보이는지 확인하십시오. 더 많은 마커가 보이면 더 나은 결과를 기대할 수 있지만, 반드시 그럴 필요는 없습니다.
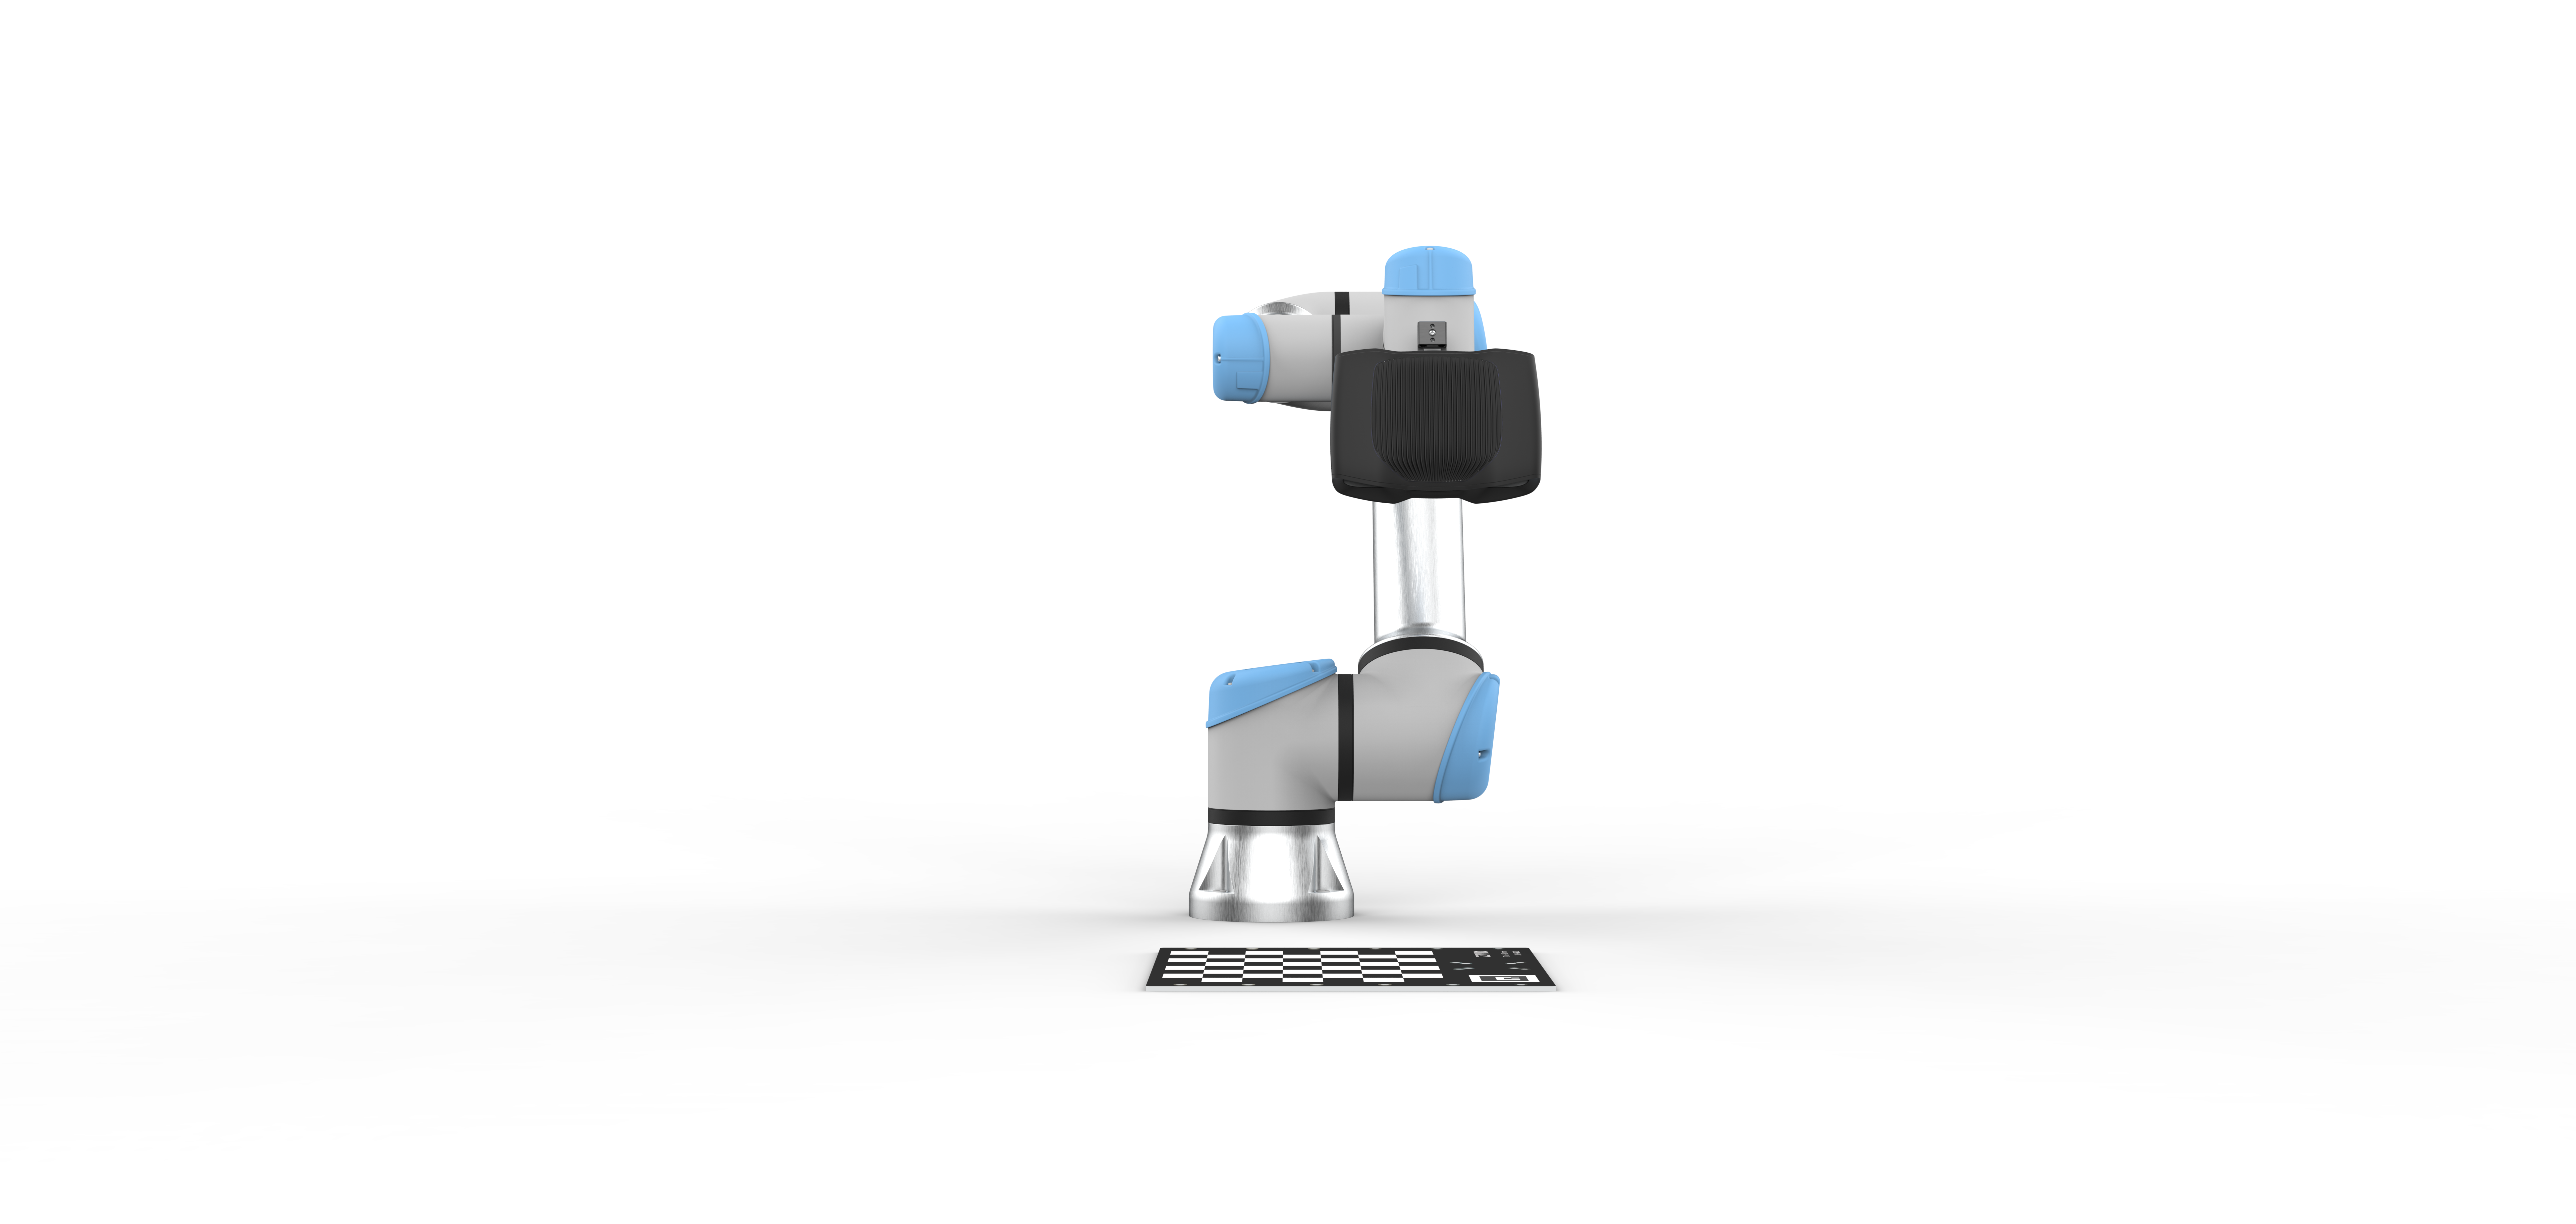
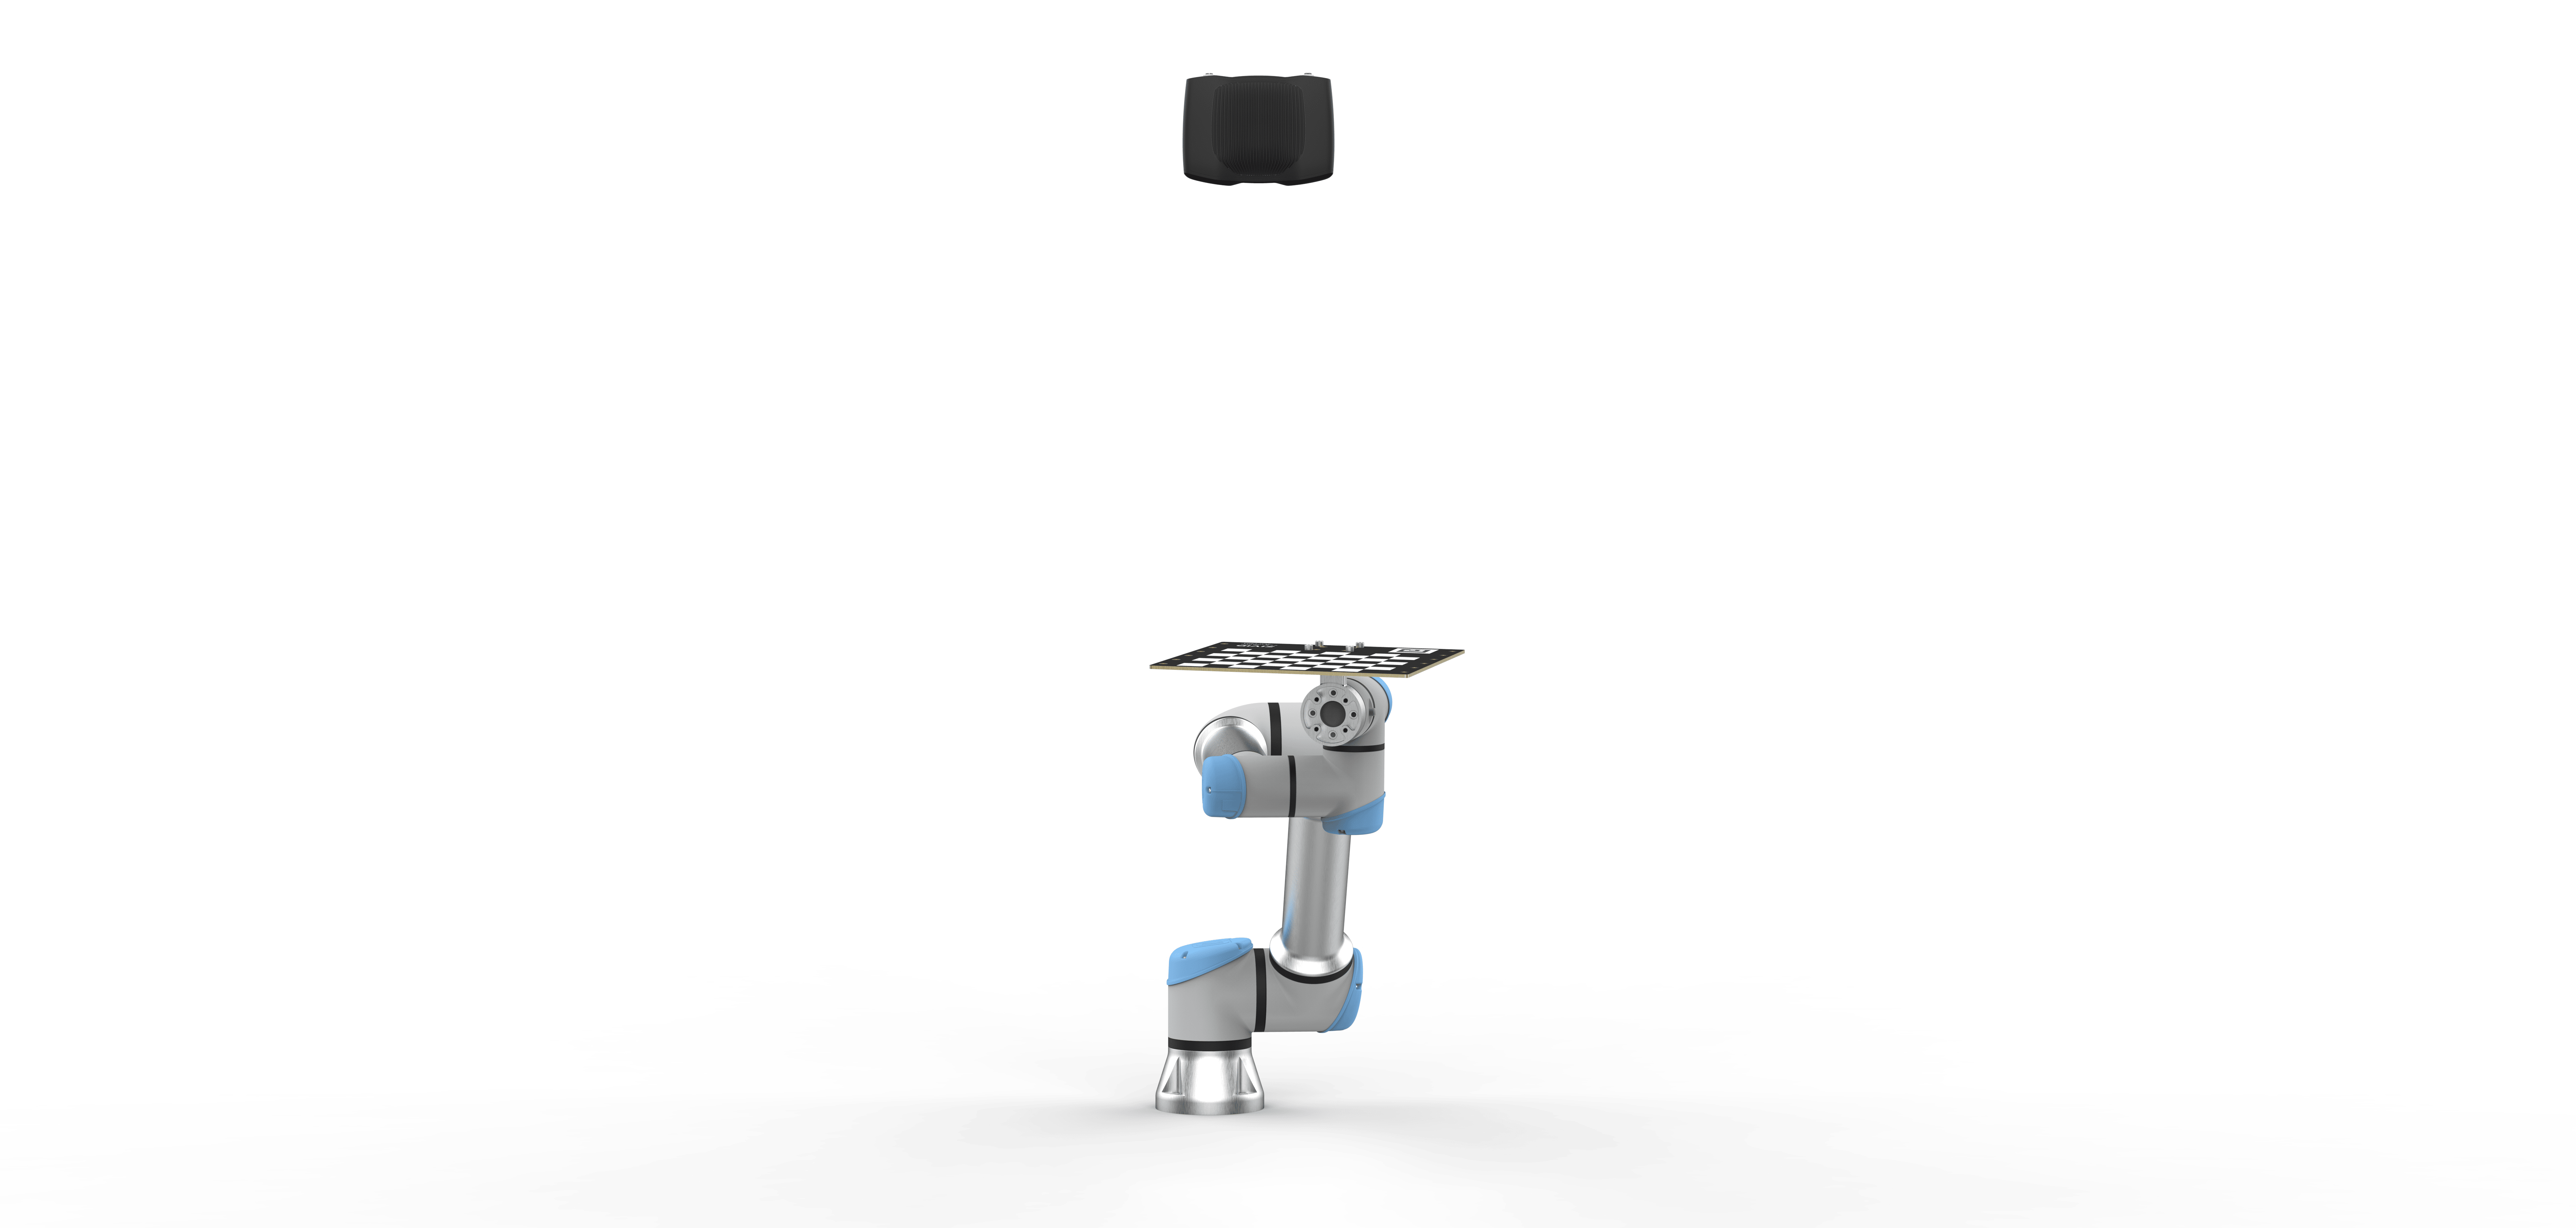
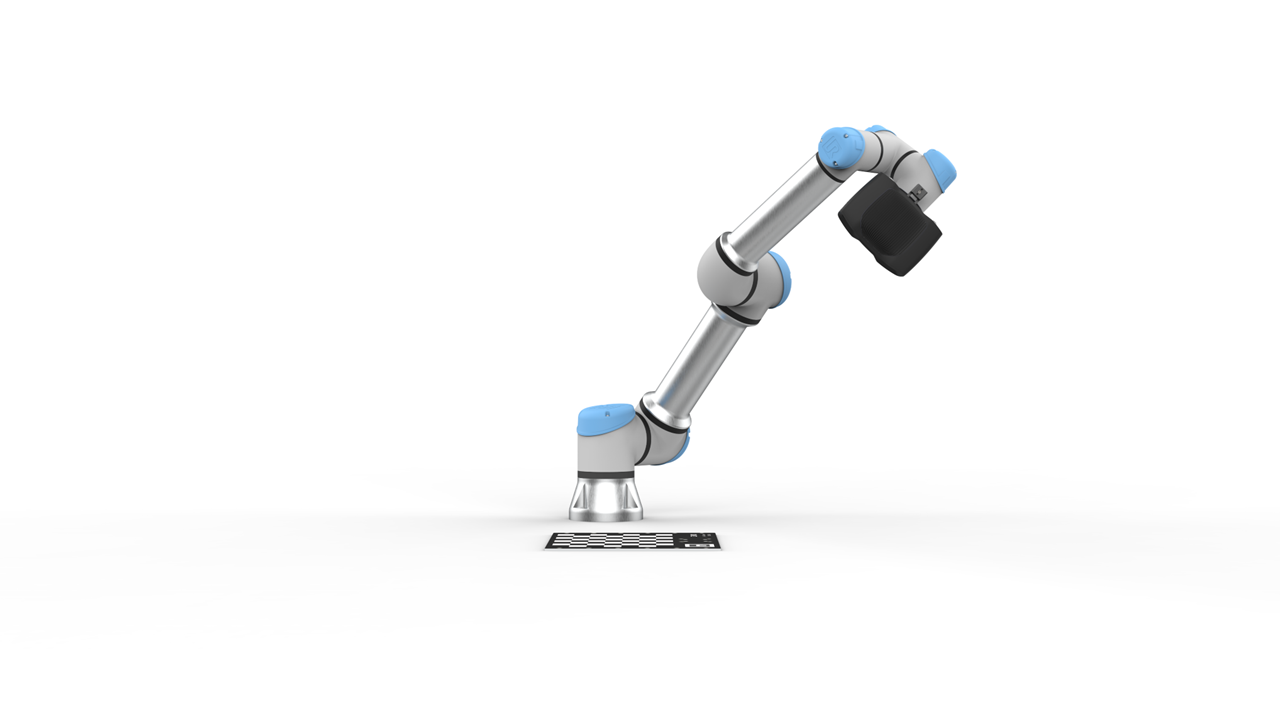
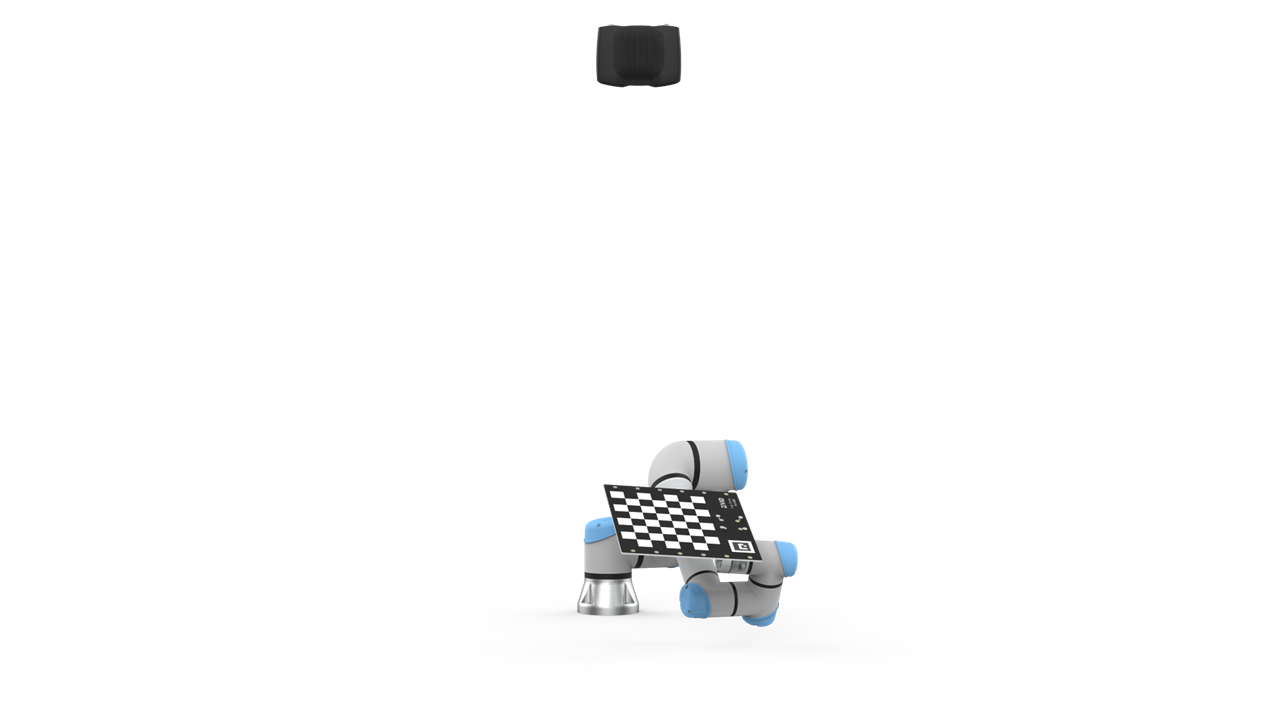
‘근거리’ 자세와 ‘원거리’ 자세, 두 가지 자세에 대해 살펴보겠습니다. ‘근거리’ 자세는 카메라와 캘리브레이션 대상 사이의 이미징 거리가 최소화되는 로봇의 위치를 나타냅니다. eye-in-hand 시스템에서는 로봇에 장착된 카메라가 캘리브레이션 대상에 가장 가까이 있는 경우를 말합니다. eye-to-hand 시스템에서는 로봇이 캘리브레이션 대상을 고정된 카메라에 가장 가까이 위치시키는 경우를 말합니다.
‘원거리’ 자세는 카메라와 캘리브레이션 대상 사이의 이미징 거리가 가장 먼 로봇 위치를 나타냅니다. eye-in-hand 시스템에서는 로봇에 장착된 카메라가 캘리브레이션 대상에서 가장 멀리 떨어져 있는 경우를 말합니다. eye-to-hand 시스템에서는 로봇이 캘리브레이션 대상을 고정된 카메라에서 가장 멀리 떨어진 위치에 두는 경우를 말합니다.
팁
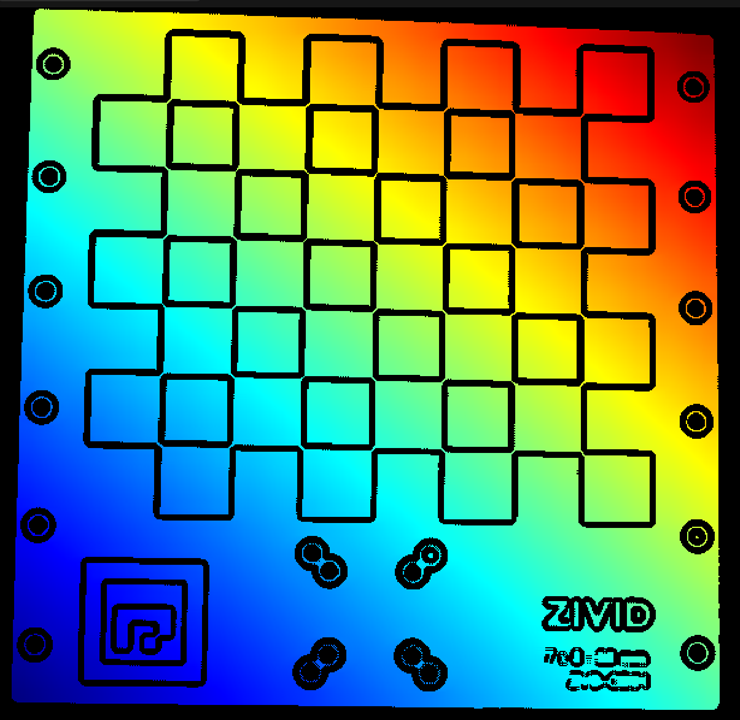
Zivid 칼리브레이션 보드를 사용하는 경우, 가장 가까운 포즈와 가장 먼 포즈에 대한 Calibration Board presets 사용해 보세요. 포인트 클라우드 품질이 좋으면 나머지 튜토리얼을 건너뛰고 이 설정을 사용할 수 있습니다. 이 Presets은 ArUco 마커에는 적합하지 않습니다.
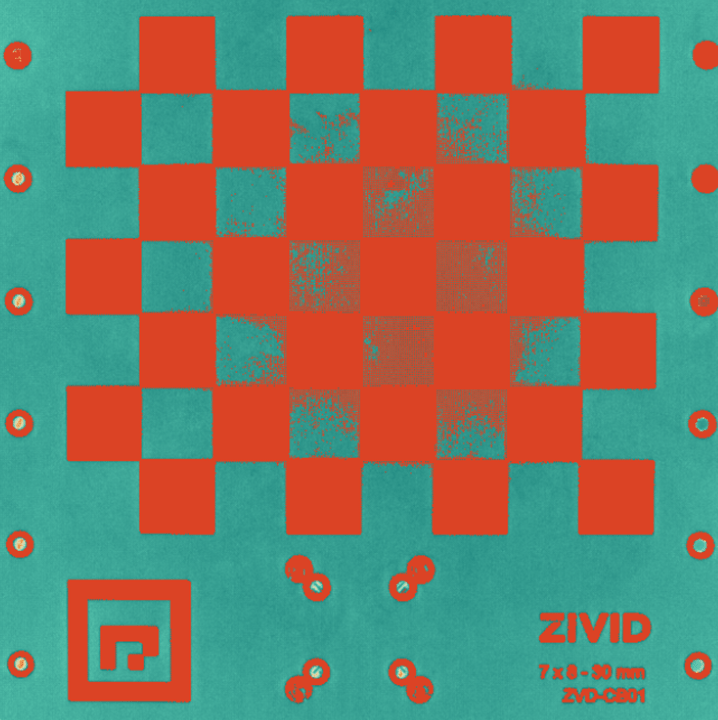
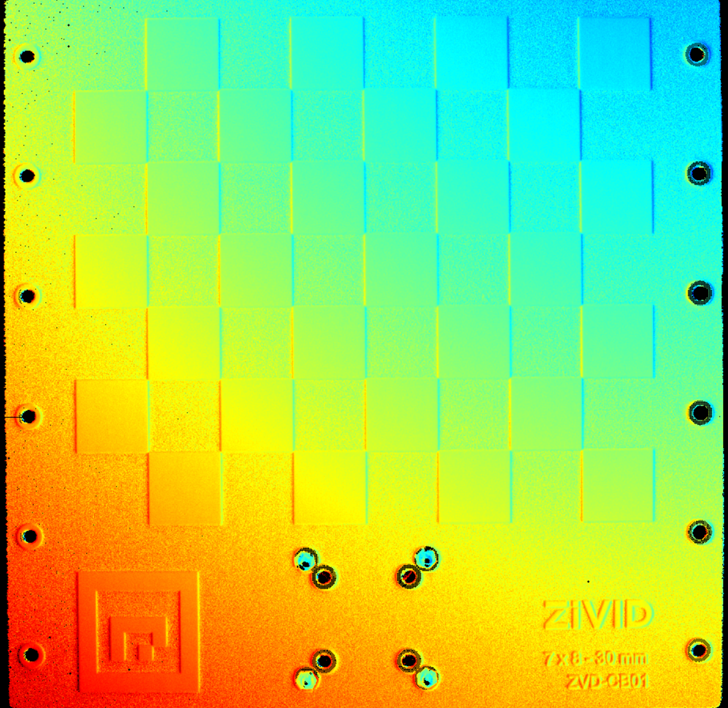
예상 결과는 다음과 같습니다.
팁
ArUco 마커를 사용하는 경우, 가장 가까운 포즈와 가장 먼 포즈에 대한 ArUco Marker presets 사용해 보세요. 포인트 클라우드 품질이 좋으면 나머지 튜토리얼을 건너뛰고 이 설정을 사용할 수 있습니다.
핸드-아이 칼리브레이션을 위한 좋은 포인트 클라우드를 획득하기 위한 단계별 프로세스는 다음과 같습니다.
Possible scenarios
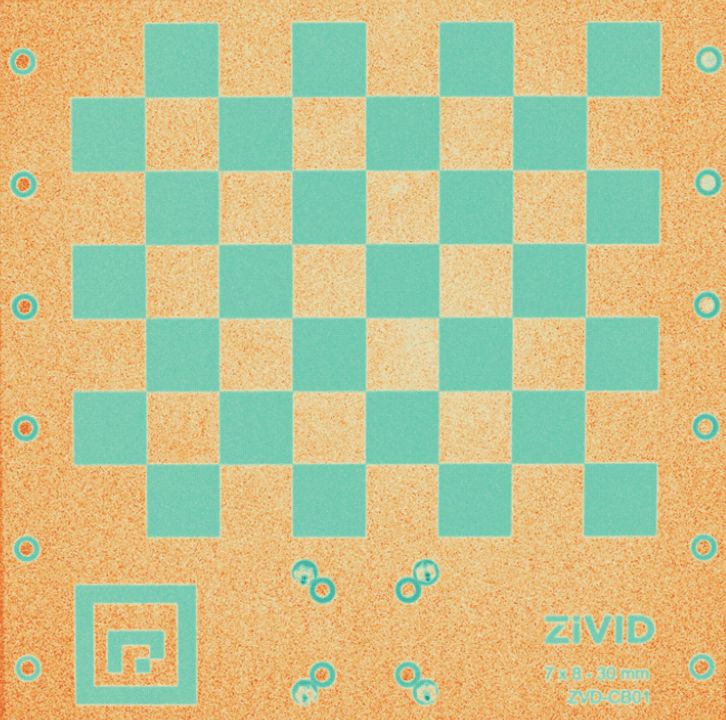
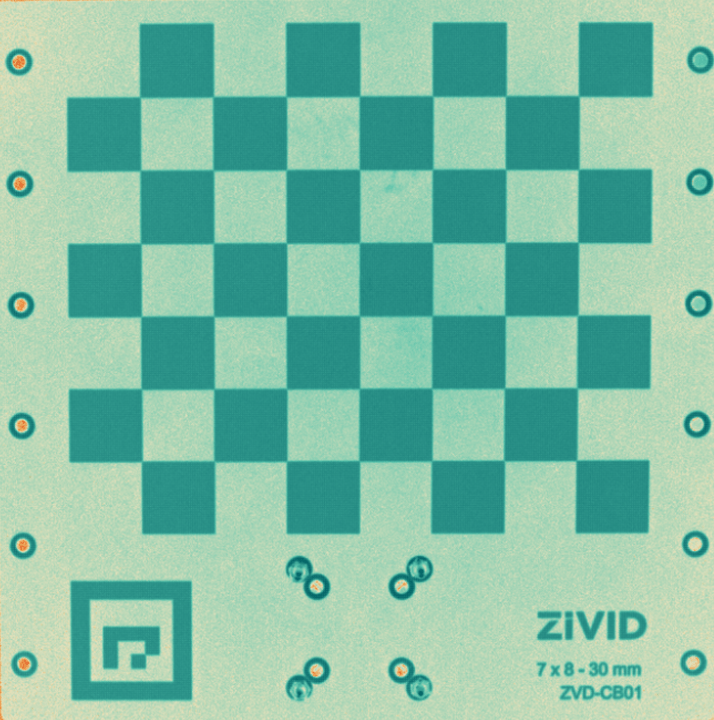
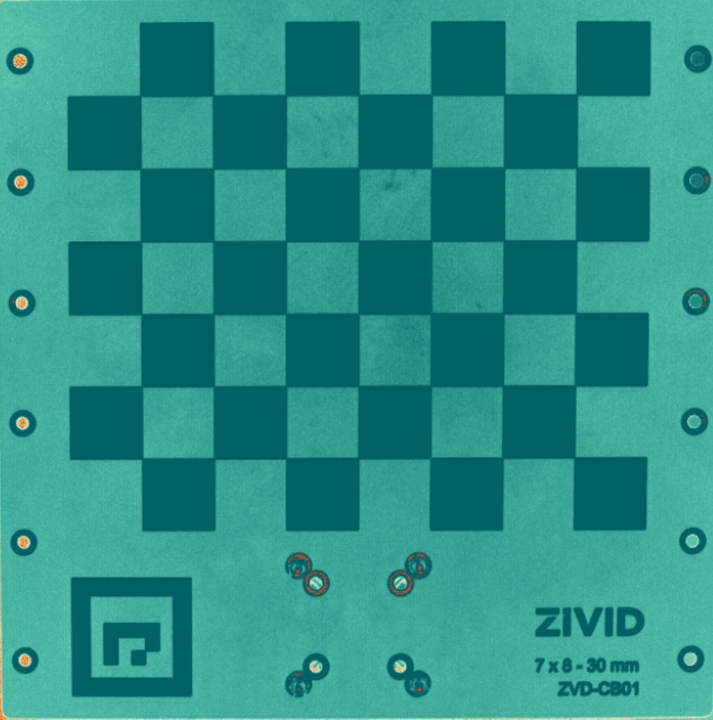
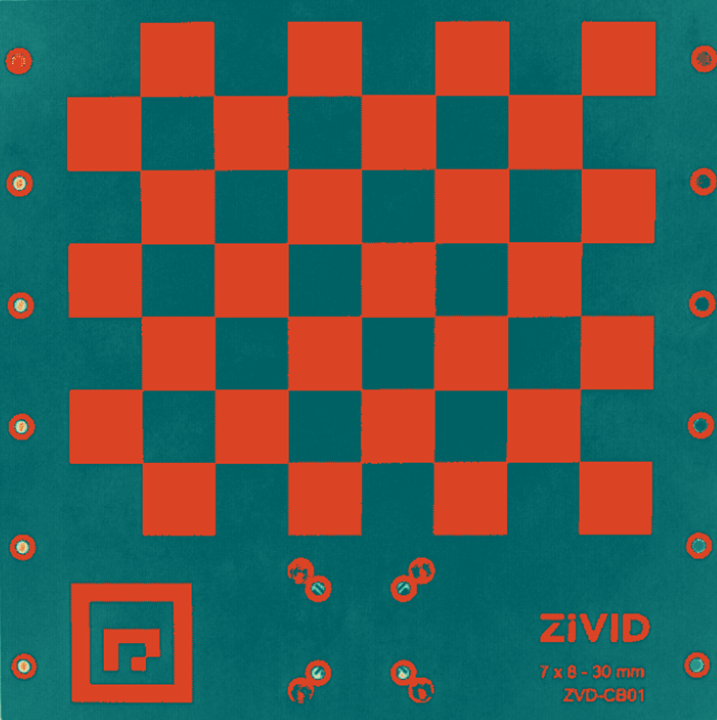
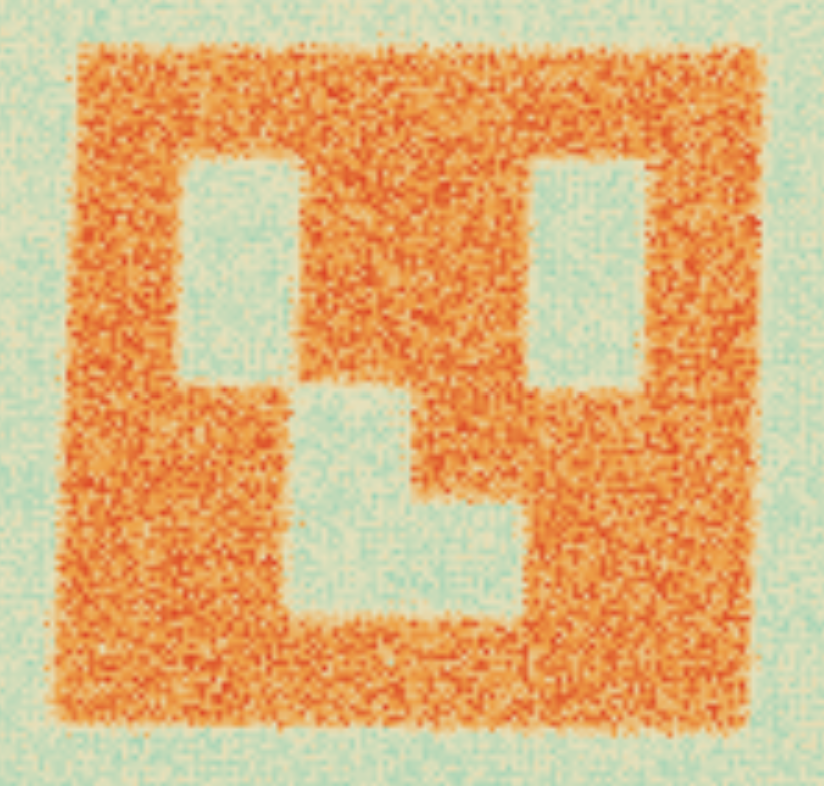
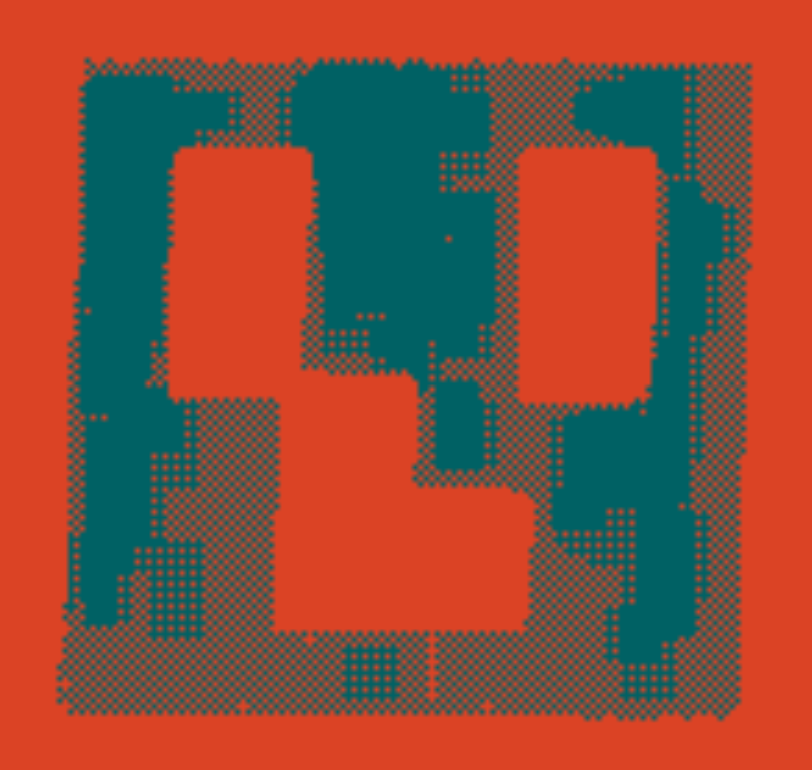
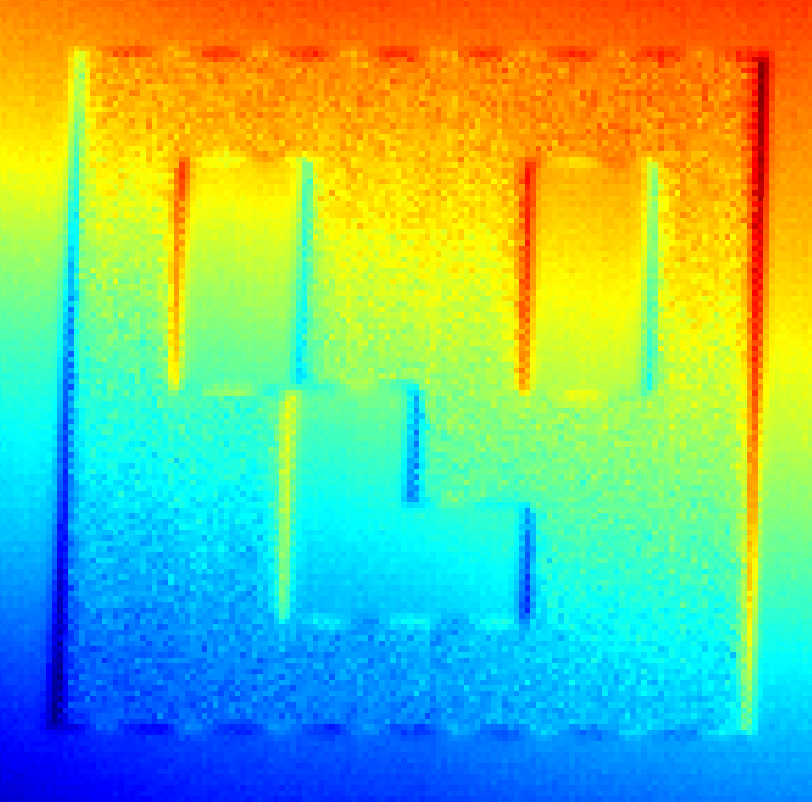
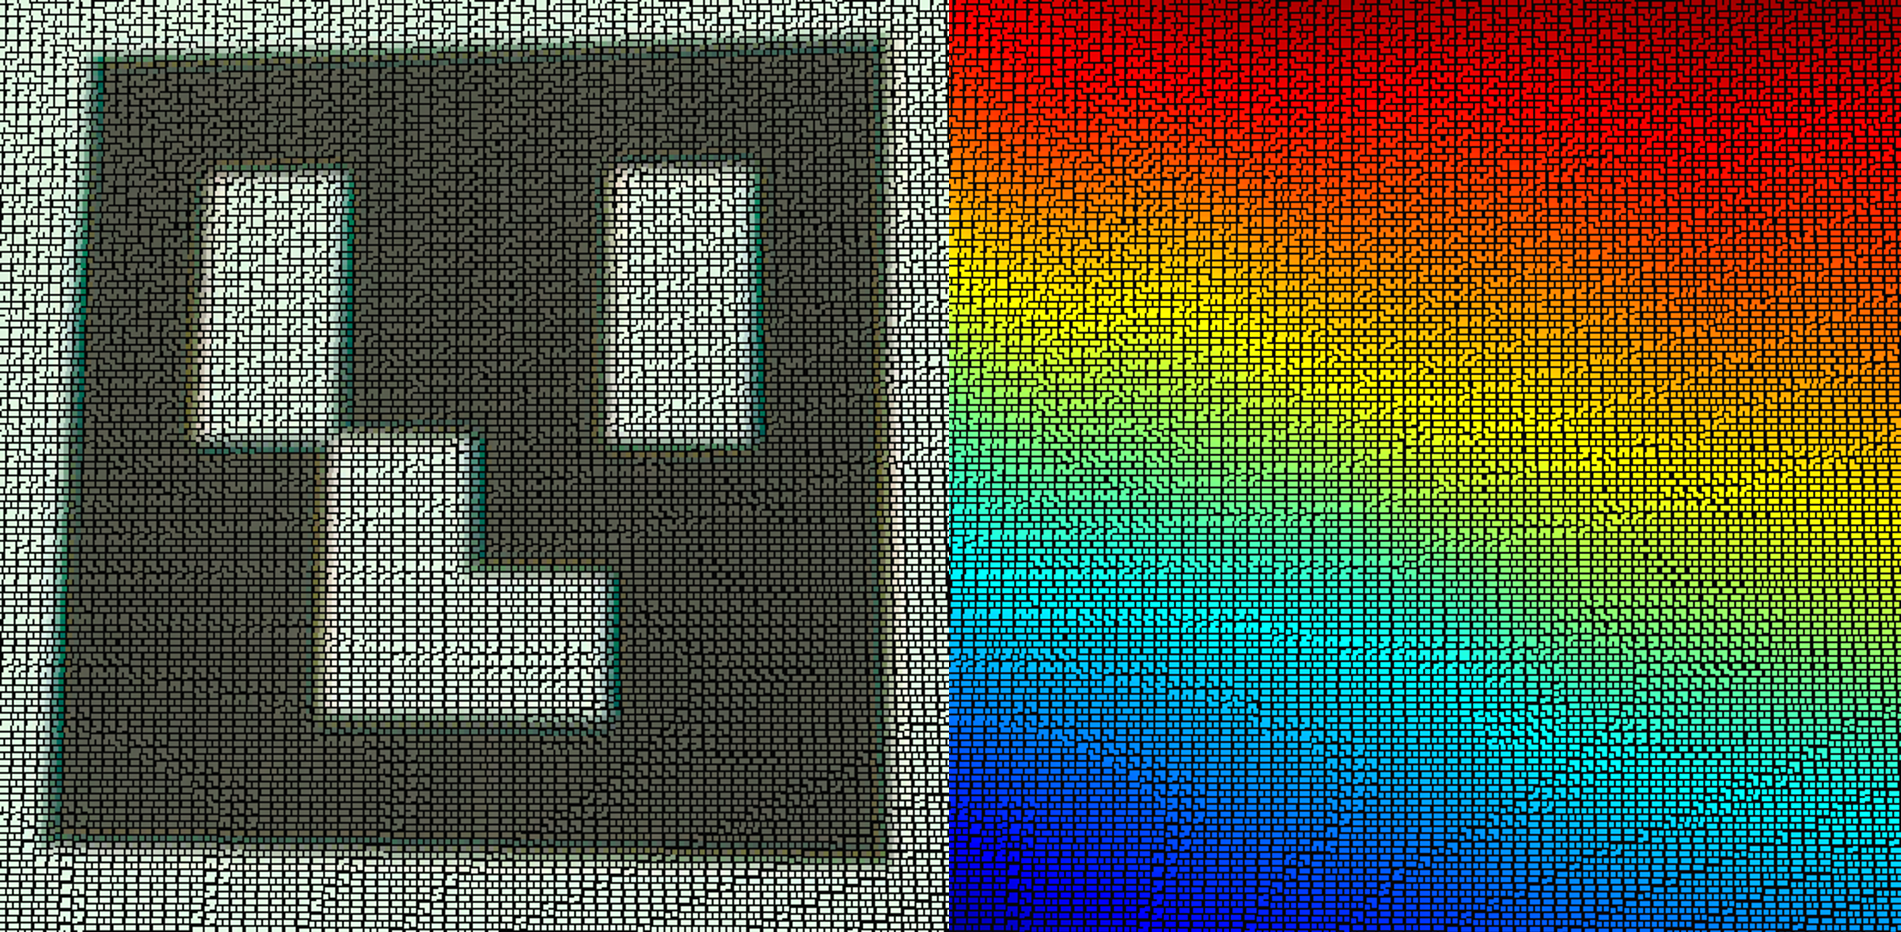
다음 튜토리얼에서는 SNR 맵을 사용하여 흑백 픽셀의 신호 품질을 확인합니다. SNR 값이 증가함에 따라 색상 표시기가 빨간색에서 진한 파란색으로 바뀝니다. 아래에서 이 튜토리얼에서 접할 수 있는 SNR 척도와 가능한 모든 사례를 찾을 수 있습니다.

Base settings
먼저, 이 튜토리얼의 기본 설정을 정의하겠습니다.
로봇을 ‘가까운’ 포즈로 이동합니다.
Zivid Studio를 싱행하고 카메라 연결합니다.
Vision Engine 을 애플리케이션에서 사용하는 Vision Engine으로 설정합니다. Presets을 사용하는 경우 Presets에서 사용하는 Vision Engine을 확인하세요.
Sampling, Color 을 rgb로 설정합니다.
Sampling, Pixel 애플리케이션에 사용하는 샘플링으로 설정합니다. Presets을 사용하는 경우 Presets에서 사용하는 샘플링을 확인하세요.
Exposure Time 를 50Hz 그리드 주파수의 경우 10000μs, 60Hz 그리드 주파수의 경우 8333μs로 설정합니다.
카메라가 지원한다면 depth of focus calculator 를 사용하여 f-number 를 설정하세요.
최소 Depth-of-Focus (mm): 가장 먼 작동 거리 - 가장 가까운 작동 거리
가장 가까운 작업 거리(mm): 카메라와 교정 대상 사이의 가장 가까운 거리
가장 먼 작업 거리(mm): 카메라와 교정 대상 사이의 가장 먼 거리
허용 가능한 흐림 반경 (픽셀): 1
Projector Brightness 를 최대로 설정합니다.
Gain 을 1로 설정합니다.
Noise Filter 를 5로 설정합니다.
Outlier Filter 를 10으로 설정합니다.
Reflection Filter 를 global으로 설정합니다.
다른 모든 필터를 끄고 다른 모든 설정을 기본값으로 둡니다.
Optimizing camera settings for the ‘near’ pose
Fine-tuning for ‘near’ White (Acquisition 1)
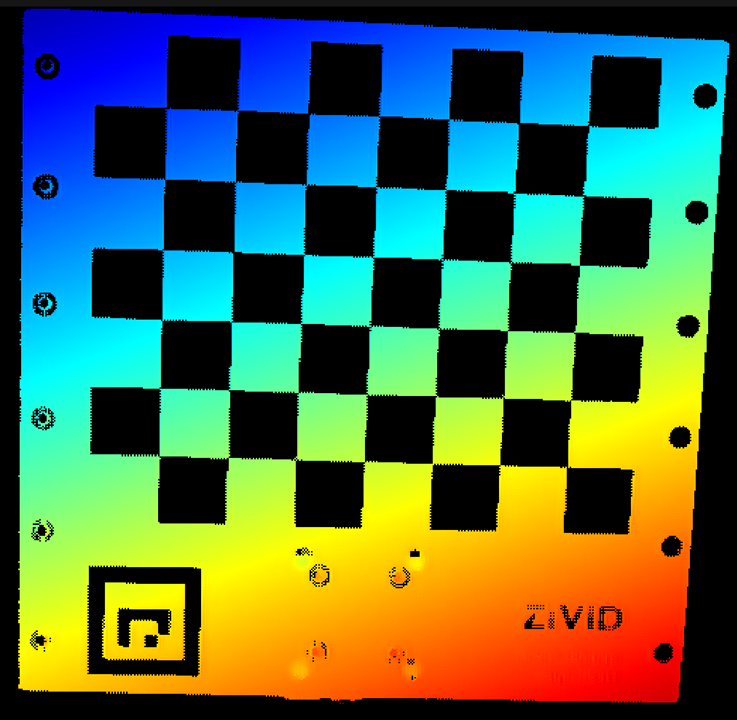
이 단계에서는 검은색 표면은 무시하고 흰색 표면에서 정확한 데이터를 얻는 데 집중하세요. 칼리브레이션 대상의 흰색 영역을 캡처하고 분석하세요. 흰색 영역 미세 조정 시 다음 이미지를 예시로 활용하세요.
이미지가 노출 부족입니다 (흰색 픽셀이 너무 어둡습니다).
Exposure Time 를 증가시킵니다.
흰색 영역에 좋은 데이터가 나올 때까지 10000μs [50Hz] 또는 8333μs [60Hz] 단위로 노출 시간을 늘립니다.
카메라가 지원한다면 f-number 를 낮추세요.
이미지가 과다 노출되었습니다(흰색 픽셀이 포화되었습니다).
Exposure Time 를 감소시킵니다.
노출 시간을 줄이면 전력망에서 나오는 주변광 간섭 interference from ambient light 인해 포인트 클라우드에 파동이 나타날 수 있습니다. 파동이 나타나지 않으면 흰색 영역에 대한 정확한 데이터를 얻을 때까지 노출 시간을 계속 줄이세요.
노출 시간 제한에 도달하고 데이터가 충분하지 않거나 포인트 클라우드가 물결 모양이면 다음 옵션을 따르십시오.
카메라가 지원한다면 f-number 를 높이세요.
Projector Brightness 를 감소시킵니다.
이 시점에서 네 가지 획득 중 하나(“Acquisition 1”)가 조정됩니다.
Fine-tuning for ‘near’ Black (Acquisition 2)
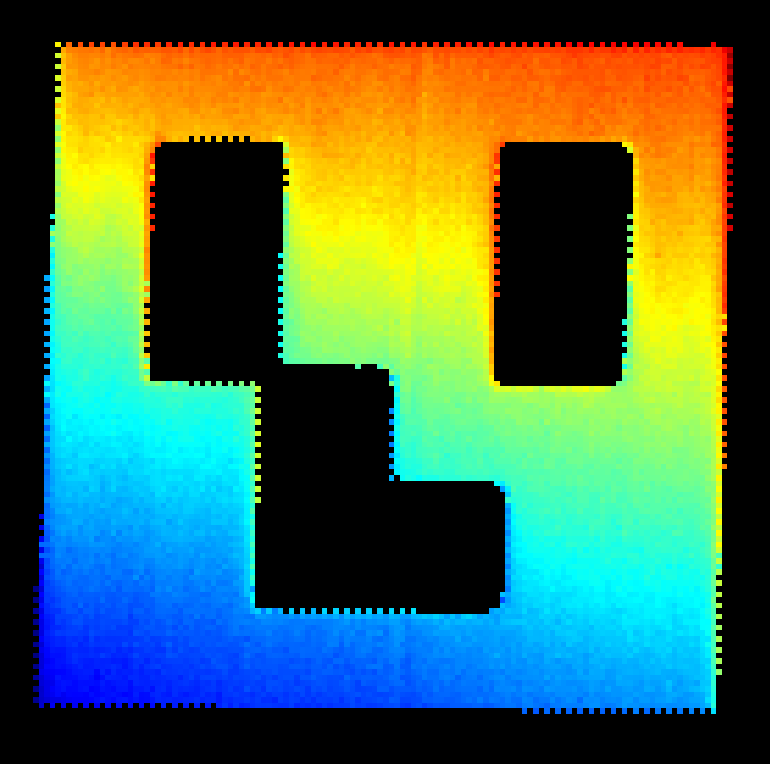
“Acquisition 1” 을 끄고 복제합니다. 이 “Acquisition 2” 는 보정 대상의 검은색 부분에 대한 좋은 데이터를 확보하도록 조정해야 합니다. 따라서 흰색 영역이 과노출될 것으로 예상됩니다. 다음 이미지를 예로 들어 보겠습니다. 흰색 픽셀이 과노출되어 체커보드의 흰색 부분에 대한 데이터가 없습니다.
어두운 표면은 더 높은 빛 노출이 필요합니다.
이미지가 노출 부족입니다(검은색 픽셀이 너무 어둡습니다).
Projector Brightness 를 증가시킵니다.
Exposure Time 를 증가시킵니다.
칼리브레이션 대상의 검은색 영역에 양호한 데이터가 나타날 때까지 노출 시간을 10000μs[50Hz] 또는 8333μs[60Hz]씩 늘리십시오. 한계에 도달했는데도 데이터가 충분하지 않으면 다음 옵션을 따르십시오.
카메라가 지원한다면 f-number 를 낮추세요.
Gain 를 증가시킵니다.
Optimizing camera settings for the ‘far’ pose
Fine tuning for ‘far’ White (Acquisition 3)
“Acquisition 2” 를 끄고 “Acquisition 1” 을 복제합니다. 다시 한번, 검은색 표면은 무시하고 흰색 표면에만 집중해 보겠습니다. 보정 대상의 흰색 영역을 캡처하고 분석합니다.
이미지가 노출 부족입니다 (흰색 픽셀이 너무 어둡습니다).
Projector Brightness 를 증가시킵니다.
Exposure Time 를 증가시킵니다.
칼리브레이션 대상의 검은색 영역에 양호한 데이터가 나타날 때까지 노출 시간을 10000μs[50Hz] 또는 8333μs[60Hz]씩 늘리십시오. 한계에 도달했는데도 데이터가 충분하지 않으면 다음 옵션을 따르십시오.
카메라가 지원한다면 f-number 를 낮추세요.
이미지가 과다 노출되었습니다(흰색 픽셀이 포화되었습니다).
Exposure Time 를 감소시킵니다.
노출 시간을 줄이면 전력망에서 나오는 주변광 간섭 interference from ambient light 인해 포인트 클라우드에 파동이 나타날 수 있습니다. 파동이 나타나지 않으면 흰색 영역에 대한 정확한 데이터를 얻을 때까지 노출 시간을 계속 줄이세요.
노출 시간 제한에 도달하고 데이터가 충분하지 않거나 포인트 클라우드가 물결 모양이면 다음 옵션을 따르십시오.
카메라가 지원한다면 f-number 를 높이세요.
Projector Brightness 를 감소시킵니다.
Fine-tuning for ‘far’ Black (Acquisition 4)
“Acquisition 3” 을 끄고 “Acquisition 2” 를 복제합니다.
이 “Acquisition 4” 는 칼리브레이션 대상의 검은색 부분에 대한 좋은 데이터를 얻기 위해 조정되어야 합니다. 따라서 흰색 영역이 과다 노출될 것으로 예상됩니다.
어두운 표면은 더 높은 빛 노출이 필요합니다.
이미지가 노출 부족입니다(검은색 픽셀이 너무 어둡습니다).
Projector Brightness 를 증가시킵니다.
Exposure Time 를 증가시킵니다.
칼리브레이션 대상의 검은색 영역에 양호한 데이터가 나타날 때까지 노출 시간을 10000μs[50Hz] 또는 8333μs[60Hz]씩 늘리십시오. 한계에 도달했는데도 데이터가 충분하지 않으면 다음 옵션을 따르십시오.
카메라가 지원한다면 f-number 를 낮추세요.
Gain 를 증가시킵니다.
이 단계에서는 네 가지 획득 항목에 대한 설정이 구성됩니다. 남은 단계는 최종 필터를 구성하는 것입니다.
Optimizing filters
Gaussian Smoothing 를 5로 설정합니다.
Contrast Distortion, Correction 를 0.4로 설정합니다.
Contrast Distortion, Removal 를 0.5로 설정합니다.
Gaussian Smoothing 를 5로 설정합니다.
Contrast Distortion, Correction 를 0.4로 설정합니다.
Contrast Distortion, Removal 를 끄세요.
귀하의 포인트 클라우드는 튜토리얼 시작 부분에 표시된 point cloud 와 유사해야 합니다.
참고
대부분의 경우, ‘근거리’ 포즈에 최적화된 하나와 ‘원거리’ 포즈에 최적화된 하나, 이렇게 두 가지 촬영을 통해 칼리브레이션 대상에 대한 양질의 데이터를 얻을 수 있습니다. 올바른 이미징 설정을 결정하는 또 다른 방법은 캡처 어시스턴트를 활용하는 것입니다. 하지만 현재 이 기능은 체커보드에 대한 최적의 설정을 제공하는 것이 아니라 전체 장면에 대한 최적의 설정만 제공합니다. 캡처 어시스턴트는 이러한 목적에도 효과적일 수 있지만, 꾸준히 좋은 결과를 얻을 수 있으므로 위에서 설명한 방법을 사용하는 것이 좋습니다.
Capture and Detect
이제 포인트 클라우드에서 교정 객체를 감지할 수 있는지 확인할 수 있습니다.
const auto detectionResult = Zivid::Calibration::detectCalibrationBoard(frame);

if(detectionResult.valid())
{
    std::cout << "Calibration board detected " << std::endl;
    handEyeInput.emplace_back(robotPose, detectionResult);
    currentPoseId++;
}
else
{
    std::cout << "Failed to detect calibration board. " << detectionResult.statusDescription() << std::endl;
}
using (var frame = camera.Capture2D3D(settings))
{
    var detectionResult = Detector.DetectCalibrationBoard(frame);

    if (detectionResult.Valid())
    {
        Console.WriteLine("Calibration board detected");
        handEyeInput.Add(new HandEyeInput(robotPose, detectionResult));
        ++currentPoseId;
    }
    else
    {
        Console.WriteLine("Failed to detect calibration board, ensure that the entire board is in the view of the camera");
    }
}
detection_result = zivid.calibration.detect_calibration_board(frame)

if detection_result.valid():
    print("Calibration board detected")
    hand_eye_input.append(zivid.calibration.HandEyeInput(robot_pose, detection_result))
    current_pose_id += 1
else:
    print(f"Failed to detect calibration board. {detection_result.status_description()}")
이제 Hand-Eye Calibration Process 를 구현하는 방법을 살펴보겠습니다.
Version History
SDK |
Changes |
|---|---|
2.15.0 |
포인트 클라우드에서 교정 객체를 감지할 수 있는지 확인하는 방법을 추가했습니다. |
