Sampling (3D)
Pixel
Settings::Sampling::Pixel 매개변수는 투사된 패턴과 샘플링된 픽셀의 밝은 색상을 선택하는 데 사용됩니다. 카메라 모델에 따라 설정 옵션이 다릅니다.
Zivid 2/2+ |
Zivid 2+R/3 |
|
|---|---|---|
|
✓ |
✓ |
|
✓ |
|
|
✓ |
|
|
✓ |
|
|
✓ |
|
|
✓ |
|
|
✓ |
각 카메라의 해상도는 다음과 같습니다.
3D capture |
Zivid 3 |
Zivid 2+/2+R |
Zivid 2 |
|---|---|---|---|
Full resolution [1] |
2816 x 2816 |
2448 x 2048 |
1944 x 1200 |
2x2 [1] |
1408 x 1408 |
1224 x 1024 |
972 x 600 |
4x4 [1] |
704 x 704 |
612 x 512 |
Not available |
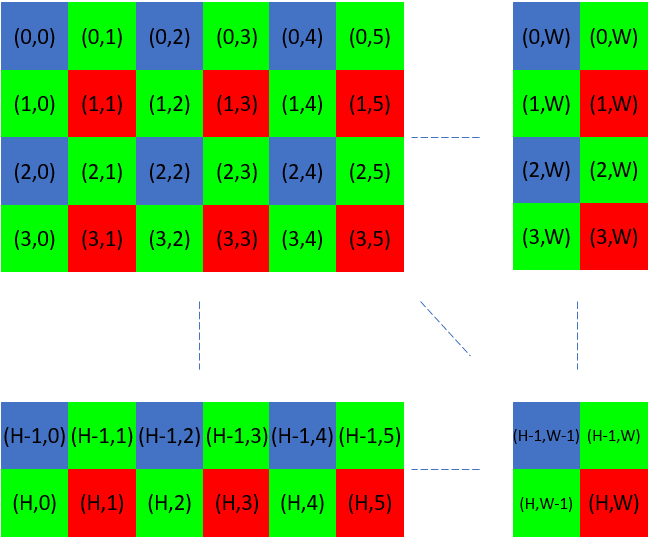
all 로 설정하면 모든 픽셀이 샘플링되고, 포인트 클라우드는 전체 해상도를 갖습니다.
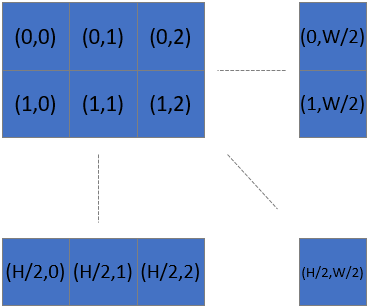
다음 그림은 센서 그리드와 관련 인덱스를 보여줍니다.

우리가 sub-/downsample(2x2)을 하면 원래 포인트 수의 1/4을 얻습니다.

즉, 2x2를 서브샘플링하거나 다운샘플링한 후 x축과 y축을 따라 점의 개수를 2로 나눕니다. 4x4를 서브샘플링하거나 다운샘플링하는 경우 x축과 y축을 따라 점의 개수를 4로 나눕니다.
예를 들어, Zivid 2+ M130의 경우 두 픽셀 사이의 공간 거리는 1300mm 작동 거리에서 0.32mm입니다. 2x2 서브샘플링을 사용하면 동일한 작동 거리에서 이 거리는 0.64mm로 두 배로 증가합니다.
이는 심도의 해상도에 영향을 미치지 않습니다. 이는 지점의 정밀도에 따라 결정됩니다.
서브샘플링은 더 적은 양의 데이터를 수집하고 처리하므로 수집 및 캡처 시간이 단축됩니다. 또한, 데이터를 관리하기 쉬운 크기로 변환하기 위해 다운샘플링할 필요가 없으므로 저장 및 후처리 요구 사항이 줄어듭니다. 데이터의 4분의 1을 사용하면 Zivid 후처리(예 Normals 및 Transform ) 및 사용자 후처리(예: CAD 매칭) 속도가 향상됩니다.
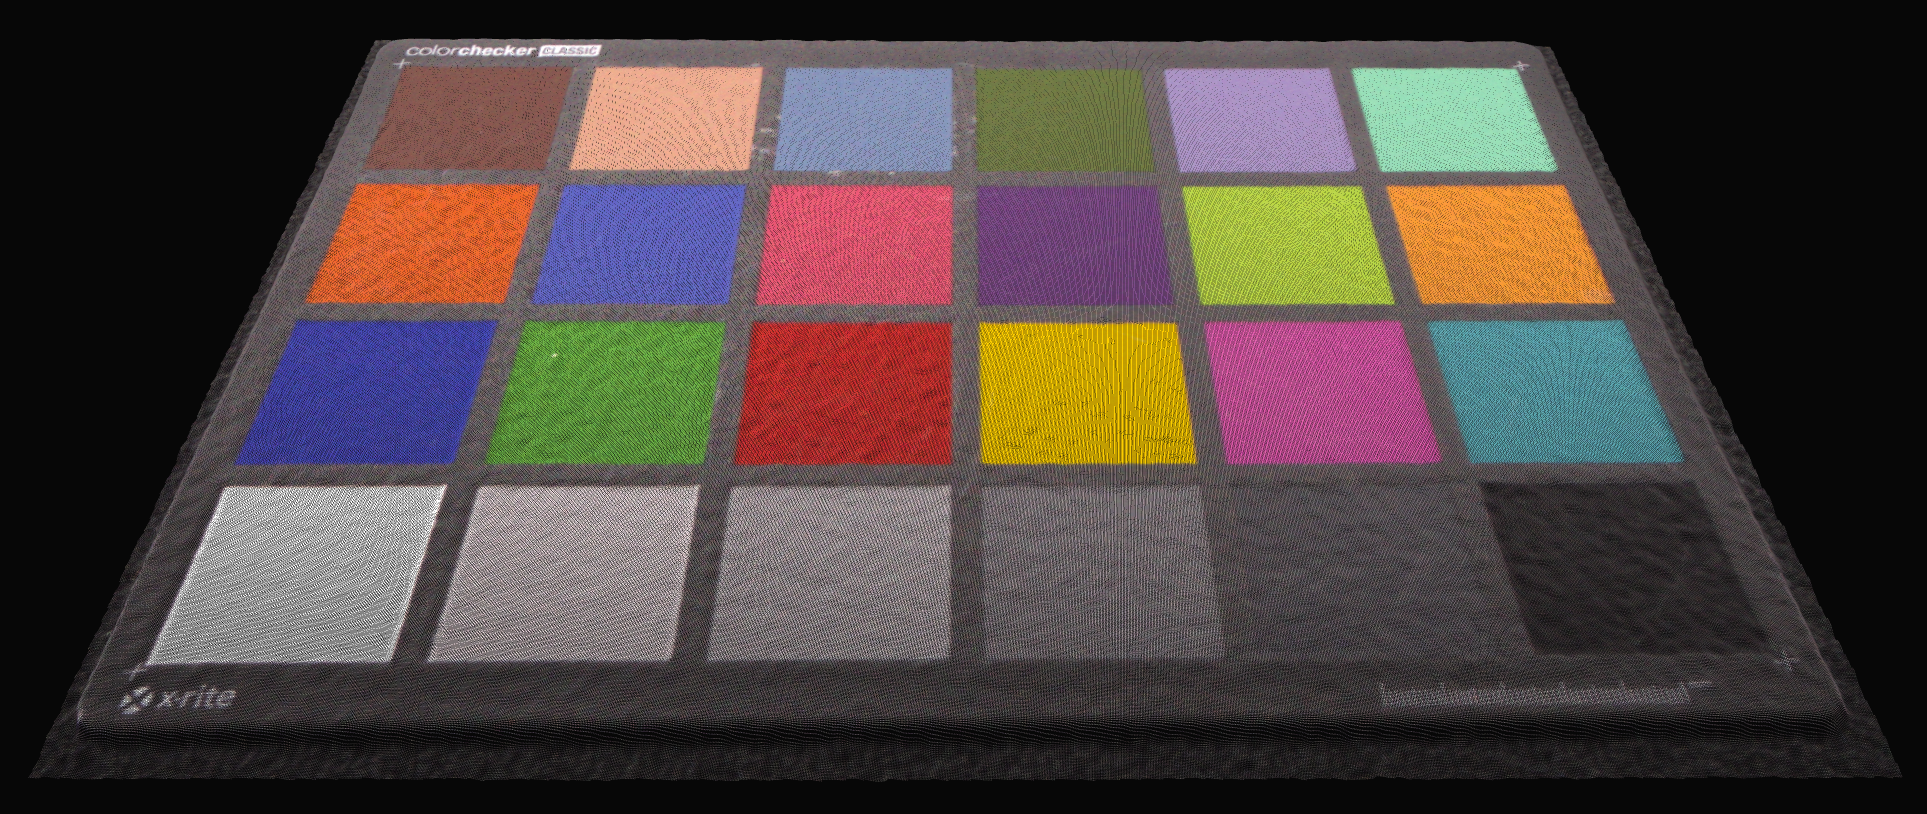
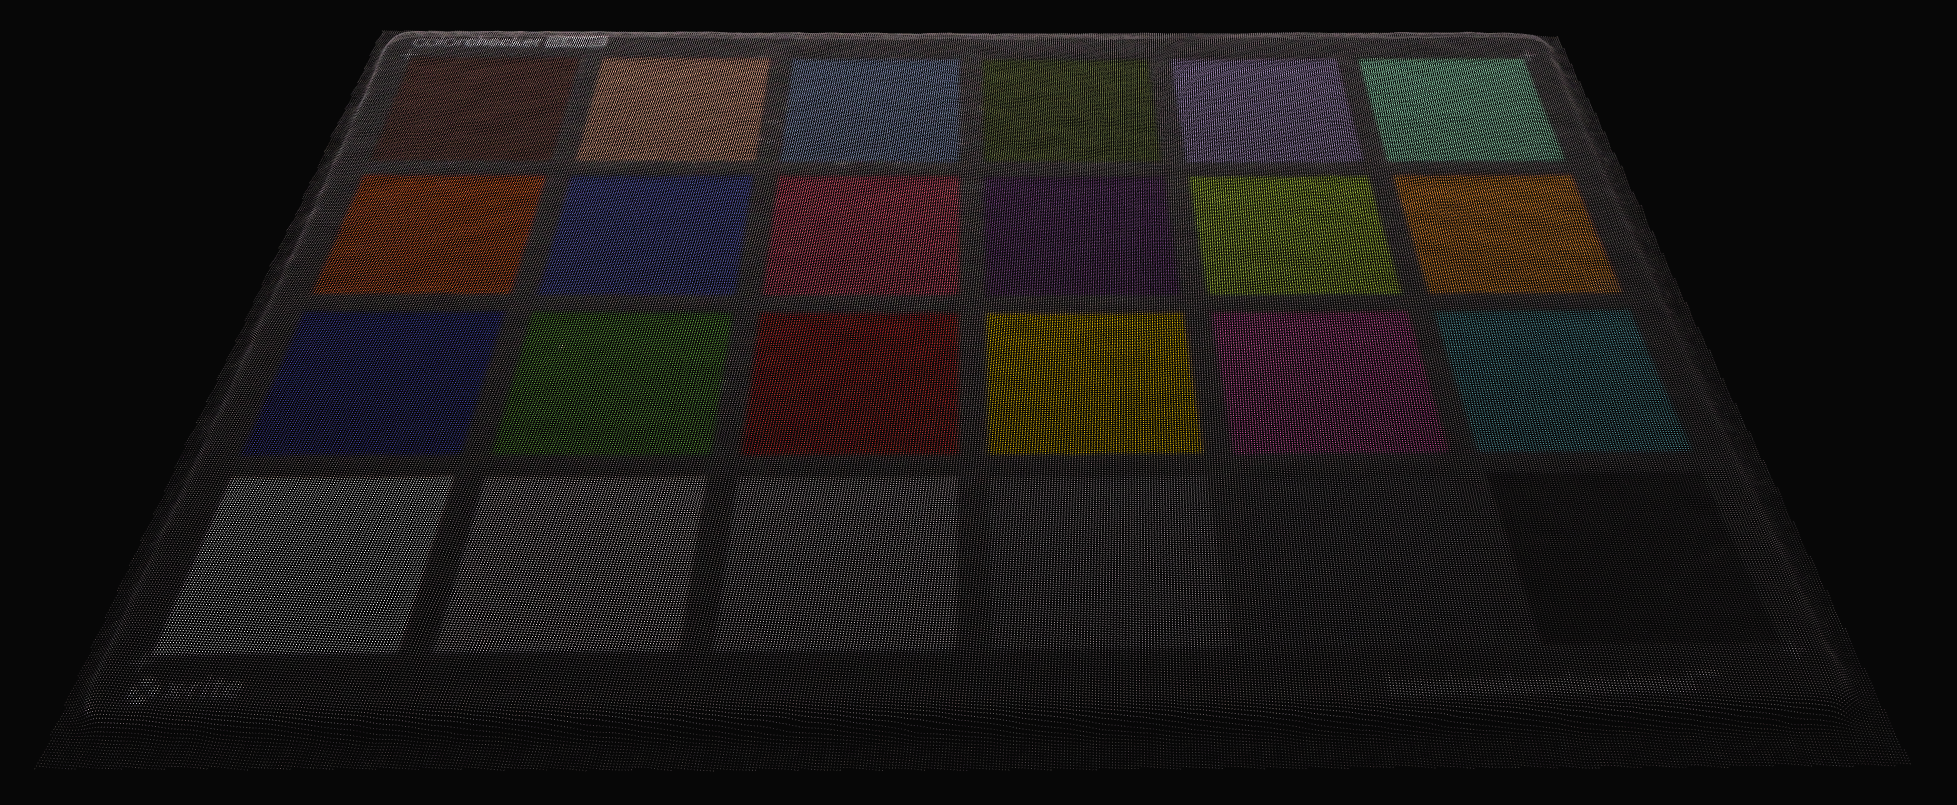
특정 색상 채널을 선택하면 노이즈와 주변광의 영향을 줄이는 데 도움이 될 수 있습니다. 대부분의 경우 청색광을 투사하면 적색광보다 더 나은 데이터를 얻을 수 있습니다. MR60/MR130/LR110 두 대 이상에서는 청색광을 투사하는 것을 선호합니다.
Version History
SDK |
Changes |
|---|---|
2.17.0 |
Zivid 3에 대한 지원이 추가되었습니다. |
2.14.0 |
|
2.11.0 |
|

