Blooming
To deal with blooming, configure 2D capture settings independently, reduce gain/exposure/projector brightness, use HDR capture, change the background material, or adjust the camera angle (see below).
Problem
Blooming 는 Zivid 카메라 프로젝터의 반사광과 같은 밝은 빛이 이미징 센서에 닿아 과포화 현상을 일으킬 때 발생합니다. 이로 인해 컬러 이미지에 밝은 점이 생기고 포인트 클라우드에 데이터 누락이나 아티팩트가 발생합니다.
Potential Solutions
Blooming이 피는 것을 처리하는 방법은 여러 가지가 있습니다.
Configure 2D capture settings independently
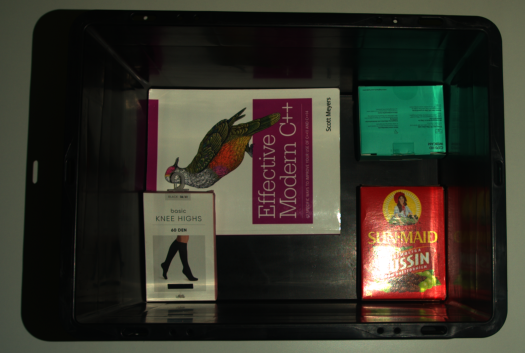
If you encounter blooming in the 2D image, it may be because you have not configured Settings::Color (added in SDK 2.14).
Under these conditions, the Zivid software generates both the point cloud and the color image using the same acquisition settings, which is not optimal.
2D 이미지의 블루밍 현상을 해결하려면 다음 사항을 고려하세요.
First, configure 2D acquisition settings using Settings::Color.
We recommend starting with the 2D Presets.
If further adjustments are needed, check Optimizing Color Image.
팁
Zivid Studio에서 기존 YML 파일을 로드하고, 2D 설정을 구성하고, 설정을 YML 파일로 내보낼 수 있습니다.
- Separate 2D and 3D captures
2D 캡처에는
capture2D()를 사용합니다.3D 캡처에는
capture3D()를 사용하세요.팁
이 두 캡처 API에 동일한 YML 파일/설정 객체를 사용할 수 있습니다.
- Combined 2D and 3D capture
capture2D3D()를 사용하면 2D 및 3D 캡처를 결합하는 단일 작업을 수행할 수 있습니다.
참고
If you still experience blooming in the color image, check Adjust 2D capture settings.
If you must use the deprecated camera.capture() API, ensure that 2D acquisition settings are explicitly configured using Settings::Color.
This ensures the color image is generated based on the specified 2D acquisition settings.
Adjust 2D capture settings
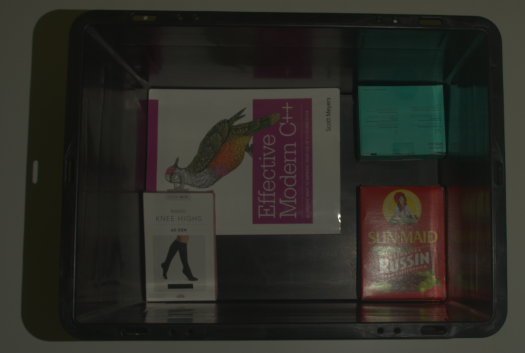
Zivid 카메라의 프로젝터로 인해 2D 이미지에 블루밍 현상이 발생하는 경우 다음 2D 캡처 설정을 조정하세요.
Gain을 줄이세요.
노출시간을 줄이세요.
프로젝터 밝기를 낮추세요.
카메라가 지원한다면 조리개 f-number을 높이세요.
Use HDR capture
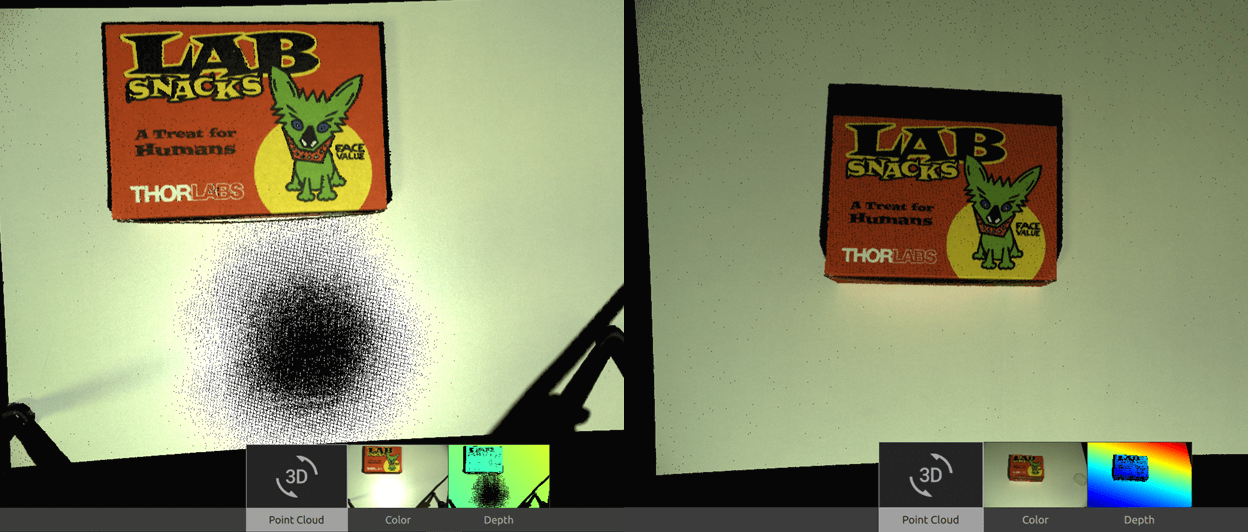
Zivid 카메라의 프로젝터가 포인트 클라우드에 블루밍 현상을 유발하는 경우, 다중 획득 3D HDR을 사용해 보세요. 과노출된 영역의 디테일을 포착하려면 하나 이상의 3D 획득을 추가하세요.
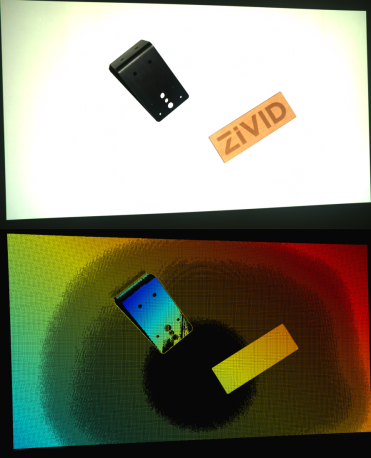 Scene with blooming in the point cloud (single acquisition)
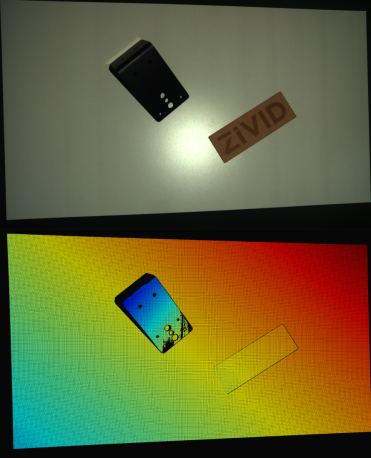 Same scene with effect from blooming removed (multi-acquisition HDR)
Change the background
배경 소재는 블루밍 현상에 크게 기여할 수 있습니다. 이 경우 밝고 반사되는 표면을 더 어둡고 확산성이 있으며 흡수성이 있는 소재로 교체하세요(Optical Properties of Materials).
Scene with white background with blooming effect and missing data in the point cloud
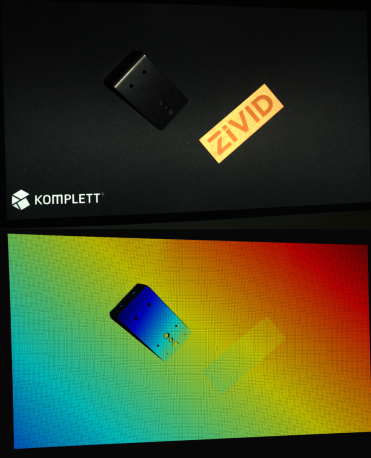 Same scene with black background and effect from blooming removed from the point cloud
Adjust the Camera Angle
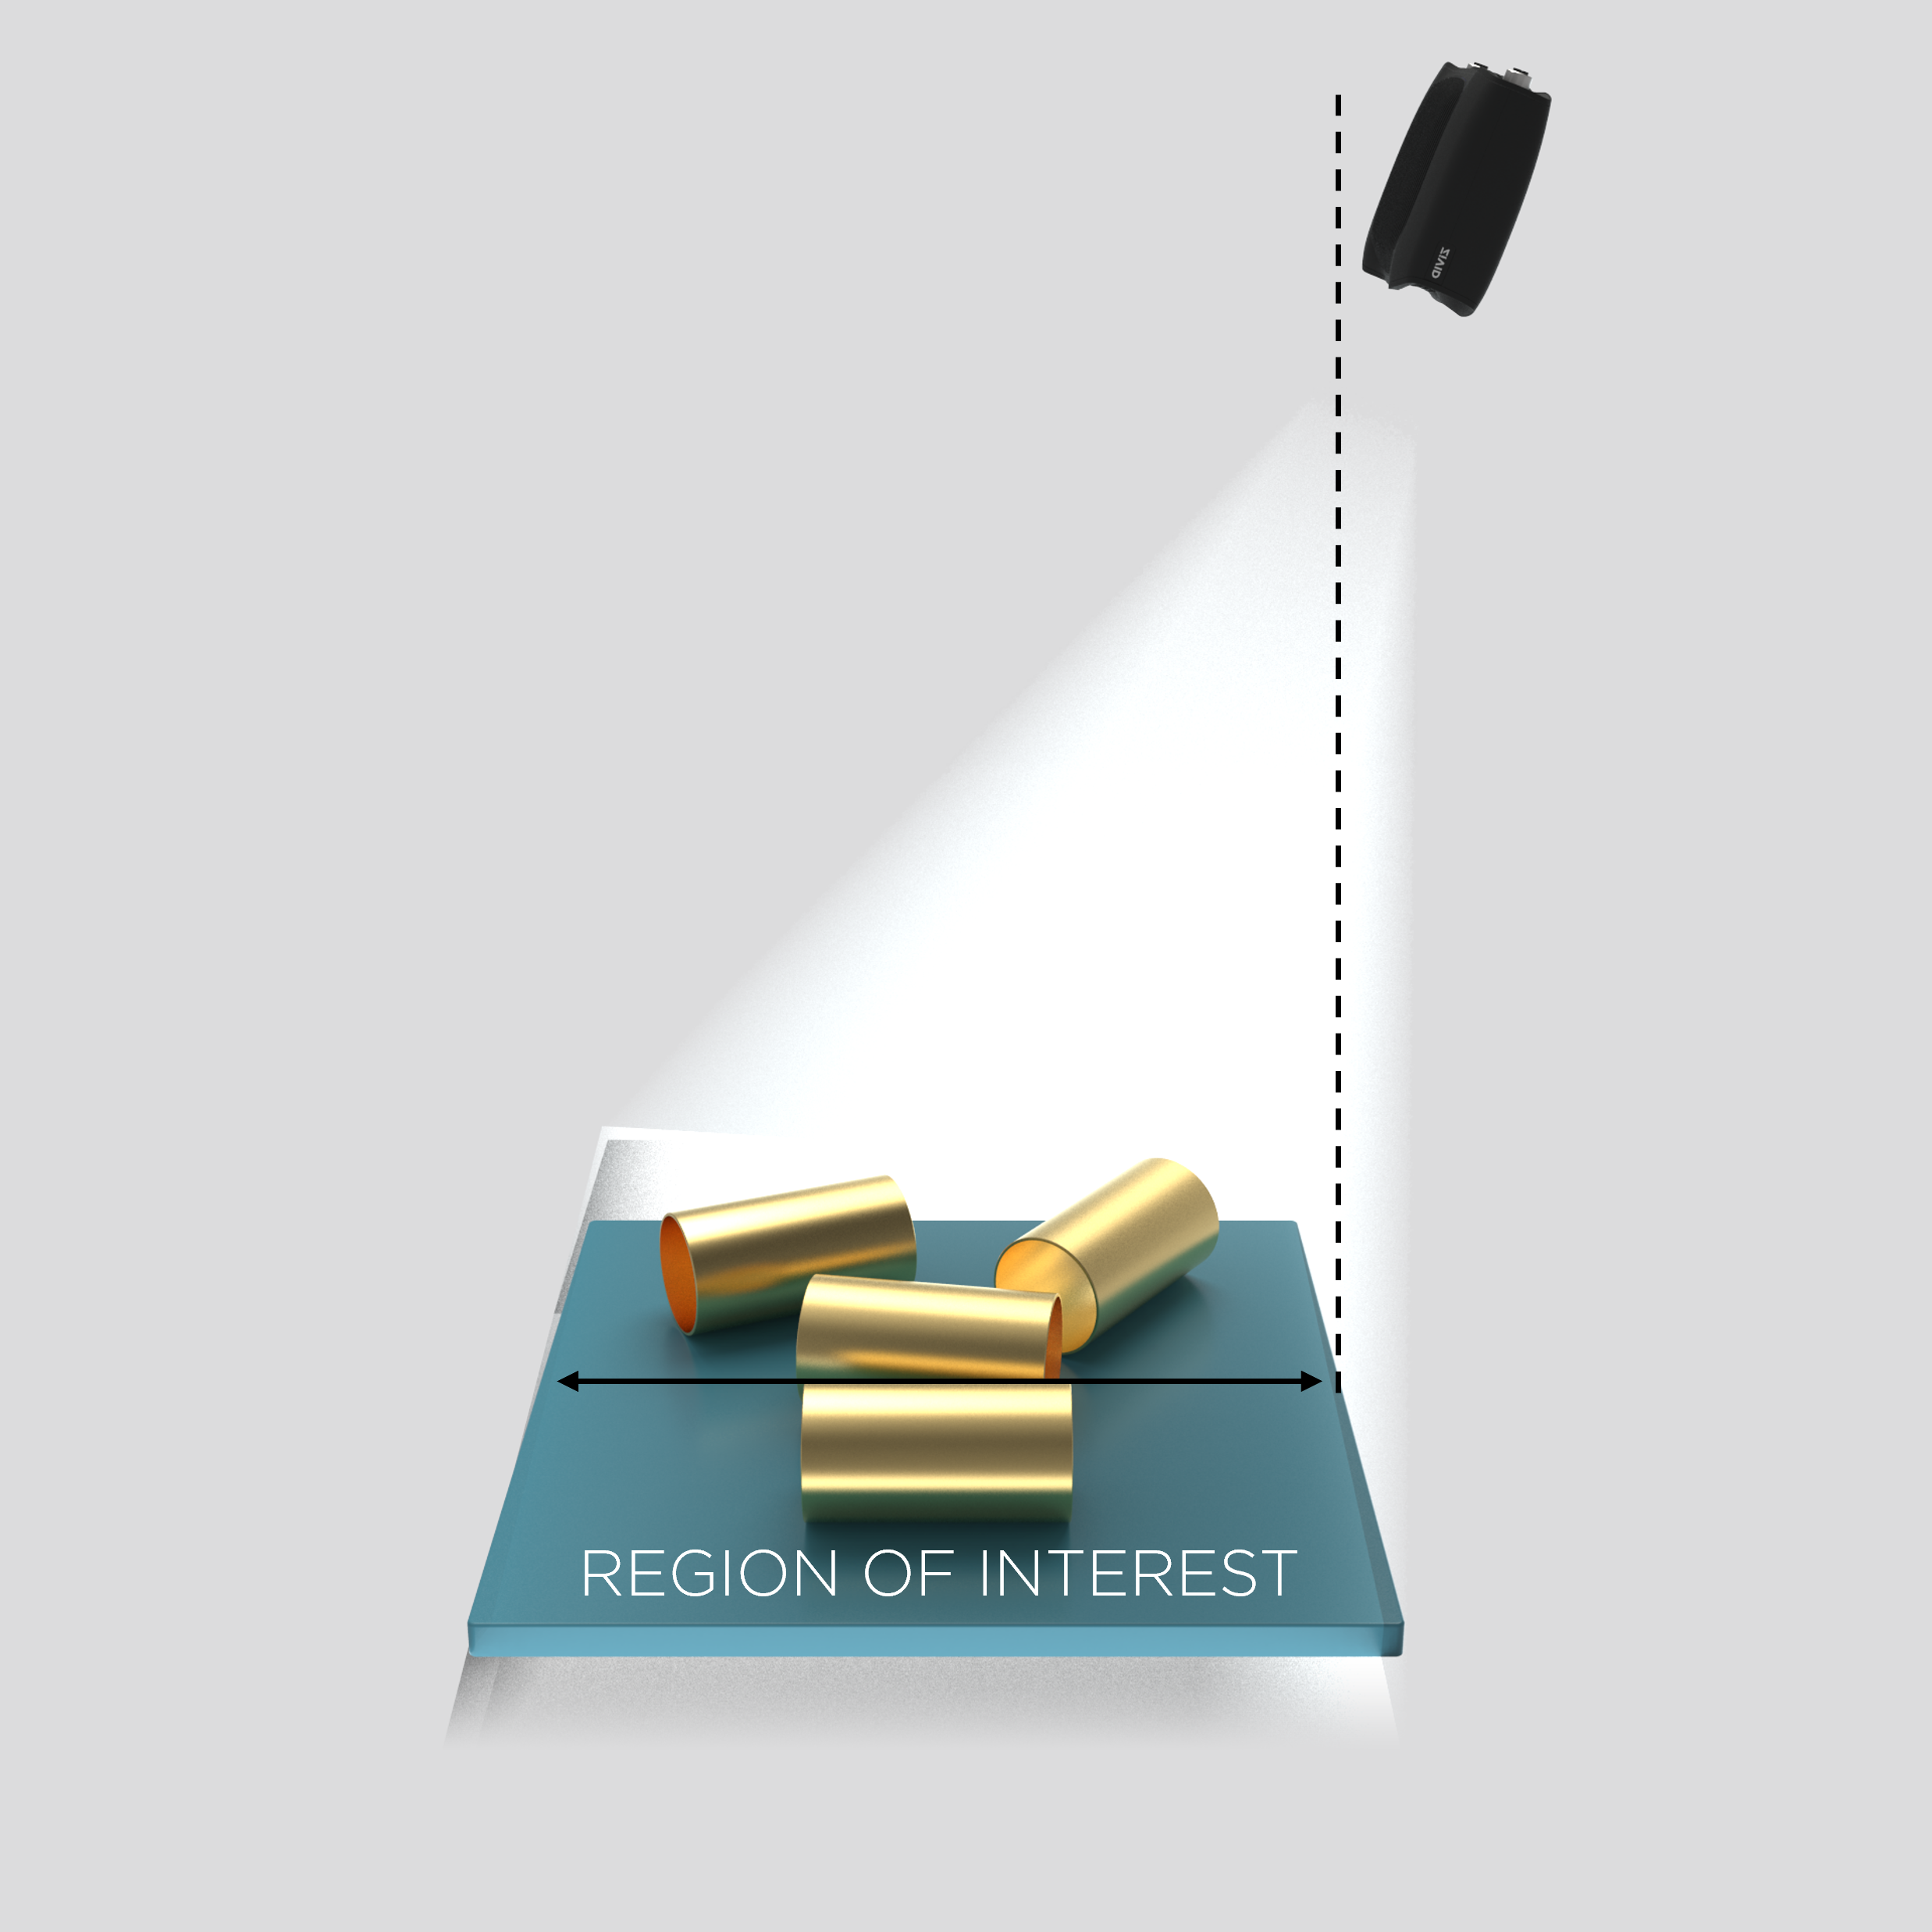
카메라의 위치와 각도를 변경하면 블루밍 현상을 줄일 수 있습니다. 카메라를 반사면에 수직으로 배치하지 마세요. 대신, 프로젝터나 다른 광원에서 카메라로 직접 반사되는 빛을 차단하기 위해 카메라를 기울이세요. 아래 이미지의 오른쪽을 참조하세요.
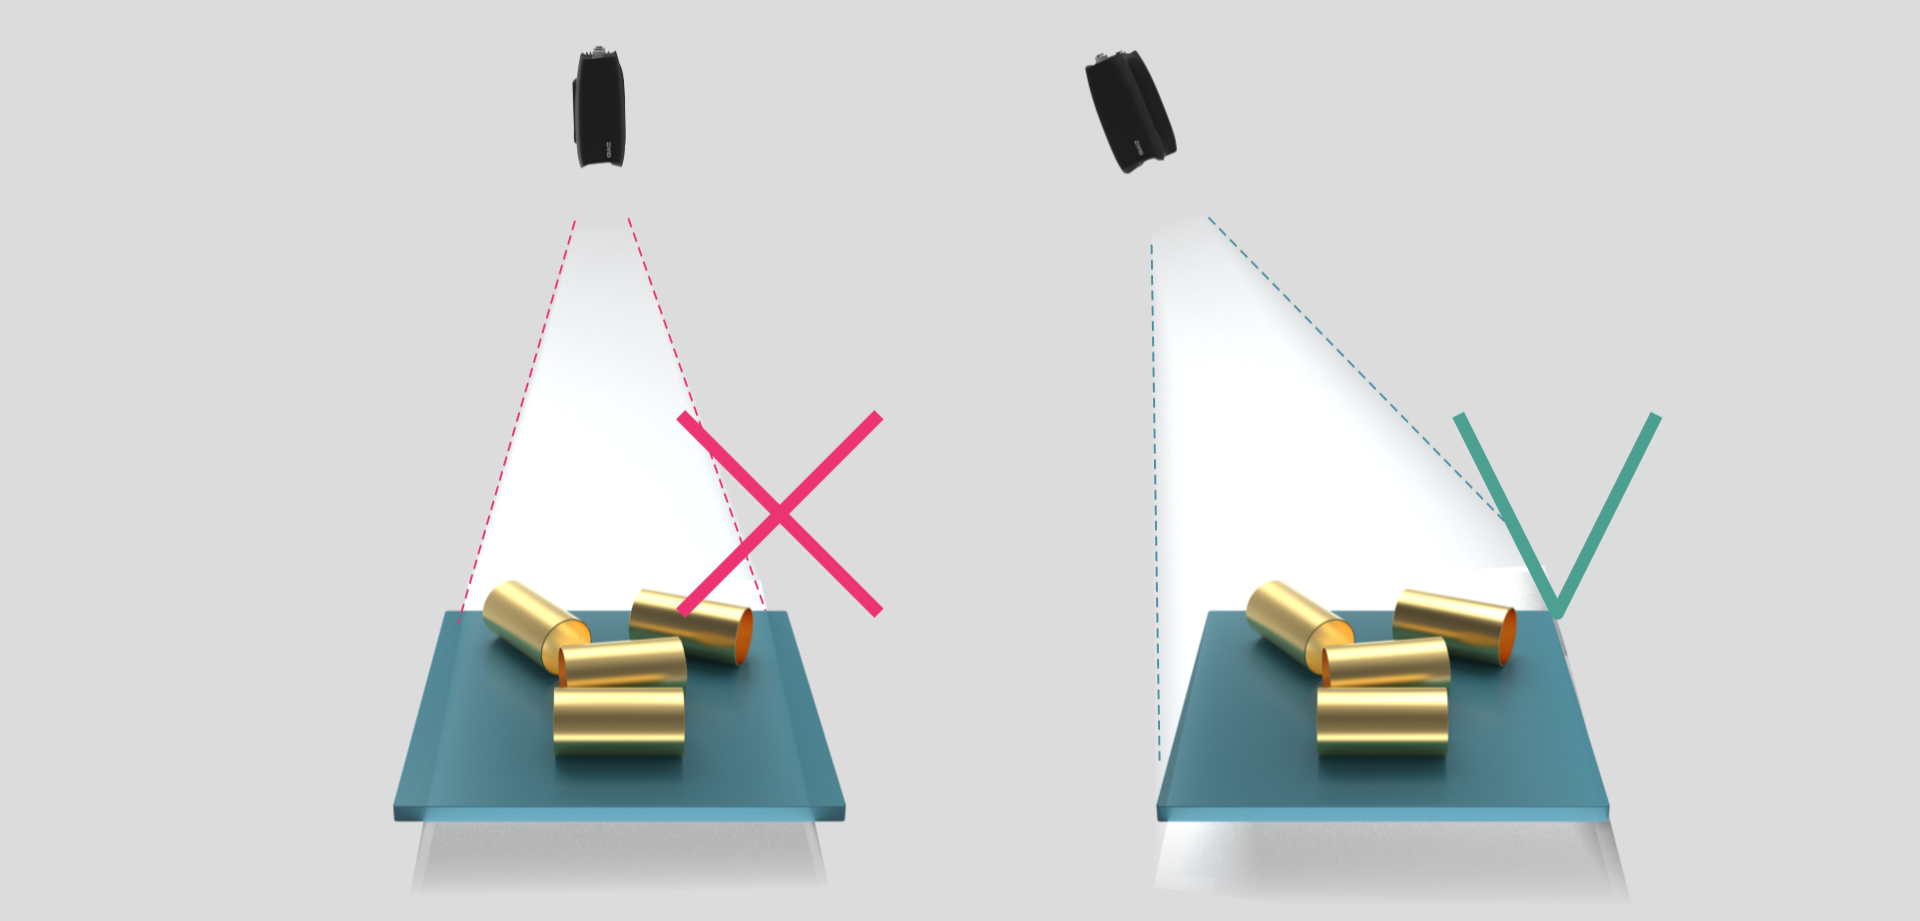
 카메라를 바로 위에 두었을 때(왼쪽)와 카메라를 기울였을 때(오른쪽) Blooming되는 모습
간단한 경험 법칙은 관심 영역이 앞에 오도록 카메라를 장착하지만 더 나은 결과를 얻으려면 약간 기울이는 것입니다.