Dealing with Strong Ambient Light
What is ambient light to Zivid cameras?
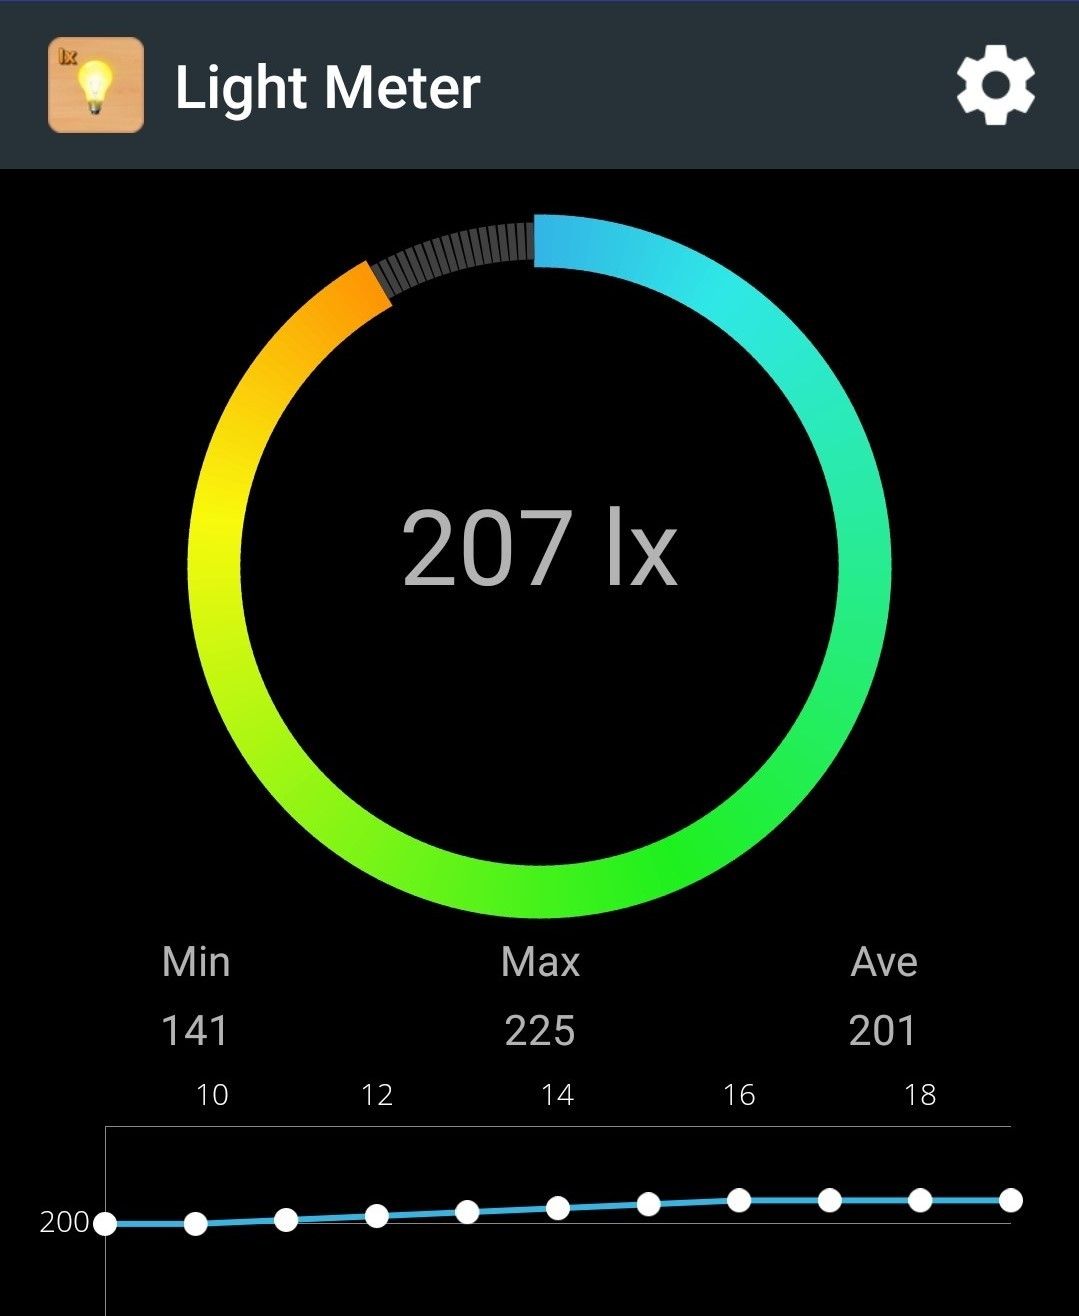
Zivid 카메라는 3D 및 2D 데이터를 얻기 위해 프로젝터 외에 다른 광원이 필요하지 않습니다. Zivid 카메라가 포인트 클라우드를 생성하는 데 사용하는 신호는 프로젝터에서 생성된 장면 조도입니다. 외부 주변광에 의해 생성된 장면 조도는 노이즈입니다. 포인트 클라우드의 품질은 Signal-to-Noise ratio (SNR) 에 크게 좌우됩니다. 따라서 주변광이 약할수록 노이즈가 적고 포인트 클라우드가 더 좋습니다. 동일한 원리가 컬러 이미지에도 적용됩니다. 촬영 중 주변광이 많을수록 이미지의 노이즈가 증가합니다.
참고
LUX (lx) 단위로 측정되는 조도는 단위 면적당 표면에 입사되는 총 광도입니다. 루멘 (lm) 단위로 측정되는 광도는 단위 시간당 광원에서 방출되는 가시광선의 총량을 측정한 것입니다.

장면의 조도 측정을 기반으로 예상되는 소음 수준을 확인하려면 datasheets 를 참조하십시오.
How to prevent ambient light?
주변광을 처리하는 가장 좋은 방법은 주변광을 제거하는 것입니다. 따라서 Zivid 카메라 주변의 불필요한 광원은 모두 끄십시오. 광원을 제거하는 것이 어렵거나 불가능한 경우 장면 주위에 라이트 배리어를 배치하여 장면에 주변광이 비추는 것을 방지합니다. 차단벽까지는 필요하지 않으며 어두운 커튼이면 충분합니다.
How to mitigate the effect of ambient light?
외부 광원이 장면을 비추는 것을 막는 것이 합리적이지 않은 경우, 아래 지침에 따라 해당 영향을 최소화하세요.
- Choose the right camera
Zivid 3는 Zivid 2+ 에 비해 훨씬 강력한 프로젝터 덕분에 주변광에 가장 강합니다.
Zivid 2+ 는 향상된 프로젝터 강도 덕분에 Zivid 2 보다 주변광에 대한 견고성이 향상되었습니다.
- General recommendations
좋은 포인트 클라우드를 얻으려면 Get the right exposure 을 참조하세요.
주변광원으로부터의 주파수 간섭을 다루는 방법은 Deal with frequency interference 을 참조하세요.
- Acquisition settings
- Projector Brightness
프로젝터 밝기 설정을 최대로 높여 신호 강도를 높입니다. 이것은 SNR을 증가시킵니다.
- Gain
Gain 설정을 최소 (1.0) 로 줄여 노이즈 영향을 최소화합니다. Gain은 불필요한 신호와 함께 노이즈를 증폭시킵니다.
- Aperture/f-number
카메라가 허용한다면 depth of focus 를 염두에 두고 조리개/ f-number 설정을 구성하세요.
- Exposure Time
노출 시간을 늘려 Gain 및 조리개 감소를 보정합니다.
- Sampling::Pixel
2개의 M70/L100과 2개 이상의 M60/M130/L110의 경우, 좁은 대역으로 인해 단일 색상으로 캡처하면 주변광 회복력이 향상됩니다. 따라서
Sampling::PixelblueSubsample2x2로 설정합니다.
- Sampling::Color
Zivid 3의 경우
rgbStrongAmbientLight색상 모드를 사용하면 특히 먼 거리와 강한 주변광 조건에서 색상 이미지 품질이 향상됩니다.
설정을 수동으로 구성하는 방법을 모르는 경우 Getting the Right Exposure for Good Point Clouds 을 확인하세요.
- Filters
- Noise Filter
애플리케이션의 필요에 맞게 노이즈 제거 임계값을 미세 조정하세요. 높은 값을 사용하면 신뢰도가 높은 포인트만 보존할 수 있습니다. 노이즈 억제 필터를 활성화하여 주변광으로 인한 노이즈를 억제할 수 있지만, 스무딩 효과에 유의해야 합니다. 충분한 포인트를 확보할 수 없다면 노이즈 복구 필터를 활성화하세요. 이 필터로도 충분하지 않다면 노이즈 제거 임계값을 낮게 설정하여 더 많은 포인트를 확보할 수 있습니다. 이는 주변광으로 인한 포인트 클라우드의 노이즈가 클 때 필수적입니다.
- Gaussian Smoothing
어플리케이션에 매우 정확한 포인트가 필요하지 않고 매끄러운 표면만 필요한 경우 Gaussian 필터를 사용하여 노이즈를 억제하고 포인트를 그리드에 정렬합니다.
- Hole Repair Filter
주변광으로 인해 작은 영역의 포인트가 누락된 경우, Hole Repair 필터를 사용하여 포인트를 채울 수 있습니다.
- HDR
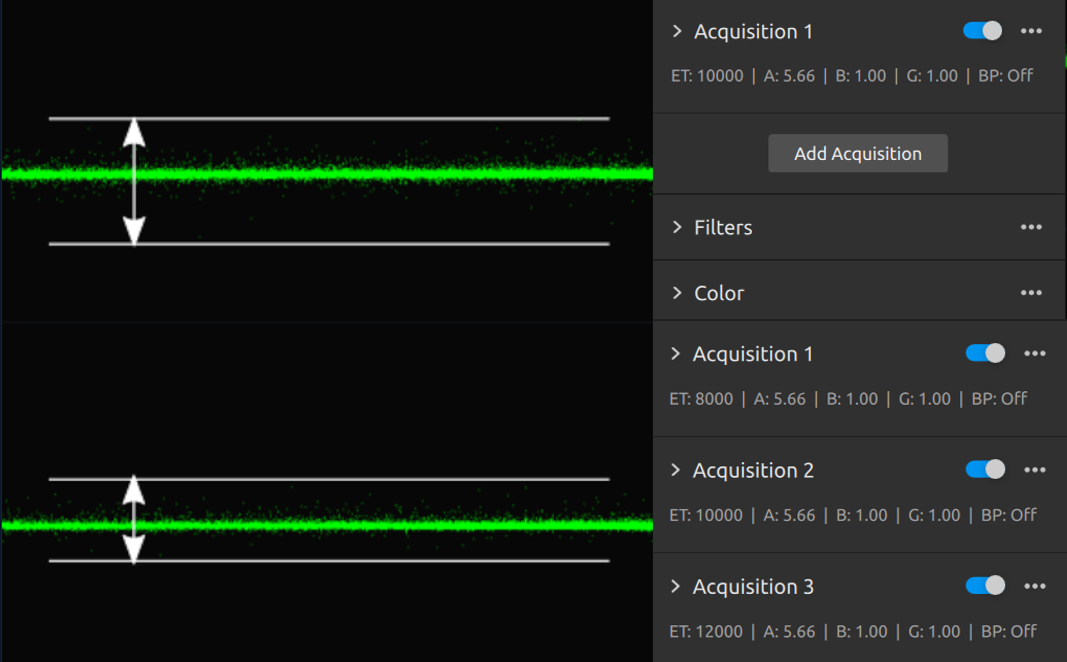
SNR을 개선하기 위해 유사하거나 동일한 노출로 HDR 획득을 캡처합니다. 이것에 대해 더 읽어보세요. averaging technique.

- Physical setup
카메라를 장면에 더 가깝게 이동합니다. 프로젝터의 광도 (세기) 는 유한합니다. 그러나 장면의 조도는 프로젝터가 장면에 얼마나 가까운지에 따라 다릅니다. 가까울수록 신호는 더 강해지고 주변광의 노이즈는 그대로 유지됩니다.
Further reading
다음 주제로 넘어가세요: Dealing with Smooth 3D Edges
Version History
SDK |
Changes |
|---|---|
2.17.0 |
Zivid 3 XL250 및 |