Dealing with Smooth 3D Edges
3D 가장자리를 유지하는 것은 미세한 세부 사항/작은 특징이 있는 개체와 얇고 겹치는 개체에 매우 중요합니다. 또한 기하학적으로 복잡한 작업물에 대한 물체 감지 및 자세 추정의 정확도는 실제와 같은 모양과 뚜렷한 깊이 차이를 유지하는 데 달려 있습니다.
그러나 디포커스 및 과도한 필터링과 같은 특정 요소는 3D 가장자리를 매끄럽게 만들어 포인트 클라우드의 모양에 악영향을 미칠 수 있습니다. 이 기사에서는 지나치게 부드러운 3D 가장자리 문제를 해결하기 위한 전략에 대해 설명합니다.
How to improve the shape of objects with more pronounced edges, and clearer depth differences?
Choose the right camera
일부 Zivid 카메라 모델은 더 좁은 FOV 와 더 높은 해상도의 2D 카메라를 탑재하여 동일한 거리에서 더 미세한 디테일을 포착할 수 있습니다. 카메라를 선택할 때는 사용할 거리를 확인하고 해당 범위에서 최상의 공간 해상도를 제공하는 모델을 선택하세요. 선택한 거리가 카메라의 최적 범위 내에 있는지 확인하세요. 카메라 선택에 유용한 도구:
Physical setup
카메라를 장면에 더 가깝게 배치합니다. 프로젝터의 광도는 유한하지만 프로젝터와 장면의 근접도가 조도를 결정합니다. 주변광의 노이즈는 그대로 유지하면서 거리가 가까워지면 신호가 강화됩니다. SNR이 강할수록 데이터 품질과 신뢰도가 향상되어 포인트 클라우드의 모양과 가장자리가 향상됩니다. 또한 이미징 거리가 짧을수록 공간 분해능이 증가하여 포인트 클라우드에서 더 미세한 세부 사항을 캡처할 수 있습니다.
Use the right presets
Zivid 2+ 및 3 카메라의 경우, 고해상도 포인트 클라우드를 제공하는 이 특정 사용 사례에 맞는 전용 Presets을 제공합니다. 이러한 특수 프리셋을 사용하면 동적 범위가 감소하여 특히 어둡고 반사되는 표면에서 데이터 손실이 발생할 수 있다는 점에 유의해야 합니다. 그러나 3D 템플릿 매칭과 같은 특정 애플리케이션 및 알고리즘에서는 3D 에지 개선을 위해 일부 데이터를 희생하는 것이 가치가 있습니다. 에지는 예를 들어 넓고 평평한 표면과 비교했을 때 정확한 매칭을 보장하는 데 중요한 역할을 하기 때문입니다.
Application |
Capture Time (3D) |
Camera Settings |
||
|---|---|---|---|---|
High-End PC |
Mid-End PC |
Low-End PC |
||
Small Features |
~1800 ms |
~2300 ms |
~2800 ms |
|
Presets 설정으로 만족스러운 결과를 얻지 못한 경우 설정과 필터를 수동으로 미세 조정하십시오.
Acquisition settings
Projector Brightness 프로젝터 밝기 설정을 최대로 높여 신호 강도를 높이세요. 이렇게 하면 SNR(신호 대 잡음비)이 향상됩니다.
Gain 게인 설정을 최소값(1.0)으로 낮춰 잡음의 영향을 최소화합니다. 게인은 신호와 함께 잡음을 증폭시키므로 바람직하지 않습니다.
Aperture/f-number 초점이 맞지 않은 촬영은 포인트 클라우드 데이터의 노이즈 수준과 모양에 영향을 미칩니다. 카메라에서 지원하는 경우, depth of focus 를 고려하여 조리개(f-number) 설정을 구성하십시오.
Exposure Time 노출 시간을 늘려 게인과 조리개 감소를 보상합니다.
설정을 수동으로 구성하는 방법을 모르는 경우 Getting the Right Exposure for Good Point Clouds 튜토리얼을 확인십시오.
Filters
Cluster Filter 클러스터 필터를 과도하게 사용하면 3D 에지가 원치 않게 제거될 수 있습니다.
MinArea에는 300 미만을 사용하고MaxNeighborDistance에는 5 이상을 사용하세요.Hole Repair Filter 3D 모서리를 보존하기 위해 필터에 대한 보수적 설정을 사용하거나 비활성화하려면
HoleSize0.2 이하로 설정하고Strictness3 또는 4로 설정합니다.Noise Filter 애플리케이션의 필요에 맞게
Threshold을 미세 조정하세요. 높은 신뢰도 지점만 보존하려면 높은 값을 사용하세요.Gaussian Smoothing 애플리케이션에서 정확도가 높은 점이 요구되므로
Sigma값을 줄이거나 필터를 비활성화하세요.Contrast Distortion Filter 대비 왜곡의 영향을 받는 점은 신뢰도가 낮은 것으로 간주됩니다. 이러한 점을 제거하려면 대비 왜곡 필터의 제거 구성 요소를 사용하십시오. 장면이 대비 왜곡의 영향을 받지 않는 경우 필터의 보정 구성 요소를 끄십시오. 이렇게 하면 3D 가장자리의 선명도를 유지하는 데 도움이 됩니다.
HDR
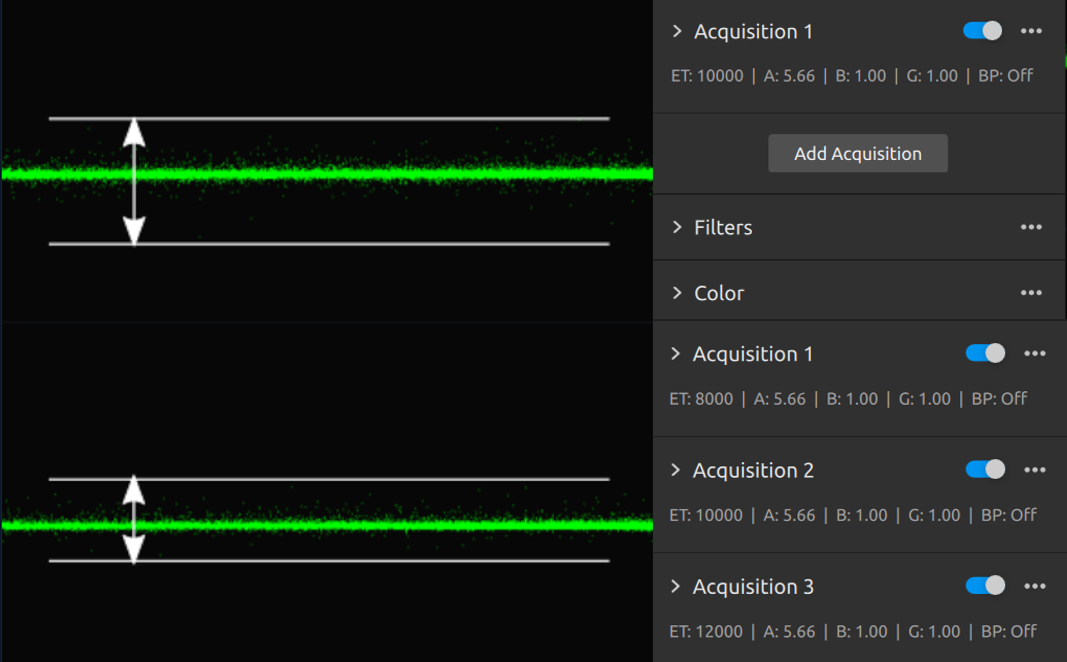
SNR을 개선하기 위해 유사하거나 동일한 노출로 HDR 획득을 캡처합니다. 이에 대한 자세한 내용은 averaging technique 을 참조하십시오.

Version History
SDK |
Changes |
|---|---|
2.17.0 |
Zivid 3 설정(Presets)에 대한 다운로드 링크가 추가되었습니다. |