Positioning Correctly
가장 일반적이고 권장되는 방법은 촬영 장소 바로 위에 카메라를 설치하는 것입니다.
특히 반사율이 매우 높고 특히 어두운 넓은 표면을 촬영하는 데 유용합니다. 이 경우, 카메라를 물체에 수직으로 장착하여 카메라로 돌아오는 신호를 최대화하는 것이 좋습니다.
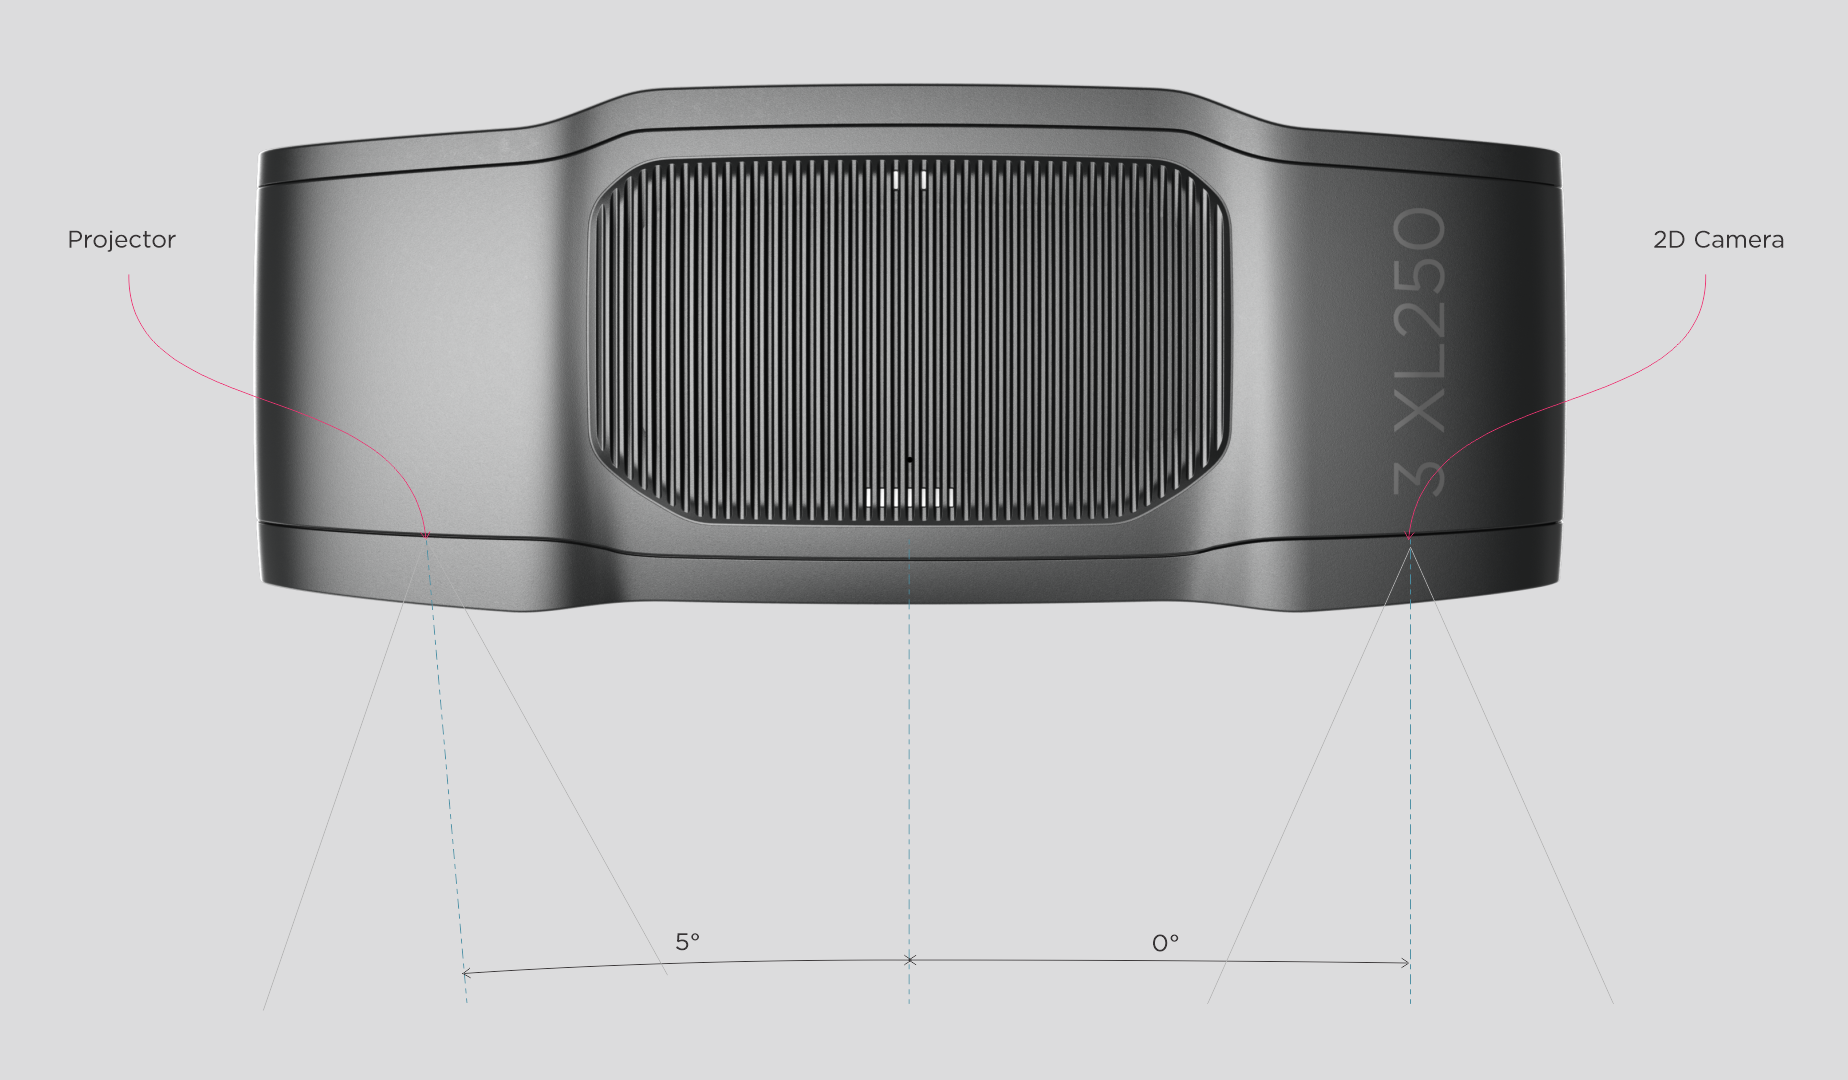
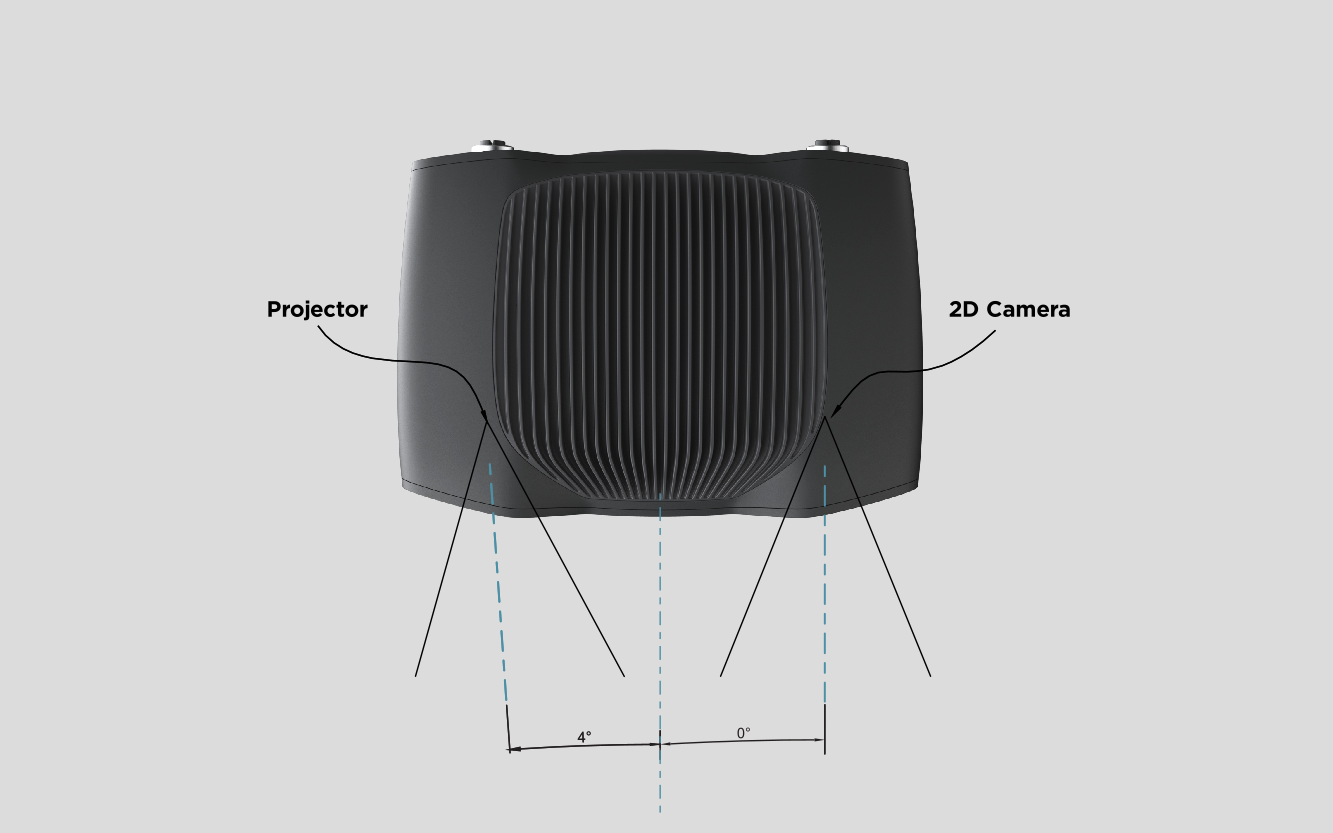
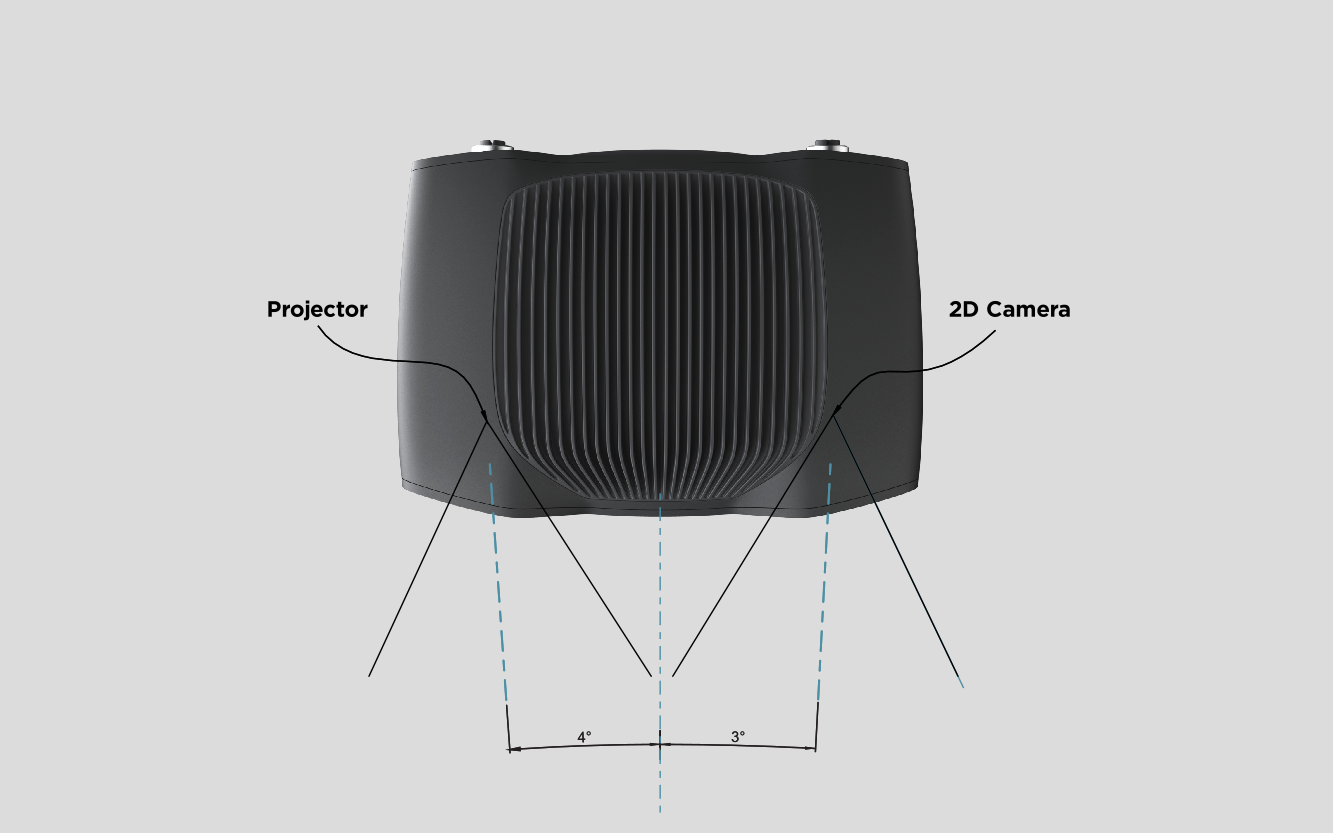
2D 카메라와 프로젝터는 중심축에 대해 각도를 갖습니다. 카메라를 장면에 수직으로 배치하려는 경우 이 점을 고려해야 합니다.
빈 벽에서 강한 상호 반사가 발생하는 경우, Zivid 카메라 프로젝터를 빈 뒤쪽 가장자리 위나 뒤쪽 모서리 위에 설치할 수 있습니다(아래 이미지 참조). 2D 카메라가 빈 중앙을 향하도록 프로젝터를 팬 및 틸트합니다. 프로젝터 광선은 프로젝터에 가장 가까운 두 벽의 안쪽 표면에 닿지 않아야 하며, 두 벽과 거의 평행해야 합니다.

이런 방식으로 카메라를 장착하면 빈 벽에서의 상호 반사가 최소화되고, 장면 위쪽 공간이 확보되어 도구와 로봇이 더 쉽게 접근할 수 있습니다.
주변 조명이 강한 환경에서는 광원의 직접 반사로 인해 2D 이미지에 원치 않는 하이라이트가 발생할 수 있습니다. 이러한 하이라이트를 최소화하려면 카메라를 살짝 움직이거나 기울여 보세요.

장면에 구분선을 가진 빈 혹은 여러 빈이 있는 경우 Occlusion(가림 현상)을 최소화하도록 카메라를 장착합니다. Occlusion은 빈 피킹에서 고정 장착 카메라에 특히 중요합니다. 계산기를 사용하여 Calculate Occlusion 을 미리 확인 할 수 있습니다.
물리적 설치를 위한 카메라 및 카메라 Mounts 의 Mounting Specifications 을 확인하고, 로봇에 장착된 카메라가 있는 경우 Mechanical Considerations for Robot Mounting 을 읽어 보십시오. 이 튜토리얼은 로봇 장착을 위한 액세서리 및 장비의 구매 또는 설계, 통합 및 설치와 관련하여 올바른 결정을 내리는 데 도움이 됩니다.
다음 섹션에서는 selecting Camera Settings based on capture speed 요구 사항에 대해 안내합니다.


