Zivid CLI Tool for Hand-Eye Calibration
This tutorial shows how to use the Command Line Interface (CLI) tool for hand-eye calibration. Step by step instructions are provided with screenshots below.
참고
The ZividExperimentalHandEyeCalibration.exe CLI tool using *.yaml file format for robot poses is experimental. We recommend using the Hand-Eye GUI instead.
Requirements
Hand-Eye Calibration 에 대한 기본 지식
핸드-아이 칼리브레이션 데이터 세트 - 아래 첫 번째 단계에서 다룹니다.
Instructions
Acquire the dataset
If you haven’t read our complete tutorial on Hand-Eye Calibration, we encourage you to do so. The bare minimum for acquiring the dataset is to check How to get Good Dataset for Hand-Eye Calibration. Also, it can be very helpful to read on Cautions and Recommendations for Hand-Eye Calibration.
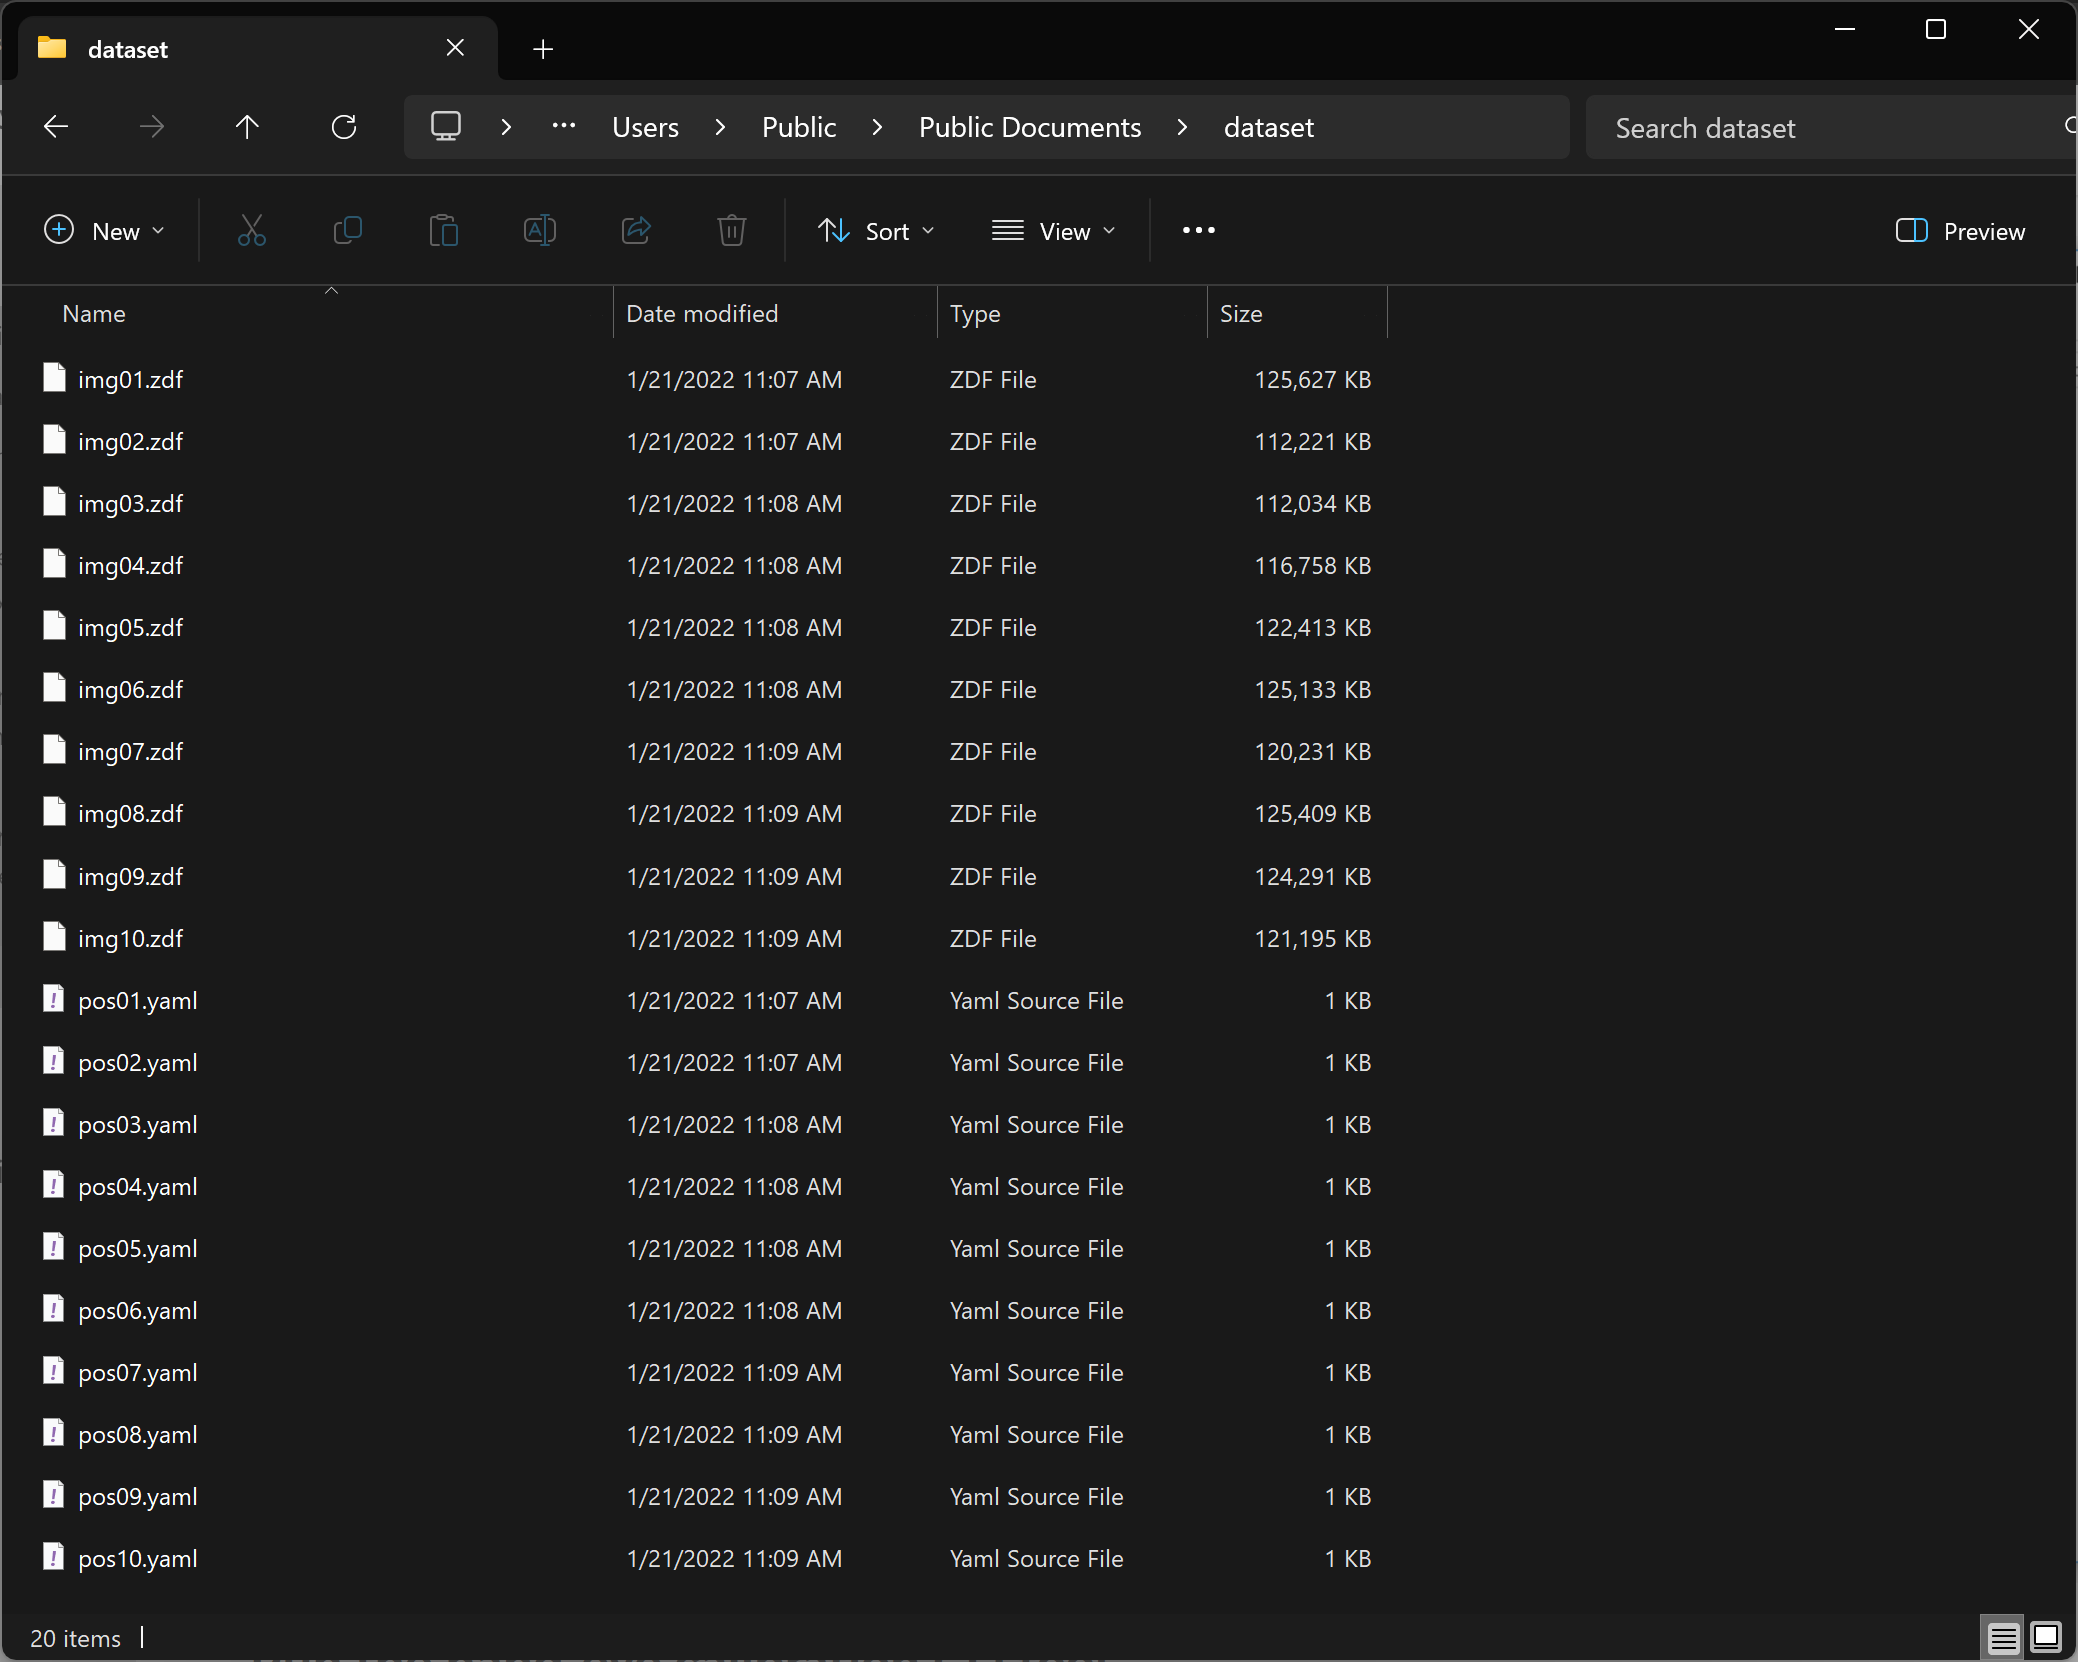
이 데이터세트는 .zdf 파일 형식의 Zivid calibration object 포인트 클라우드 10~20쌍과 .yaml 파일 형식의 해당 로봇 포즈를 가정합니다. 명명 규칙은 다음과 같습니다.
Point clouds: img01.zdf, img02.zdf, img03.zdf 등
Robot poses: pos01.yaml, pos02.yaml, pos03.yaml 등
조심
로봇 포즈의 변환 부분은 mm 단위여야 합니다.
CLI 도구는 Zivid 체커보드 또는 ArUco 마커와 함께 작동합니다. 하지만 SDK와 달리 CLI 도구는 단일 ArUco 마커 사전(DICT_4X4_50)과만 함께 작동합니다.
Here’s an example of a robot pose available for download - pos01.yaml.
It is a 4x4 transformation matrix where the rightmost column (first three rows) holds the translation, here in millimeters (for example 302.8, 647.9, 458.3).
If your robot reports the translation in meters, multiply it by 1000 before saving the pose.
To learn how to write/read files in .yaml format, check out the OpenCV YAML file storage class.
The dataset folder should look similar to this:
조심
로봇 포즈 파일은 .yaml 파일 형식인 반면, 카메라 설정 및 구성 파일은 .yml 파일 형식입니다.
Run the hand-eye calibration CLI tool
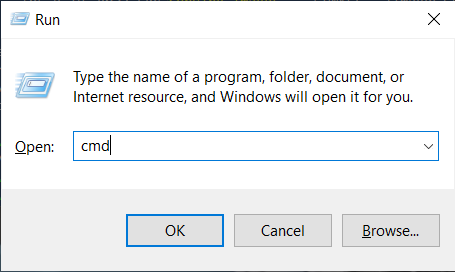
키보드에서 Win + R 키를 눌러 명령 프롬프트를 시작한 다음 cmd 을 입력하고 Enter 를 누릅니다.
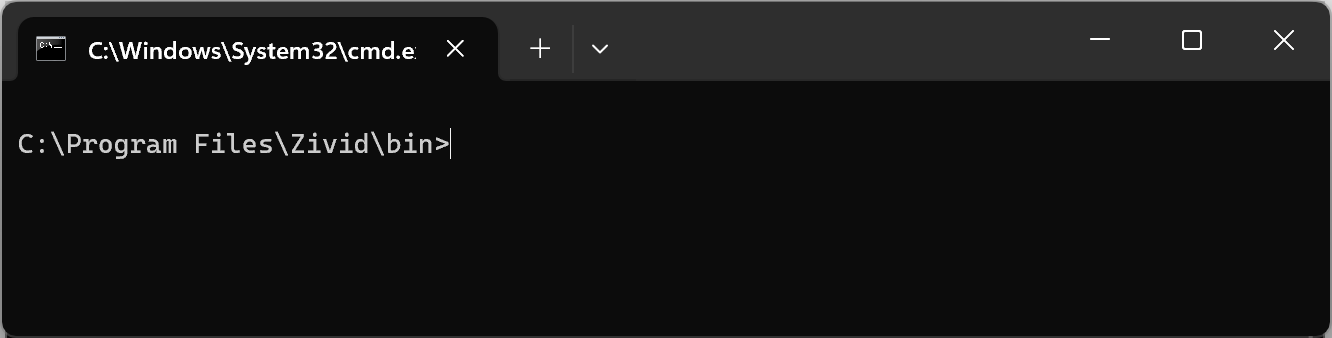
Zivid 소프트웨어를 설치한 폴더로 이동합니다.
cd C:\Program Files\Zivid\bin
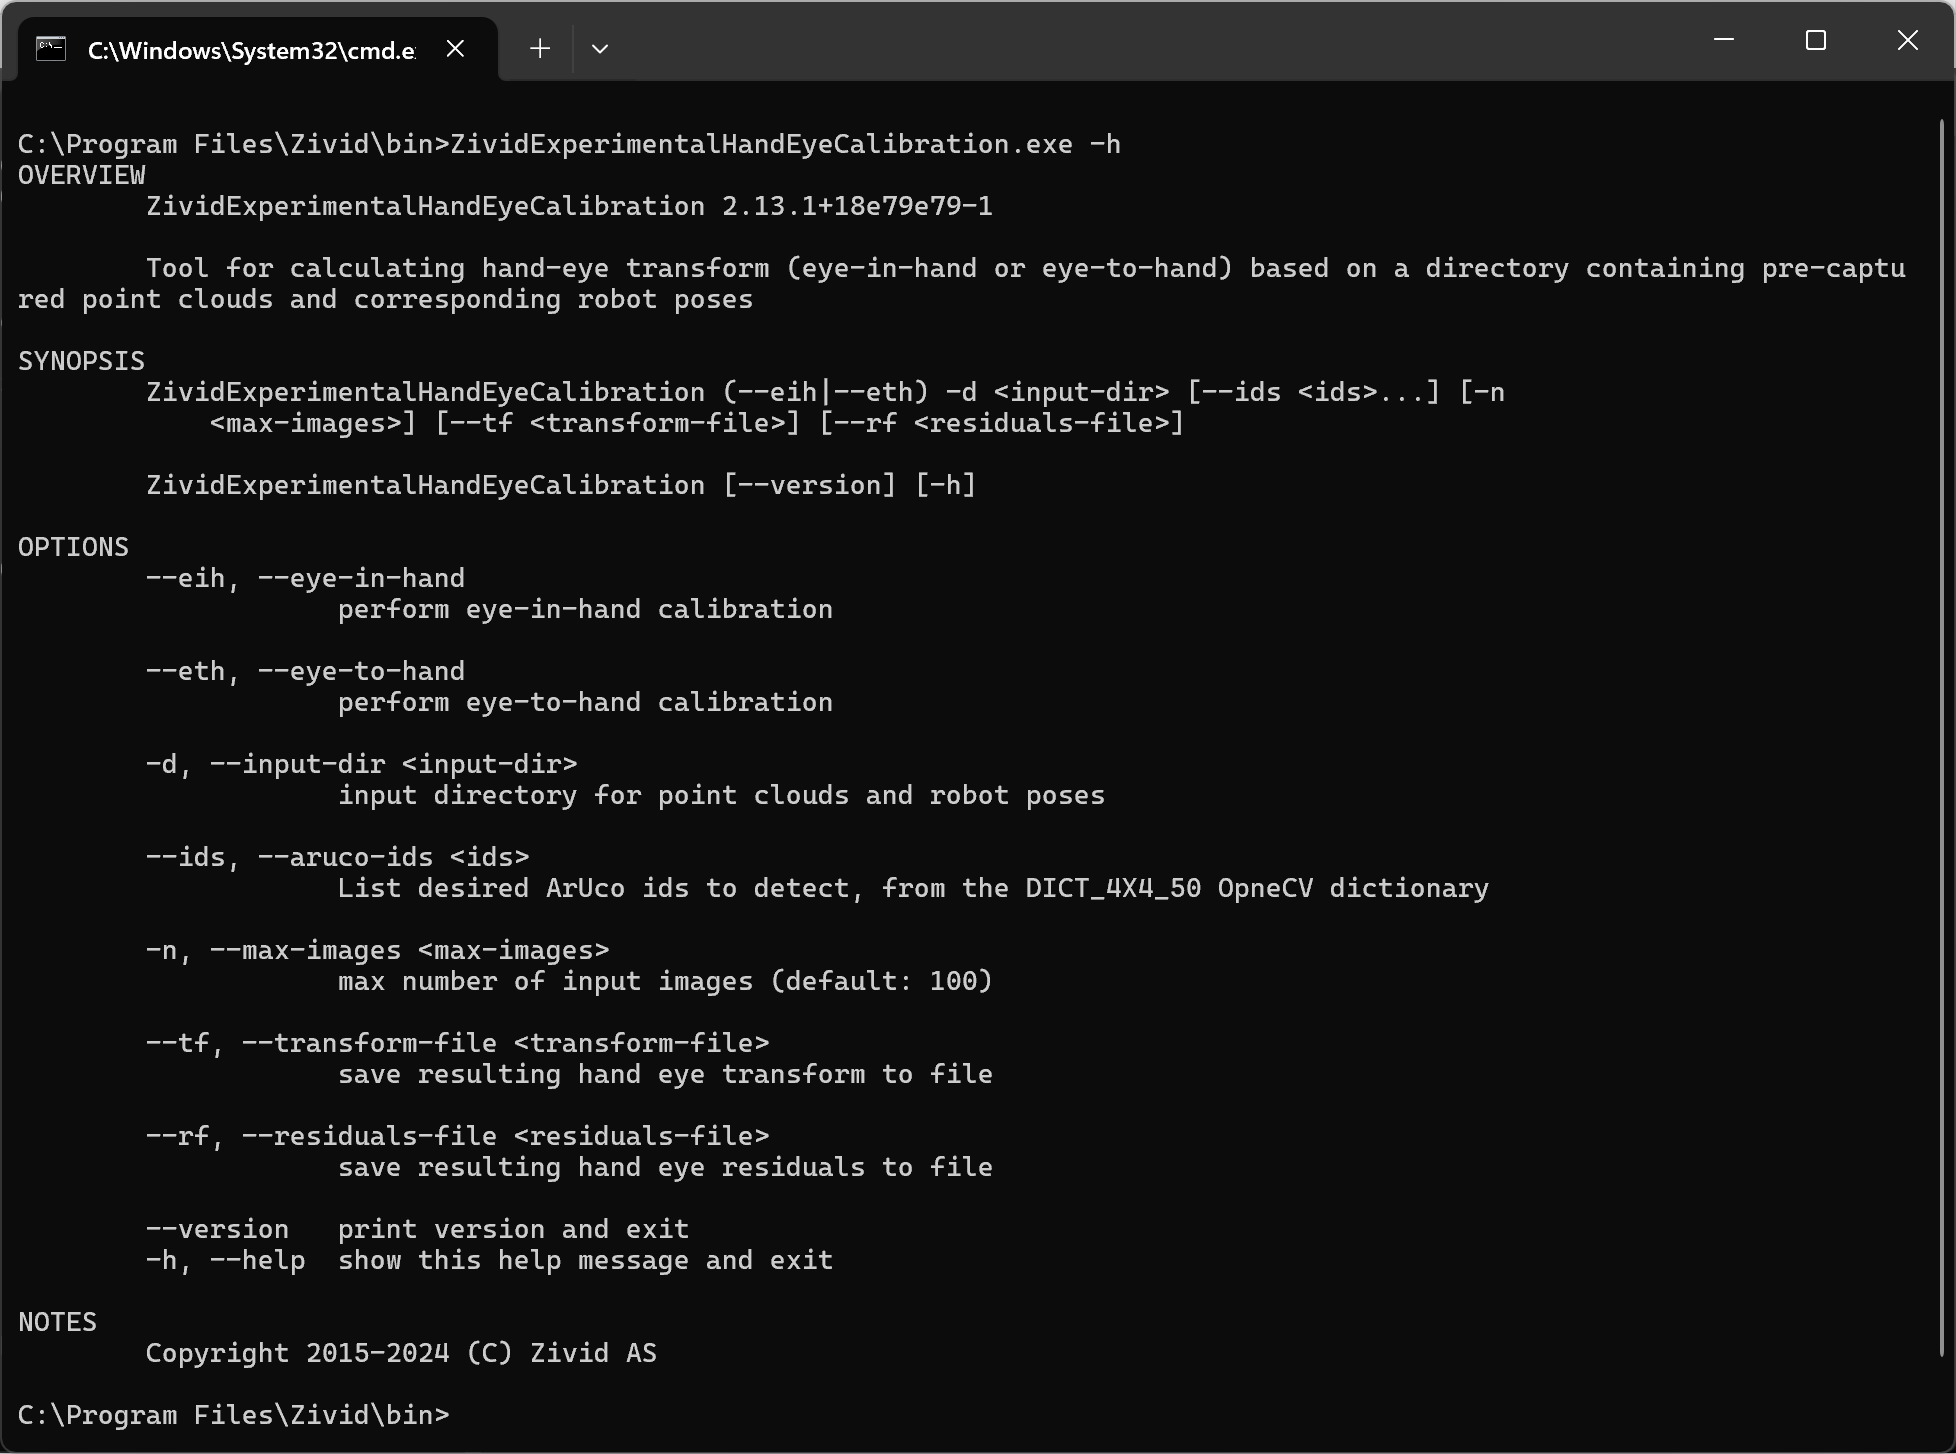
ZividExperimentalHandEyeCalibration.exe 의 입력 및 출력입니다. CLI 도구에 다음 명령을 입력하여 표시할 수 있습니다.
ZividExperimentalHandEyeCalibration.exe -h
ZividExperimentalHandEyeCalibration.exe CLI 도구를 실행하려면 다음을 지정해야 합니다.
칼리브레이션 유형(eye-in-hand or eye-to-hand)
데이터 세트(.zdf 파일 및 .yaml 로봇 포즈)가 포함된 디렉토리 경로
결과 핸드-아이 칼리브레이션 및 잔차를 저장할 위치를 지정하는 것도 편리합니다. 아래 예를 참조하십시오.
SET dataset=C:\Users\Public\Documents\Directory_where_dataset_is_located
ZividExperimentalHandEyeCalibration.exe --eth -d "%dataset%" --tf "%dataset%\transform.yaml" --rf "%dataset%\residuals.yaml"
칼리브레이션 유형(eye-in-hand or eye-to-hand)
데이터 세트(.zdf 파일 및 .yaml 로봇 포즈)가 포함된 디렉토리 경로
사용된 ArUco 마커의 ID
결과 핸드-아이 칼리브레이션 및 잔차를 저장할 위치를 지정하는 것도 편리합니다. 아래 예를 참조하십시오.
SET dataset=C:\Users\Public\Documents\Directory_where_dataset_is_located
ZividExperimentalHandEyeCalibration.exe --eth -d "%dataset%" --tf "%dataset%\transform.yaml" --rf "%dataset%\residuals.yaml" --ids 1, 2, 3
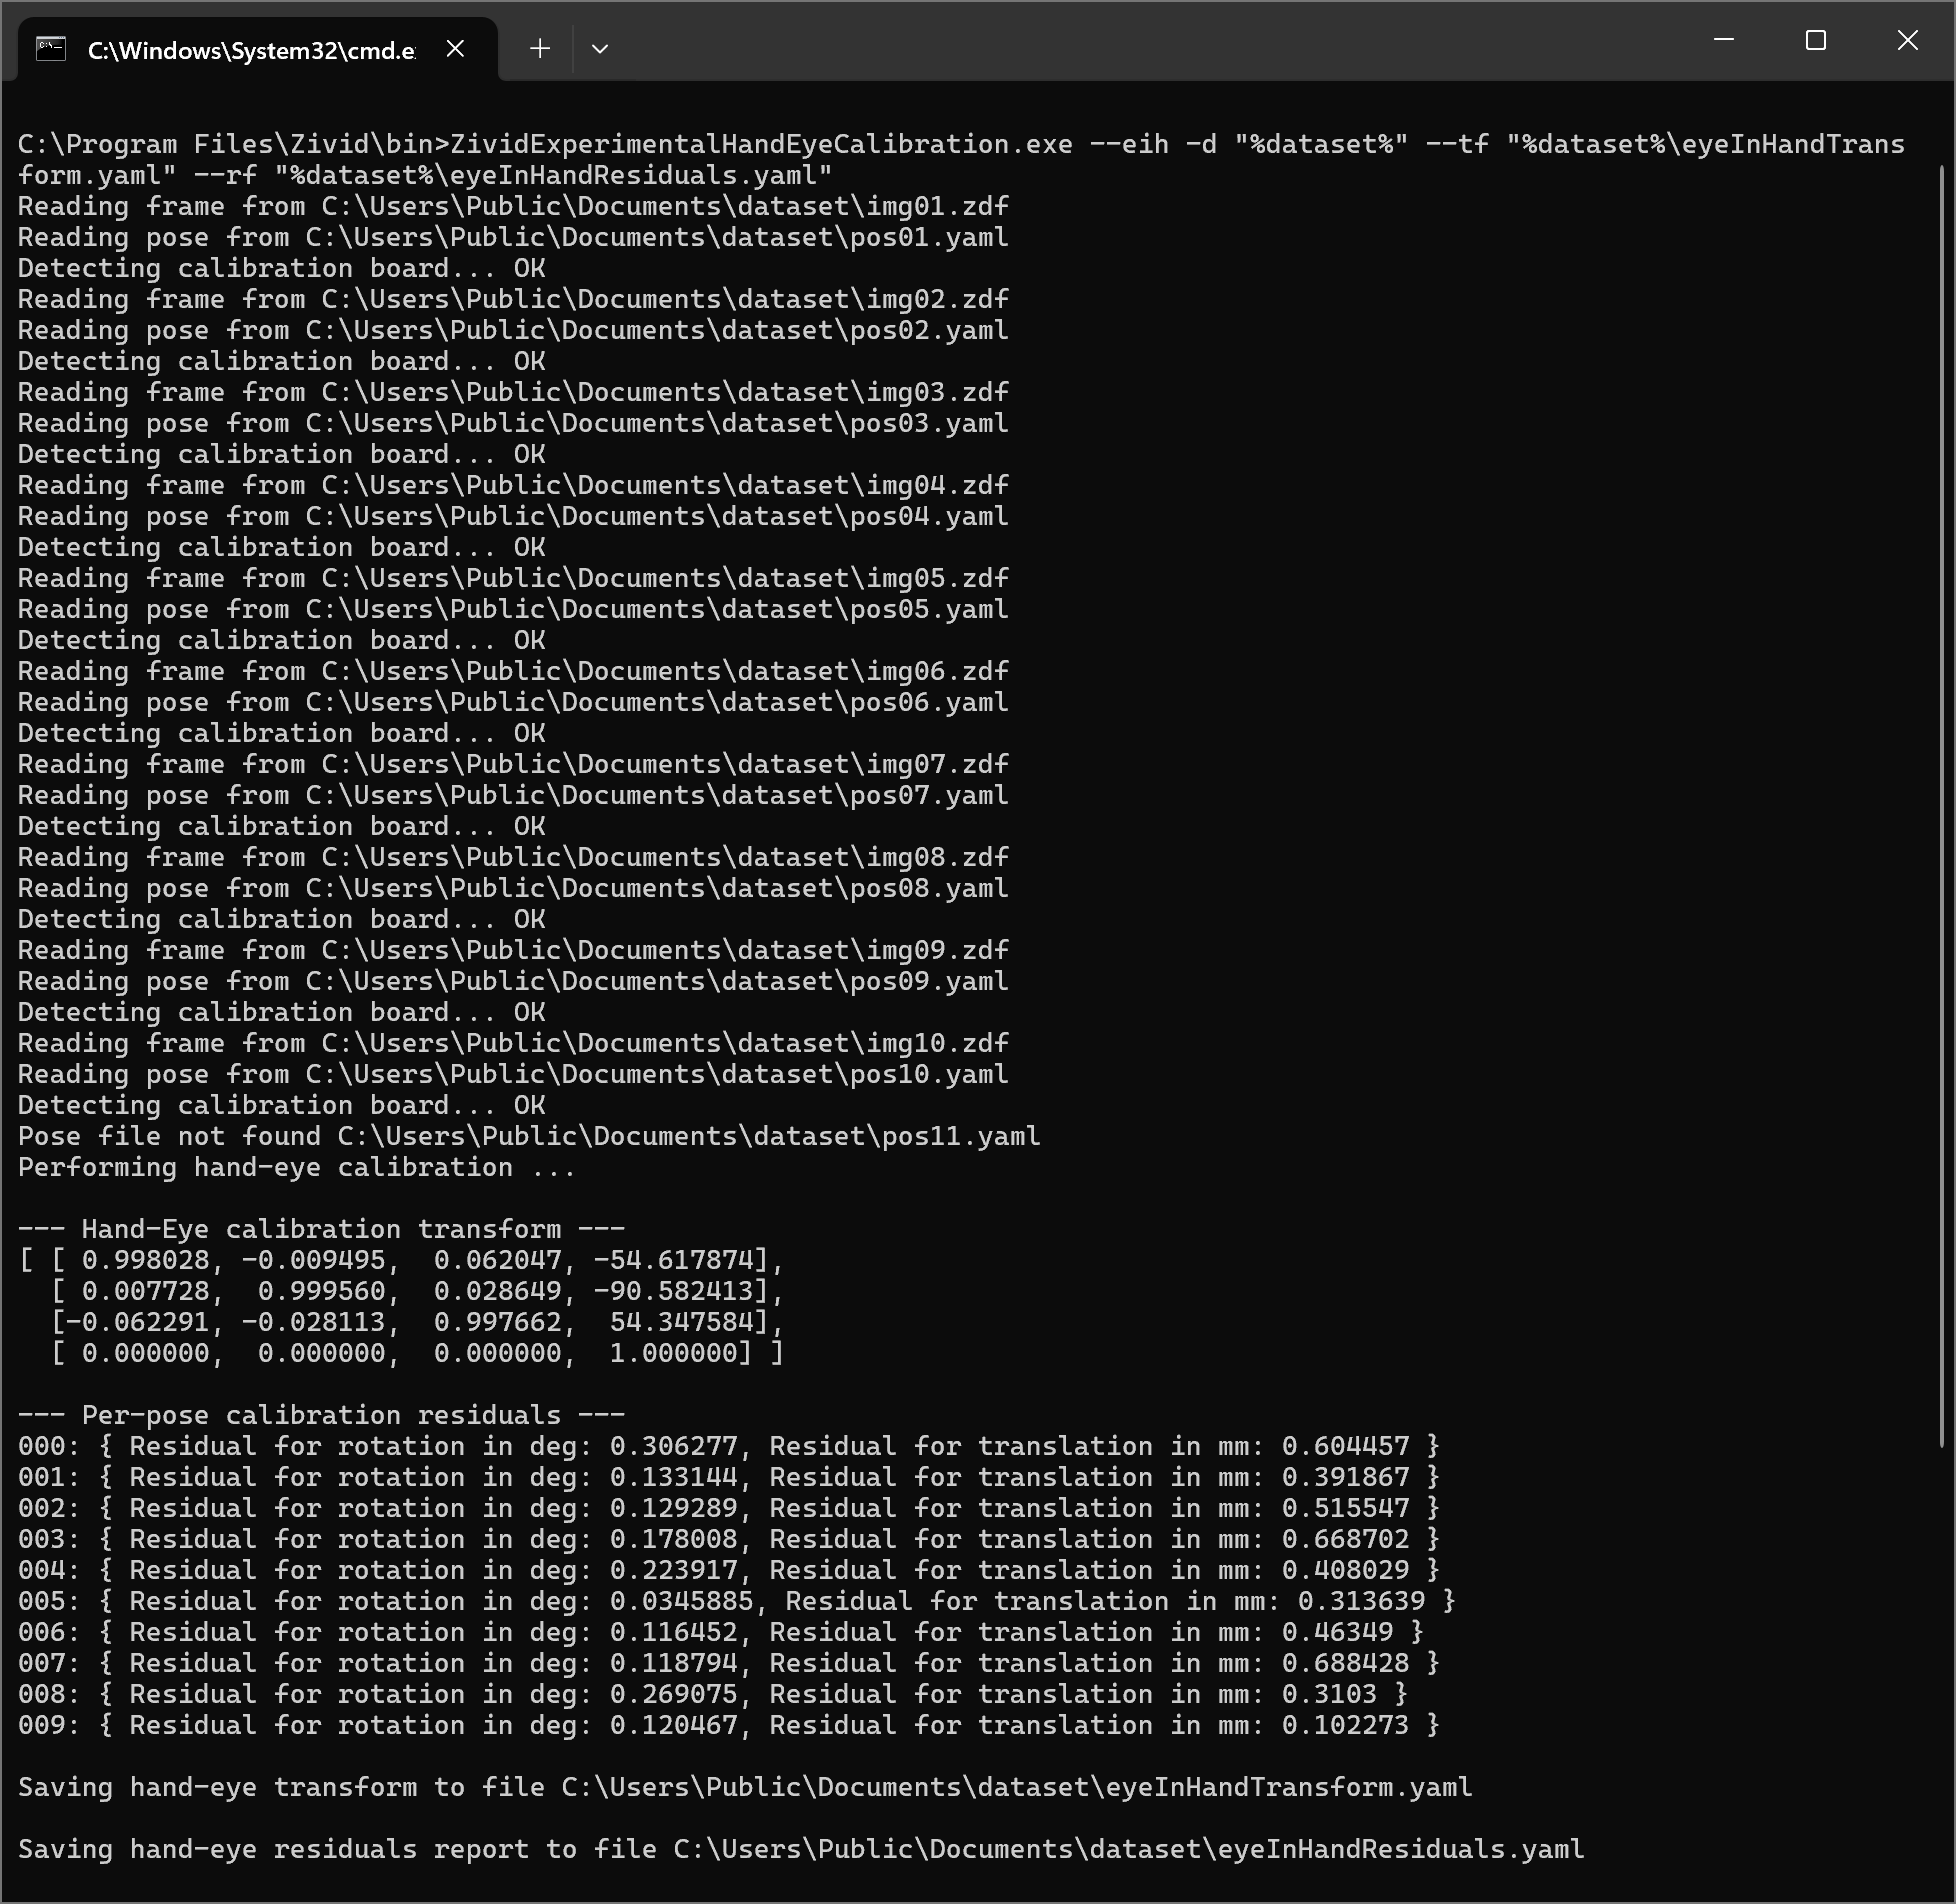
실행 중, 알고리즘은 보정 객체를 감지할 수 있으면 (“OK”) 를, 감지할 수 없으면 (“FAILED”) 를 출력합니다. 감지 단계 후, 결과적인 핸드-아이 변환(4x4 동차 변환 행렬)을 출력합니다. 마지막으로, 모든 포즈에 대해 Hand-Eye Calibration Residuals 출력합니다. 아래 출력 예시를 참조하세요.
After completing hand-eye calibration, the next step is to verify that the resulting transformation matrix is correct and within the accuracy requirements. In the article How to Verify Hand-Eye Calibration, we describe several methods.
생성된 동차 변환 행렬(eyeInHandTransform.yaml)을 사용하여 피킹 포인트 좌표 또는 전체 포인트 클라우드를 카메라 프레임에서 로봇 베이스 프레임으로 변환할 수 있습니다. 자세한 내용은 How To Use the Result of Hand-Eye Calibration 를 참조하세요.