正しい位置決め
Mounting the camera straight above the scene is most common and recommended.
これは、非常に鏡面で、かつ暗い大きな表面を撮影する場合に効果的です。この場合、カメラを対象物に対して垂直に設置することで、カメラへの信号を最大限に高めることができます。
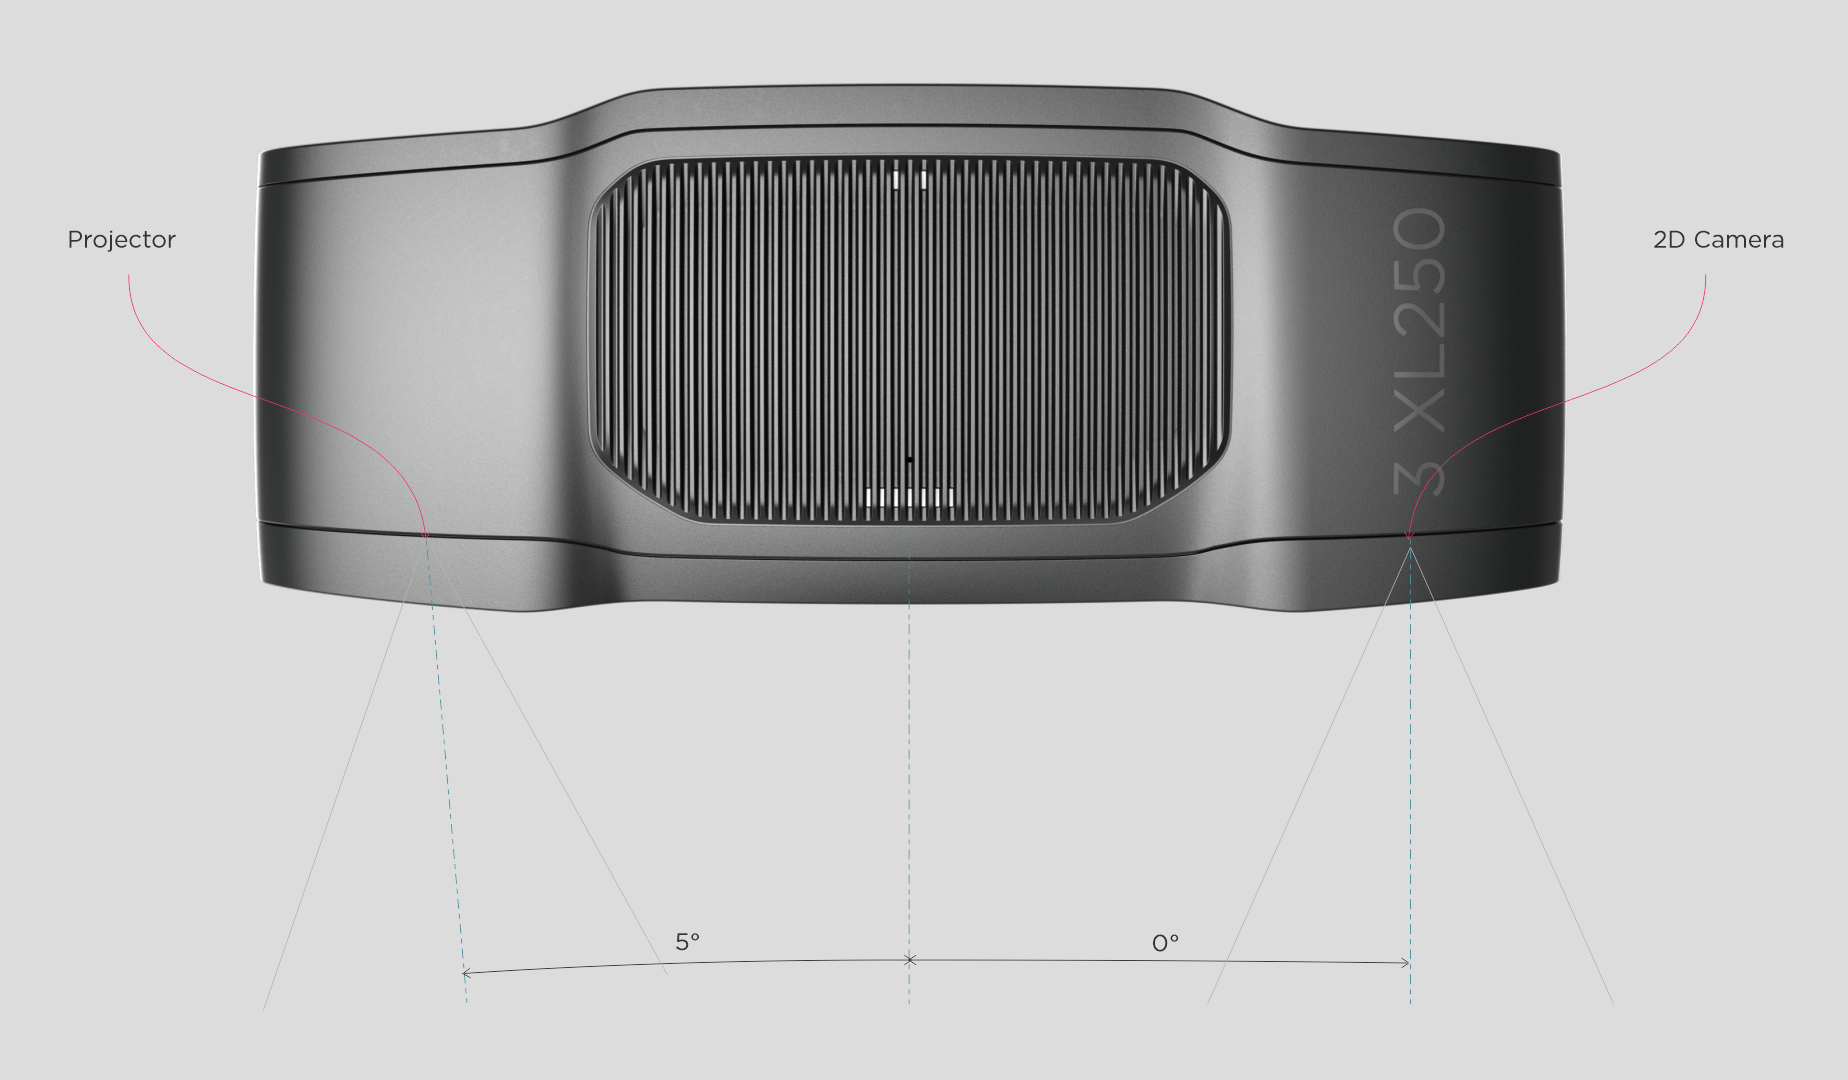
The 2D camera and the projector have an angle with respect to the center axis. Consider this if you want the camera perpendicular to the scene.
Zivid 3
XL250
Zivid 2+
MR130/M130
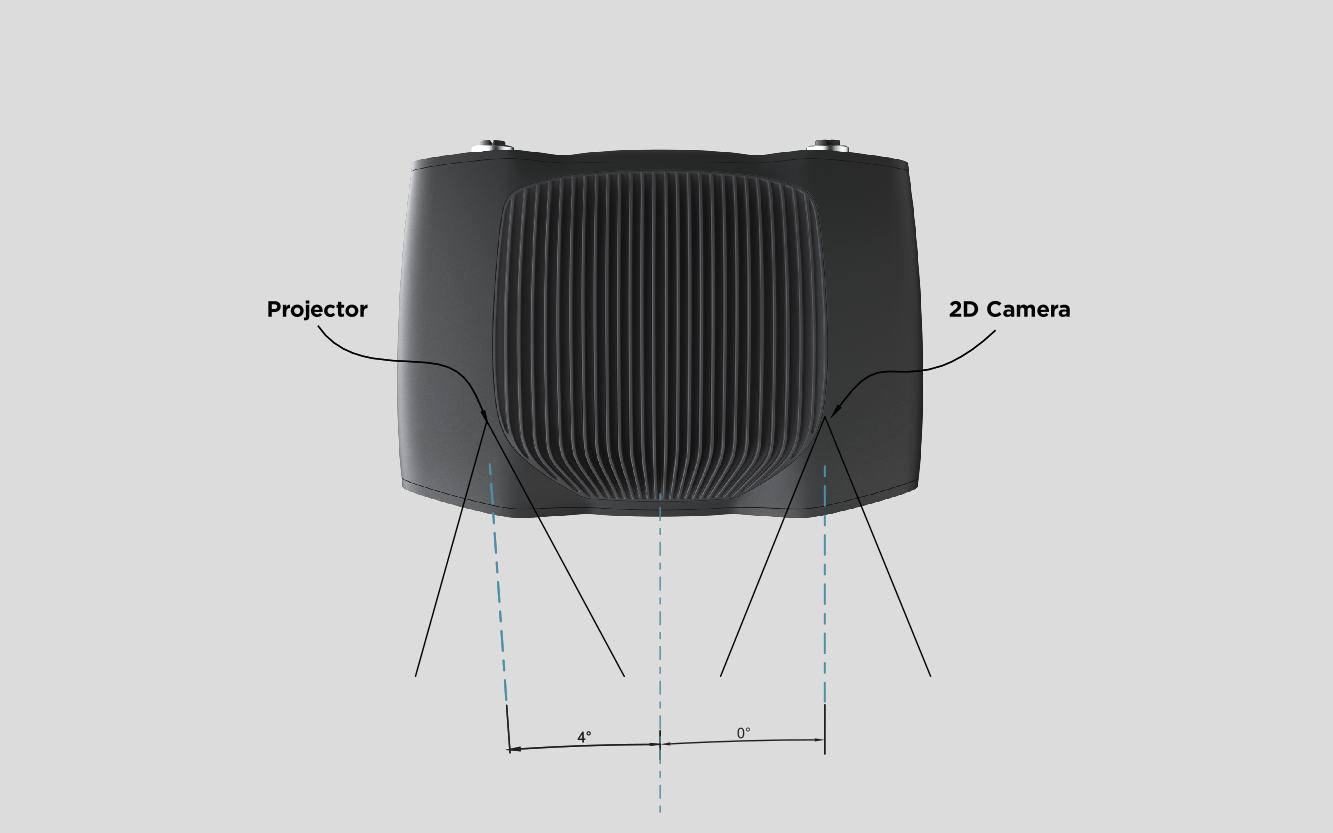
LR110/L110
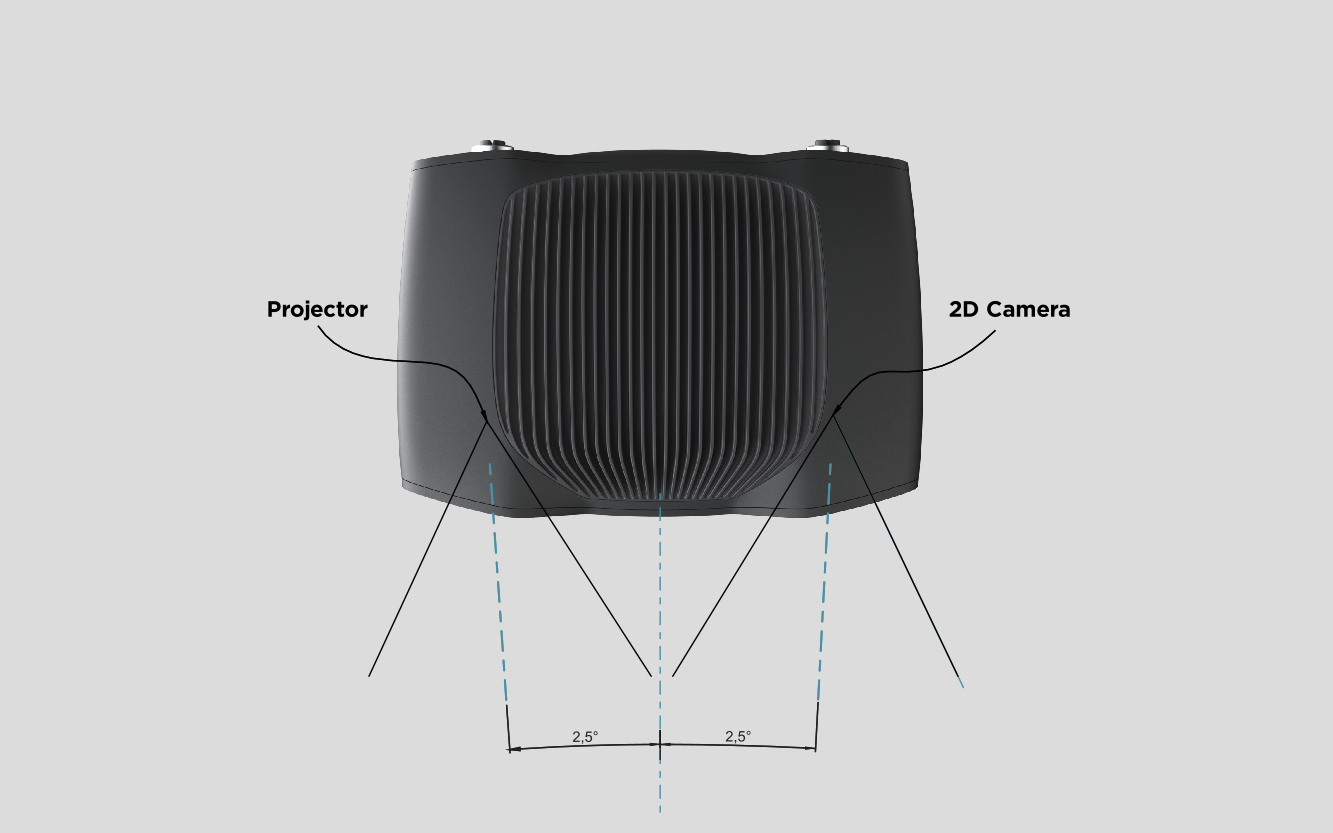
MR60/M60
Zivid 2
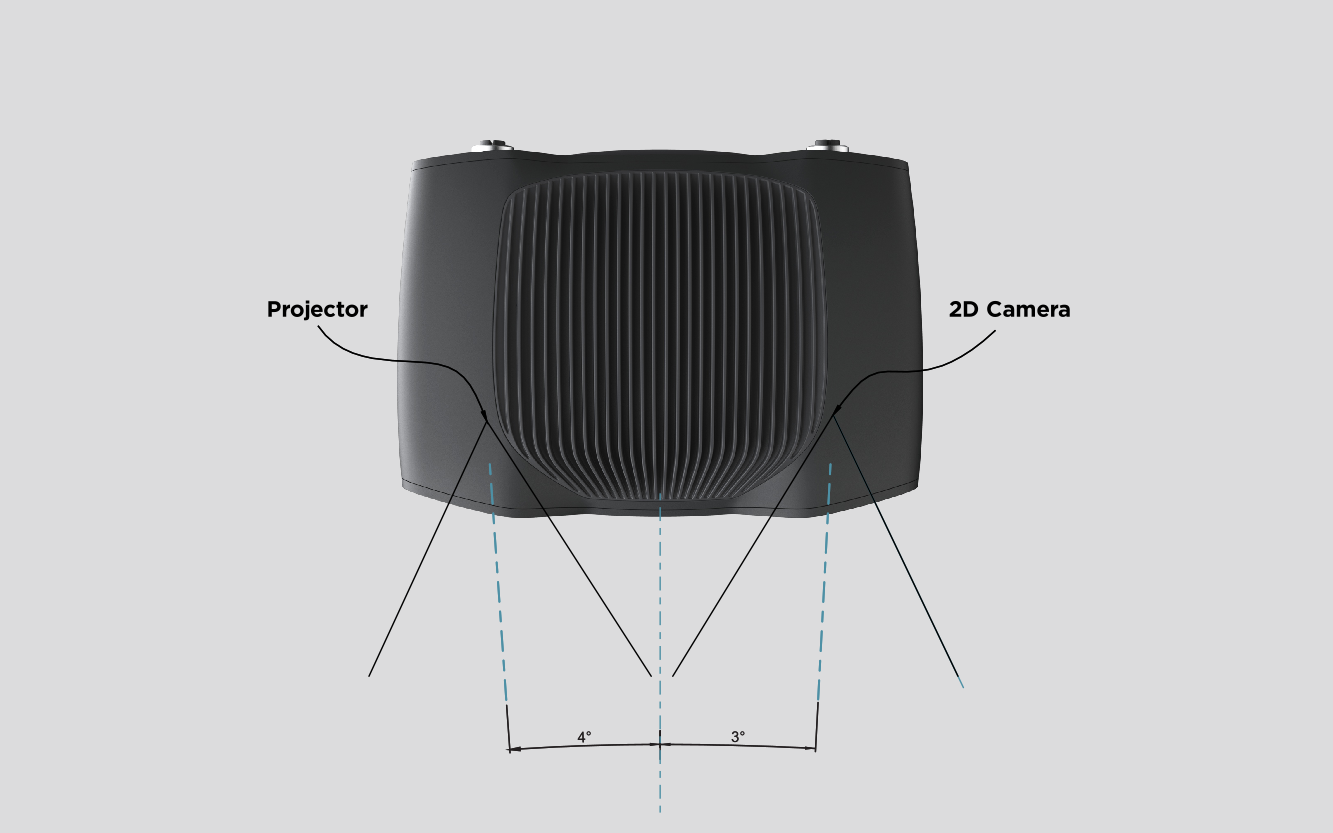
In presence of strong interreflections from the bin walls, you can place the Zivid camera projector above the back edge or above the rear corner of the bin (see images below). Pan and tilt it so that the 2D camera is looking at the center of the bin. Keep the projector rays off the inner surfaces of the two walls closest to the projector; keep the rays almost parallel to those two walls.
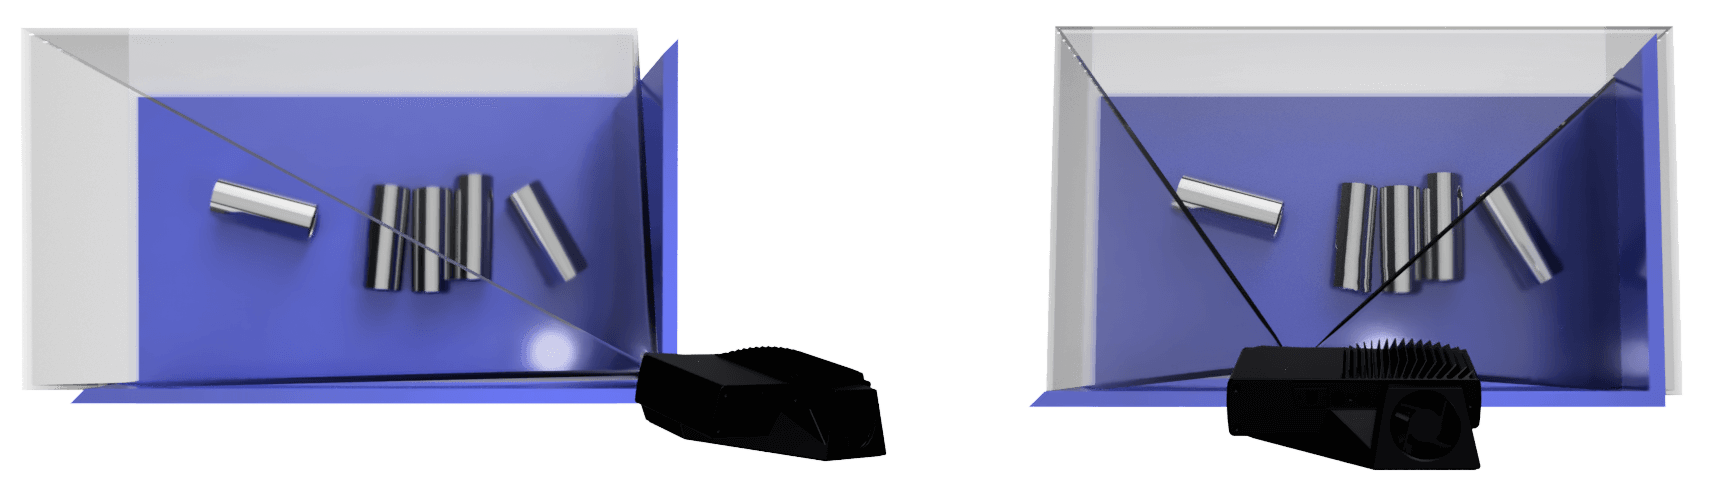
この方法でカメラを設置すると、ビン壁からの相互反射を最小化でき、シーン上方のスペースも確保されるため、ツールやロボットのアクセスが容易になります。
Zivid cameras do not need any additional light source; the projector provides all the illumination required for both 2D and 3D. A strong and focused light, such as a spotlight mounted right above the bin, can reflect directly into the camera, saturating the sensor and causing blooming in the 2D image. Avoid mounting the camera where it looks straight into such a reflection. To minimize this, remove the extra light if it is not needed, or try slightly moving or tilting the camera. For more on capturing in these conditions, see 強い周囲光への対処.
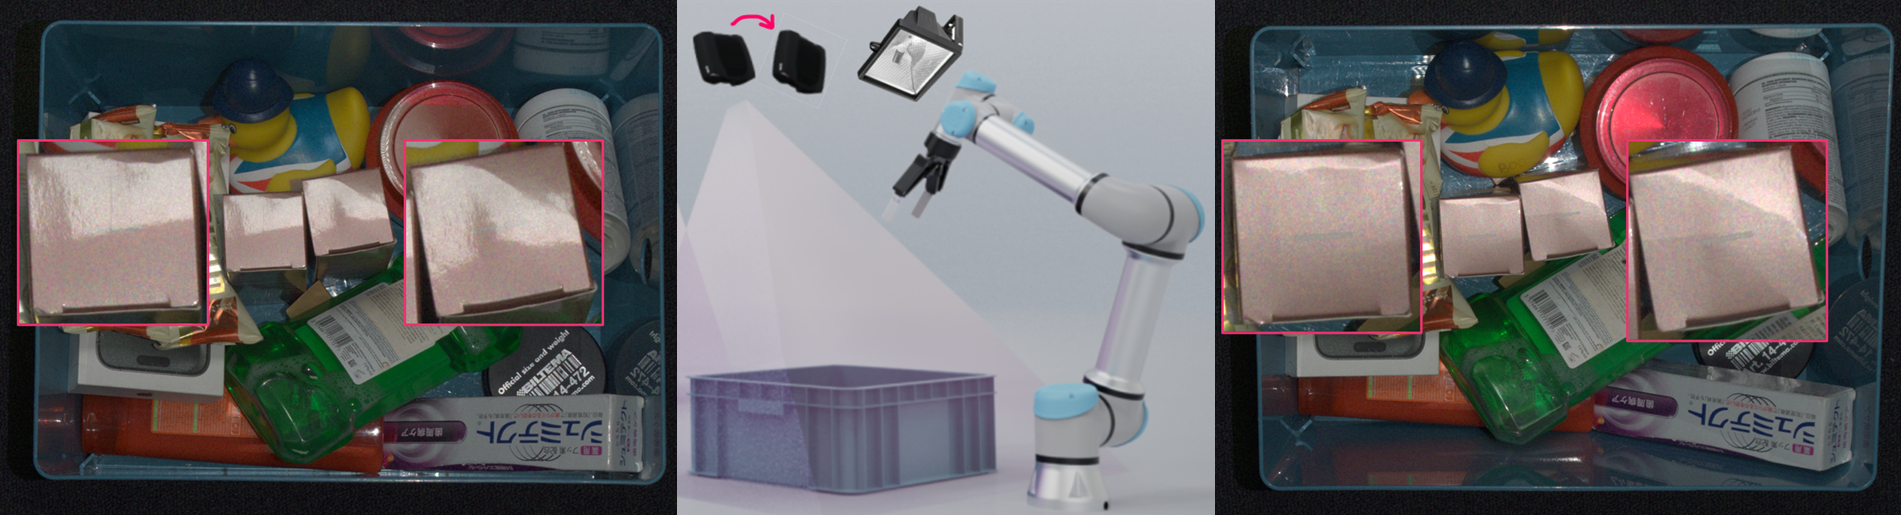
シーンにビンの仕切りや複数のビンがある場合は、遮蔽を最小化できるようにカメラを設置してください。遮蔽はビンピッキングの固定設置カメラで特に重要です。 オクルージョンの計算 の計算機をご利用ください。
物理的な設置については、カメラの 取り付け仕様 と マウント を参照してください。ロボット搭載カメラの場合は ロボットの取り付けに関する機械的考慮事項 もご覧ください。購入/設計/統合/設置の判断に役立ちます。
次のセクションでは、 キャプチャ速度の要件に基づくカメラ設定の選び方 を案内します。