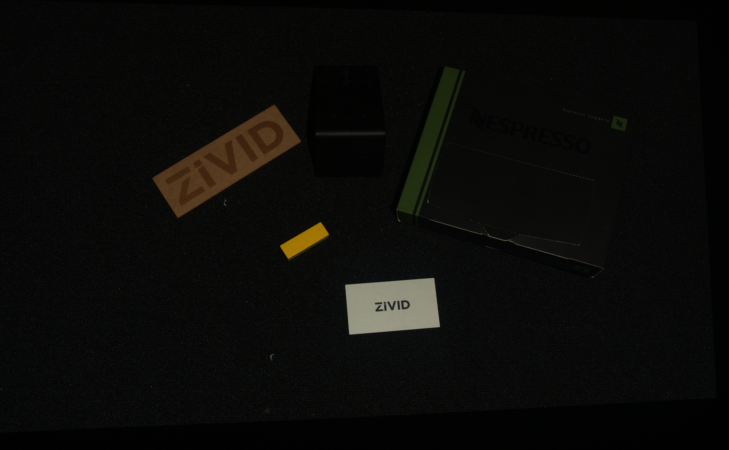
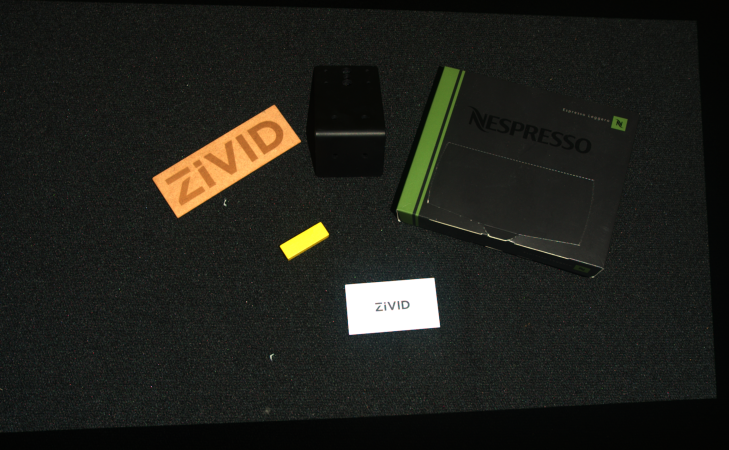
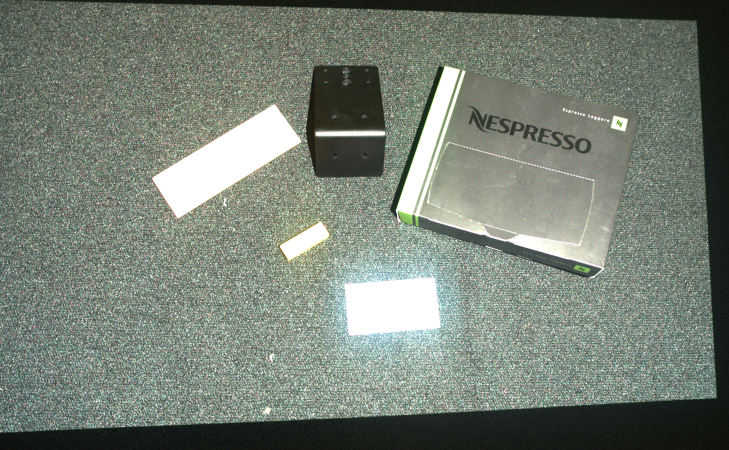
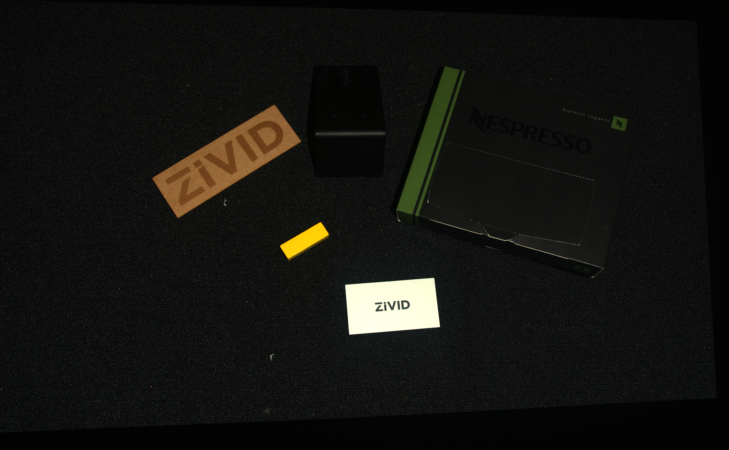
Optimizing Color Image
Introduction
이 튜토리얼은 Zivid 카메라에서 캡처한 컬러 이미지 품질을 최적화하는 데 도움이 되는 것을 목표로 합니다. 먼저 좋은 색상 정보를 얻기 위한 필수 도구인 획득(Acquisition) 및 색상 설정 조정에 대해 설명합니다. 그런 다음 가장 일반적인 문제(Blooming/over-saturation 및 HDR의 색상 불일치)를 해결하고 이를 극복하는 방법에 대한 권장 사항을 제공합니다.
팁
Zivid 2+ cameras have higher resolution and utilize a better demosaicing algorithm than Zivid 2 cameras; thus, Zivid 2+ outputs higher quality 2D images.
Adjusting Acquisition Settings
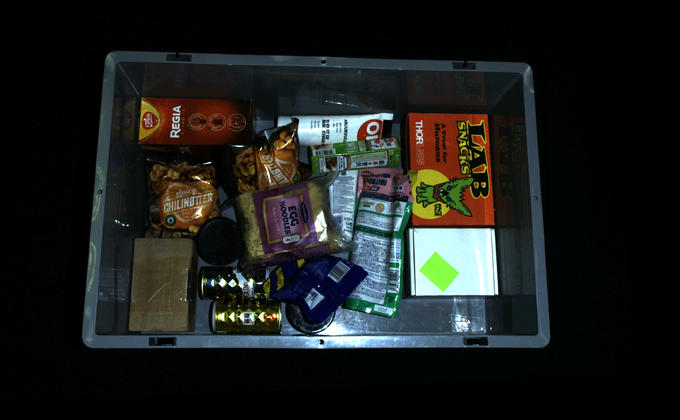
The quality of the color image depend on the Acquisition Settings (2D). The acquisition settings should be adjusted to ensure the pixel values of interest are not close to the noise floor. It is also important to avoid pixel saturation in the image, especially in the regions of interest. A good rule of thumb is to ensure the pixel values of interest are as high as possible, while not being saturated. In other words, with RGB values close to, but not 255. This may leave some pixels saturated, but the pixels of interest will still be well exposed. In that case, make sure your image processing algorithm can handle some saturation. To learn how light intensity gets converted into pixel values, see Detectable Light Intensity in a Camera Capture.
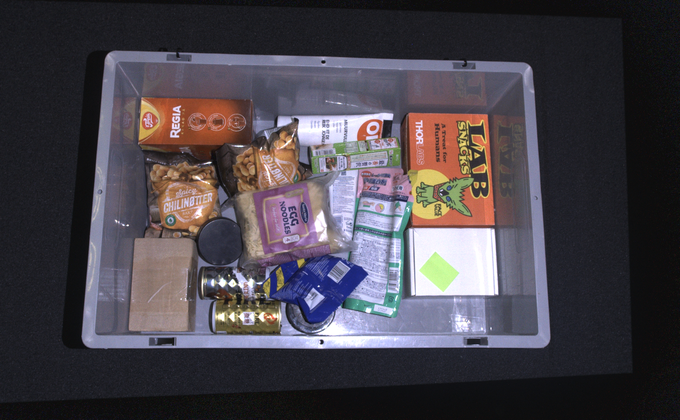
To optimize acquisition settings for your color image, you can use the 2D view and histogram in Zivid Studio, as seen below. Hovering the mouse cursor above the region of interest (red cross in the image) will display the pixel RGB values in the bottom left corner.

The RGB values of this particular pixel will be binned together with other pixels that have similar RGB values in the histogram view. As it can be seen in the image above, pixel (783, 526) has:
Red value of 224
Green value of 238
Blue value of 215
These RGB values indicate that this pixel resides within the upper right half of the histogram, and is thus considered a good pixel. However, we can also see from the histogram that there are many saturated pixels (RGB values 255) in the image, which indicates that some pixels are over-exposed.
조심
To use the histogram as a tool for adjusting acquisition settings, you must evaluate a single acquisition at a time with Color Mode set to UseFirstAcquisition or Automatic. Also, you must set Gamma and Color Balance gains to 1.0.
This is because the default Color Mode is Automatic, which is identical to ToneMapping for multi-acquisition HDR captures with differing acquisition settings. Tone mapping modifies pixel values. Gamma and Color Balance settings also modify pixel values.
While adjusting the acquisition settings to expose the image well, consider how different acquisition settings can impact the quality of the color image.
Exposure Time and Projector Brightness
Exposure time and projector brightness do not impact the color image quality. We recommend using the maximum projector brightness value, which allows for lower exposure times and thus faster 2D captures. This is assuming that your image is not saturated, as discussed above.
Aperture
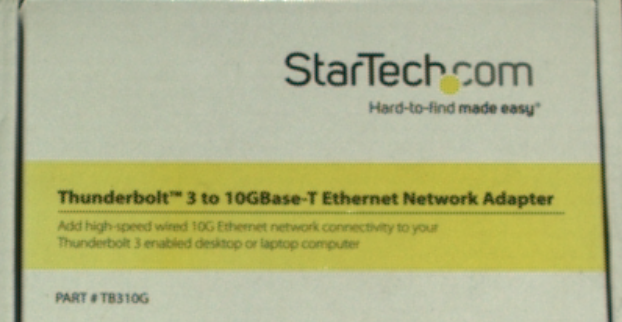
Correct aperture values are key to avoiding blurry color images; see the figure below. A good rule of thumb is to use low f-number values, up to 4.0, if the working distance is within the optimal range. If the camera is outside the optimal range, try using higher f-number values, such as 5.6 or 8.0. For a more detailed explanation and guidance, see Depth of Focus and Depth of Focus Calculator.
참고
위의 이미지는 최적의 이미징 거리 밖에서 캡처되어 큰 조리개 값에 대한 아웃포커스 효과를 강조합니다. 이미지는 최적의 범위에서 캡처될 때 덜 흐릿합니다.
Gain
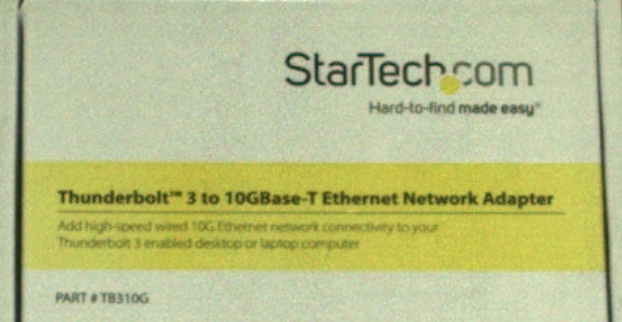
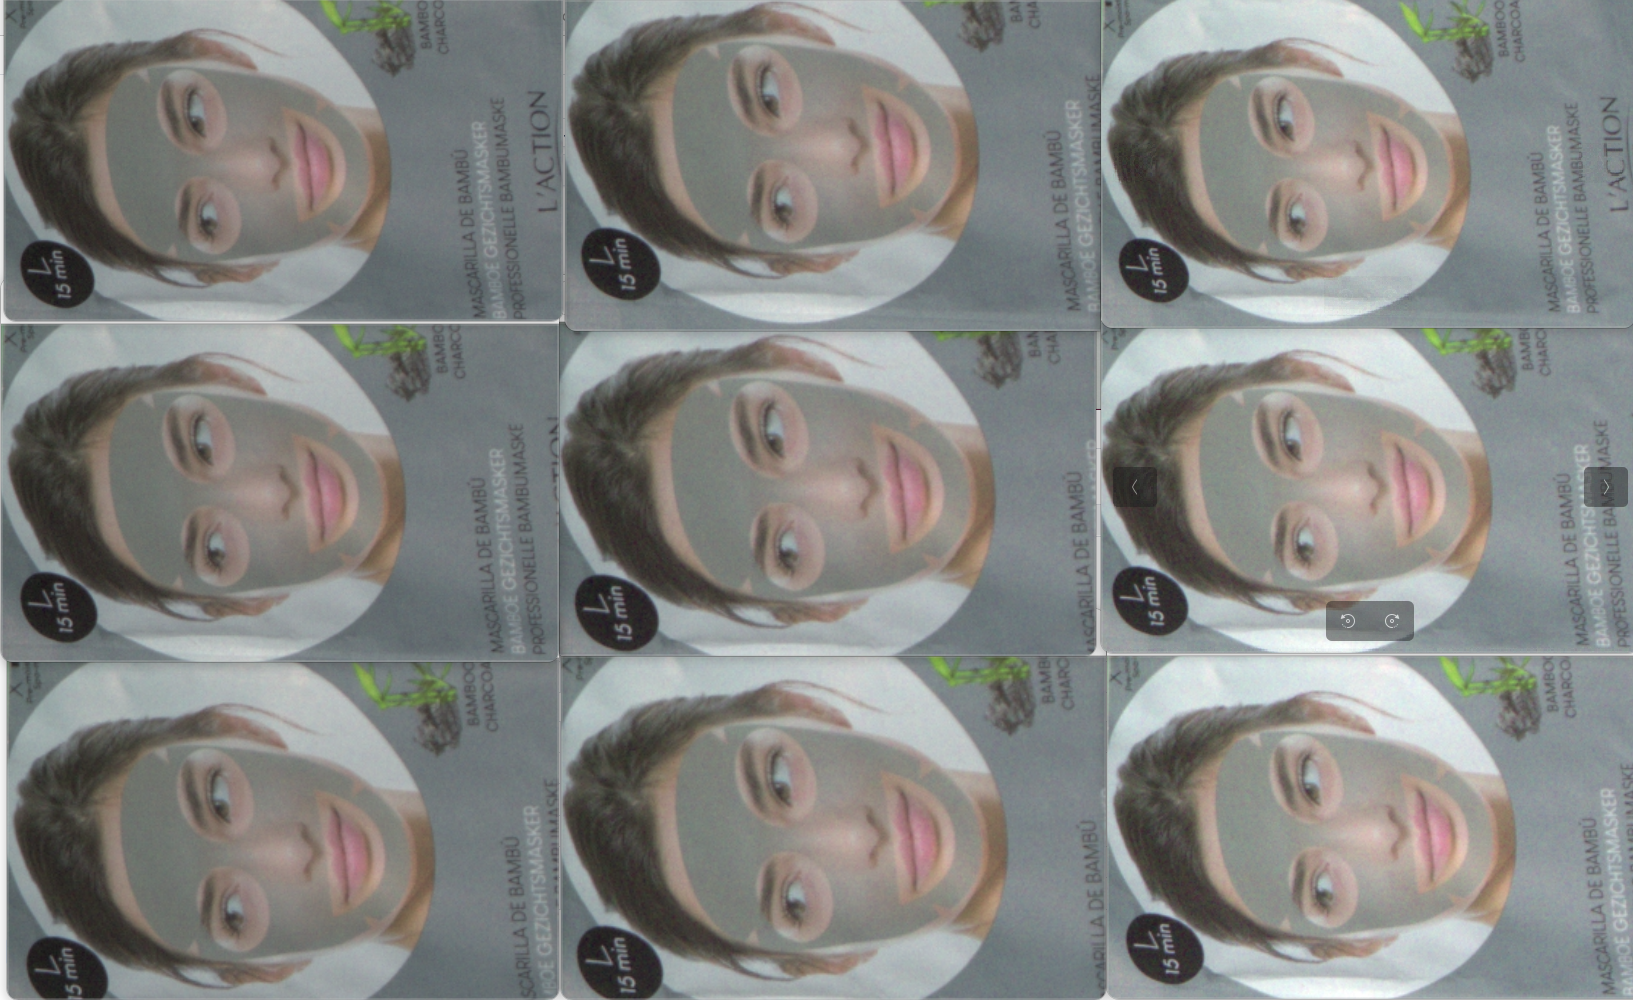
높은 Gain 값은 이미지 노이즈(세분성) 수준을 증가시켜 2D 이미지 품질을 저하시키므로 낮은 Gain 값(예: 1-2)을 사용하는 것이 좋습니다. 아래 그림을 참조하십시오.
Adjusting Color Settings
In addition to aperture and gain, the color image quality depends on Gamma, Color Balance, and Color Mode settings. This section aims to give insights into optimizing these settings to get desired color quality in the color image.
Gamma
카메라는 사람의 눈과 다르게 휘도를 인코딩합니다. 인간의 눈은 스펙트럼의 어두운 쪽을 강조하지만 카메라는 선형 스케일로 휘도를 인코딩합니다. 이 효과를 보상하기 위해 감마 보정을 적용하여 이미지를 어둡게 또는 밝게 하여 사람의 인식에 더 가깝게 만듭니다.
감마 값이 낮을수록 장면이 더 밝게 나타납니다. 감마 값을 높이면 장면이 더 어둡게 나타납니다.
머신 비전 알고리즘의 이미지 품질을 최적화하기 위해 감마 보정이 필요한지 여부는 의문입니다. 그럼에도 불구하고 사람이 초점 및 입자/노이즈 수준과 같은 컬러 이미지 품질의 특정 측면을 평가하는 데 도움이 됩니다.
구현 예를 보려면 다음을 확인하십시오. Gamma Correction. 이 튜토리얼은 구성 가능한 감마 보정으로 2D 이미지를 캡처하는 방법을 보여줍니다.
Color Balance
The Zivid 2+ MR130, MR60, and LR110 cameras have built-in color balance, so intense or non-white ambient light has little impact on the RGB values in the color image. This eliminates the need to run additional color balance algorithm on these camera models.
The image below shows details from the 2D color image taken with Zivid 2+ MR130 in different ambient light conditions.
300 LUX |
1000 LUX |
2000 LUX |
|
3200K |
|||
5000K |
|||
6500K |
If you have one of the Zivid 2+ MR130, MR60, or LR110 cameras, you can skip the rest of this section. The remainder of the section is only valid for other Zivid camera models.
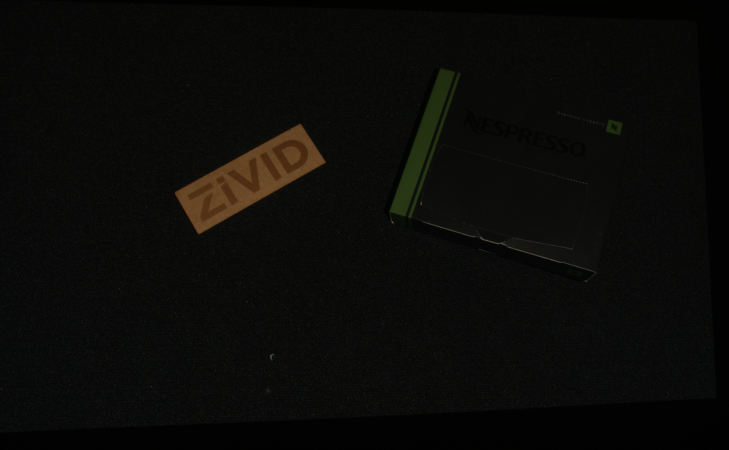
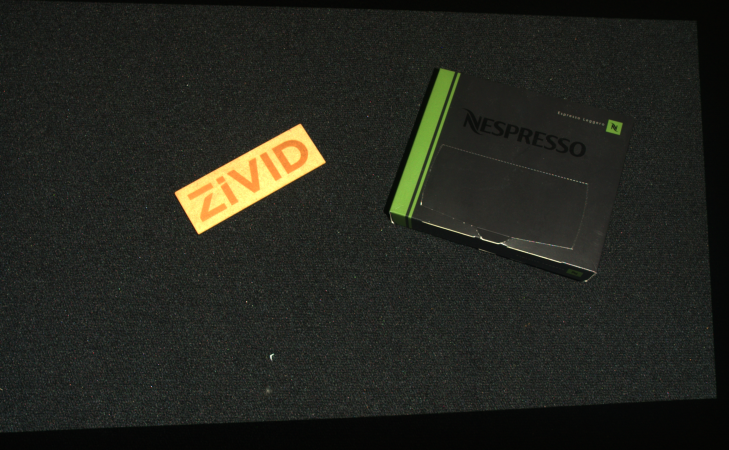
The color temperature of ambient light affects the appearance of the color image. There are two default color balance settings, with and without the projector. When projector brightness is set to 0 or off, the color balance is calibrated to 4500 K, typical in industrial environments. For projector brightness values above 0, the color balance is calibrated for the color temperature of the projector light. You can adjust the digital gain to red, green, and blue color channels to make the color image look natural. Below, you can see an image before and after balancing the color.
참고
Zivid 카메라의 경우 색상 균형가 1.0에서 8.0 사이입니다.

Performing color balance can be beneficial in strong and varying ambient light conditions. For an implementation example, see Adjusting Color Balance tutorial. This tutorial shows how to balance the color of a 2D image by taking images of a white surface (a piece of paper, wall, or similar) in a loop.
Color Mode
색상 모드 설정은 색상 이미지가 계산되는 방식을 제어합니다. 색상 모드 설정은 다음과 같습니다.
ToneMapping
Automatic
ToneMapping
uses all the acquisitions to create one merged and normalized color image.
For multi-acquisition HDR captures the dynamic range of the captured images is usually higher than the 8-bit color image range.
Tone mapping will map the HDR color data to the 8-bit color output range by applying a scaling factor.
Tone mapping can also be used for single-acquisition captures to normalize the captured color image to the full 8-bit output.
When using ToneMapping
the color values can be inconsistent over repeated captures if you move, add or remove objects in the scene.
Automatic
이 기본 옵션입니다.Automatic
은 획득 설정이 다른 다중 획득 HDR 캡처에 대한ToneMapping
과 동일합니다.
단일 획득 캡처의 경우 ToneMapping을 사용하여 어두운 이미지를 밝게 할 수 있습니다.
For multi-acquisition HDR tone mapping can be used to map high-dynamic-range colors to the more limited dynamic output range.


감마, 색상 균형 및 색상 모드를 포함하여 Zivid SDK로 processing settings 을 설정하는 방법을 확인하십시오.
std::cout << "Configuring settings for capture:" << std::endl;
Zivid::Settings2D settings2D{
Zivid::Settings2D::Sampling::Color::rgb,
Zivid::Settings2D::Sampling::Pixel::all,
Zivid::Settings2D::Processing::Color::Balance::Blue{ 1.0 },
Zivid::Settings2D::Processing::Color::Balance::Green{ 1.0 },
Zivid::Settings2D::Processing::Color::Balance::Red{ 1.0 },
Zivid::Settings2D::Processing::Color::Gamma{ 1.0 },
Zivid::Settings2D::Processing::Color::Experimental::Mode::automatic,
};
Zivid::Settings settings{
Zivid::Settings::Color{ settings2D },
Zivid::Settings::Engine::phase,
Zivid::Settings::RegionOfInterest::Box::Enabled::yes,
Zivid::Settings::RegionOfInterest::Box::PointO{ 1000, 1000, 1000 },
Zivid::Settings::RegionOfInterest::Box::PointA{ 1000, -1000, 1000 },
Zivid::Settings::RegionOfInterest::Box::PointB{ -1000, 1000, 1000 },
Zivid::Settings::RegionOfInterest::Box::Extents{ -1000, 1000 },
Zivid::Settings::RegionOfInterest::Depth::Enabled::yes,
Zivid::Settings::RegionOfInterest::Depth::Range{ 200, 2000 },
Zivid::Settings::Processing::Filters::Cluster::Removal::Enabled::yes,
Zivid::Settings::Processing::Filters::Cluster::Removal::MaxNeighborDistance{ 10 },
Zivid::Settings::Processing::Filters::Cluster::Removal::MinArea{ 100 },
Zivid::Settings::Processing::Filters::Hole::Repair::Enabled::yes,
Zivid::Settings::Processing::Filters::Hole::Repair::HoleSize{ 0.2 },
Zivid::Settings::Processing::Filters::Hole::Repair::Strictness{ 1 },
Zivid::Settings::Processing::Filters::Noise::Removal::Enabled::yes,
Zivid::Settings::Processing::Filters::Noise::Removal::Threshold{ 7.0 },
Zivid::Settings::Processing::Filters::Noise::Suppression::Enabled::yes,
Zivid::Settings::Processing::Filters::Noise::Repair::Enabled::yes,
Zivid::Settings::Processing::Filters::Outlier::Removal::Enabled::yes,
Zivid::Settings::Processing::Filters::Outlier::Removal::Threshold{ 5.0 },
Zivid::Settings::Processing::Filters::Reflection::Removal::Enabled::yes,
Zivid::Settings::Processing::Filters::Reflection::Removal::Mode::global,
Zivid::Settings::Processing::Filters::Smoothing::Gaussian::Enabled::yes,
Zivid::Settings::Processing::Filters::Smoothing::Gaussian::Sigma{ 1.5 },
Zivid::Settings::Processing::Filters::Experimental::ContrastDistortion::Correction::Enabled::yes,
Zivid::Settings::Processing::Filters::Experimental::ContrastDistortion::Correction::Strength{ 0.4 },
Zivid::Settings::Processing::Filters::Experimental::ContrastDistortion::Removal::Enabled::no,
Zivid::Settings::Processing::Filters::Experimental::ContrastDistortion::Removal::Threshold{ 0.5 },
Zivid::Settings::Processing::Resampling::Mode::upsample2x2,
Zivid::Settings::Diagnostics::Enabled::no,
};
setSamplingPixel(settings, camera);
std::cout << settings << std::endl;
Console.WriteLine("Configuring settings for capture:");
var settings2D = new Zivid.NET.Settings2D()
{
Sampling =
{
Color = Zivid.NET.Settings2D.SamplingGroup.ColorOption.Rgb,
Pixel = Zivid.NET.Settings2D.SamplingGroup.PixelOption.All,
},
Processing =
{
Color =
{
Balance =
{
Blue = 1.0,
Green = 1.0,
Red = 1.0,
},
Gamma = 1.0,
Experimental = { Mode = Zivid.NET.Settings2D.ProcessingGroup.ColorGroup.ExperimentalGroup.ModeOption.Automatic },
},
},
};
var settings = new Zivid.NET.Settings()
{
Engine = Zivid.NET.Settings.EngineOption.Phase,
RegionOfInterest =
{
Box = {
Enabled = true,
PointO = new Zivid.NET.PointXYZ{ x = 1000, y = 1000, z = 1000 },
PointA = new Zivid.NET.PointXYZ{ x = 1000, y = -1000, z = 1000 },
PointB = new Zivid.NET.PointXYZ{ x = -1000, y = 1000, z = 1000 },
Extents = new Zivid.NET.Range<double>(-1000, 1000),
},
Depth =
{
Enabled = true,
Range = new Zivid.NET.Range<double>(200, 2000),
},
},
Processing =
{
Filters =
{
Cluster =
{
Removal = { Enabled = true, MaxNeighborDistance = 10, MinArea = 100}
},
Hole =
{
Repair = { Enabled = true, HoleSize = 0.2, Strictness = 1 },
},
Noise =
{
Removal = { Enabled = true, Threshold = 7.0 },
Suppression = { Enabled = true },
Repair = { Enabled = true },
},
Outlier =
{
Removal = { Enabled = true, Threshold = 5.0 },
},
Reflection =
{
Removal = { Enabled = true, Mode = ReflectionFilterModeOption.Global },
},
Smoothing =
{
Gaussian = { Enabled = true, Sigma = 1.5 },
},
Experimental =
{
ContrastDistortion =
{
Correction = { Enabled = true, Strength = 0.4 },
Removal = { Enabled = true, Threshold = 0.5 },
},
},
},
Resampling = { Mode = Zivid.NET.Settings.ProcessingGroup.ResamplingGroup.ModeOption.Upsample2x2 },
},
Diagnostics = { Enabled = false },
};
settings.Color = settings2D;
SetSamplingPixel(ref settings, camera);
Console.WriteLine(settings);
print("Configuring settings for capture:")
settings_2d = zivid.Settings2D()
settings_2d.sampling.color = zivid.Settings2D.Sampling.Color.rgb
settings_2d.sampling.pixel = zivid.Settings2D.Sampling.Pixel.all
settings_2d.processing.color.balance.red = 1.0
settings_2d.processing.color.balance.blue = 1.0
settings_2d.processing.color.balance.green = 1.0
settings_2d.processing.color.gamma = 1.0
settings_2d.processing.color.experimental.mode = zivid.Settings2D.Processing.Color.Experimental.Mode.automatic
settings = zivid.Settings()
settings.engine = zivid.Settings.Engine.phase
settings.region_of_interest.box.enabled = True
settings.region_of_interest.box.point_o = [1000, 1000, 1000]
settings.region_of_interest.box.point_a = [1000, -1000, 1000]
settings.region_of_interest.box.point_b = [-1000, 1000, 1000]
settings.region_of_interest.box.extents = [-1000, 1000]
settings.region_of_interest.depth.enabled = True
settings.region_of_interest.depth.range = [200, 2000]
settings.processing.filters.cluster.removal.enabled = True
settings.processing.filters.cluster.removal.max_neighbor_distance = 10
settings.processing.filters.cluster.removal.min_area = 100
settings.processing.filters.hole.repair.enabled = True
settings.processing.filters.hole.repair.hole_size = 0.2
settings.processing.filters.hole.repair.strictness = 1
settings.processing.filters.noise.removal.enabled = True
settings.processing.filters.noise.removal.threshold = 7.0
settings.processing.filters.noise.suppression.enabled = True
settings.processing.filters.noise.repair.enabled = True
settings.processing.filters.outlier.removal.enabled = True
settings.processing.filters.outlier.removal.threshold = 5.0
settings.processing.filters.reflection.removal.enabled = True
settings.processing.filters.reflection.removal.mode = (
zivid.Settings.Processing.Filters.Reflection.Removal.Mode.global_
)
settings.processing.filters.smoothing.gaussian.enabled = True
settings.processing.filters.smoothing.gaussian.sigma = 1.5
settings.processing.filters.experimental.contrast_distortion.correction.enabled = True
settings.processing.filters.experimental.contrast_distortion.correction.strength = 0.4
settings.processing.filters.experimental.contrast_distortion.removal.enabled = False
settings.processing.filters.experimental.contrast_distortion.removal.threshold = 0.5
settings.processing.resampling.mode = zivid.Settings.Processing.Resampling.Mode.upsample2x2
settings.diagnostics.enabled = False
settings.color = settings_2d
_set_sampling_pixel(settings, camera)
print(settings)
Troubleshooting
If you encounter any issues with your color image, check Vision troubleshooting articles.
Further reading
Continue to Dealing with Highlights and Shiny Objects.