如何运行HALCON示例
介绍
本教程展示了如何配置HALCON示例并在HDevelop、C++ 和 C#中运行它们。
要求
必需的
zivid-halcon-samples (HDevelop) / zivid-cpp-samples / zivid-csharp-samples
备注
使用 Zivid 相机测试过的 HALCON 版本包括:19.05 Progress、20.05 Progress、21.11 Progress、24.05 Progress、24.11 Progress-Steady 和 25.05 Progress。
可选的
如果您目前没有安装单独的 ply 查看器, MeshLab 是一个直观易用的选择,可用于查看从所提供的示例生成的点云数据。
说明
下面的屏幕截图提供了分步说明。
为GenICam/HALCON配置环境变量
在开始将Zivid与GenICam一起使用之前,需要设置一些环境变量。有两种选择:
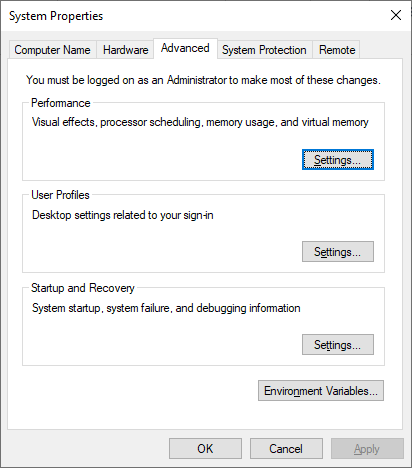
在您的PC上,导航到 系统 → 高级系统设置 → 环境变量
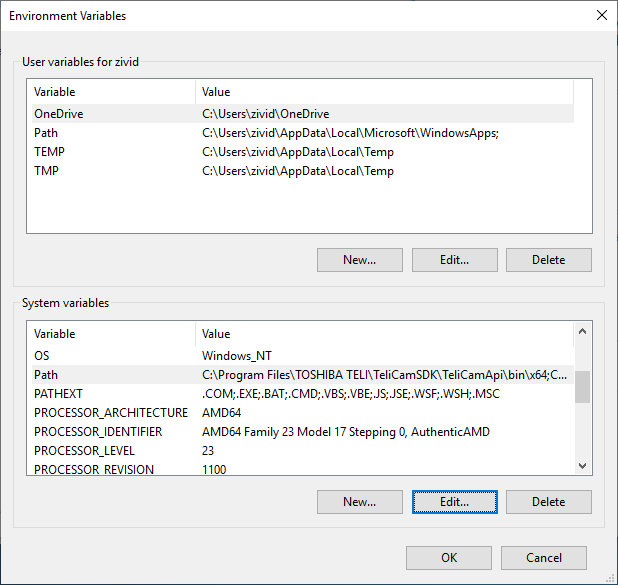
在 系统变量 下,选 择 Path 变量并单击 编辑... (不要点击 新建,否则您将覆盖Path系统变量的现有值!),然后通过单 击 新建 添加以下变量:
变量名 |
|
变量值 |
|
备注
确保输入的Zivid安装路径是正确的。
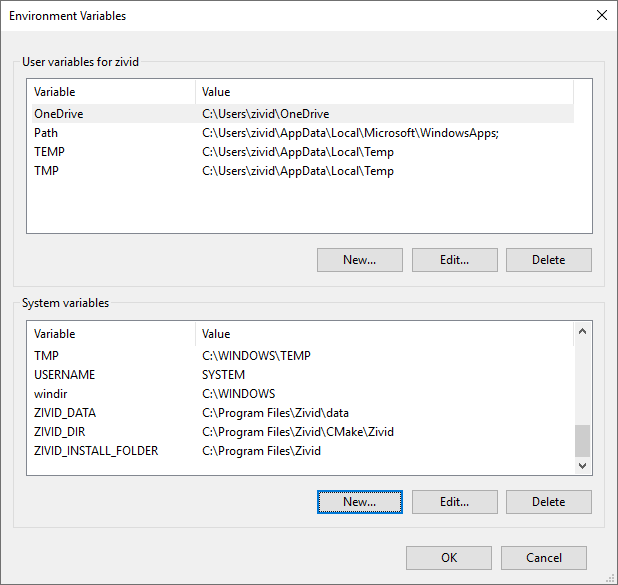
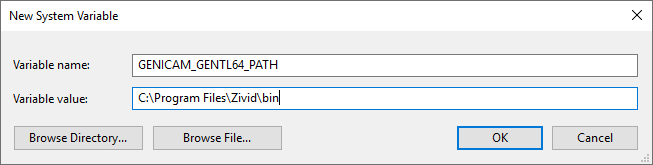
点 击 确定 返回到环境变量窗口,然后单 击 新建 包括以下系统变量:
变量名: |
|
变量值 |
|
点击键盘上的 Win + R 键。然后输入*cmd*并按下 Enter。
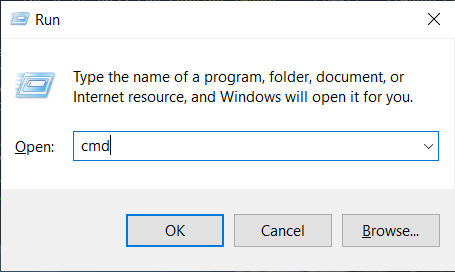
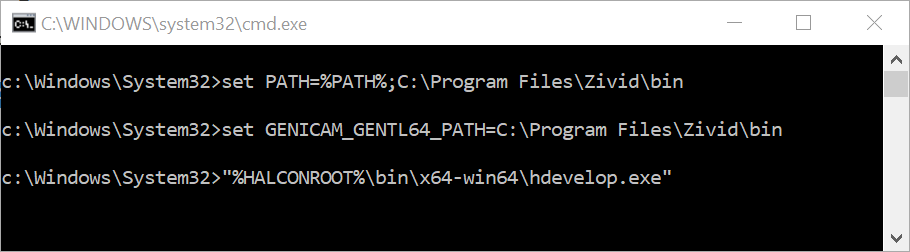
输入以下命令:
set PATH=%PATH%;C:\Program Files\Zivid\bin
set GENICAM_GENTL64_PATH=C:\Program Files\Zivid\bin
"%HALCONROOT%\bin\x64-win64\hdevelop.exe"
备注
确保为输入的HALCON和Zivid安装路径是正确的
现在您的环境变量已设置完毕,您可以运行示例了。请选择您的语言:
下面的视频向您展示如何在 HALCON 中使用 Zivid 相机运行样本。
打开 HDevelop,然后单击 Open Program 。转到下载/克隆示例的位置。
打开您要运行的示例,例如*CaptureHDR.hdev*。
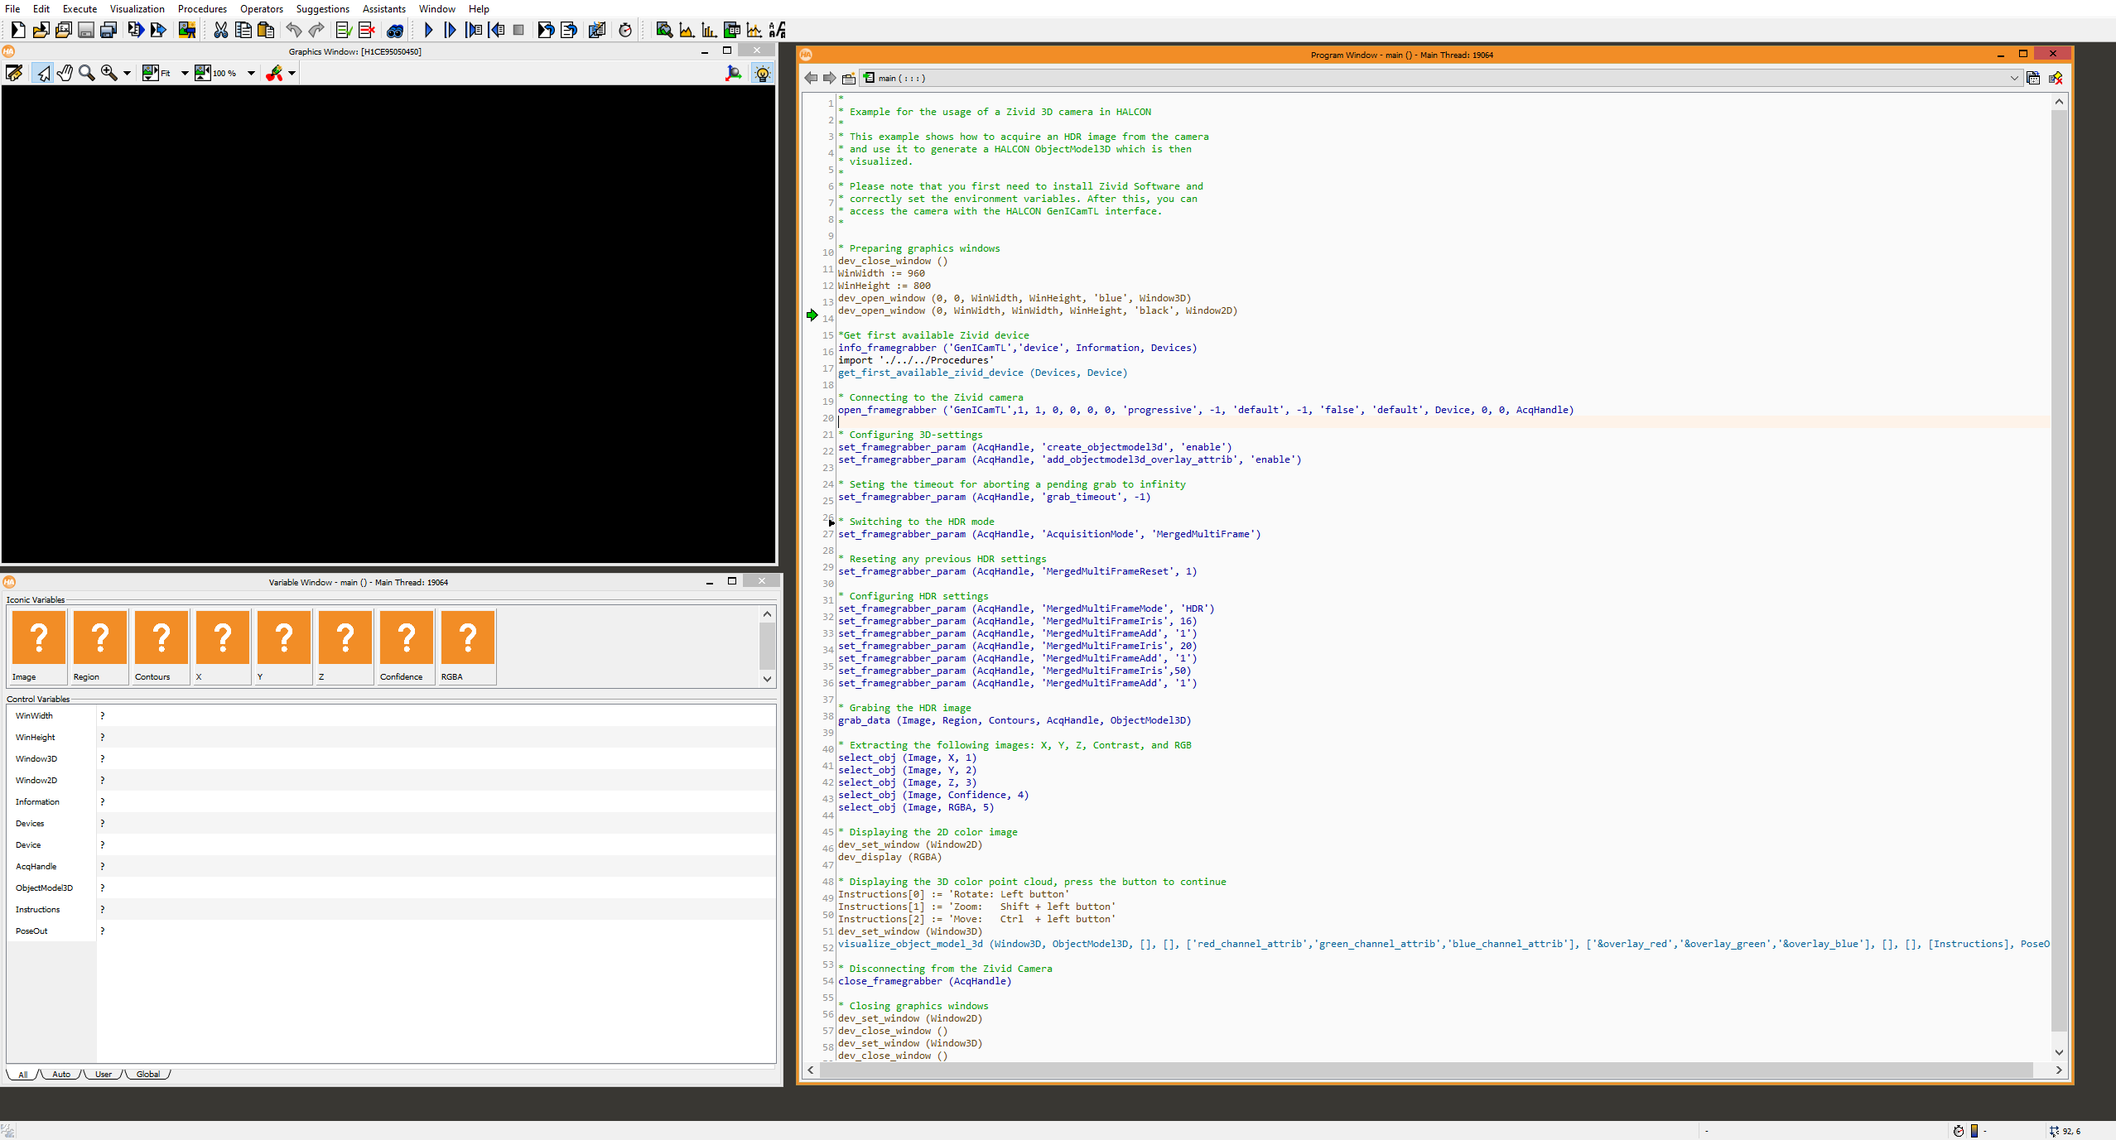
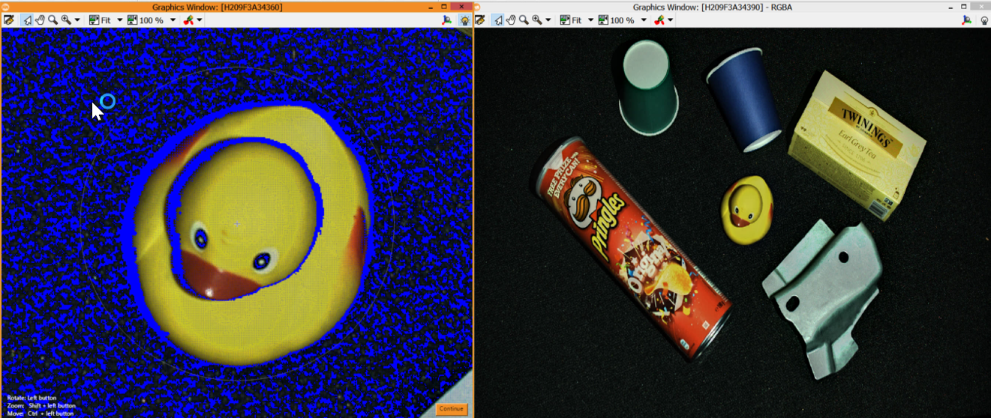
按 F5 键运行程序。该程序现在应该能够成功运行并显示场景的3D点云。
要运行示例,请按照本教程并从可选要求中选择 Halcon:
您有两种方法来捕获并保存点云数据,我们将通过两个示例对此进行演示:
使用 GenICam 接口和 Halcon C++ SDK: CaptureHalconViaGenICam.cpp
使用 Zivid SDK 通过使用 Halcon C++ SDK 将点云转换为 Halcon 的文件格式: CaptureHalconViaZivid.cpp
要运行示例,请按照本教程并从可选要求中选择 Halcon:
您有两种方法来捕获并保存点云数据,我们将通过两个示例对此进行演示:
使用 GenICam 接口和 Halcon C# SDK: CaptureHalconViaGenICam.cs
使用 Zivid SDK 通过使用 Halcon C# SDK 将点云转换为 Halcon 的文件格式: CaptureHalconViaZivid.cs