工具栏
工具栏位于 Zivid Studio 的顶部。它由多个下拉菜单组成,用于处理 文件、控制 GUI、配置 相机、使用维护 工具,以及获取有关 Zivid 软件的 信息。
File(文件)
Zivid Studio 提供了各种保存选项,用户可以将点云、彩色图像和设置保存到磁盘。
保存/导出点云
将点云保存为 ZDF 格式的文件:
点击 File → Save。
导航到要保存点云的位置。
写入文件名。
点击 Save。
备注
ZDF 是原生 Zivid 文件格式,包含点云、彩色图像和深度图像数据。向 Zivid 客户成功团队报告问题时,这是首选格式。
导出为一种我们 支持的点云格式 ,包括无序或有序 Polygon (PLY)、ASCII (XYZ) 或 PointCloud Data (PCD) 文件格式:
点击 File → Export。
导航到要保存点云的位置。
写入文件名。
选择文件格式类型。
点击 Save。
选择导出选项。
点击 Export。
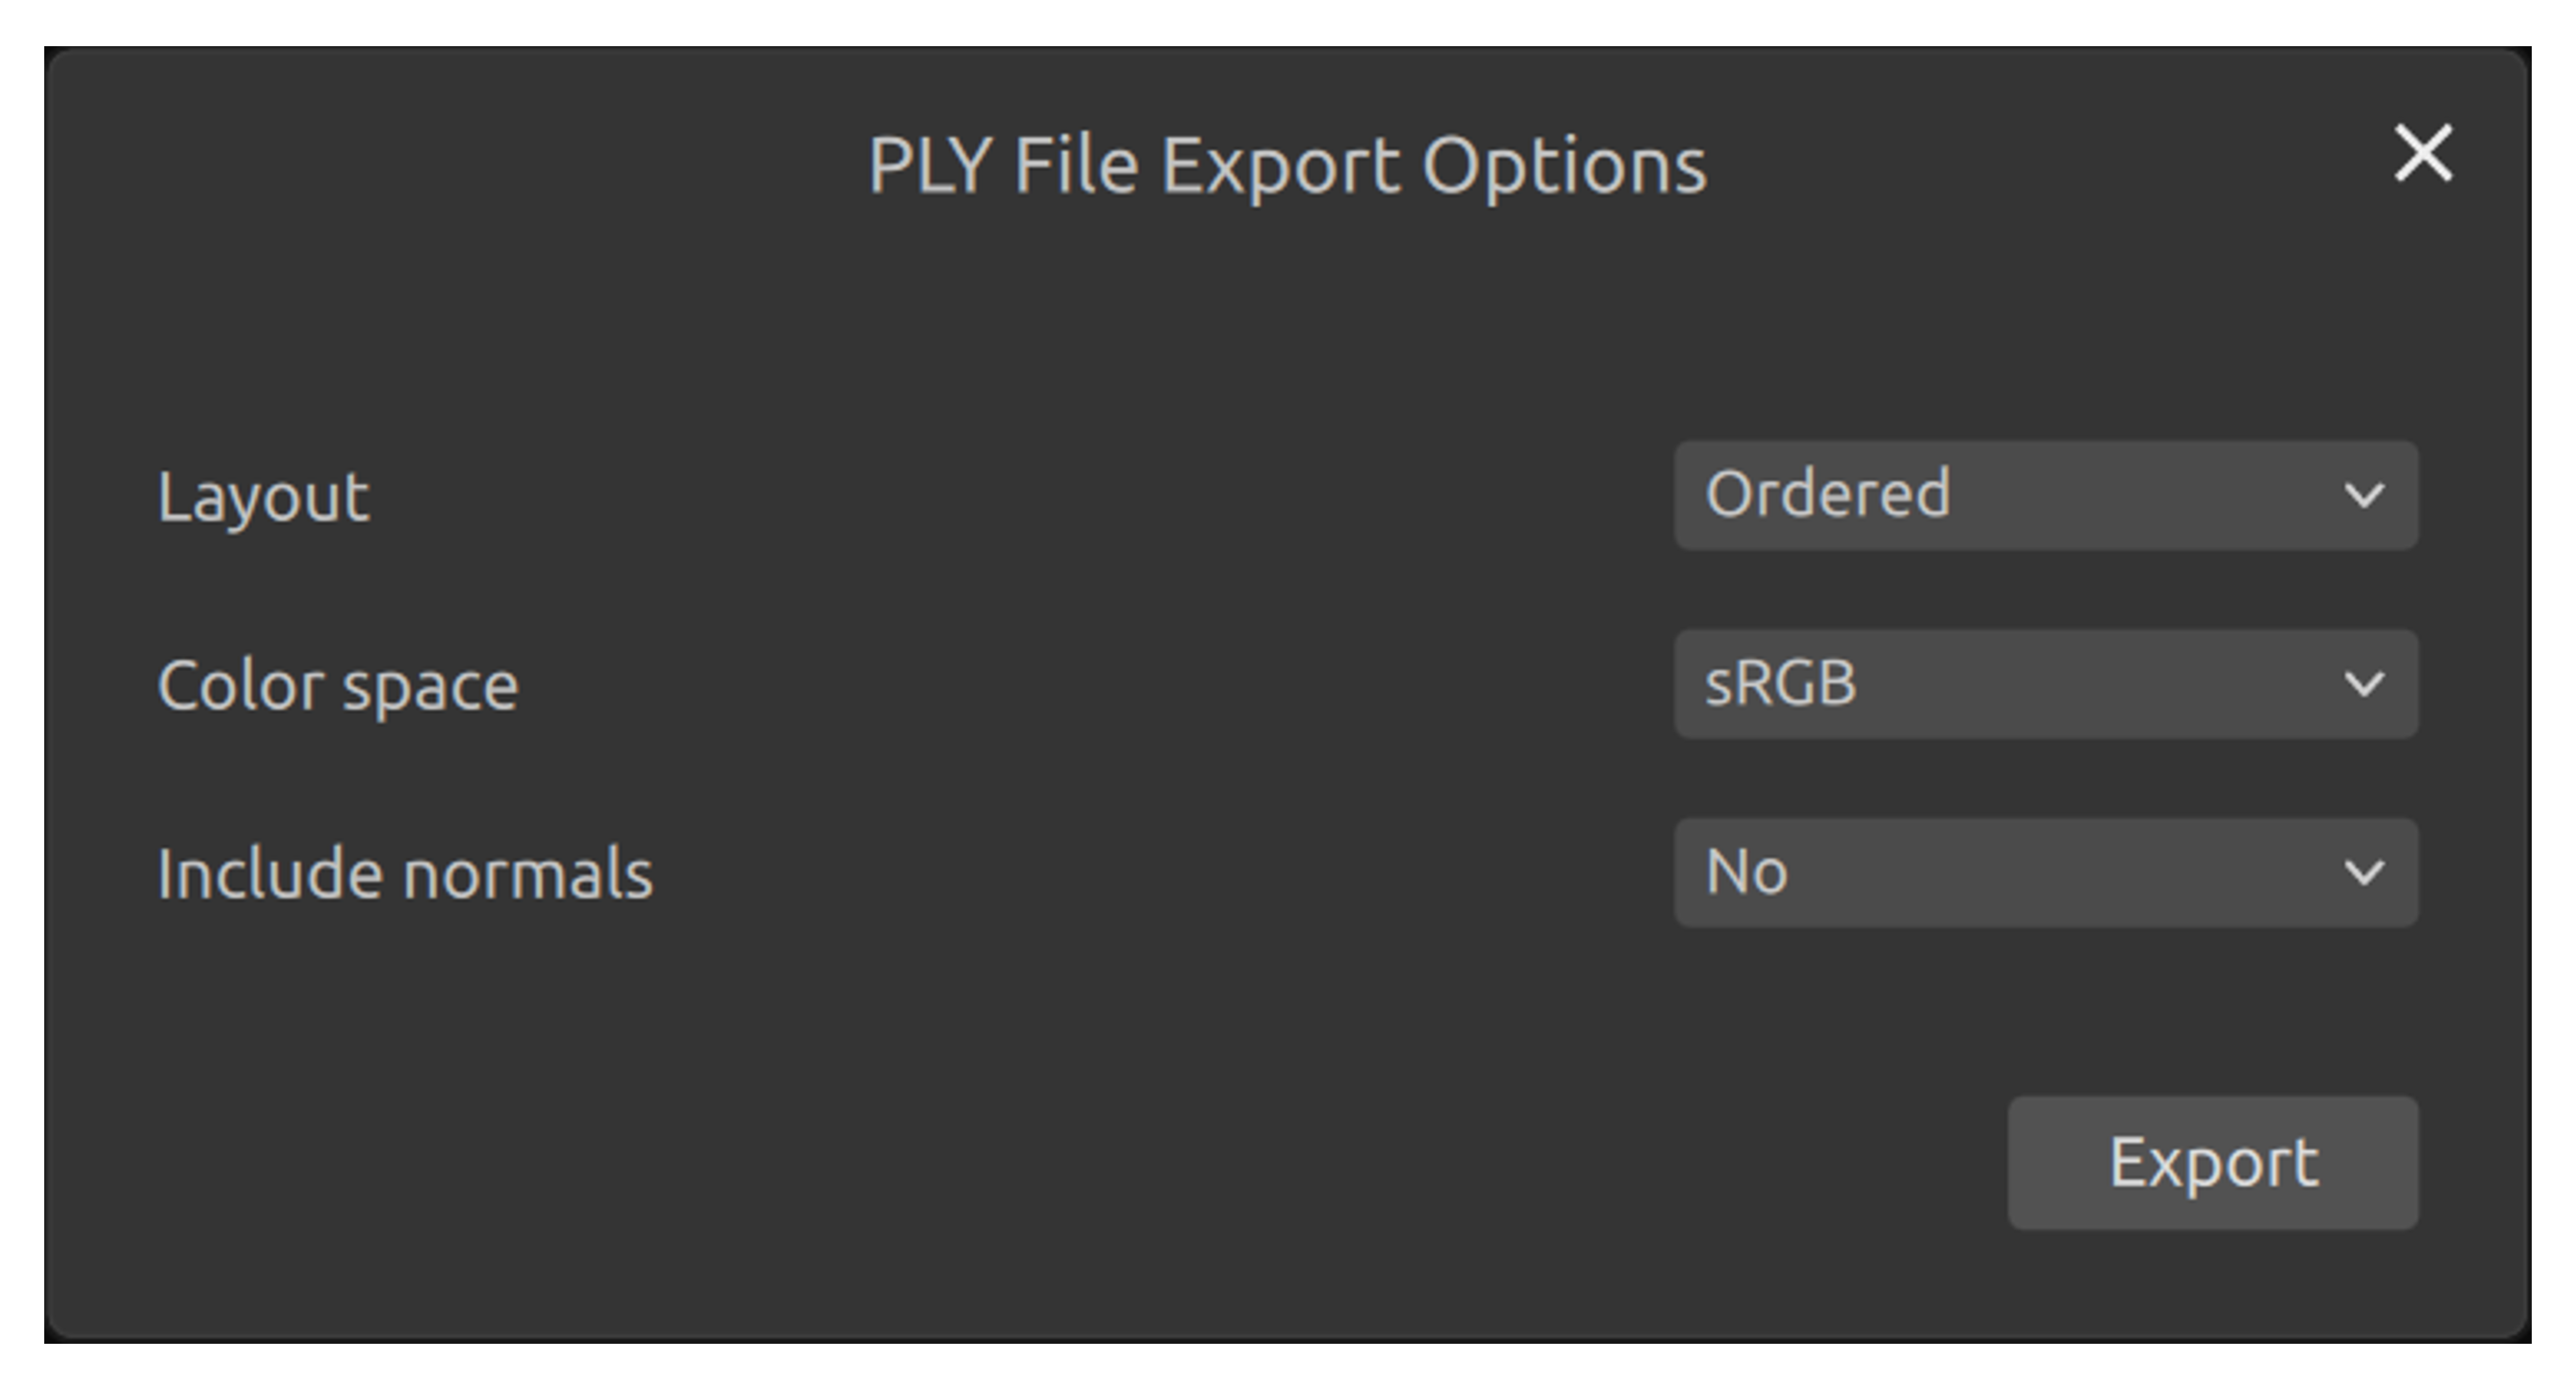
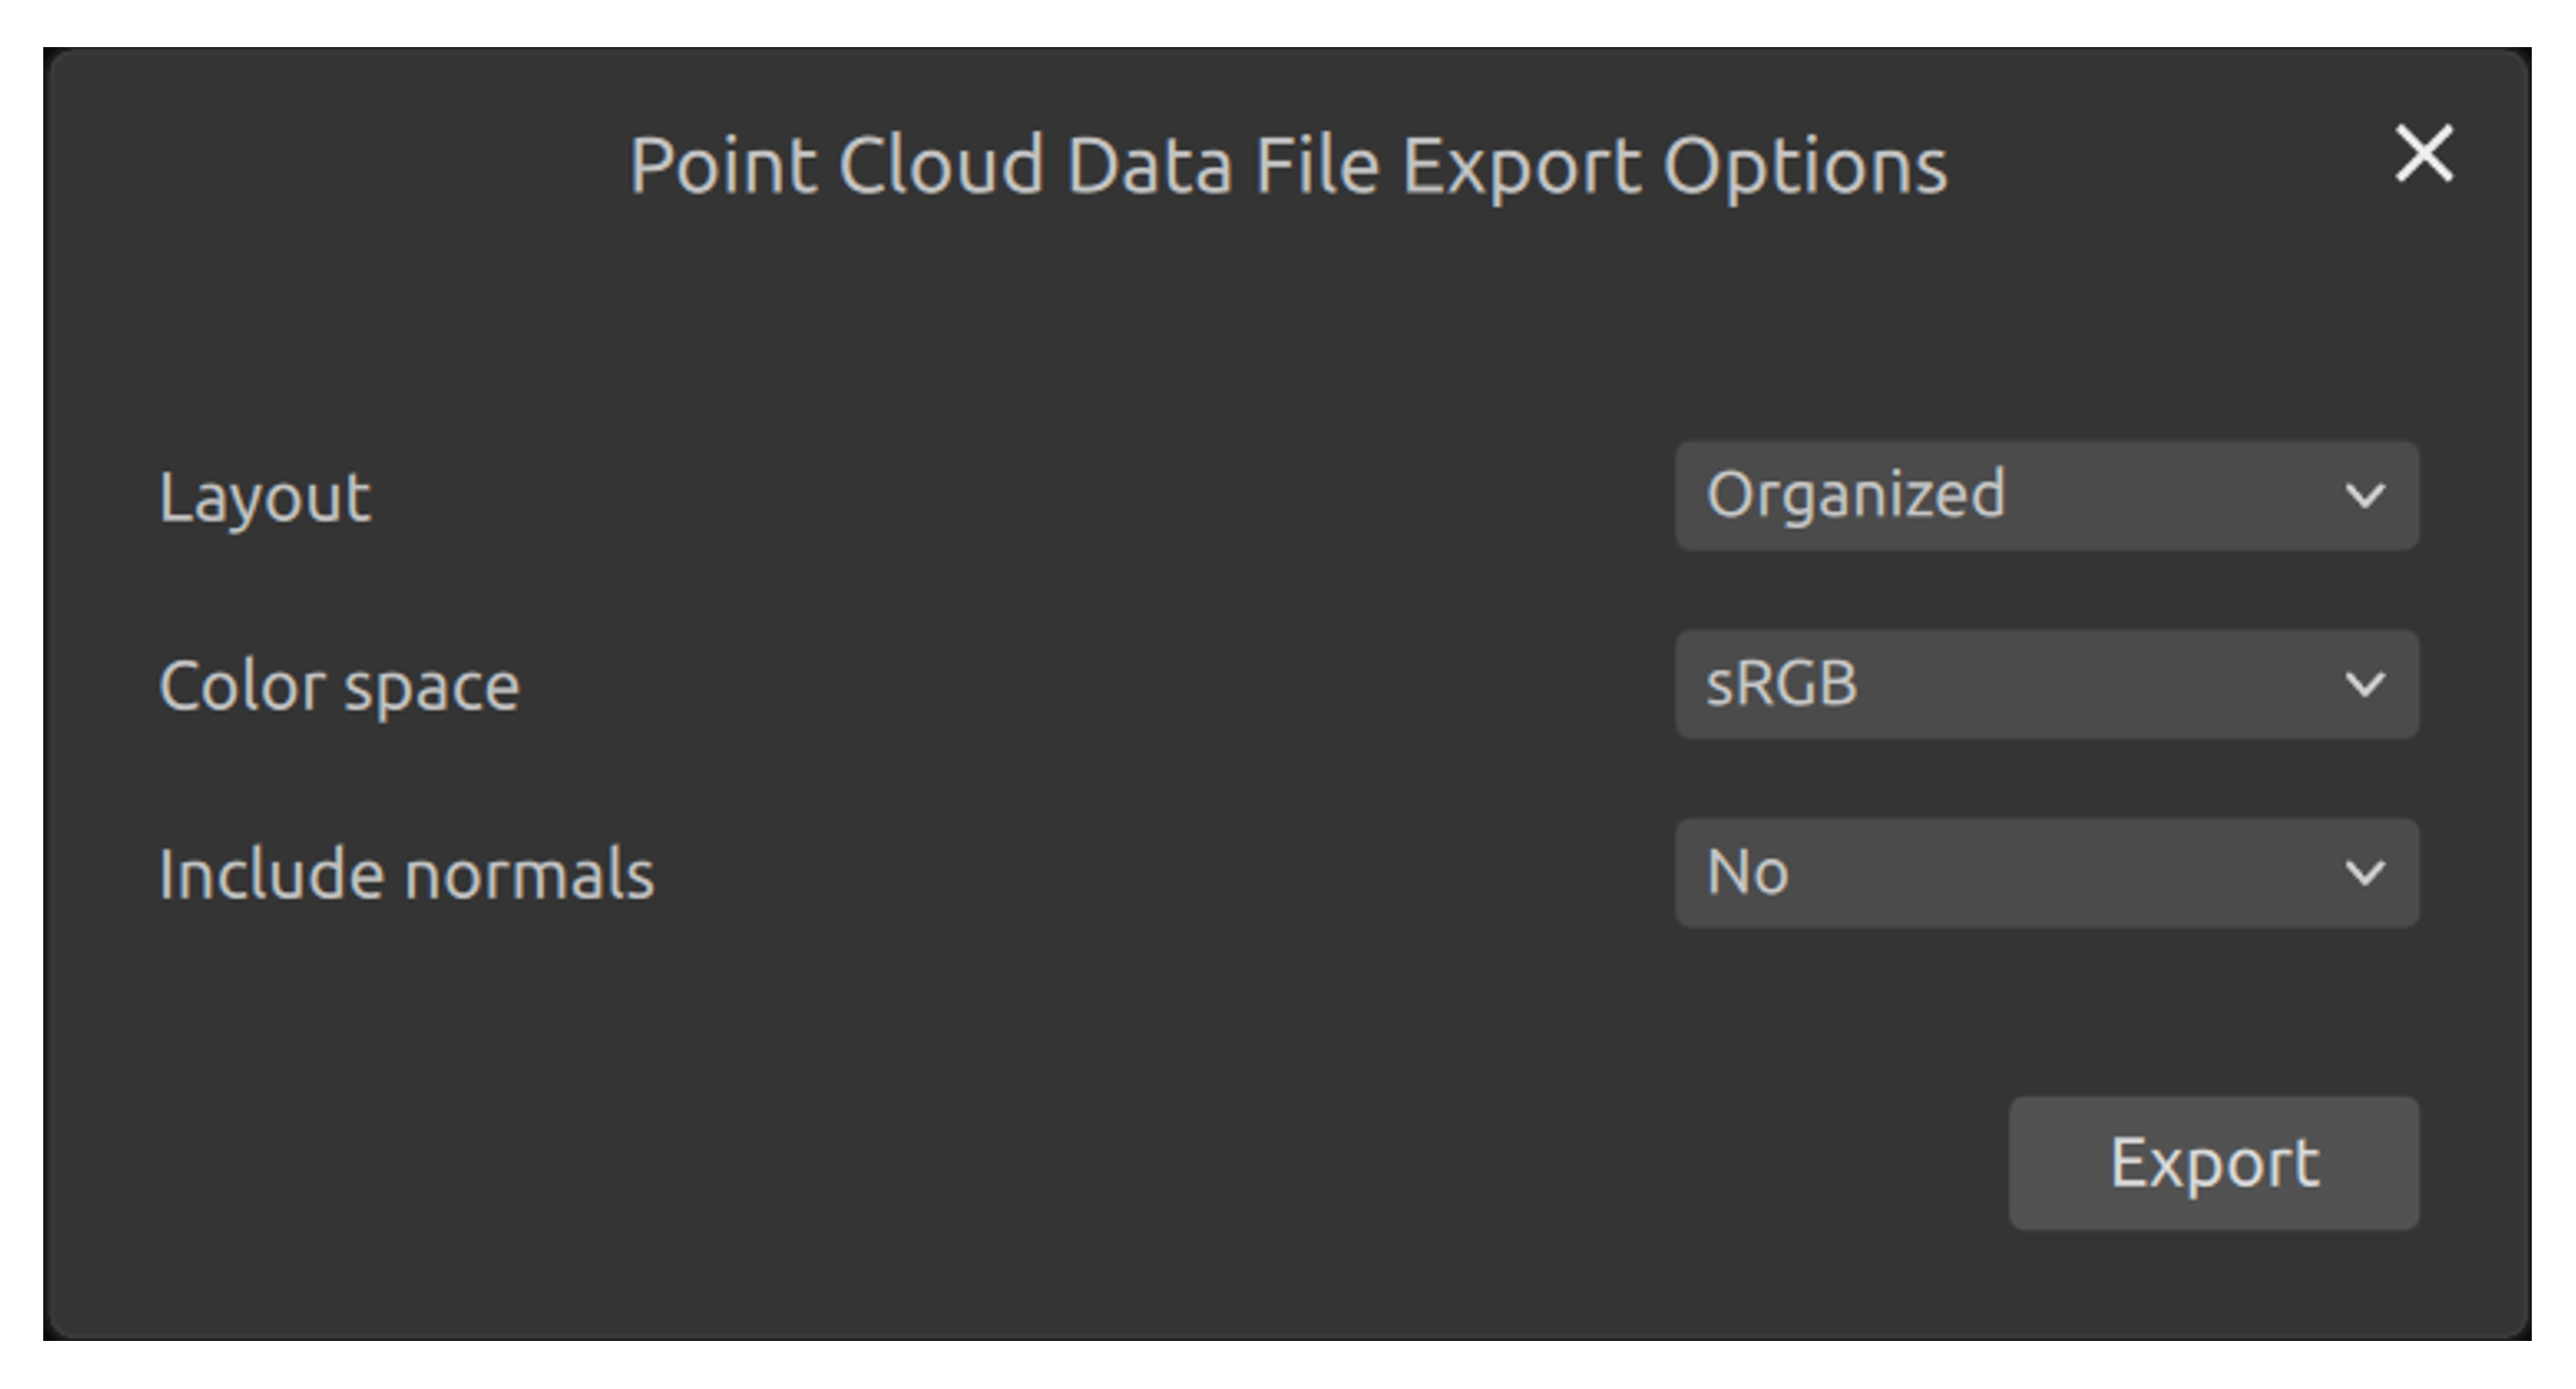
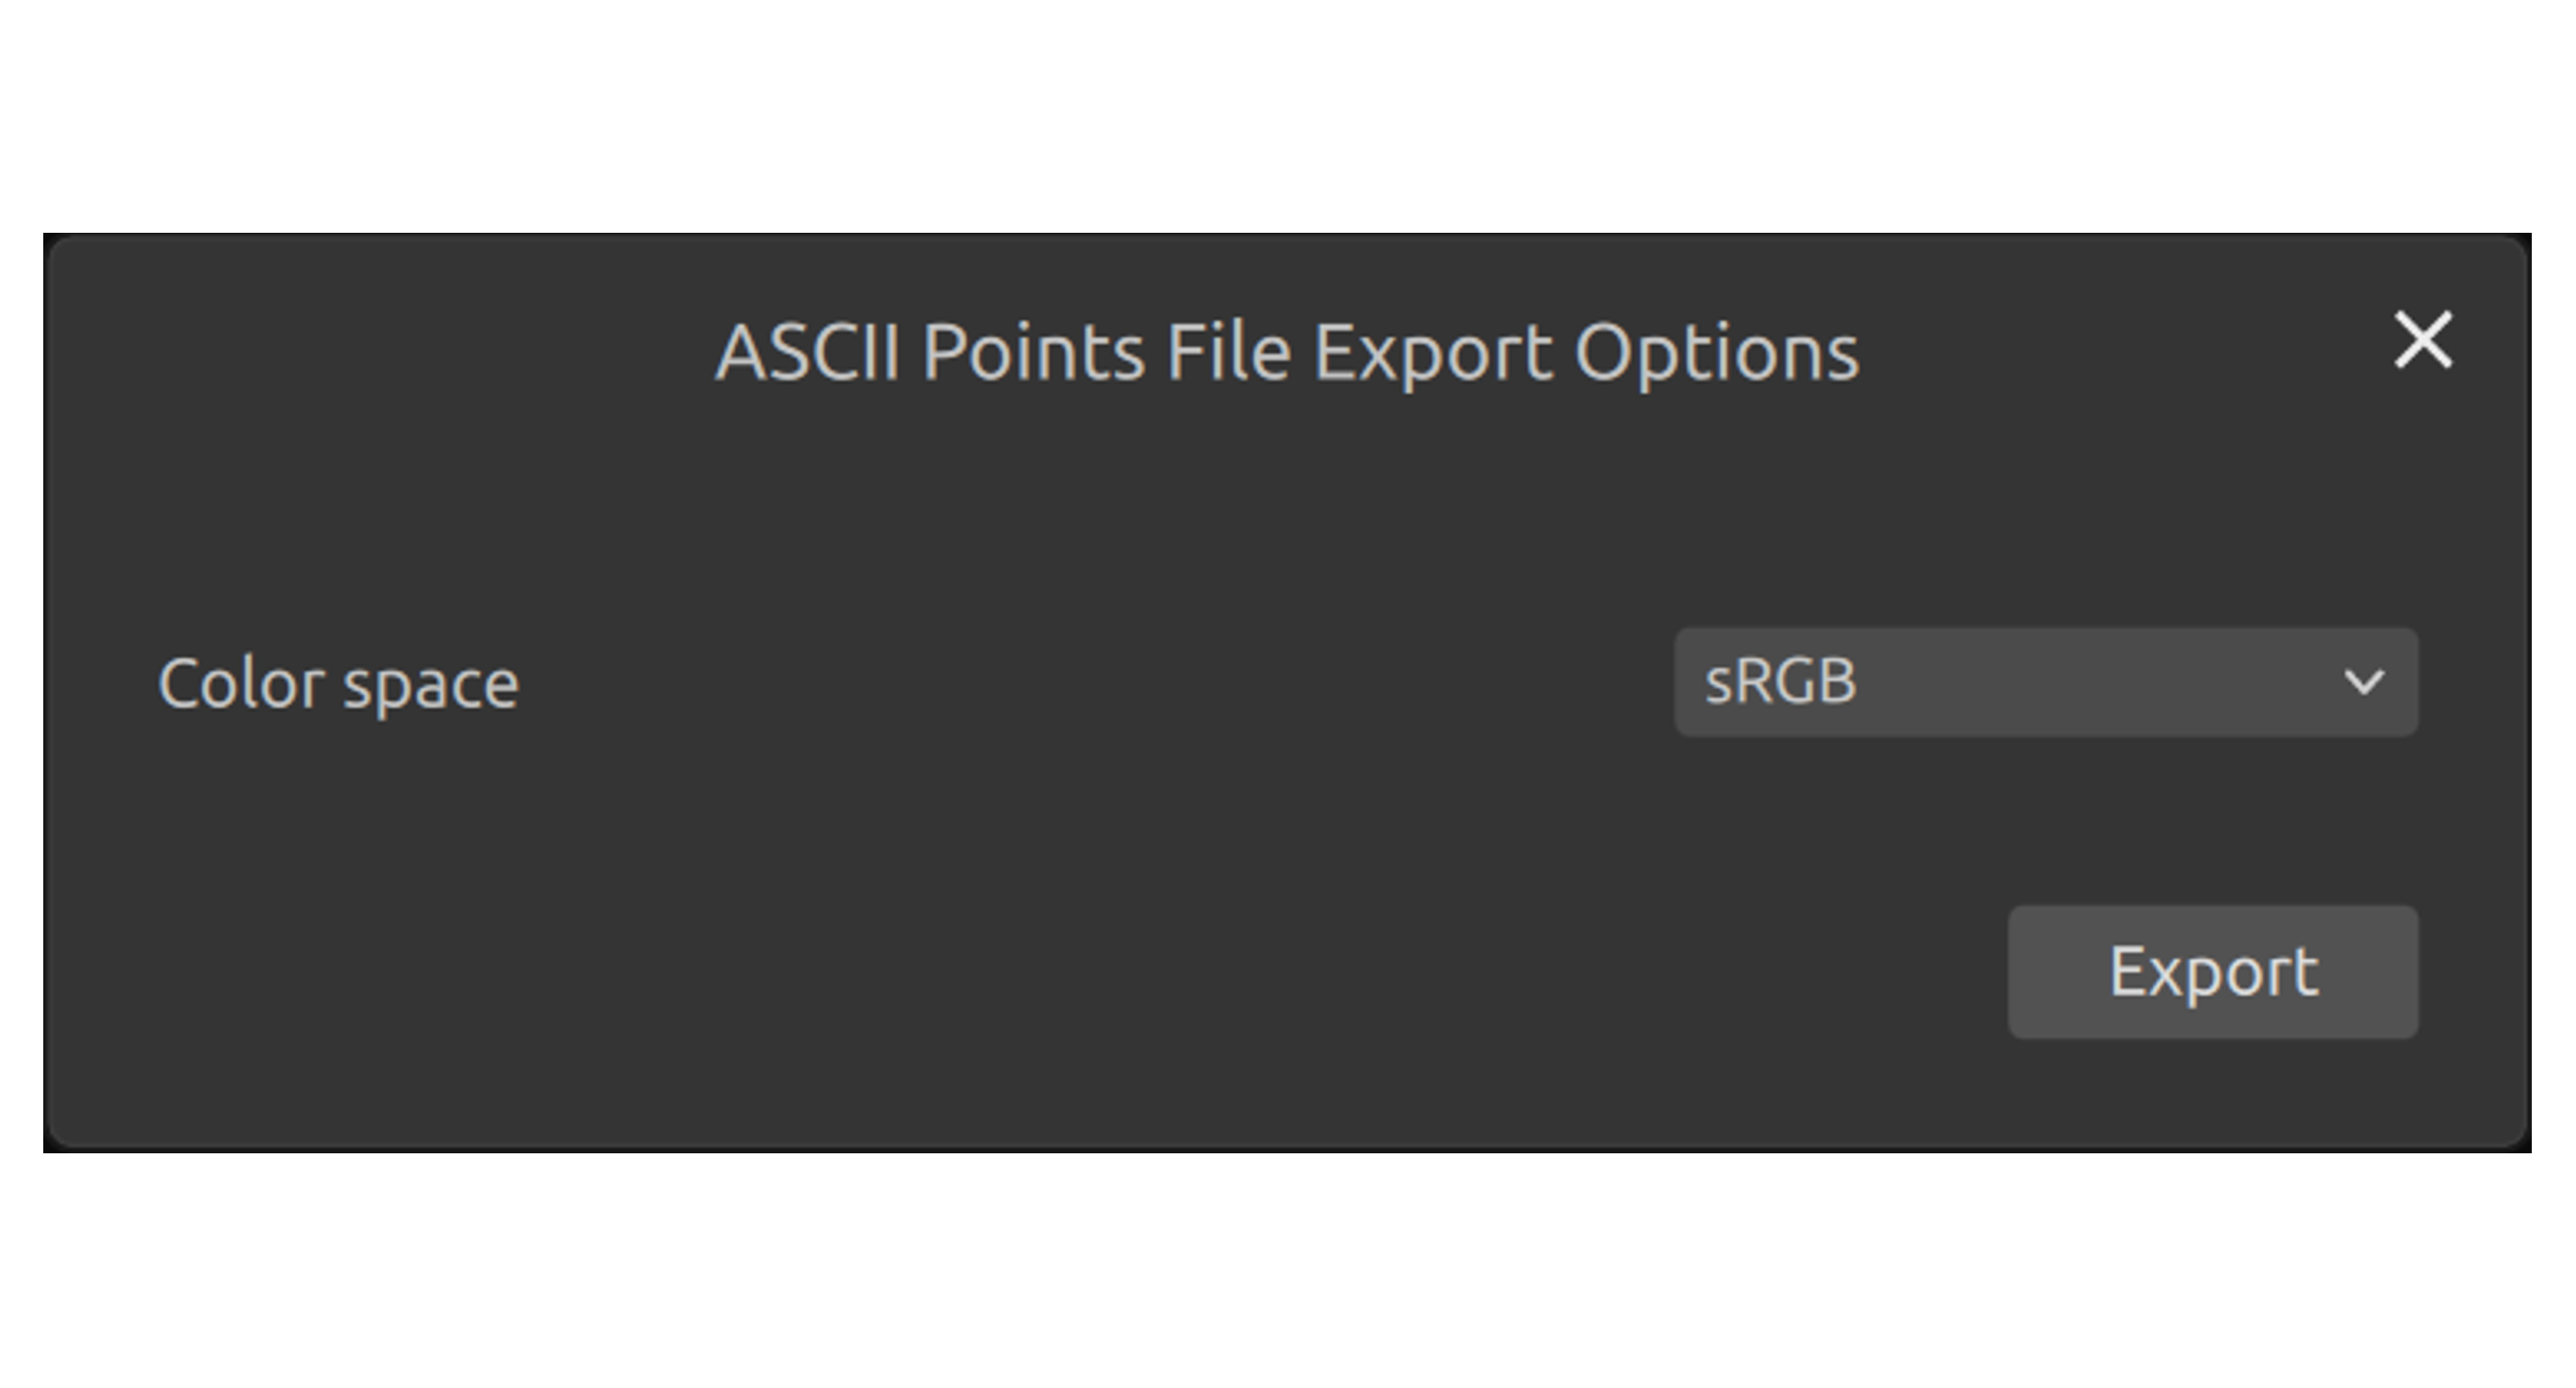
PLY、PCD 和 XYZ 文件格式的导出选项。
打开点云/文件相机
在 Zivid Studio 中打开点云仅支持 ZDF 文件格式。文件相机可以在 Zivid Studio 中以 ZFC 文件格式打开。
点击 File → Open。
导航到 ZDF / ZFC 文件的位置。
点击 Open。
您也可以将 ZDF / ZFC 文件拖放到 Zivid Studio 中,或双击它。
要从 Cameras 面板打开或创建文件相机,请单击 ⋯ 菜单并选择以下选项之一:
Open ZDF file as file camera - 将 ZDF 文件加载为文件相机。该文件必须是在启用诊断功能的情况下捕获的。
Use captured frame as file camera - 从查看器中当前显示的帧创建文件相机。该帧必须是在启用诊断功能的情况下捕获的。
详情请参阅 File Camera(文件相机) 。
保存彩色图像 / 深度图 / 信噪比图 / 法线图
您可以将 2D 彩色图像保存为我们 支持的图像格式 之一,即 PNG、BMP 或 JPG。对于所有格式的 2D 图像,您都可以在 sRGB 和线性 RGB 颜色空间之间进行选择。深度图、SNR 图和法线图只能以 PNG 格式保存。
点击 File → Save Color Image / Save Depth Map / Save SNR Map / Save Normal Map。
导航到要保存图像的位置。
写入文件名。
点击 Save。
导出设置
可以将所有设置保存到磁盘。
点击 File → Export Capture Settings。
导航到要保存设置的位置。
写入文件名。
点击 Save。
导入设置
在 Zivid Studio 中导入设置:
点击 File → Import Capture Settings。
导航到设置文件的位置。
点击 Open。
您还可以将 YML 文件拖放到 Zivid Studio 中以导入设置。
偏好设置
打开并修改 Zivid Studio 的偏好设置:
点击 File → Preferences。
勾选复选框以启用所需的偏好设置。
您可以在 配置文件 中阅读有关偏好设置的更多内容。
View(视图)
2D 彩色图像直方图
显示 2D 图像直方图:
点击 View → 2D Color Image Histogram。
在 Linear 和 Logarithmic 之间切换以更改比例。

信息
打开信息面板:
点击 View → Information,或点击右下角的 Information。
仅从 ZDF 文件加载点云或捕获点云或彩色图像后才可用。
信息面板的顶部显示了 Acquisition Time(采集时间)、Capture Time(捕获时间)和 Point Cloud / Color Image Size(点云/彩色图像大小)。
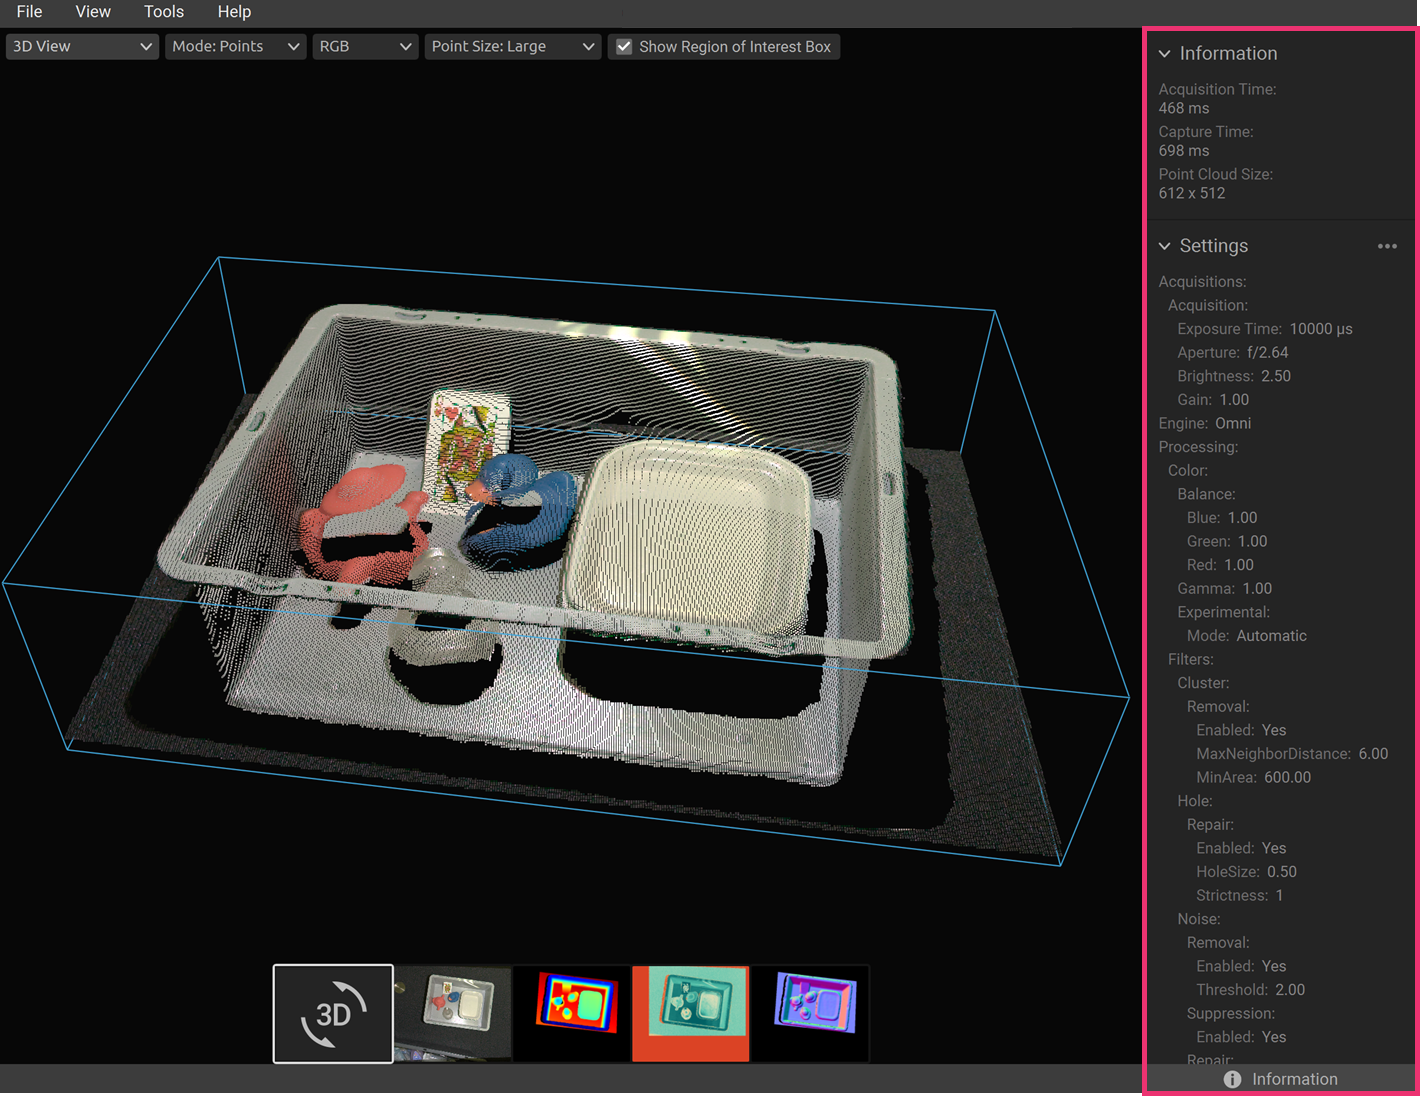
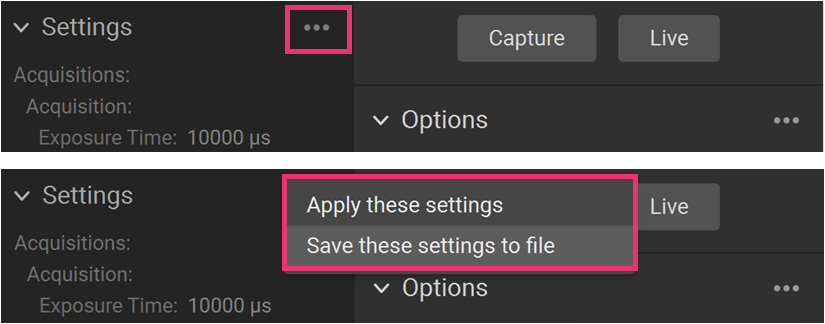
底部显示了捕获中使用的设置。您可以将这些设置保存到文件或应用它们以供下次捕获使用。
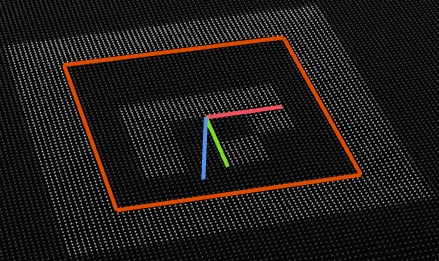
3D 轴指示器
点云视图的左下角会显示 3D 轴指示器。要禁用/启用它,请点击 View → 3D Axis Indicator。
显示 4x4 Aruco 标记
要突出显示点云中的任何 4x4 Aruco 标记,请点击 View → Show 4x4 Aruco Markers。
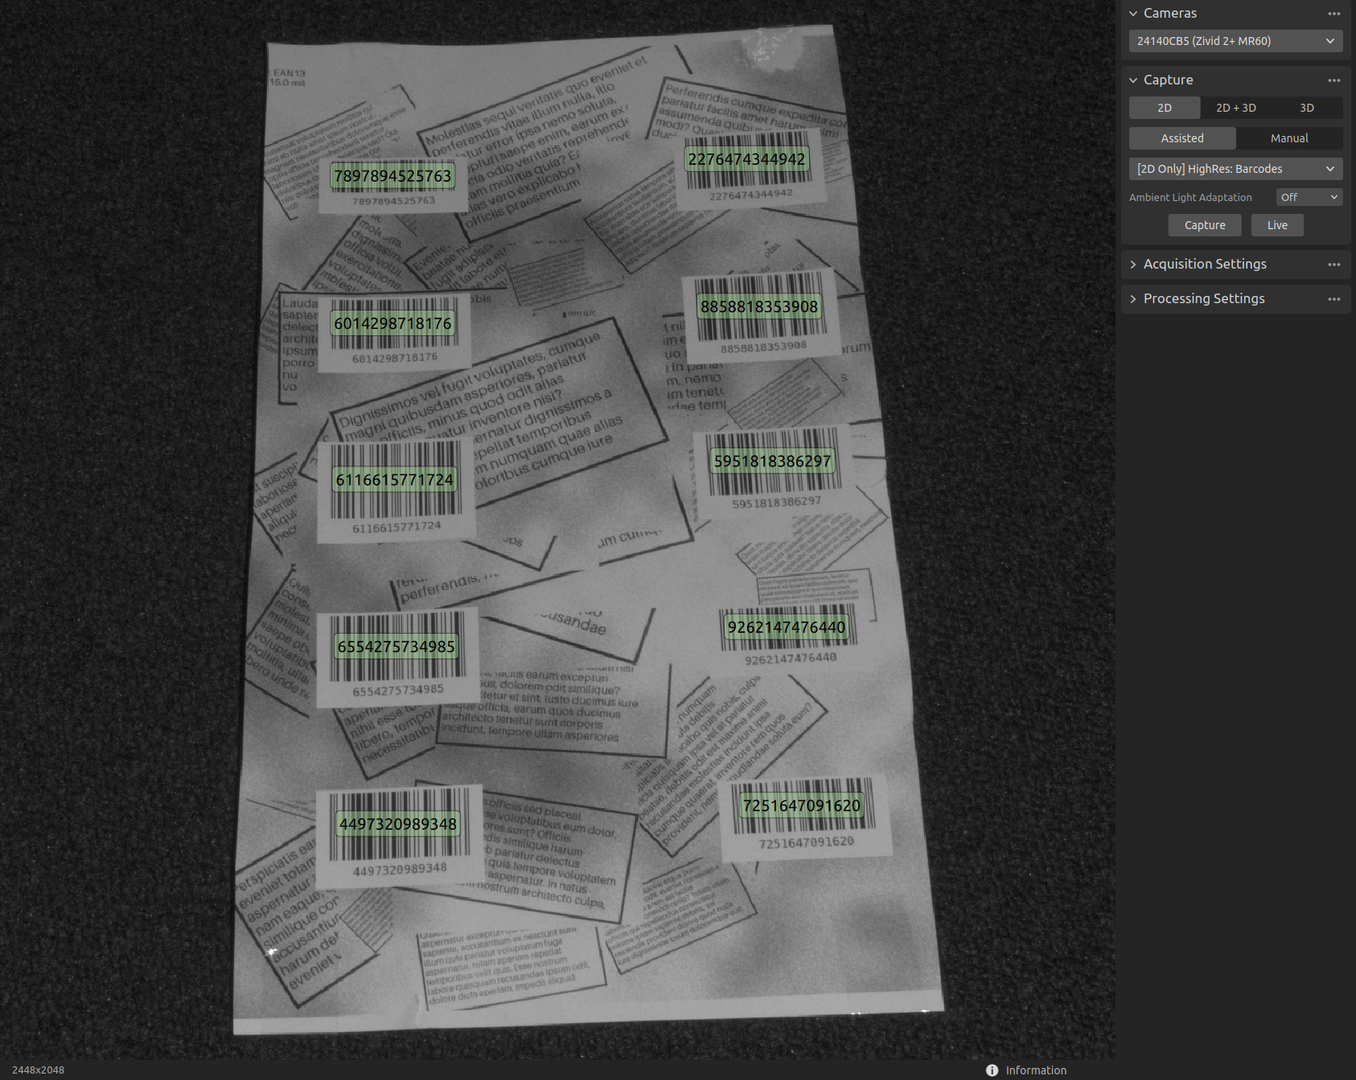
显示条形码
要显示 2D 图像中检测到的条形码,请点击 View → Show barcodes。
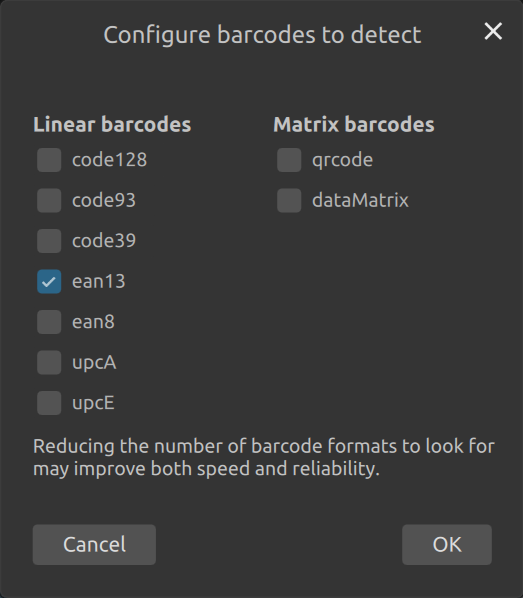
配置条形码以进行检测
要配置在 2D 图像中检测哪些条形码,请点击 View → Configure barcodes to detect。
打开文件时重置 3D 视图
要控制每次打开文件时是否将 3D 视图重置为默认视图,请点击 View → Reset 3D View When Opening Files。
Reset View
要将点云、彩色图像和深度图像视图重置为默认视图,请点击 View → Reset View,或按 Backspace 键。
Reset UI Layout
要将 Zivid Studio 窗口恢复为默认布局,请点击 View → Reset UI Layout。
全屏模式
要在全屏模式和常规屏幕模式之间切换,请点击 View → Enter Full Screen Mode / Exit Full Screen Mode,或按 F11 键。
Cameras(相机)
所有相机
打开相机菜单:
点击 Cameras → All Cameras。
这将列出所有发现的相机及其序列号、型号、IP 地址和状态。
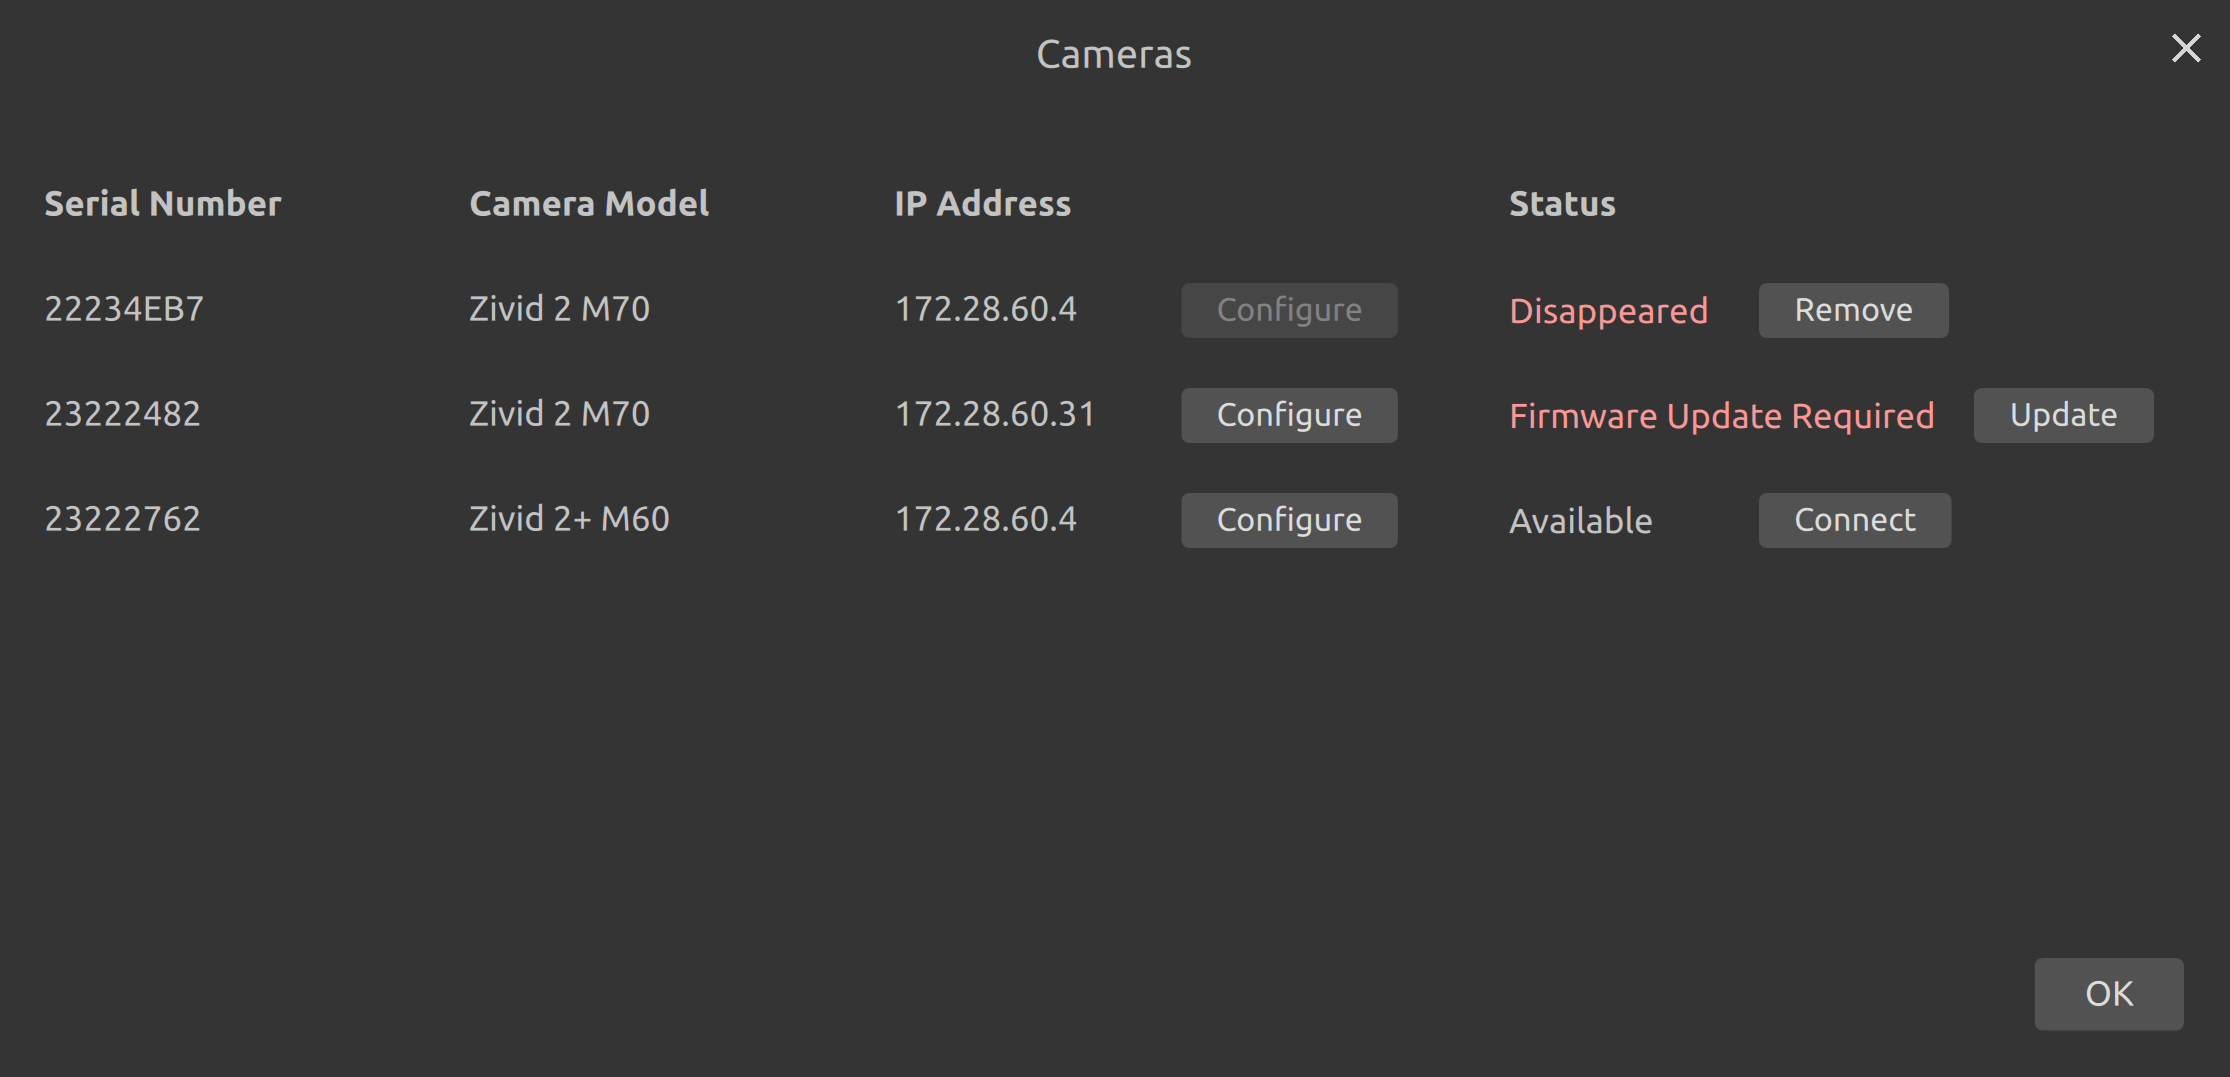
状态字段允许以下操作:
Connect 用于连接可用的相机。
Disconnect 用于断开已连接的相机。
Update 用于更新可用但需要固件更新的相机的固件。
Remove 用于从列表中移除已不再被发现的相机。
您可以通过点击 Configure 来更改任何已发现相机的网络配置。这将打开相机网络配置。
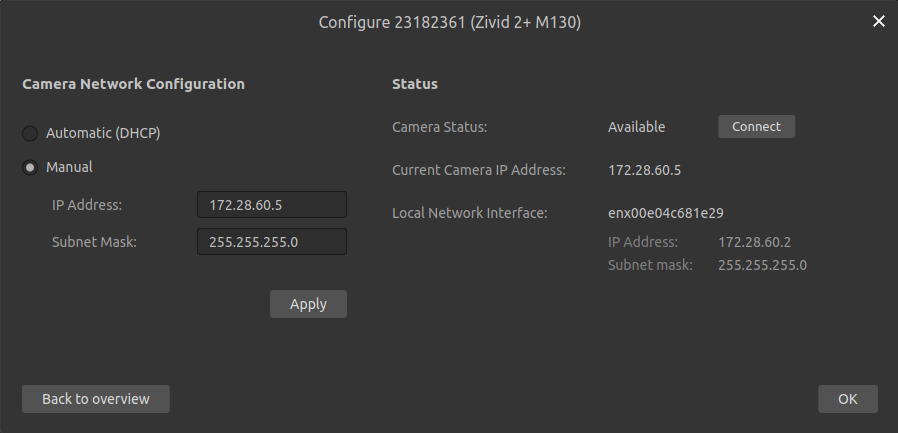
在此处,您可以将相机设置为使用 DHCP 或特定的静态 IP 地址,并通过点击 Apply 将配置应用到相机。应用网络配置后,相机的状态可能会发生变化。
Health Check(健康检查)
健康检查功能会报告已连接相机的状态,并将多个单独的检查项目(例如温度、风扇、内存和传输速度)汇总成一个整体状态。这可以快速概览相机是否在其规定的范围内运行。
要运行健康检查,请打开相机菜单(Cameras → All Cameras),然后点击已连接相机所在行的 Check。相机连接后,Check 按钮将变为可用状态。
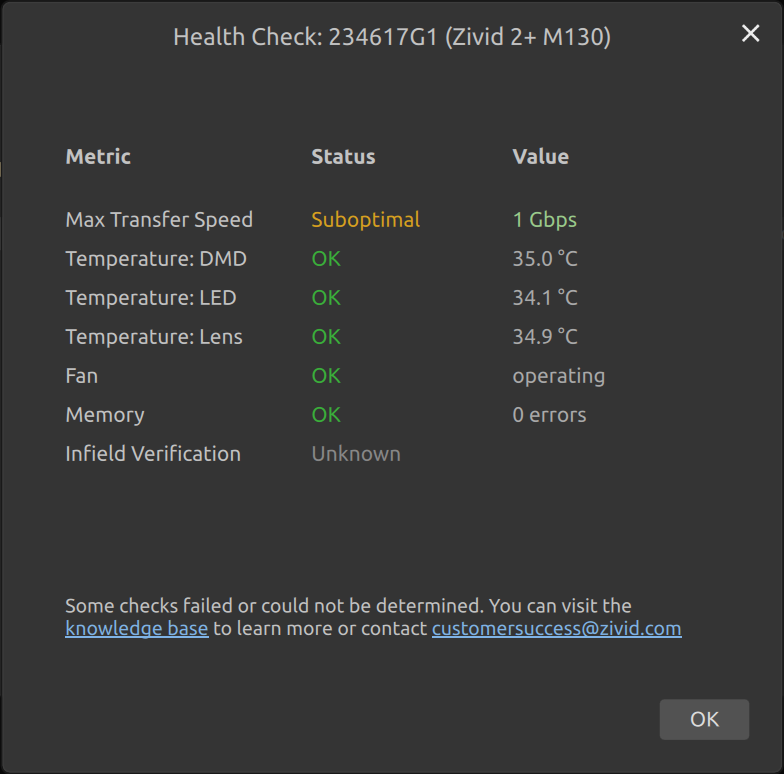
要以编程方式读取相同的健康检查状态,请参阅 相机健康检查 。
Tools(工具)
Infield Correction
可按下述方法打开现场标定工具:
点击 Tools → Infield Correction。
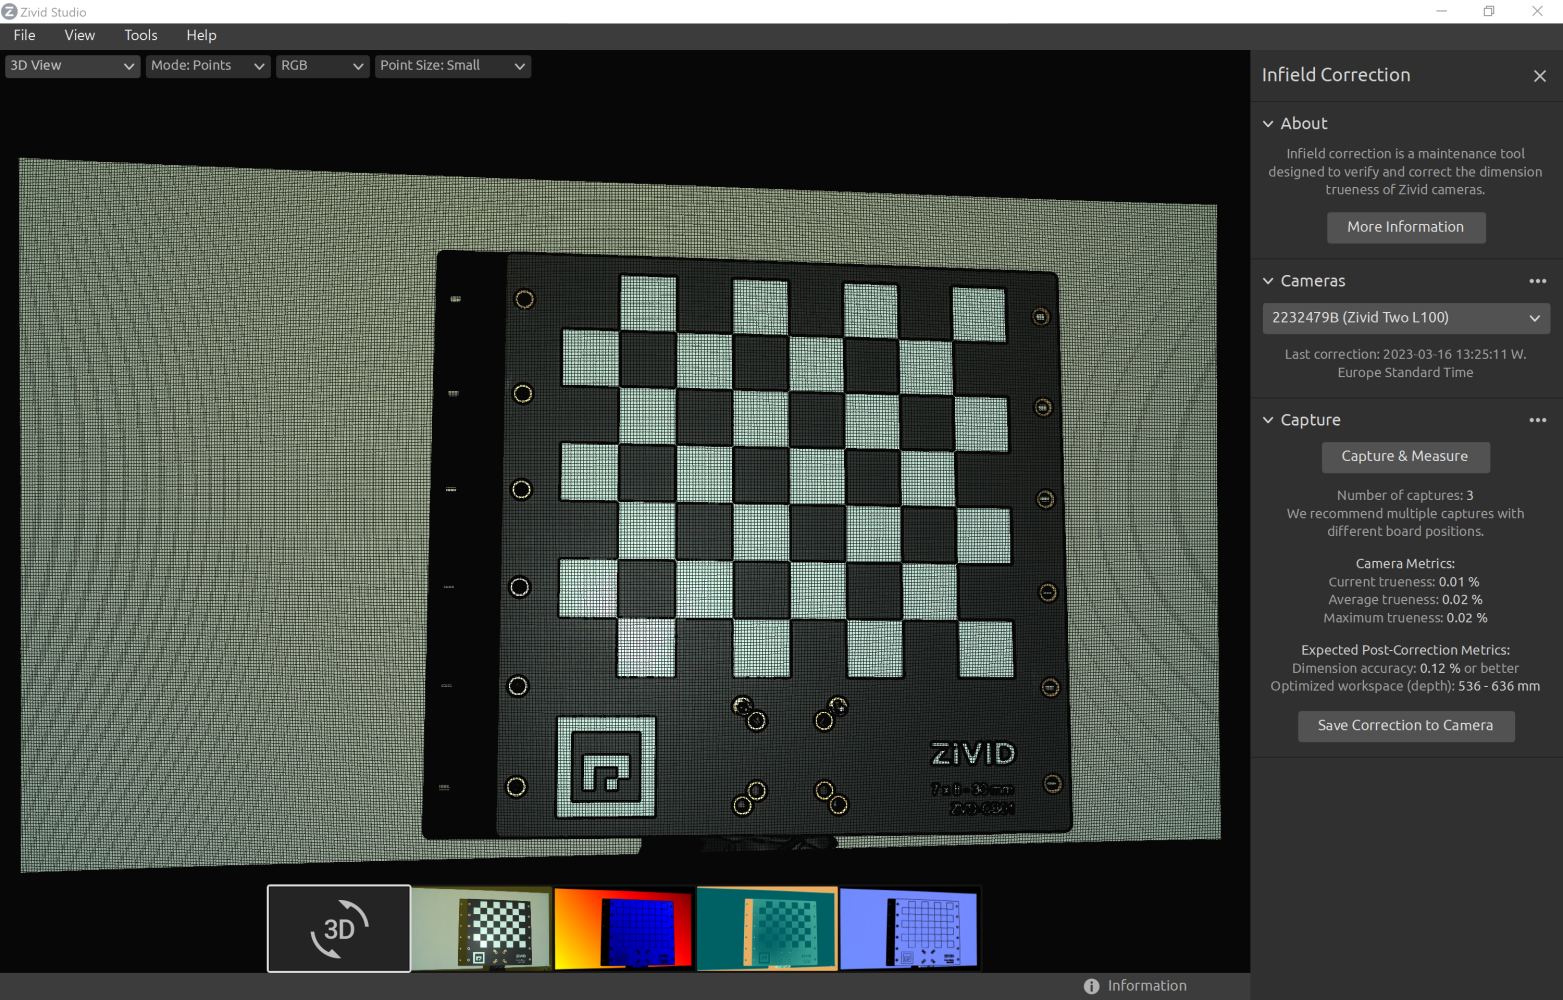
现场标定功能概述
Last correction 显示最近一次现场标定写入相机的日期和时间。
Capture & Measure 捕获图像以确定放置了 Zivid 标定板的区域的点云局部尺寸准确度误差。
Current Camera Metrics 显示最近一次使用 Capture & Measure 捕获的点云的局部尺寸准确度误差,以及所有捕获的误差的平均值和最大值。
Current trueness 显示最近一次使用 Capture & Measure 捕获的点云的局部尺寸准确度误差。
Average trueness 显示到目前为止使用 Capture & Measure 进行的所有捕获的局部尺寸准确度误差的平均值。
Maximum trueness 显示到目前为止使用 Capture & Measure 进行的所有捕获的局部尺寸准确度误差的最大值。
Expected Post-Correction Metrics 显示在拍摄图像的工作距离上的 1σ(标准差)统计学不确定性内的估计的校正后的误差。
Save Correction to Camera 将参数写入相机,这些参数用于改善通过 Capture & Measure 捕获 Zivid 标定板所确定的点云的尺寸正确度。
Reset Camera Correction 删除在之前的正确实例中应用的任何现场标定结果。在进行新的现场标定之前不需要进行重置。
了解更多关于 Infield Correction(现场标定) 的信息。
Help
View Help Online
要在浏览器中打开 Zivid 知识库,请点击 Help → View Help Online。
About Zivid Studio
要查看有关 Zivid、第三方软件许可证和系统信息的详细信息,请点击 Help → About Zivid Studio。