Zivid CLI Tool for Hand-Eye Calibration
This tutorial shows how to use the Command Line Interface (CLI) tool for hand-eye calibration. Step by step instructions are provided with screenshots below.
备注
The ZividExperimentalHandEyeCalibration.exe CLI tool using *.yaml file format for robot poses is experimental. We recommend using the Hand-Eye GUI instead.
要求
操作说明
采集数据集
If you haven't read our complete tutorial on 手眼标定, we encourage you to do so. The bare minimum for acquiring the dataset is to check How to get Good Dataset for Hand-Eye Calibration. Also, it can be very helpful to read on Cautions and Recommendations for Hand-Eye Calibration.
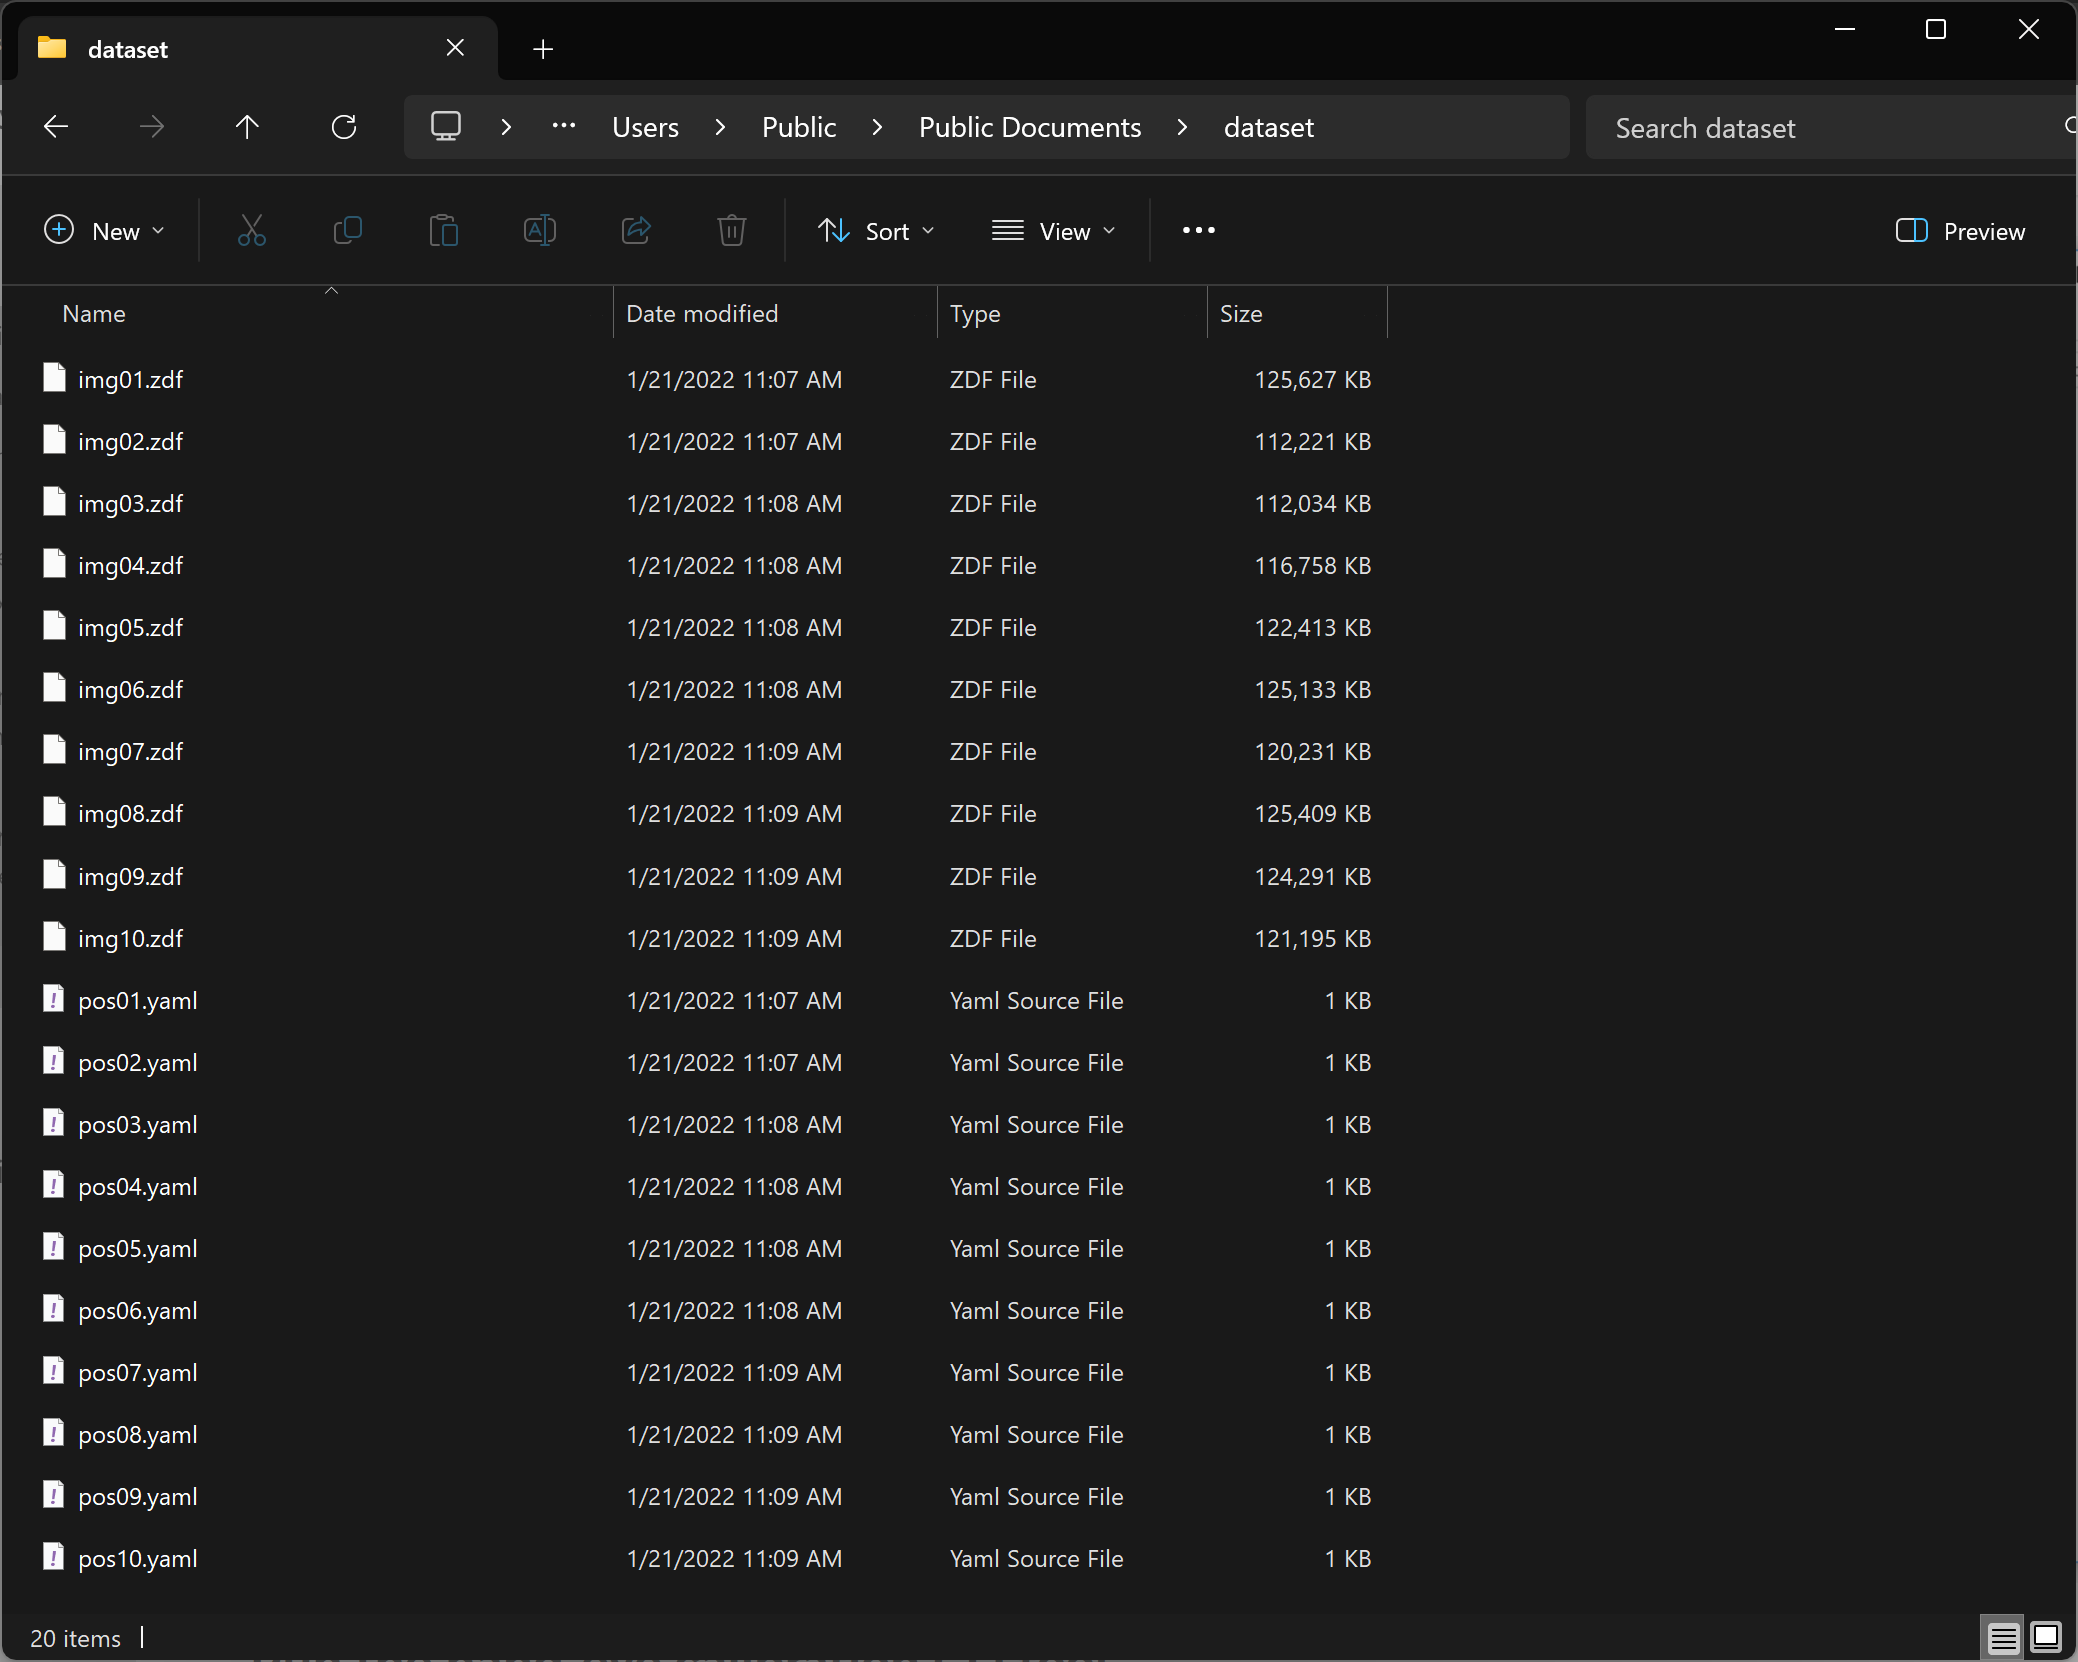
假定数据集包含10-20 组数据,其中包含了.zdf格式的 Zivid 标定对象 点云文件和记录了对应的机器人位姿的.yaml格式的文件。命名规则为:
点云: img01.zdf、img02.zdf、img03.zdf 等
机器人位姿: pos01.yaml、pos02.yaml、pos03.yaml 等
小心
机器人位姿的平移部分必须以毫米为单位。
CLI 工具可与 Zivid 棋盘格或 ArUco 标记配合使用。但是,与 SDK 不同,CLI 工具仅与单个 ArUco 标记字典配合使用:DICT_4X4_50。
这是一个可供下载的机器人位姿的示例 - pos01.yaml。如需了解如何写入/读取.yaml格式的文件,请查看 OpenCV YAML file storage class。数据集文件夹应如下内容:
小心
机器人位姿文件是.yaml文件格式,不像相机设置和配置文件是.yml文件格式。
运行手眼标定CLI工具
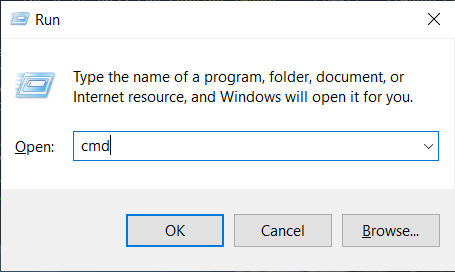
同时按下键盘上的Win+R键启动命令提示符,然后键入 cmd 并 按 Enter 键。
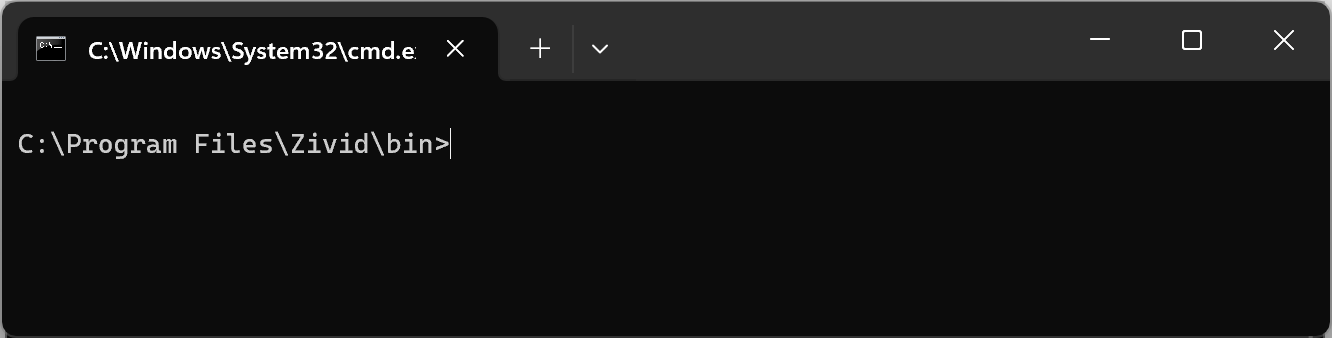
导航到您安装Zivid软件的文件夹:
cd C:\Program Files\Zivid\bin
通过输入以下命令即可显示 ZividExperimentalHandEyeCalibration.exe CLI工具的输入和输出:
ZividExperimentalHandEyeCalibration.exe -h
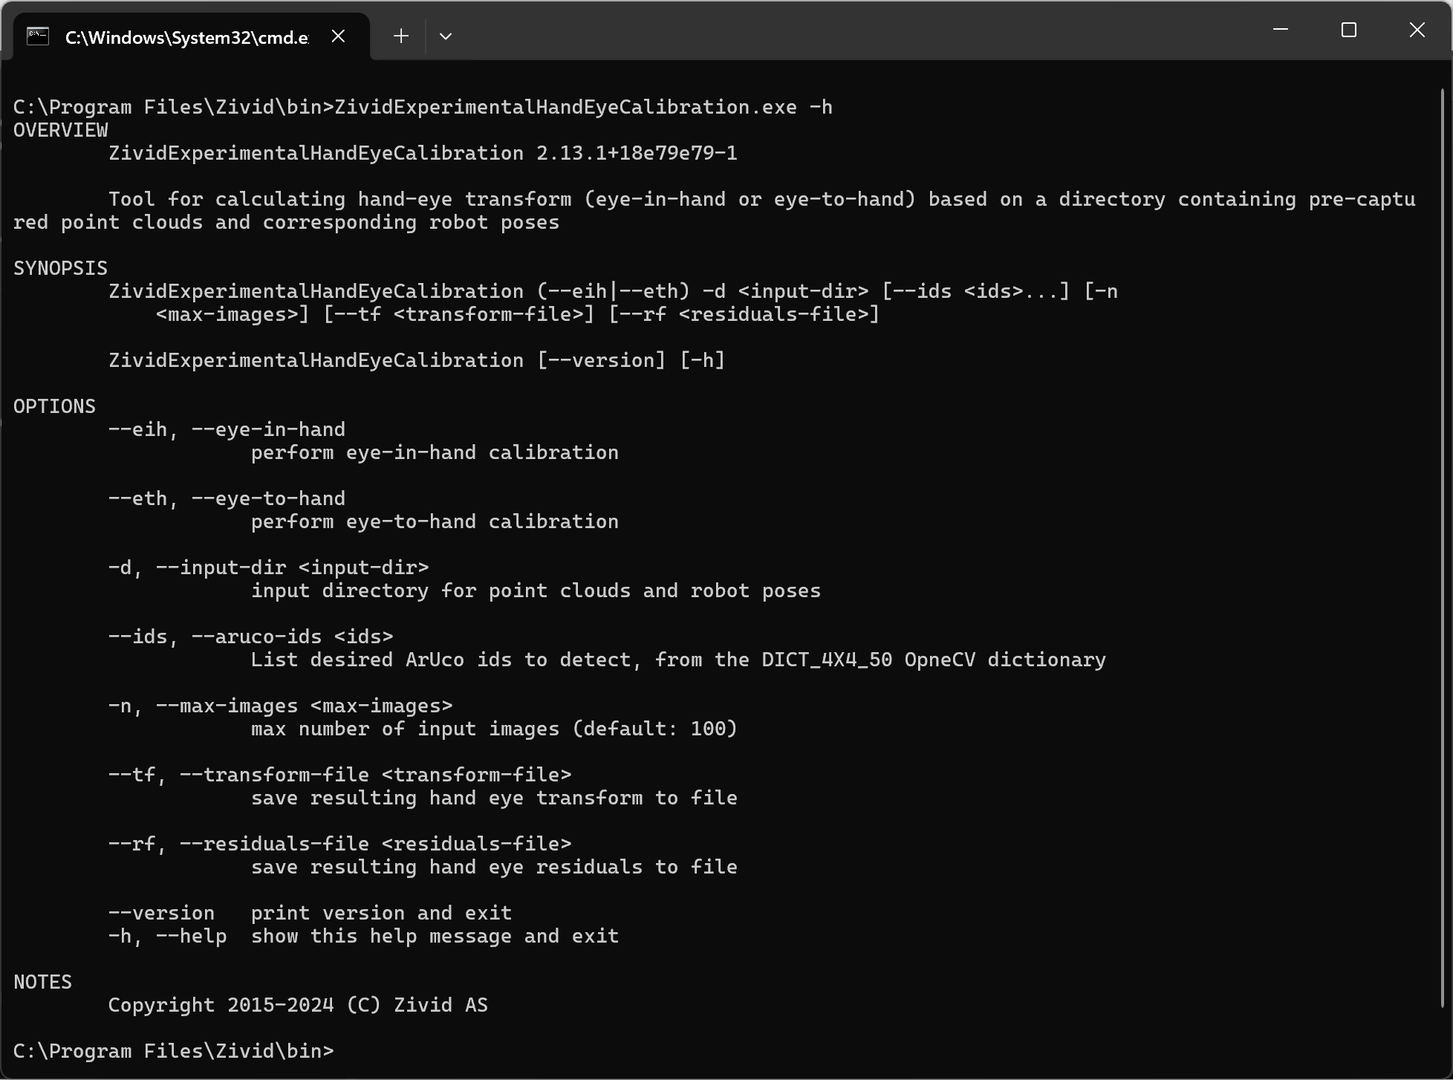
要运行 ZividExperimentalHandEyeCalibration.exe CLI 工具,您必须指定:
标定的类型(eye-in-hand或eye-to-hand)
数据集(.zdf文件和.yaml机器人位姿)的路径。
指定要保存生成的手眼转换和残差的位置也很方便,请参见下面的示例:
SET dataset=C:\Users\Public\Documents\Directory_where_dataset_is_located
ZividExperimentalHandEyeCalibration.exe --eth -d "%dataset%" --tf "%dataset%\transform.yaml" --rf "%dataset%\residuals.yaml"
标定的类型(eye-in-hand或eye-to-hand)
数据集(.zdf文件和.yaml机器人位姿)的路径。
使用的 ArUco 标记的 ID
指定要保存生成的手眼转换和残差的位置也很方便,请参见下面的示例:
SET dataset=C:\Users\Public\Documents\Directory_where_dataset_is_located
ZividExperimentalHandEyeCalibration.exe --eth -d "%dataset%" --tf "%dataset%\transform.yaml" --rf "%dataset%\residuals.yaml" --ids 1, 2, 3
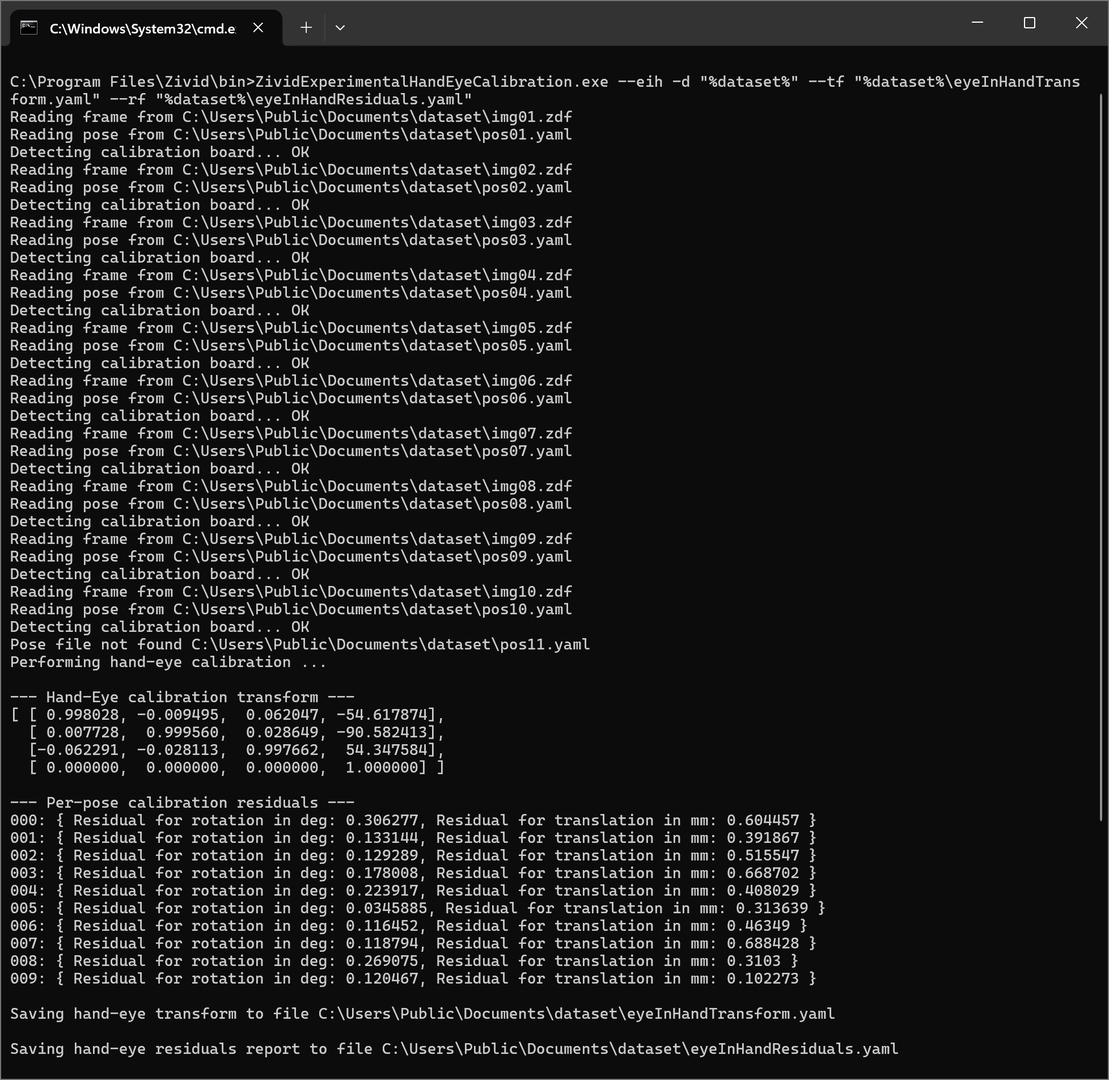
在运行期间,如果算法能够检测到校准对象,则输出("OK"),如果无法检测到,则输出("FAILED")。 在检测完成之后,它将输出手眼转换的结果(4x4齐次变换矩阵)。 最后将输出每个位姿的 手眼标定的残差 。 请参阅下面的输出的示例。
After completing hand-eye calibration, the next step is to verify that the resulting transformation matrix is correct and within the accuracy requirements. In the article How to Verify Hand-Eye Calibration, we describe several methods.
然后可以使用生成的齐次变换矩阵 (eyeInHandTransform.yaml) 将拾取点坐标或基于相机坐标系的整个点云转换到机器人基坐标系。 要进行该转换,请查看 How To Use the Result of Hand-Eye Calibration。