Sampling (2D)
Color
Settings2D::Sampling::Color rgb 또는 grayscale 로 설정하면 장면에서 캡처할 수 있는 정보 유형을 지정합니다. 카메라 모델에 따라 설정 옵션이 다릅니다.
Zivid 2/2+ |
Zivid 2+ R |
Zivid 3 |
|
|---|---|---|---|
|
✓ |
✓ |
✓ |
|
✓ |
||
|
✓ |
✓ |
Settings2D::Sampling::Color 와 관련된 다양한 캡처 함수의 동작은 다음과 같습니다.
Capture2D3D() 및 Capture2D()
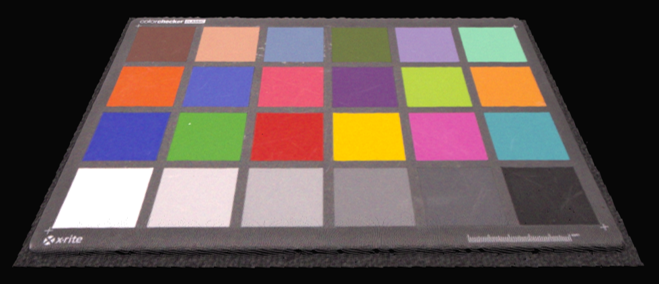
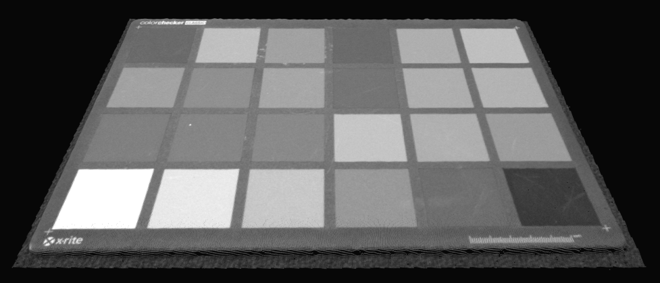
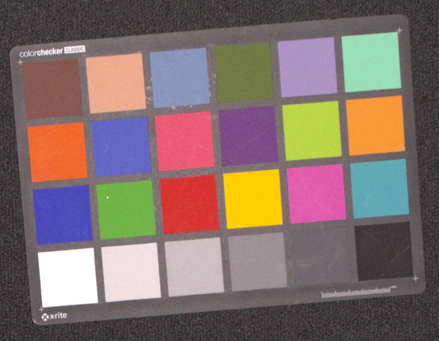
Settings2D::Sampling::Colorrgb로 설정된 경우 전체 색상 정보를 얻습니다.Settings2D::Sampling::Colorgrayscale로 설정된 경우 텍스처 또는 강도 정보를 수집합니다.
Capture3D()
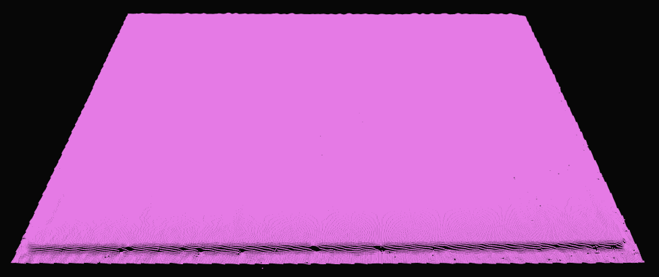
Settings2D::Sampling::Color설정에 관계없이 색상이나 질감 정보를 수집하지 않습니다.모든 픽셀에 균일한 RGB 값 (\(R=200\), \(G=50\), \(B=200\)) 을 할당하여 분홍색 이미지와 포인트 클라우드를 생성합니다.
Capture function |
|
2D image |
Point cloud |
|---|---|---|---|
|
|
RGB |
RGB |
|
RGB |
RGB |
|
|
Grayscale |
Grayscale |
|
|
RGB |
RGB |
|
|
|
RGB |
/ |
|
RGB |
/ |
|
|
Grayscale |
/ |
|
|
RGB |
/ |
|
|
|
Pink |
Pink |
|
Pink |
Pink |
|
|
Pink |
Pink |
|
|
Pink |
Pink |
Pixel
Settings2D::Sampling::Pixel 매개변수는 2D 이미지를 생성할 샘플링 픽셀을 선택하는 데 사용됩니다. 카메라 모델에 따라 설정 옵션이 다릅니다.
Zivid 2/2+ |
Zivid 2+R/3 |
|
|---|---|---|
|
✓ |
✓ |
|
✓ |
|
|
✓ |
|
|
✓ |
|
|
✓ |
|
|
✓ |
|
|
✓ |
각 카메라의 해상도는 다음과 같습니다.
3D capture |
Zivid 3 |
Zivid 2+/2+R |
Zivid 2 |
|---|---|---|---|
Full resolution [1] |
2816 x 2816 |
2448 x 2048 |
1944 x 1200 |
2x2 [1] |
1408 x 1408 |
1224 x 1024 |
972 x 600 |
4x4 [1] |
704 x 704 |
612 x 512 |
Not available |
all 로 설정하면 모든 픽셀이 샘플링되고 2D 이미지의 해상도가 전체가 됩니다.
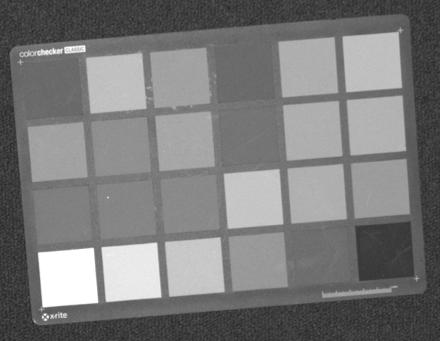
다음 그림은 센서 그리드와 관련 인덱스를 보여줍니다.
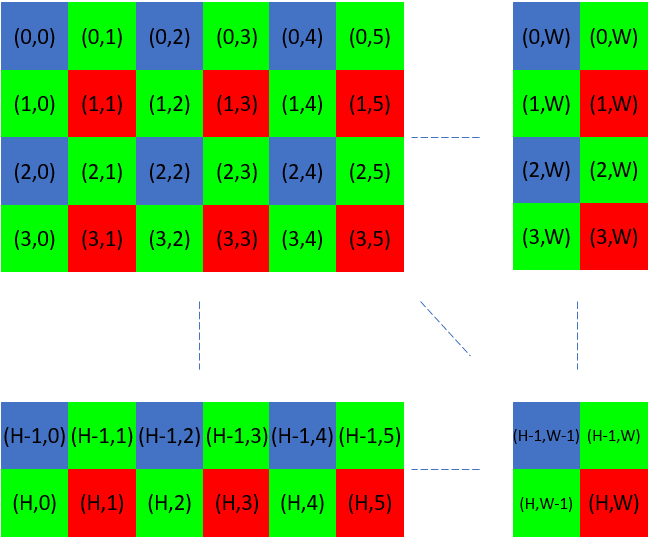
2x2로 하위 샘플링/다운샘플링을 하면 원래 픽셀 수의 1/4을 얻습니다.
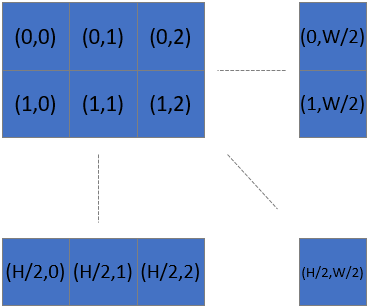
즉, 2x2를 서브샘플링 또는 다운샘플링한 후 x축과 y축을 따라 픽셀의 개수를 2로 나눕니다. 4x4를 서브샘플링하는 경우 x축과 y축을 따라 점의 개수를 4로 나눕니다.
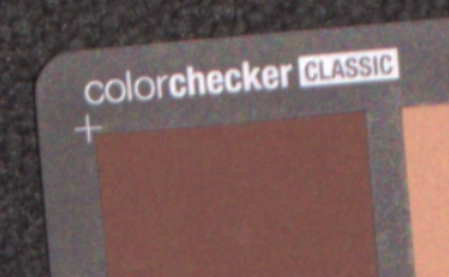
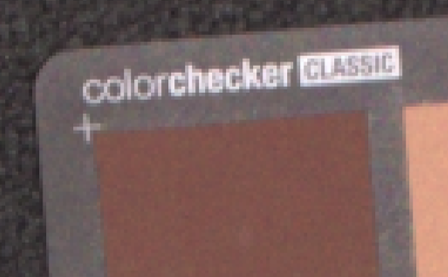
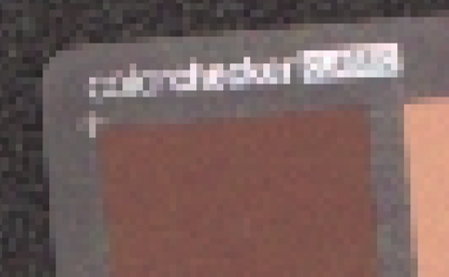
예를 들어, 같은 장면의 세 이미지의 확대된 섹션을 살펴보세요. 각 이미지는 서로 다른 Settings2D::Sampling::Pixel 설정으로 촬영되었습니다.
서브샘플링을 사용하면 캡처하고 처리하는 데이터의 양이 줄어들기 때문에 수집 및 캡처 시간이 단축됩니다. 또한 데이터를 관리하기 쉬운 크기로 변환하기 위해 데이터를 다운샘플링할 필요가 없으므로 저장 및 후처리 요구사항이 줄어듭니다. 데이터의 4분의 1을 사용하면 사용자 후처리(예: AI 기반 세분화)가 더 빨라집니다.
Interval
샘플링 간격 설정은 외부 광원과의 간섭을 피하기 위해 2D 이미지 수집의 타이밍을 제어합니다.
참고
2D 샘플링 간격은 Zivid 3에서만 사용할 수 있습니다.
Settings2D::Sampling::Interval 이 비활성화되면 카메라는 지정된 노출 시간에 따라서만 가능한 한 빨리 이미지를 캡처합니다.
Settings2D::Sampling::Interval 이 활성화된 경우, 2D 이미지 수집의 기본 시간 간격은 Settings2D::Sampling::Interval::Duration 매개변수에 의해 정의됩니다. 실제 수집은 노출 시간에 따라 이 기간의 가장 가까운 배수에 맞춰집니다.
Example
노출 시간이 3,000µs 이고 샘플링 간격 지속 시간이 10,000µs 인 경우 수집은 10,000µs (1 x 10,000µs)에서 발생합니다.
노출 시간이 15,000µs 이고 샘플링 간격 지속 시간이 10,000µs 인 경우 수집은 20,000µs(2 x 10,000µs)에서 발생합니다.
노출 시간이 9,000µs 이고 지속 시간이 10,000µs 인 경우, 시스템 오버헤드로 인해 20,000µs 에서 수집이 발생할 수 있습니다. 이러한 동작은 런타임에 결정되며 사전에 예측할 수 없습니다.
노출 시간이 샘플링 간격 지속 시간과 가까울 경우 내부 처리 오버헤드로 인해 캡처 타이밍이 변동될 수 있습니다.
Adapting to Flickering Ambient Light
샘플링 간격은 다음과 같이 주변광이 깜박이는 환경에서 특히 유용합니다.
Fluorescent lighting powered by alternating current (AC)
Barcode scanners with intense LED illumination
노출 시간이 그리드 주파수와 동기화되지 않으면 깜박이는 빛으로 인해 촬영된 이미지에 색상 불일치가 발생할 수 있습니다 (예 random green or pink tints).
Flickering AC-Powered Light
이를 완화하려면:
Settings2D::Sampling::Interval을 활성화하세요.그리드 주파수에 따라
Settings2D::Sampling::Interval::Duration을 설정합니다.10 000 µs for 50 Hz
8 333 µs for 60 Hz
이러한 동기화는 깜박이는 빛으로 인한 간섭을 피하고 일관된 색상 재현을 보장하는 데 도움이 됩니다.
참고
Exposure Time 을 그리드 주파수에 맞추는 것이 샘플링 간격을 사용하는 것보다 더 나은 해결책입니다. 샘플링 간격은 대안으로만 사용하십시오. 예를 들어, 2D 이미지에서 노출 시간을 조정하여 과다 노출을 방지하는 것이 불가능한 경우입니다. 또 다른 예로, 긴 노출 시간을 보정하기 위해 프로젝터 밝기를 너무 낮춰야 하는 경우, 컬러 이미지에 더 많은 노이즈가 발생합니다. 이는 rgb 모드를 사용할 때의 경우이며, rgbStrongAmbientLight 모드를 사용할 때는 해당되지 않습니다.
노출 시간이 이미 깜박임을 보상하는 경우(예: 50Hz의 경우 10,000µs) Settings2D::Sampling::Interval 을 비활성화하는 것이 좋습니다.
Active Light Sources
샘플링 간격은 활발하게 깜빡이는 광원(예: 바코드 스캐너, LED 스트로브)과 동기화하는 데에도 사용할 수 있으며, 이를 통해 간섭을 최소화하고 이미지 품질을 향상시키는 데 도움이 됩니다. how to avoid interference from active light sources 에 대해 자세히 알아보세요.
Version History
SDK |
Changes |
|---|---|
2.17.0 |
Zivid 3 카메라의 샘플링 간격 설정에 대한 지원이 추가되었습니다. |
