Network Configuration
조심
네트워크 구성에 대한 올바른 지침은 SDK 버전에 따라 다릅니다. 왼쪽 상단 드롭다운에서 SDK 버전을 선택합니다.
Default configuration
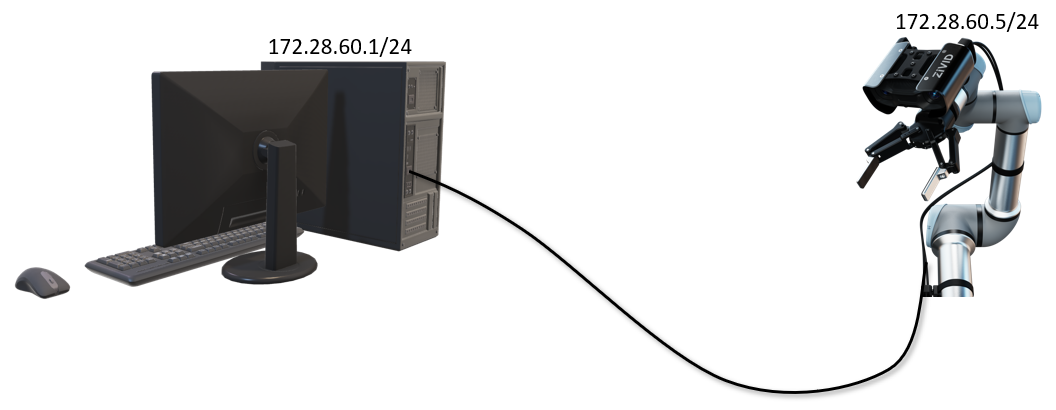
이더넷 기반 Zivid 카메라는 아래 표에 나열된 기본 고정 IP가 설정되어 있습니다. 카메라에 연결하려면 인터페이싱 네트워크 카드의 IP 주소가 카메라와 동일한 서브넷 범위에 있어야 합니다.
이 튜토리얼을 시작하기 전에 카메라를 어떤 방식으로도 구성하지 않았거나 카메라가 아직 기본 구성 상태라는 것을 알고 있다고 가정해 보겠습니다. 이 경우, PC의 인터페이스 네트워크 카드를 구성한 후 연결할 수 있습니다. 이 작업을 수행하려면 Static IP Network Configuration - PC 를 방문하세요.

IP |
Subnet mask |
Gateway |
Hostname |
|
|---|---|---|---|---|
Zivid camera |
|
|
|
|
Possible PC |
|
|
|
Custom configuration
다음과 같은 경우 사용자 지정 설정이 필요합니다.
카메라의 IP 또는 hostname을 변경하려는 경우,
카메라가 default 설정이 아닌 경우,
여러 대의 카메라에 연결하려는 경우,
Zivid SDK가 연결할 수 있는 카메라를 제한하려는 경우,
여기에는 카메라와 PC의 고정 IP를 변경하는 것 외에도 동적 모드로 구성하는 작업이 포함될 수 있습니다. 사용자 지정 설정은 Static IP와 dynamic IP 설정으로 나뉩니다.
이는 고정 IP 172.28.60.5 를 사용하는 카메라의 기본 설정입니다. 다음 가이드에서는 카메라와 PC의 고정 IP를 변경하고 설정하는 방법을 설명합니다.
카메라는 DHCP 또는 링크 로컬을 사용한 자동 IP 구성도 지원합니다. 자동 IP를 사용하도록 구성된 경우, 카메라는 먼저 DHCP를 사용하여 IP 주소를 얻으려고 시도합니다(약 45초 이내). DHCP 서버에서 IP 주소를 얻으려면 네트워크의 라우터 또는 PC에서 로컬로 실행되는 DHCP 서버가 필요합니다.
다음 가이드에서는 DHCP 또는 link-local을 사용하여 PC와 카메라 모두에 대해 Dynamic IP를 구성하는 방법을 설명합니다.
Connecting to the camera
Default configuration 또는 Custom configuration 을 수행했다면 이제 카메라에 연결할 수 있습니다. 카메라가 처음 연결될 때는 연결되기까지 10~20초가 걸릴 수 있습니다. 카메라를 검색하고 연결하는 데 권장되는 두 가지 방법이 있습니다.
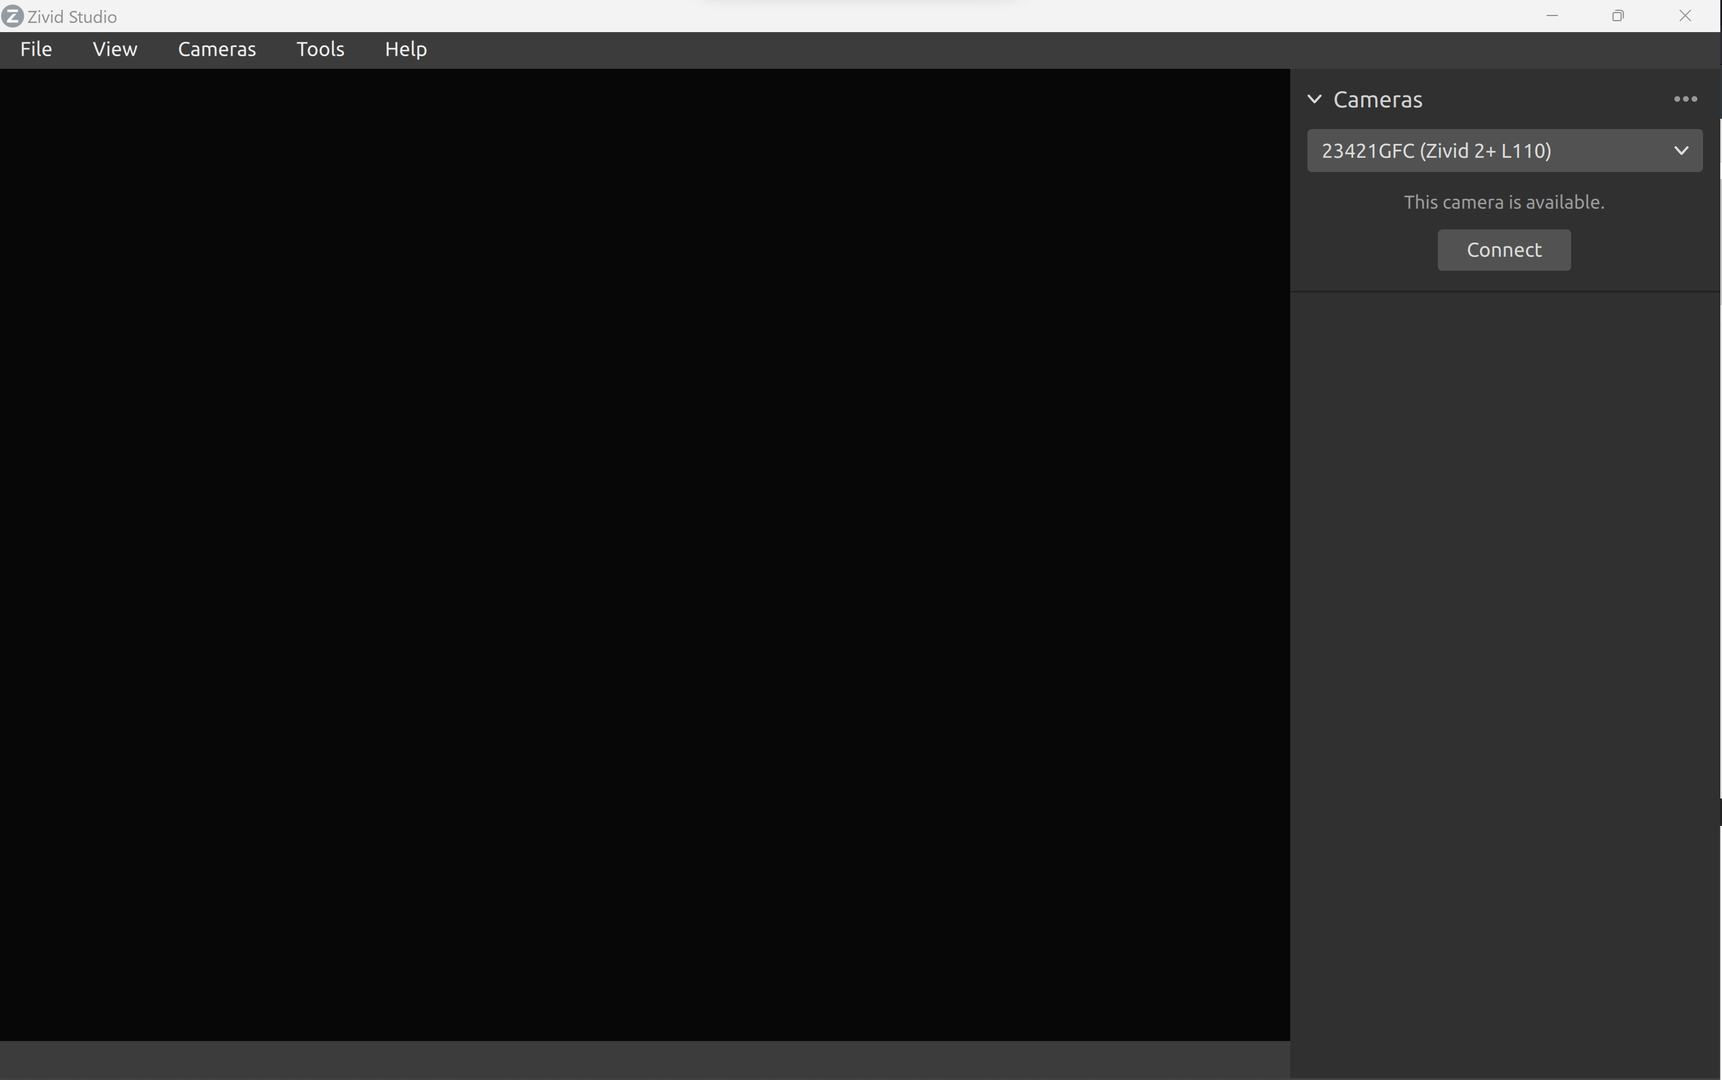
Zivid Studio 를 열고 카메라를 검색하고 연결할 수 있는지 확인합니다.

ZividListCameras CLI 도구를 사용하여 연결을 테스트하세요. 이 도구는 Windows에서는 Zivid SDK와 함께, Ubuntu에서는 Zivid Tools 패키지와 함께 설치됩니다.
ZividListCameras --test-connect

여전히 카메라를 검색하거나 연결할 수 없는 경우 No cameras found in Zivid Studio 를 확인하세요.
Performance
캡처 시간은 카메라와 네트워크 인터페이스 간의 연결 속도 및 캡처 설정에 따라 달라집니다. 최적의 성능을 위해서는 카메라에 10Gbps가 필요합니다. 컴퓨터에 10기가비트 이더넷 포트가 없을 수 있지만, 이 경우 Thunderbolt 3-10GbE 어댑터를 사용하여 연결할 수 있습니다. 성능이 저하되면 5GbE, 2.5GbE 또는 1GbE를 사용할 수도 있습니다.
특정 캡처 설정(Presets 포함)의 최대 대역폭을 확인하려면 Capture Speed Calculator 로 이동하세요.
힌트
카메라 뒷면의 status LEDs 는 현재 링크 용량이 표시됩니다.
Performance |
Network |
Interface |
Connection |
|---|---|---|---|
Optimal (recommended) |
10GbE (10Gbps) |
PCIe card |
Direct |
Very good |
10GbE |
Thunderbolt Adapter |
Direct |
Good |
5GbE 또는 2.5GbE |
PCIe/USB/Thunderbolt Adapter |
Direct/Switch |
Minimum |
1GbE(1Gbps) |
PCIe/USB Adapter |
Direct/Switch |
조심
USB 기반 네트워크 어댑터는 캡처 속도가 감소하고 가변적이어서 카메라를 사용할 때 가끔 오류가 발생할 수 있습니다.
Cameras.yml and how to restrict discoverable cameras
설정 파일 Cameras.yml 를 사용하면 Zivid SDK가 연결할 수 있는 IP 주소와 호스트 이름을 제한할 수 있습니다. 아래 드롭다운을 사용하여 Zivid SDK가 카메라를 검색하는 방법과 Cameras.yml 를 사용하는 방법에 대한 자세한 내용을 확인하세요.
Cameras.yml and how Zivid SDK discovers cameras
How does Zivid SDK find cameras?
Zivid SDK는 네트워크에서 카메라를 자동 검색하기 위해 멀티캐스트 DNS(mDNS)를 사용합니다. SDK 2.7 이하 버전에서는 기본 IP가 아닌 카메라를 Zivid 설정 폴더의 Cameras.yml 파일에 등록해야 했으며, SDK는 이 파일을 검색하여 카메라를 검색했습니다.
mDNS가 Cameras.yml 의 요구 사항을 제거하더라도, 이 파일은 SDK가 연결할 수 있는 카메라를 재정의하는 데 계속 사용될 수 있습니다. 따라서 Cameras.yml 파일을 사용하는 경우, PC가 연결할 수 있는 카메라를 제한하는 기능을 갖습니다.
Cameras.yml
Zivid SDK가 검색하는 IP를 제한하려면 Cameras.yml 을 다운로드하여 Zivid 설정 폴더에 저장합니다.
mkdir %LOCALAPPDATA%\Zivid\API
move %HOMEPATH%\Downloads\Cameras.yml %LOCALAPPDATA%\Zivid\API\
mkdir --parents "${XDG_CONFIG_HOME-$HOME/.config}"/Zivid/API
mv ~/Downloads/Cameras.yml "${XDG_CONFIG_HOME-$HOME/.config}"/Zivid/API/
조심
기존의 모든 설정 파일이 덮어쓰여집니다.
조심
Zivid 구성 파일은 .yaml이 아닌 .yml 파일 확장자를 사용해야 합니다.
Hostnames이나 IP 주소를 사용하여 Cameras.yml 이 어떻게 구성하는지에 대한 몇 가지 예가 아래에 나와 있습니다.
__version__: 1
Cameras:
    NetworkCameras:
        - NetworkCamera:
              Host: zivid-2152D404.local
        - NetworkCamera:
              Host: zivid-20205M19.local
        - NetworkCamera:
              Host: zivid-21389K63.local
__version__: 1
Cameras:
    NetworkCameras:
        - NetworkCamera:
              Host: 172.28.60.5
        - NetworkCamera:
              Host: 172.28.60.6
        - NetworkCamera:
              Host: 172.28.60.7
Version History
SDK |
Changes |
|---|---|
2.13.0 |
Zivid Studio 및 SDK에서 네트워크 구성에 대한 지원이 추가되었습니다. |
2.11.0 |
사용 가능한 카메라와 사용할 수 없는 카메라를 모두 나열하고 구성하기 위한 네트워크 검색 기능이 개선되었습니다. |
2.8.0 |
멀티캐스트 DNS를 사용한 자동 검색에 대한 지원이 추가되어 기본 IP가 아닌 카메라를 검색하기 위한 |
2.7.0 |
Multicast DNS를 사용하여 |