固定安装

All Zivid 3D camera models can be stationary mounted. We recommend using Zivid Mounts.

Zivid Stationary Mount 是一款薄型、灵活的相机支架,具有独特的单螺钉拧紧系统,可以快速、精确地进行调整。

Why use Zivid Stationary Mount?

模块化

一个安装座适合我们所有的相机型号,无需完全拆卸(只需一颗螺丝)即可拆卸相机。在以相同方向重新组装相机时,利用标记可以精确地调整角度。

灵活性

两种安装配置和两种自由度可实现多种相机安装方向。

鲁棒性

刚性设计确保了安装座即使在受到振动时也不会在关节中移动。
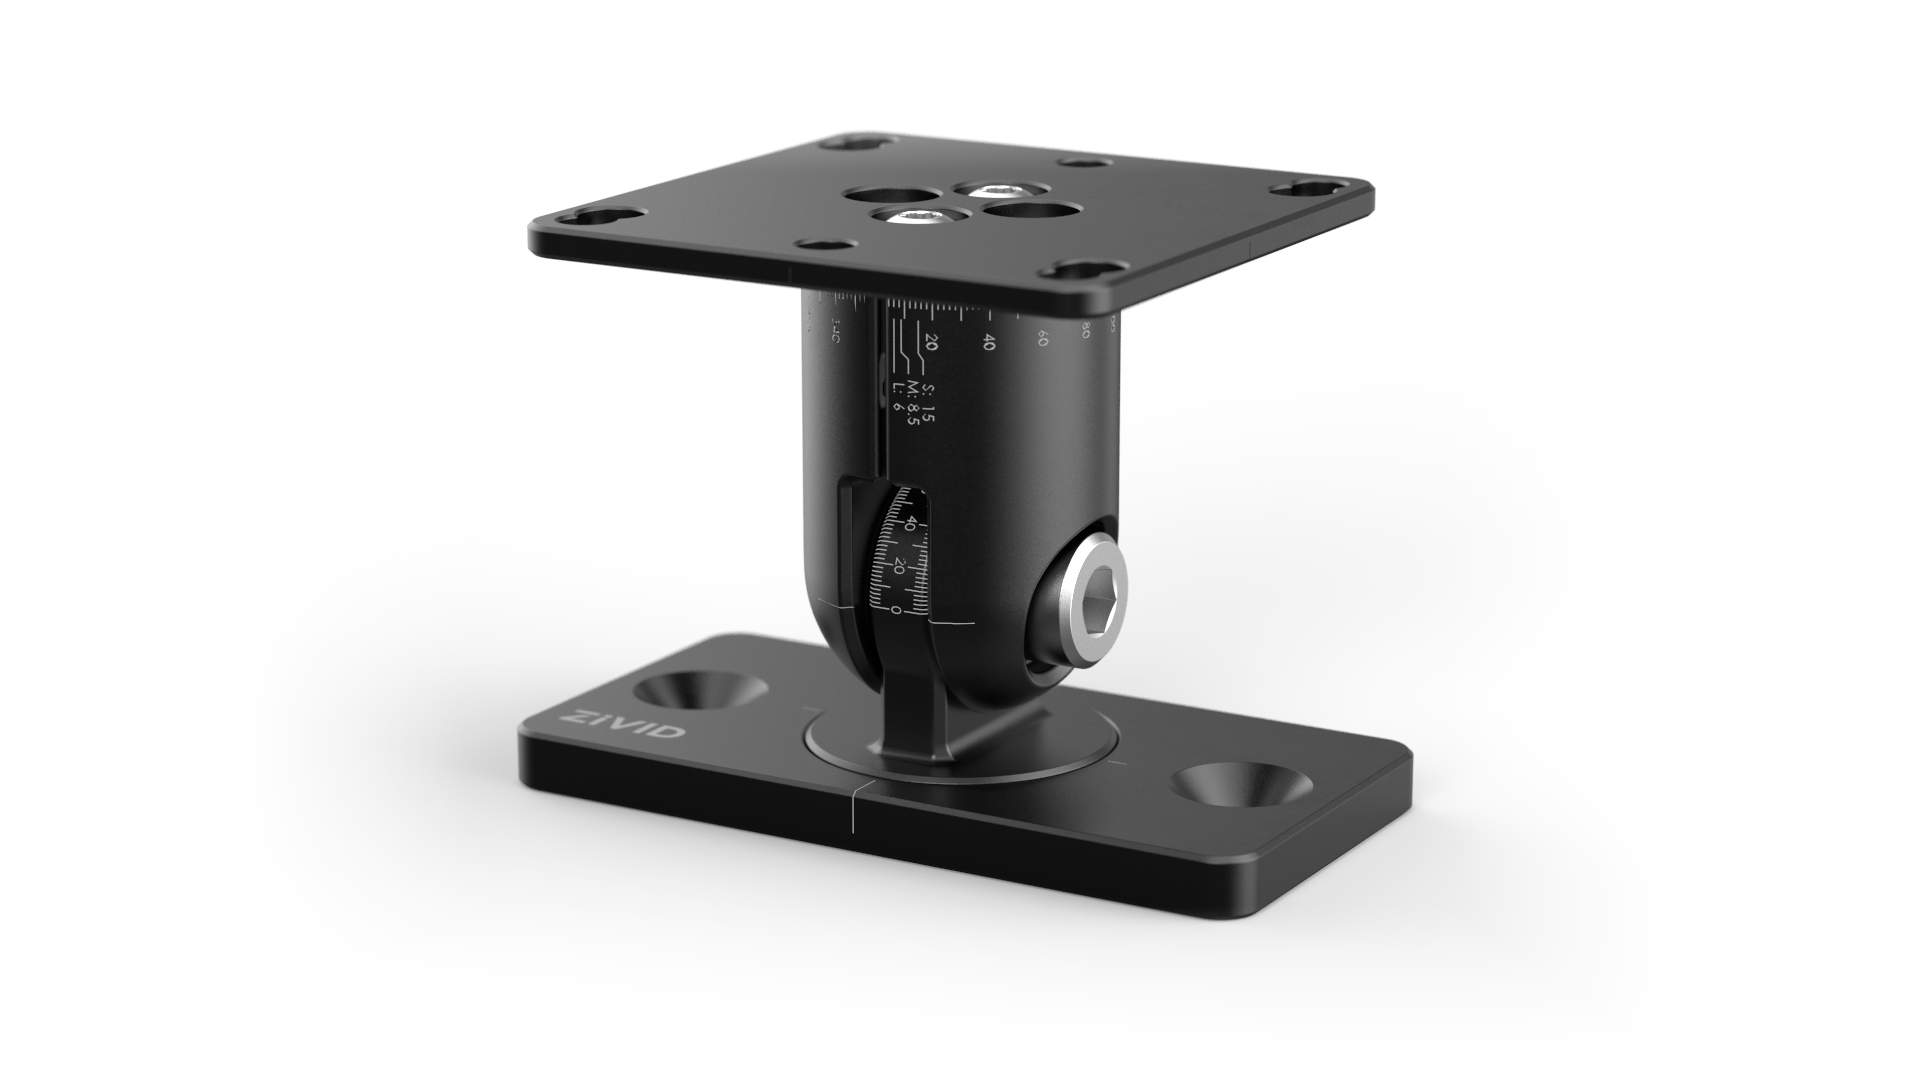
../../../../_images/stationary_mount.png

规格书和用户指南的PDF文档及CAD文件可 从 Accessories Downloads 下载。

安装说明

../../../../_images/hex_and_torx.png

Included in the box

Required tools

Zivid固定安装支架

4和6mm的六角扳手

Mounting screws

20、25和30尺寸的星型螺丝刀

Configure the Mount

安装支架可以重新配置为pan-tilt或tilt-roll模式。在安装支架之前,请评估哪种配置最适合您的应用。
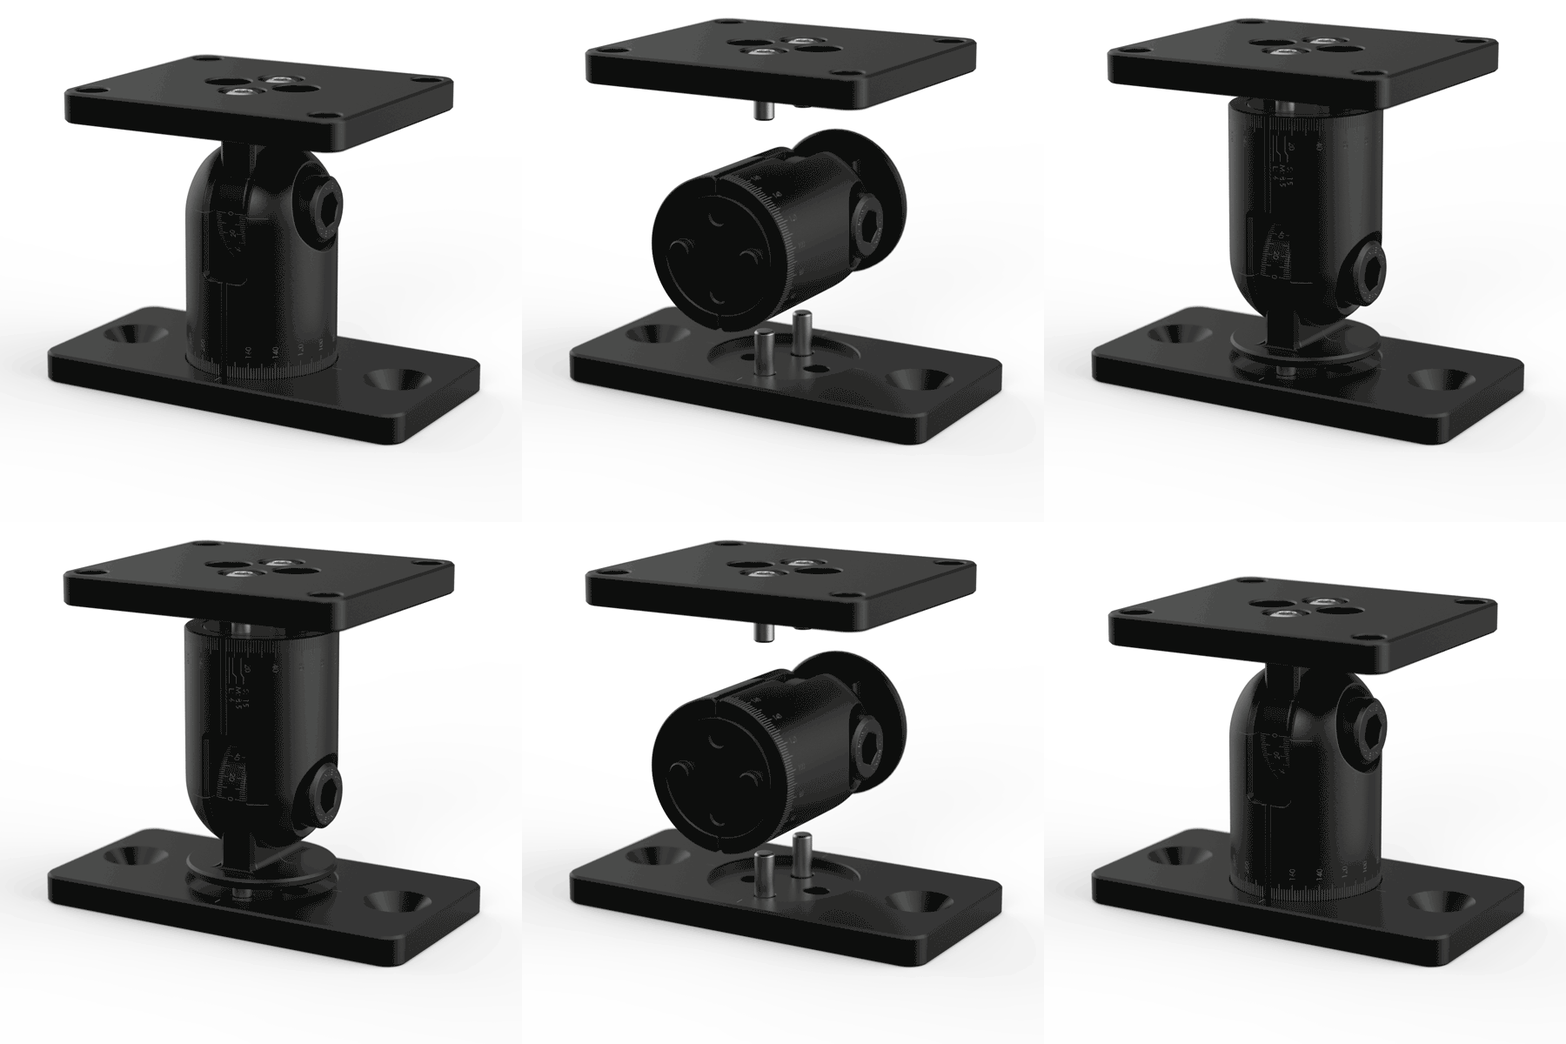
../../../../_images/stationary_mount_configurations_gif.gif

小技巧

Installing the mount on the side of a horizontal profile in a tilt-roll configuration provides two benefits. The roll joint allows aligning the camera perpendicular to the scene, while the tilt joint enables tilting it to avoid reflections and interference from the background. For more info see Positioning Correctly.

要重新配置支架,请松开顶板和底板的四个M4螺钉,然后以4Nm的扭矩将它们重新安装到新的配置。
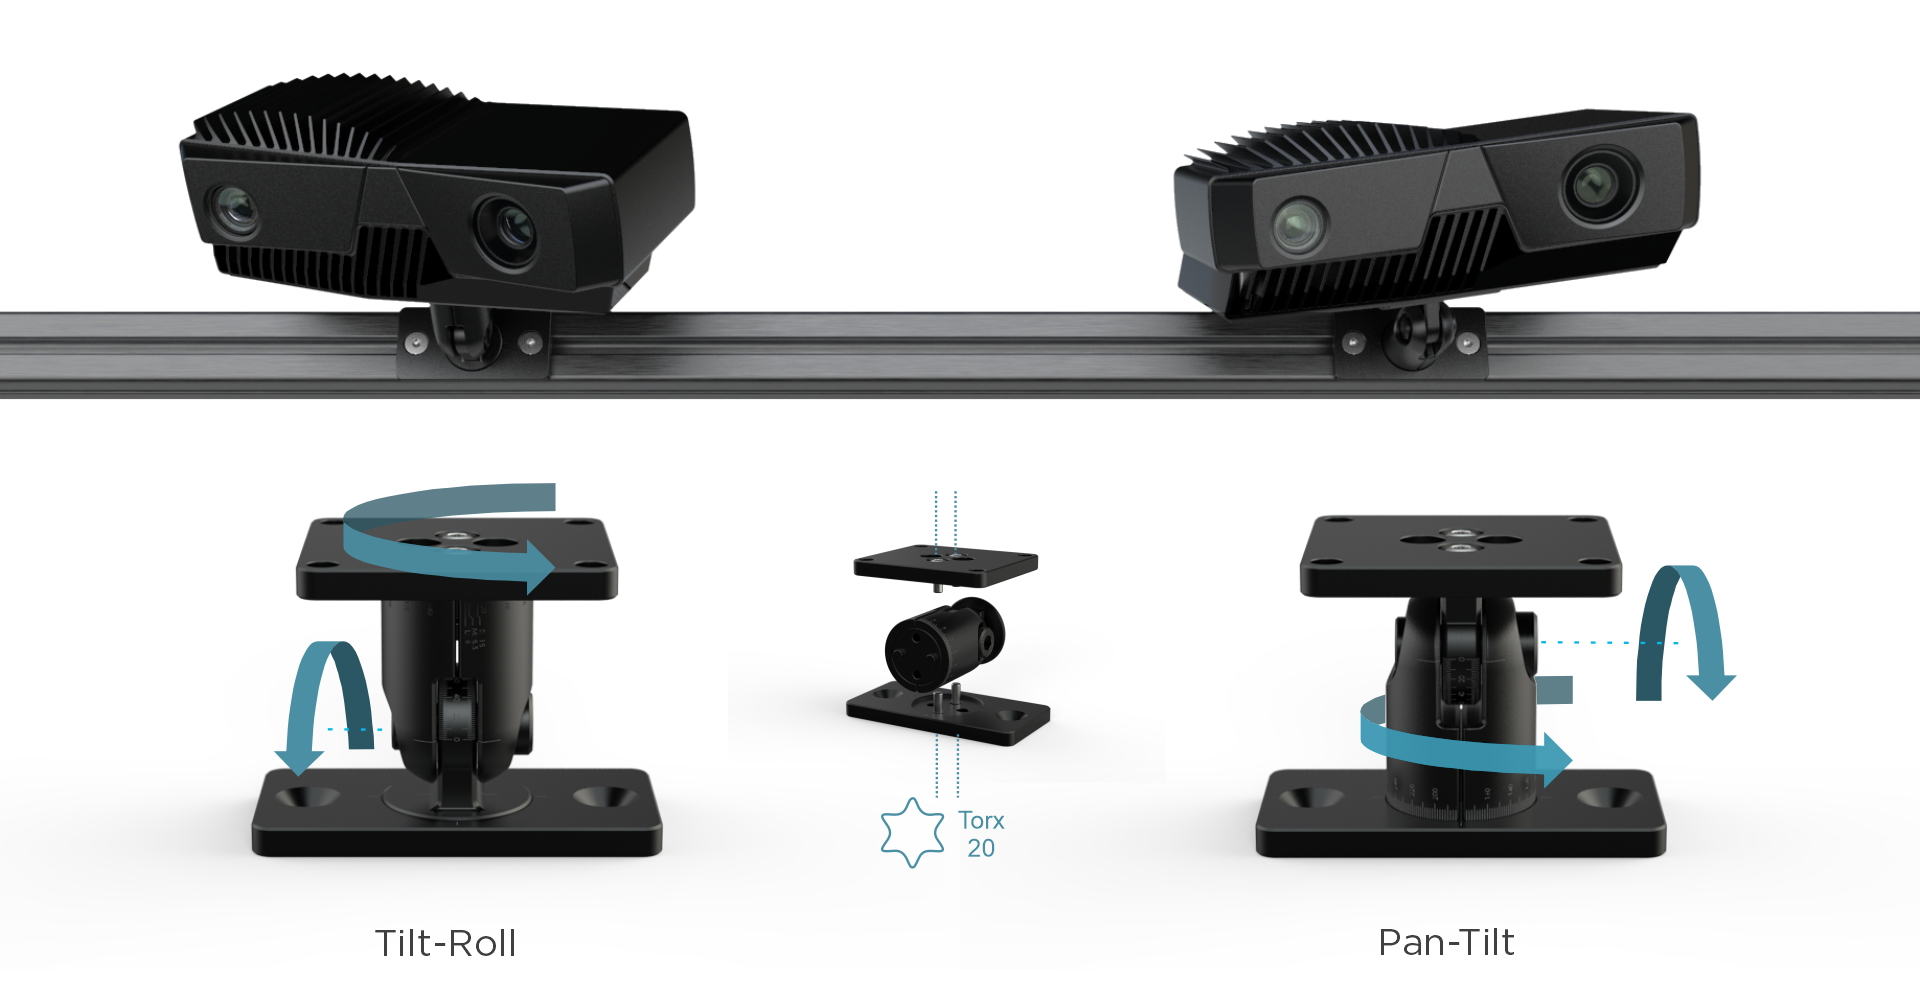
../../../../_images/stationary_mount_configurations.png

Attach the Mount to the V-slot Profile

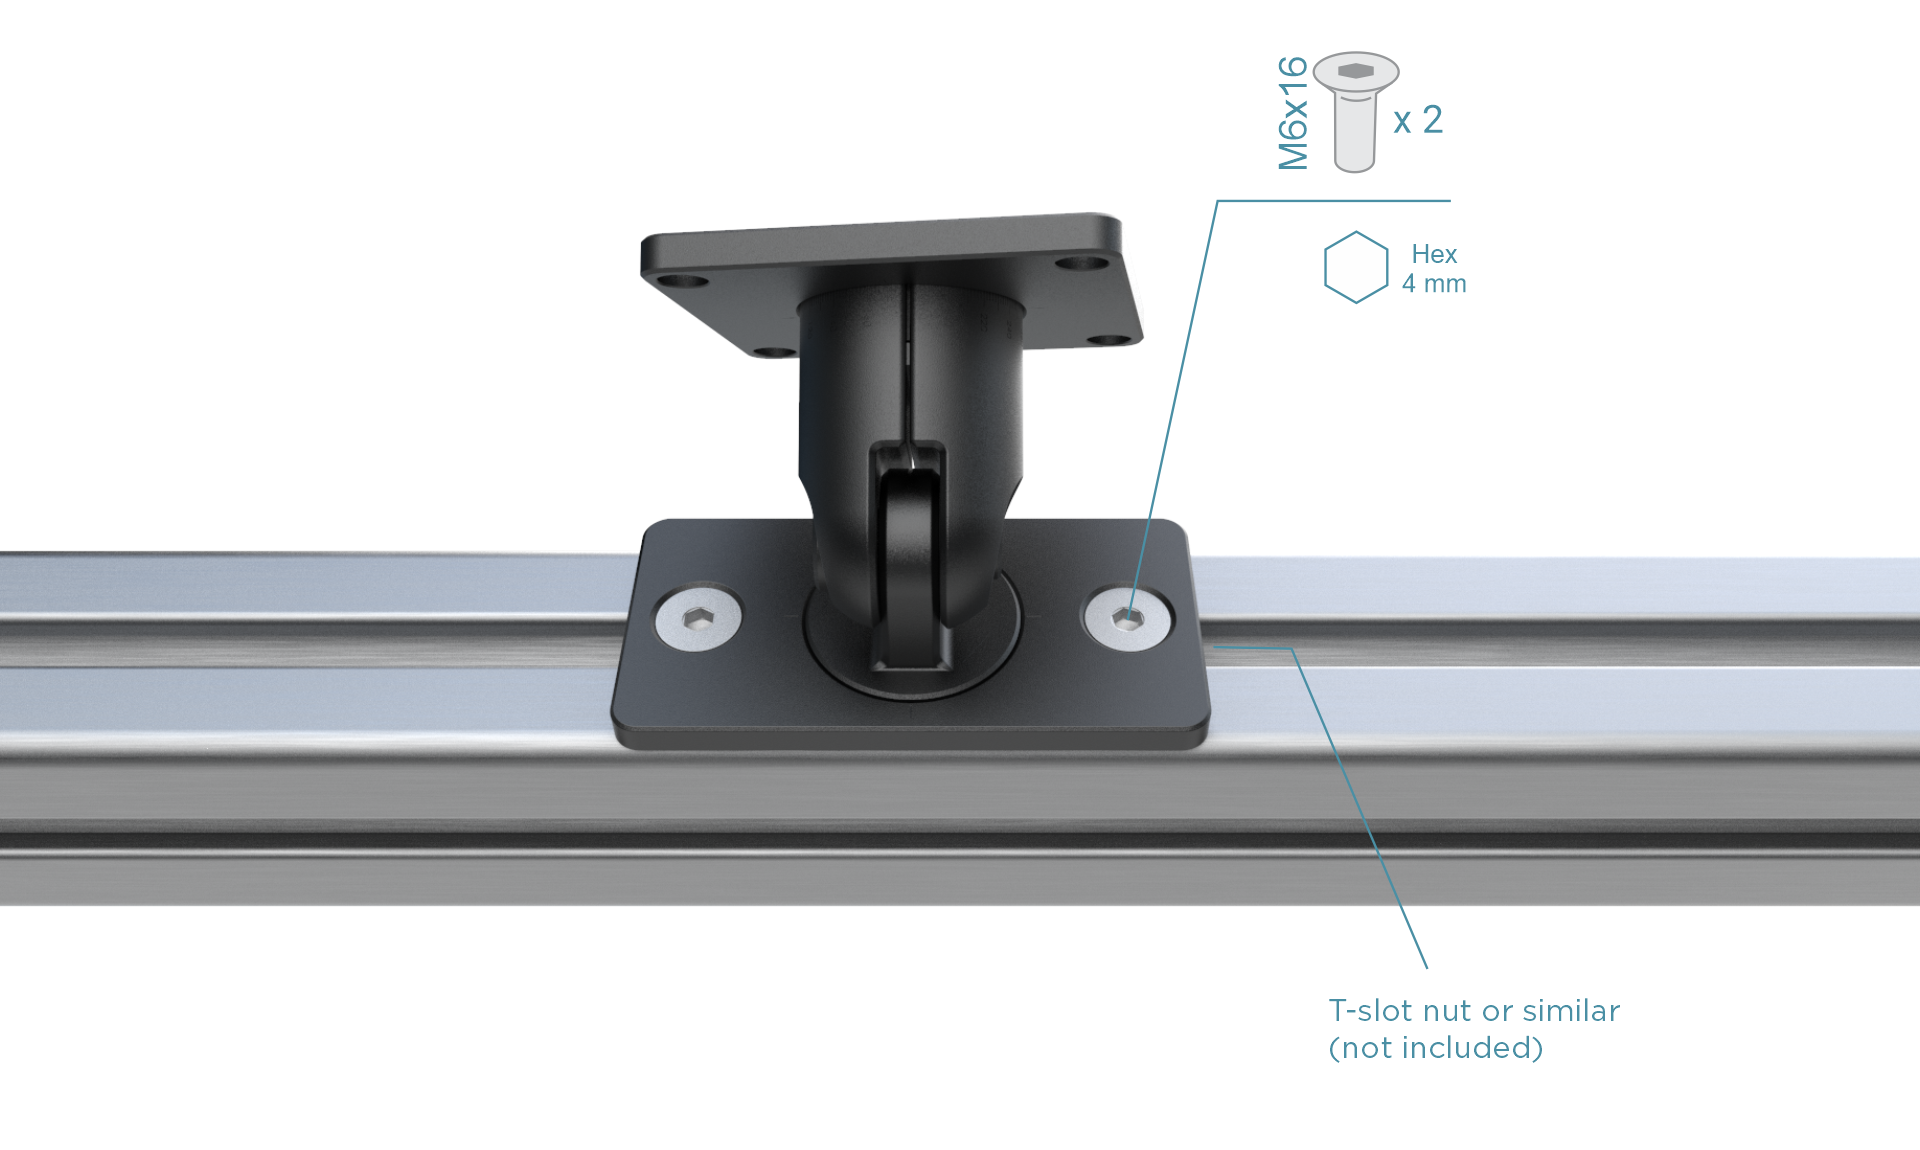
Secure the mount to the V-slot profile using M6 screws and T-nuts, tightened with Hex 4 key.

../../../../_images/stationary_mount_1.png

安装支架可以安装在型材的任何表面上,相机可朝向任何方向,水平或垂直,向上、向下或侧向。关于用于Zivid相机的螺丝的更多信息,请查看 安装规范

Adjust and Secure

可以松开中心螺栓来调整相机的角度。然后使用6mm六角扳手将中心螺栓拧紧至8-9Nm的扭矩,以便在受到振动时也能很好地固定住相机。 5Nm的扭矩足以在实验室中将相机固定在稳定的表面。
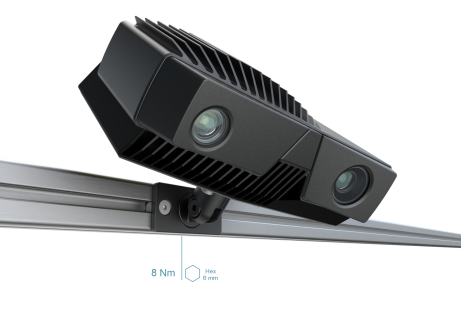
../../../../_images/stationary_mount_3.png

您可以使用360度激光雕刻标记来准确地调整角度。如果您需要卸下相机并稍后重新安装,这些标记还可以让您记住原系统中的相机方向。
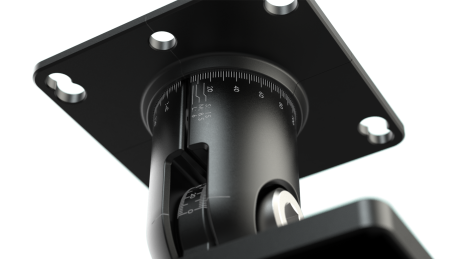
../../../../_images/stationary_mount_markings.png

Zivid Quick Mount is a user-friendly tilt-roll camera mount designed for effortless installation.

Why use Zivid Quick Mount?

Easy Installation

Its unique hanging mechanism allows you to suspend the camera on the mount before tightening the screws. This means you don't have to support the camera's weight during installation. This is true for the Zivid 3 camera. For other models, you have to support the camera's weight while tightening the screws.

鲁棒性

The rigid design ensures excellent stability, even in environments with vibrations.

../../../../_images/quick-mount.png

规格书和用户指南的PDF文档及CAD文件可 从 Accessories Downloads 下载。

安装说明

../../../../_images/hex_and_torx.png

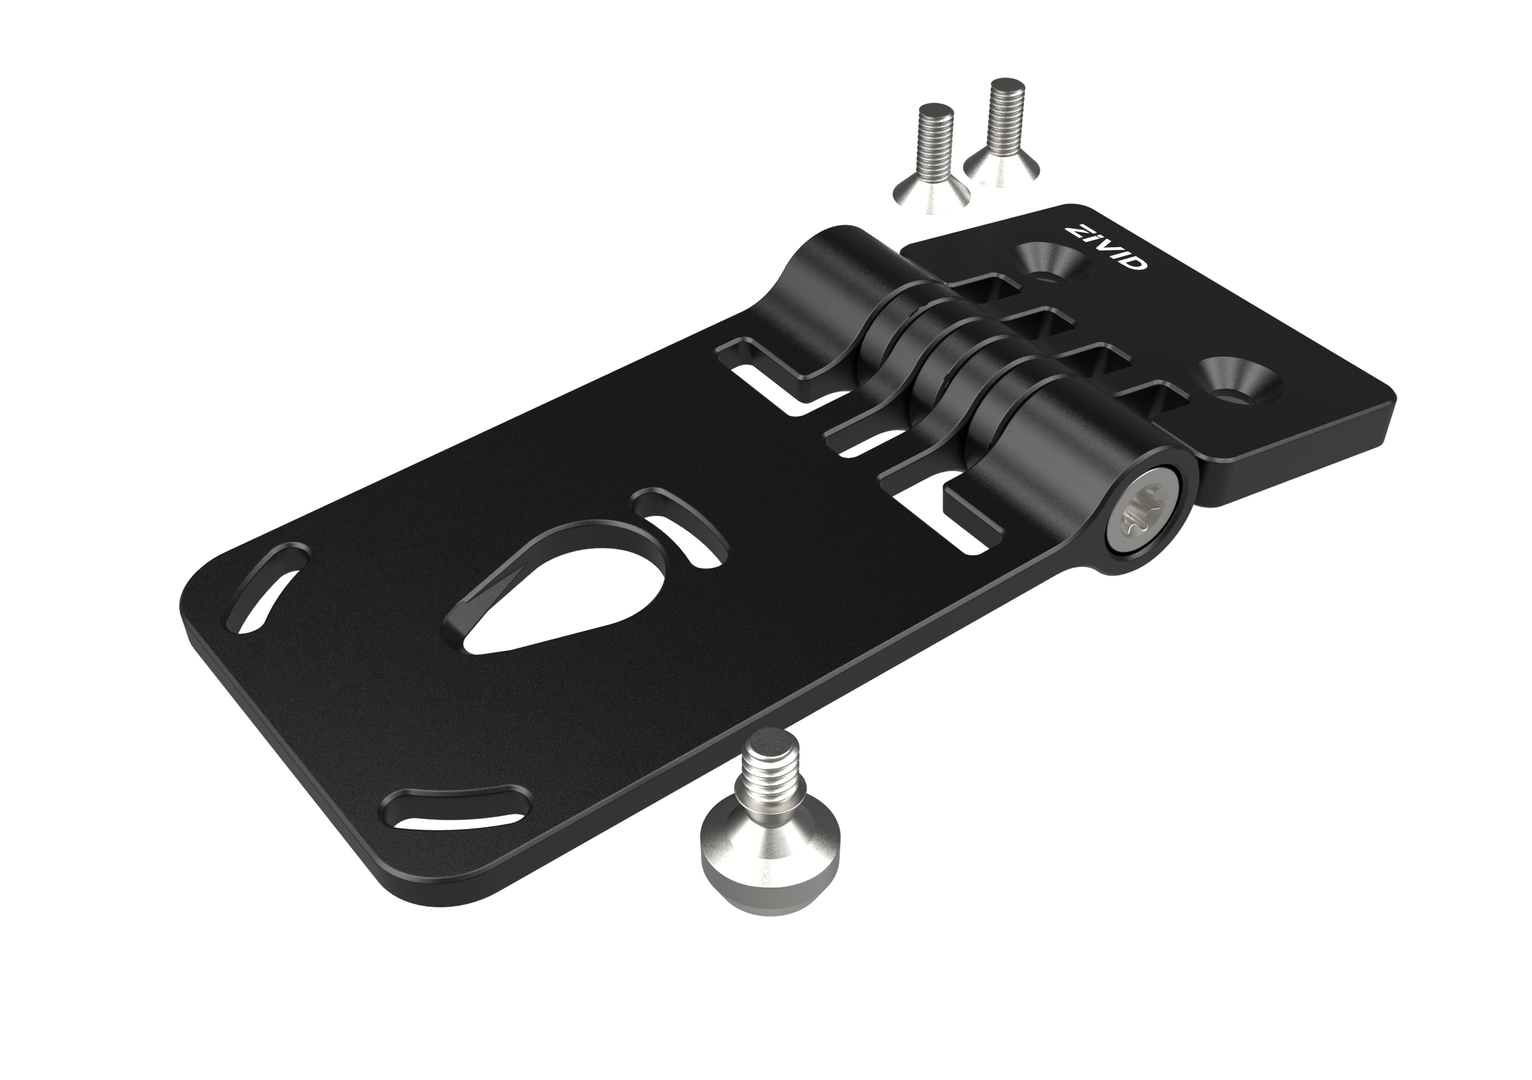
Included in the box

Required tools

Zivid Quick Mount

Hex 4 mm

Mounting screws

Torx T45

Prepare the Camera

For the Zivid 3 camera, follow all steps. For other models, skip to the Secure and Adjust section.

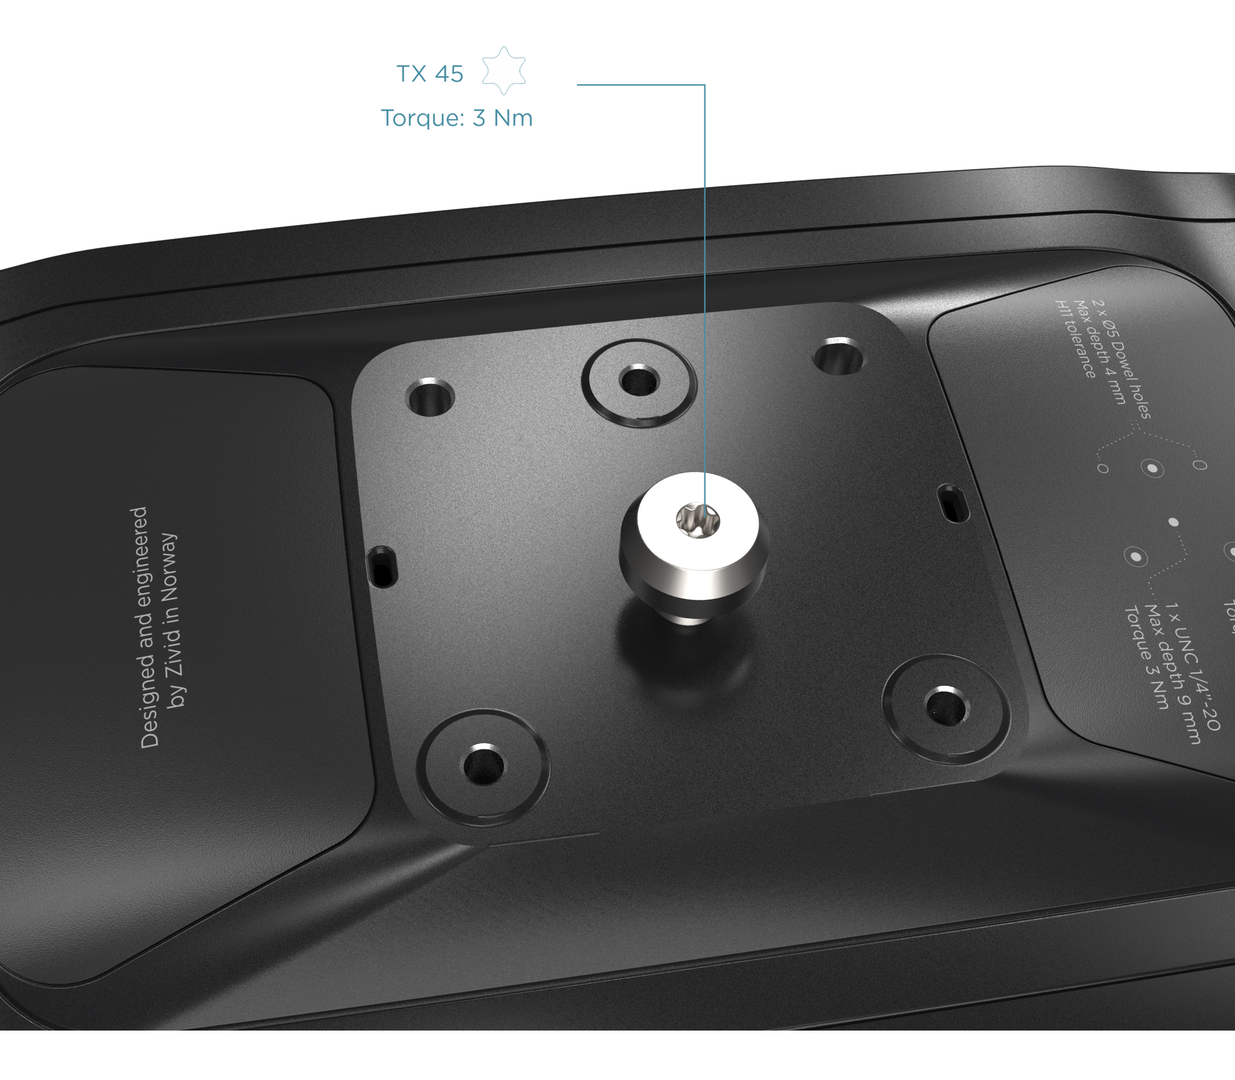
Install the hanging mechanism screw into the UNC 1/4"-20 female thread located at the center of the camera's bottom side. You can finger-tighten it or use a Torx T45 key to tighten it to 3 Nm.

../../../../_images/quick-mount-insert-b-plug.png

Attach the Mount to the V-slot Profile

Secure the mount to the V-slot profile using M6 screws and T-nuts, tightened with Hex 4 key. The mount can be installed on any surface of the profile, allowing flexible camera orientation: horizontal, vertical, upward, downward, or sideways.

../../../../_images/quick-mount-install-to-profile.png

Hang the Camera

Once the screw is in place, hook the camera on the mount and let it hang.

../../../../_images/quick-mount-hook-it.png

Secure and Adjust

Adjust the roll angle using the curved slots and tighten the camera to the mount to 3 Nm. Refer to the Mounting Specifications for details on compatible screws for your Zivid camera.

../../../../_images/quick-mount-screw-it.png

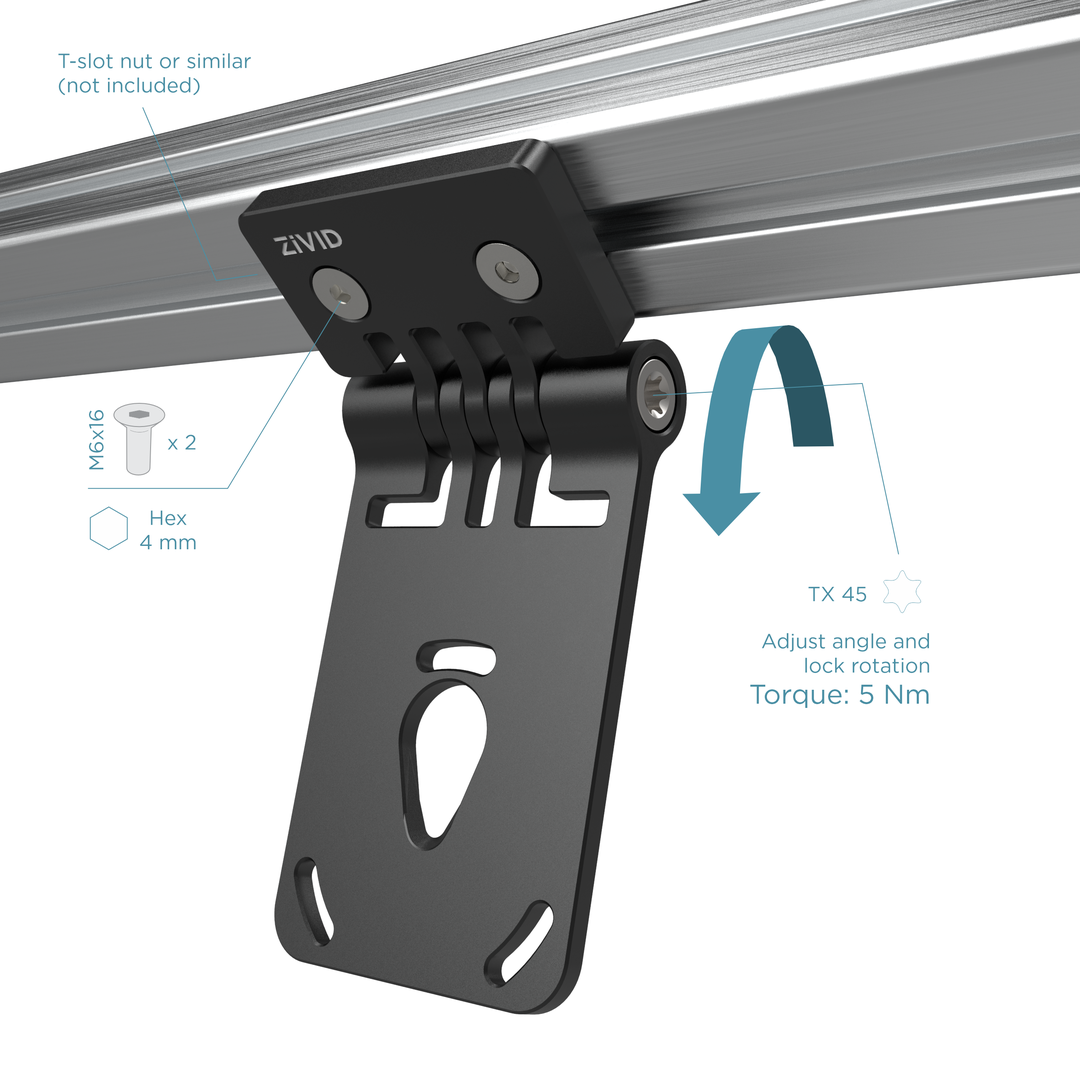
Finally adjust the tilt angle and tighten the center bolt to 5 Nm torque using a Torx T45 key. See this figure.

小技巧

The tilt and roll joints help position the camera perpendicular to the scene and minimize reflections or background interference. For more guidance, see Positioning Correctly.

继续阅读有关 三脚架安装 的文章。

版本历史

SDK

变更

2.17.0

Added support for Zivid 3 XL250.

2.14.0

Added support for Zivid 2+ MR130, LR110, and MR60.

2.12.0

Zivid One+ 已达到其生命周期的终点并且不再受支持。