Calculate Occlusion
모든 삼각측량 기반 3D 비전 시스템에서는 가림 현상이 발생할 수 있습니다. 실제 환경에서 가림 현상을 최소화하도록 카메라를 배치하는 방법에 대한 안내는 빈 피킹, 피스 피킹, 디팔레타이징 배치 안내 페이지를 참조하세요.
Occlusion from Object Height
가림 현상은 빈 벽이나 칸막이와 무관하게 물체 자체의 높이로 인해서도 발생할 수 있습니다. 아래 그림에서는 더 높은 파란색 물체가 더 낮은 주황색 물체를 가리고 있습니다.
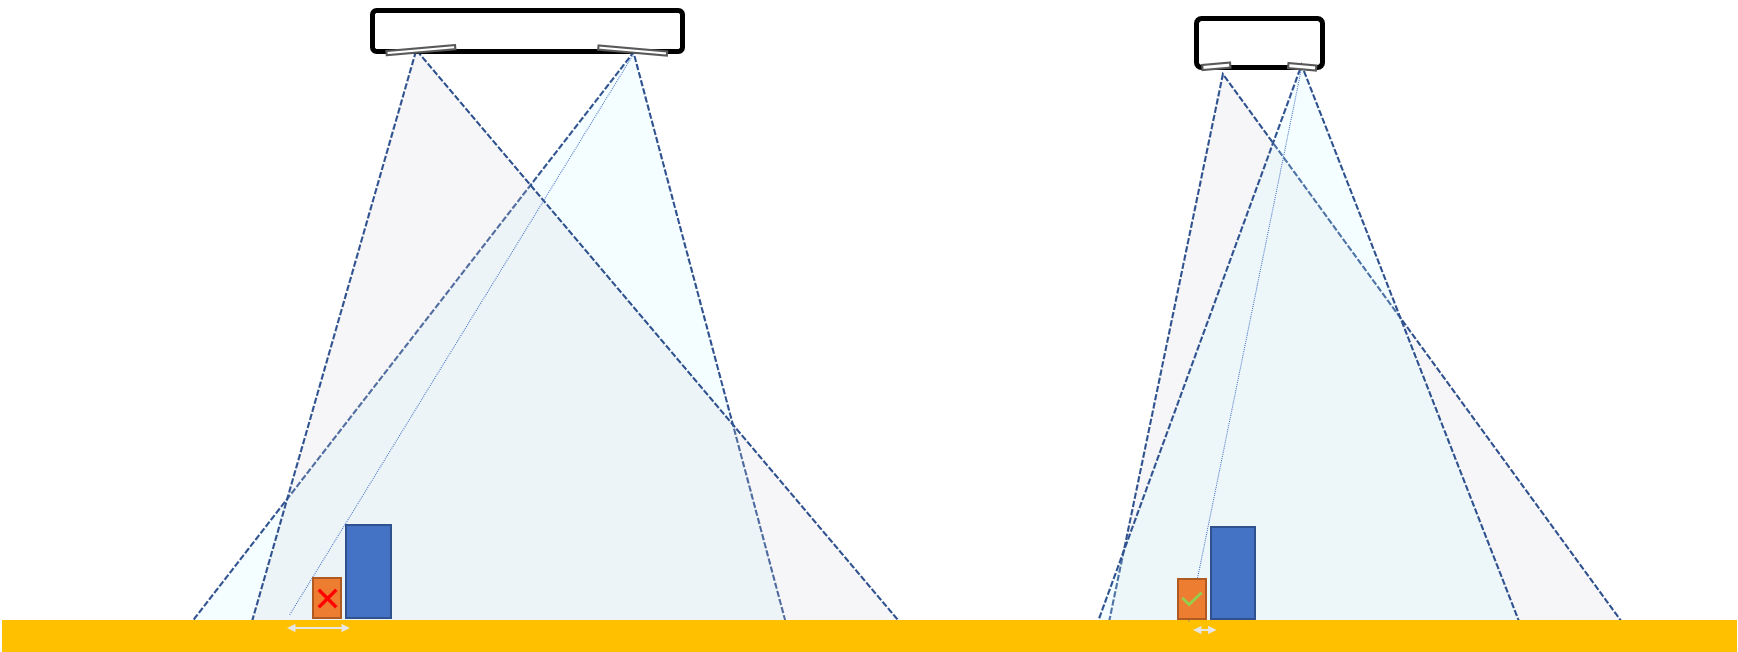
Whether a tall object occludes its neighbors depends on several factors: where it sits along the camera’s horizontal axis, its height and width, and its distance from the camera. The camera’s baseline also plays a role.
계산기는 어떻게 작동하나요?
The camera and projector each sit offset from the camera’s horizontal center by half the baseline, on opposite sides.
The object is not a single point: it spans from object_position - object_width / 2 to object_position + object_width / 2.
An emitter’s shadow reaches as far as the ray through the object’s farthest corner from that emitter: the camera (on the left) is bounded by the object’s right face, the projector (on the right) by its left face.
The ray through the near face lands short of that point, so it is not the binding constraint: everything between the two rays is still blocked by some part of the object’s silhouette as seen from that emitter.
A ray from an emitter grazing the top of the face that bounds it continues in a straight line down to the surrounding scene, marking one edge of the shadow that emitter casts.
The calculator computes each edge as:
face_position + (face_position - emitter_position) * (object_height / distance_to_top)
face_positionis the object’s right face for the camera’s ray, and its left face for the projector’s ray.emitter_positionis-baseline / 2for the camera and+baseline / 2for the projector.object_heightis the height of the object in mm.distance_to_topis the distance from the camera to the top of the object in mm, computed asdistance_to_bottom - object_height.
The camera’s ray extends the shadow beyond the object’s right face, so the right occlusion is that edge minus the right face’s position.
Likewise, the left occlusion is the object’s left face minus the projector’s edge.
If a ray lands back inside the object’s own footprint instead of beyond it, the occlusion on that side is clamped to 0.
Neither depends on the object’s position, only on its height, width, and distance, so moving the object along the horizontal axis shifts the shadow without changing the occlusion on either side.
When the object’s width is negligible and it is centered directly below the camera (object_position is 0), the left and right occlusion are equal and this reduces to the same object_height * tan(atan(baseline / 2 / distance_to_top)) form used for the shared-wall case below.
The range of the object-position slider comes from the camera’s field of view at distance_to_bottom (the same working distance used by the field of view calculator), so the object can only be placed where the camera can actually see it.
Occlusion from Multiple Bins
고정식 빈 피킹 또는 피스 피킹에서 빈 벽이나 칸막이로 인해 이러한 상황이 발생할 수 있습니다. 카메라가 두 구획을 보고 있는 경우 카메라 기준선(Baseline)을 공유 벽 또는 칸막이에 정렬하여 가림 현상을 방지할 수 있습니다. 두 개 이상의 구획이 있는 경우 그러한 정렬이 가능하지 않습니다. 예를 들어:
2개 이상의 빈에서 픽킹
2개 이상의 칸막이가 있는 빈에서 픽킹
더 큰 기준선(Baseline) ➞ 가림 현상이 심함
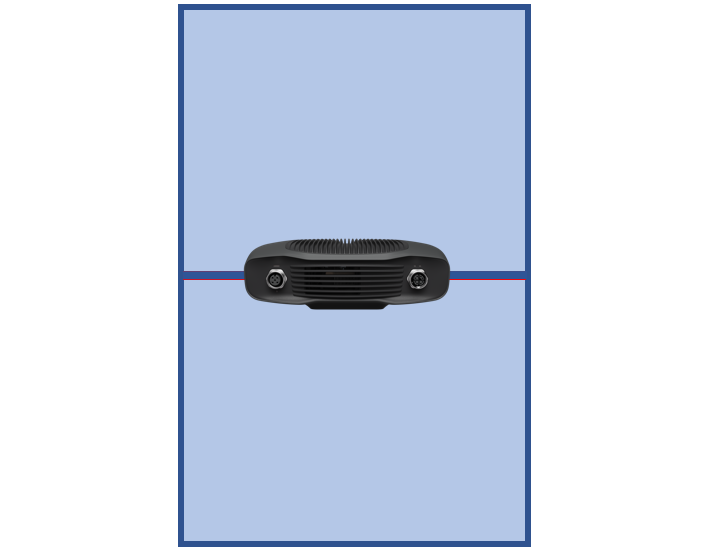
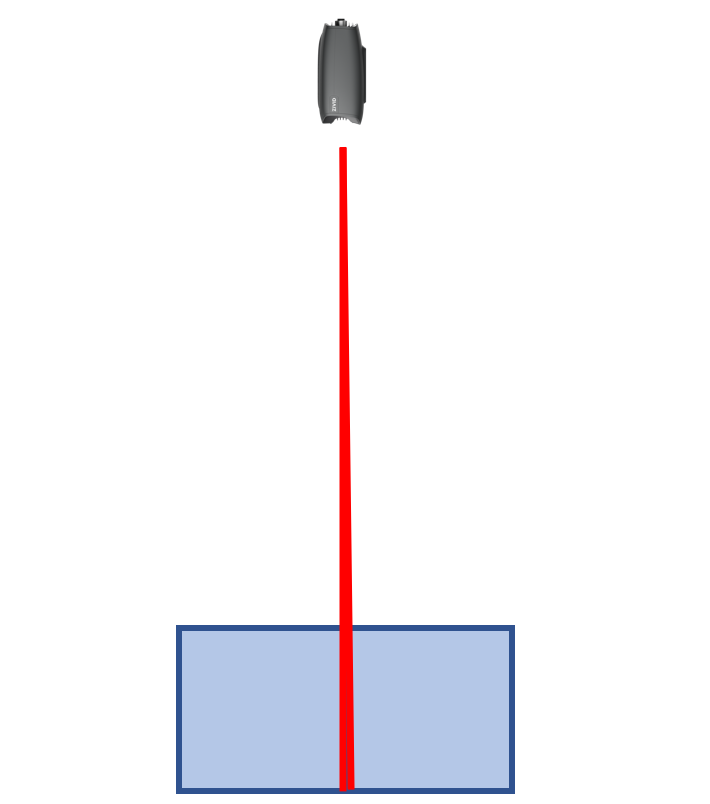
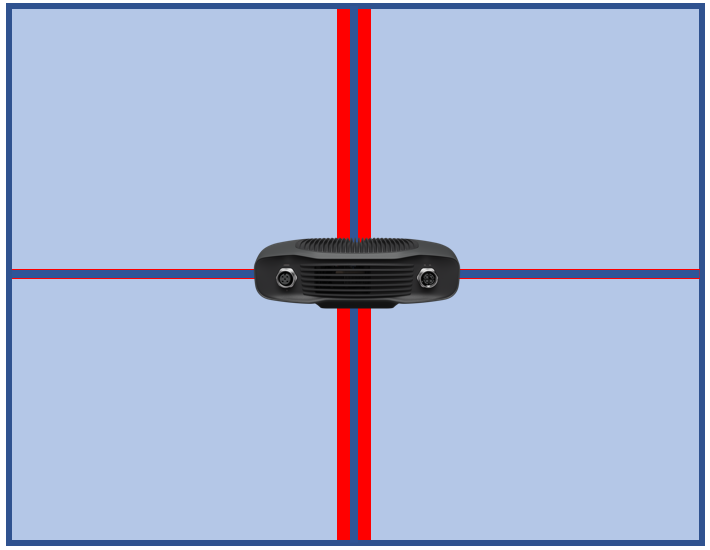
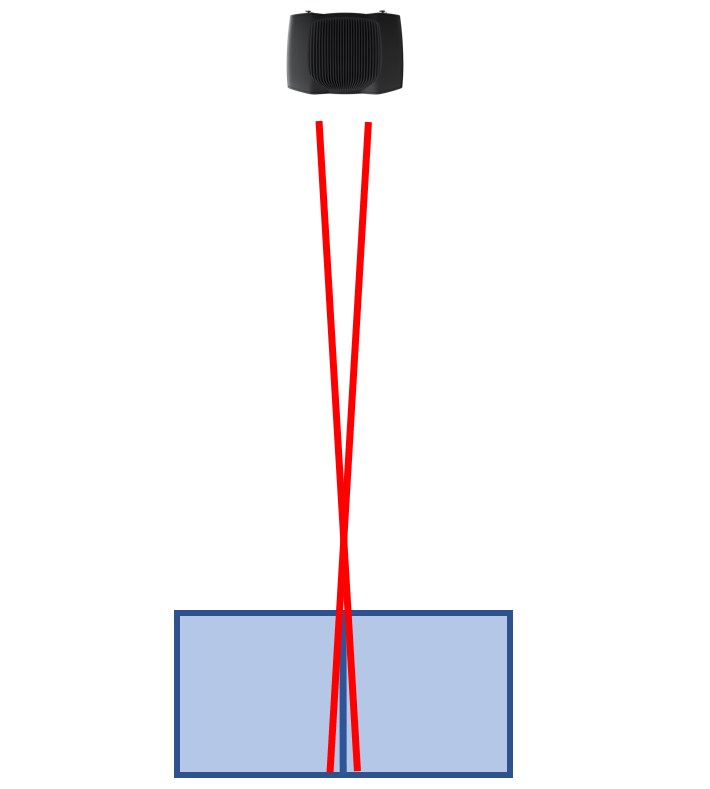
다음 계산기는 단일 벽 또는 디바이더에 걸친 가림 현상 효과를 보여줍니다. 카메라는 최악의 가림 현상을 최소화하기 위해 벽 바로 위에 위치합니다. 가림 현상이 벽을 가로질러 대칭인 것을 볼 수 있습니다.
계산기는 어떻게 작동하나요?
계산기는 bin_depth * tan(atan(baseline / 2 / distance_to_bin)) 공식으로 가림 현상을 계산합니다.
baseline은 카메라의 기준선(Baseline) 길이(mm)입니다.distance_to_bin은 카메라에서 빈 상단까지의 거리(mm)입니다.bin_depth는 빈의 깊이(또는 칸막이 높이)를 mm 단위로 나타낸 값입니다.
2D 카메라와 프로젝터는 각각 카메라 중심에서 기준선(Baseline)의 절반만큼 떨어진 위치에 있습니다. 카메라가 공유 벽 위 중앙에 위치할 때, 특정 방향에서 더 멀리 떨어진 쪽이 그 벽 너머의 시야가 먼저 가려지는 쪽이 되므로, 그 오프셋(기준선의 절반)이 해당 방향의 가림 각도를 결정합니다. 아래 예시에서는 실제 카메라 기준선 값과 계산기에서 사용하는 AutoStore 빈 깊이 값을 그대로 사용하여 이 공식을 적용합니다.
카메라 |
기준선 |
빈 깊이 |
상단까지의 거리 |
가림 현상 |
참고 |
|---|---|---|---|---|---|
Zivid 2+ |
110 mm |
200 mm (Small AutoStore) |
500 mm |
약 22.0 mm |
카메라와 빈 사이의 거리가 짧을수록 빈이 얕더라도 가림 현상이 커집니다. |
Zivid 2+ |
110 mm |
330 mm (Medium AutoStore) |
1000 mm |
약 18.2 mm |
|
Zivid 3 XL250 |
250 mm |
425 mm (Large AutoStore) |
1000 mm |
약 53.1 mm |
동일한 1000mm 거리에서, 바로 위 행에 비해 가림 현상이 증가한 이유는 대부분 더 큰 기준선(Baseline) 때문이며, 더 깊은 빈 자체가 미치는 영향은 상대적으로 작습니다. |