Use Qt Creator to Build C++ Samples in Windows
Introduction
이 튜토리얼은 Qt Creator 4.12.1로 Zivid C++ 샘플을 구성하고 구축하는 방법을 보여줍니다.
Pre-requisites
Configure C++ Samples With CMake and Build Them in Visual Studio in Windows OpenCV에 대한 지침을 포함하여 요구 사항 및 설치 단계를 따르세요.
Configure the project in Qt Creator
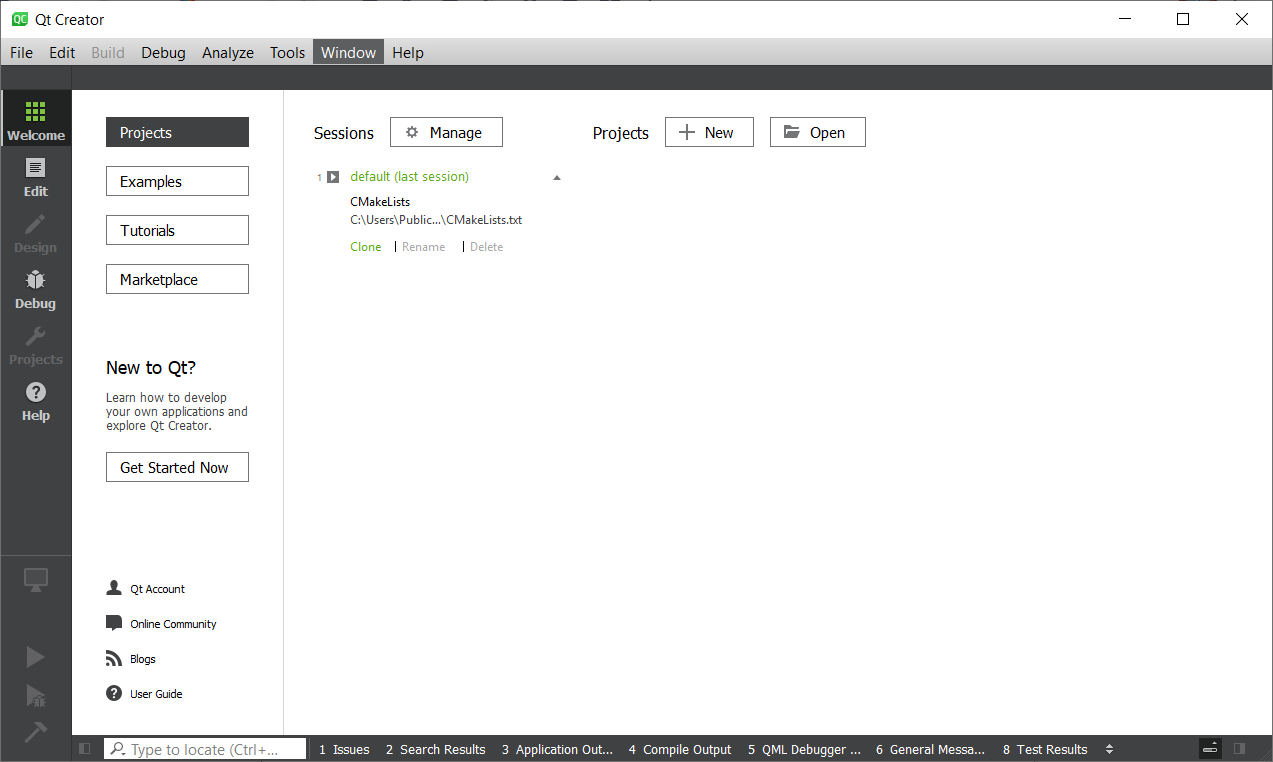
Qt Creator를 시작합니다.
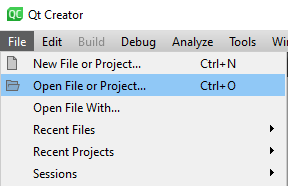
File → Open Project 를 클릭합니다.
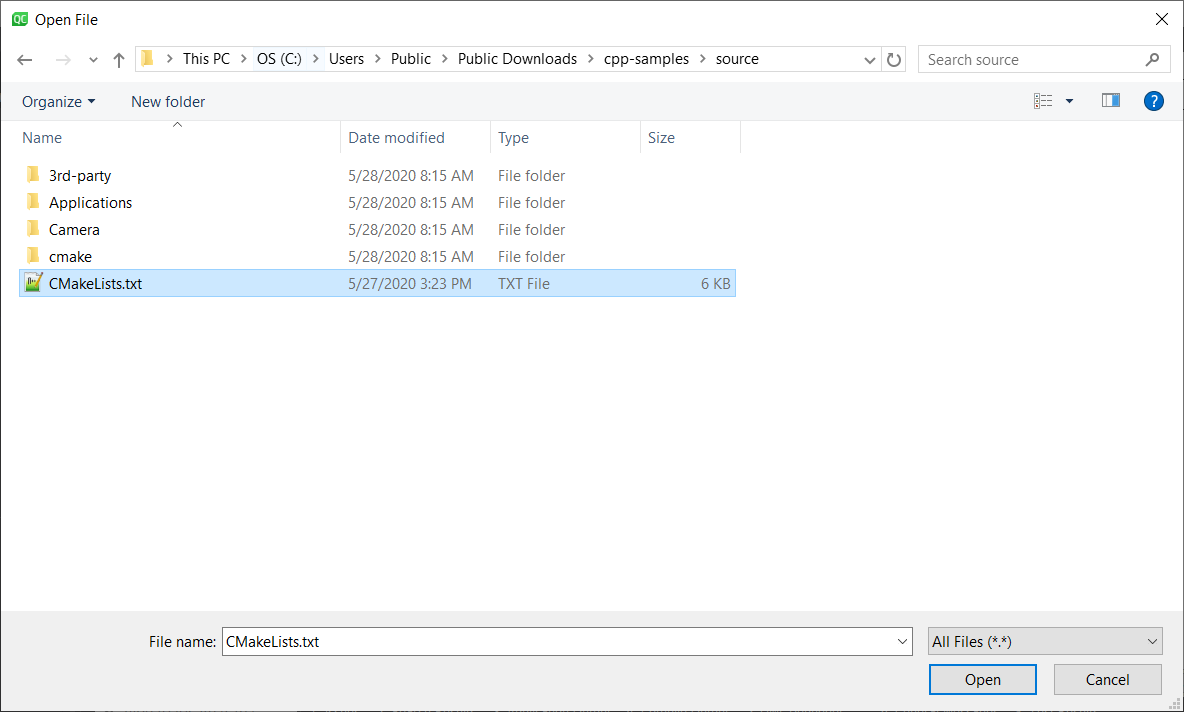
C++ 샘플의 복사본으로 이동하여 CMakeLists.txt 를 엽니다.
Configure Kits
Manage Kits… 을 클릭하고 아래 그림에 따라 Desktop Kit를 구성하십시오.
Compiler: |
Microsoft Visual C++ Compiler (x86_amd64) |
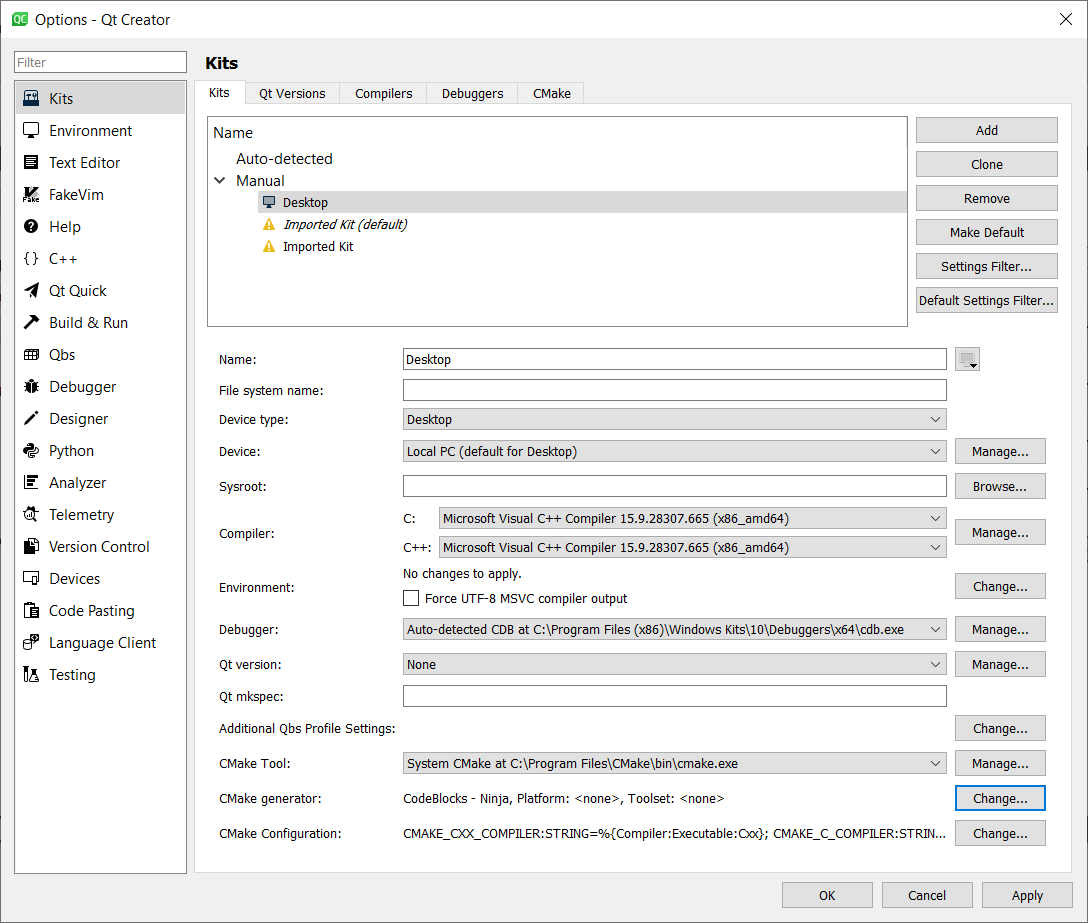
CMake Generator 의 경우, Change… 를 클릭하고 다음 항목을 설정합니다:
Generator: |
Ninja |
Extra generator: |
CodeBlocks |
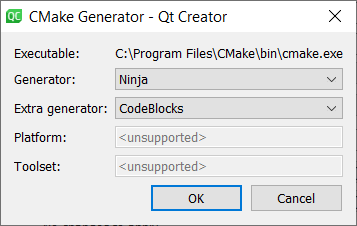
CmakeConfiguration에 Eigen 및 OpenCV를 포함하려면 Change… 를 클릭하고 다음을 추가합니다:
EIGEN3_INCLUDE_DIR:STRING=C:/Users/Public/Downloads/eigen-git-mirror
OpenCV_DIR:STRING=C:/Users/Public/Downloads/opencv/build
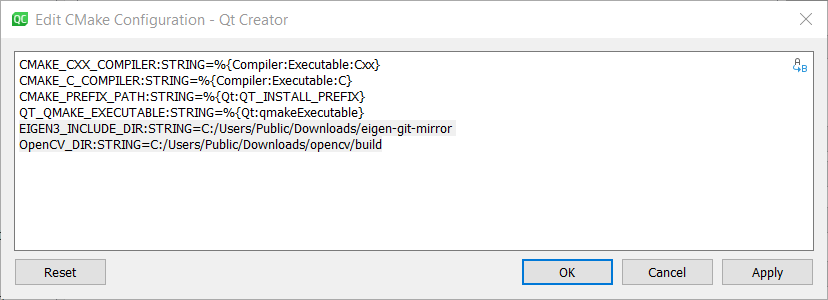
OK 를 클릭하고, 다시 한번 OK 를 클릭합니다.
Configure Project
Desktop 을 선택하고 Details 를 누릅니다. 그런 다음 Debug 와 Release 를 체크합니다.
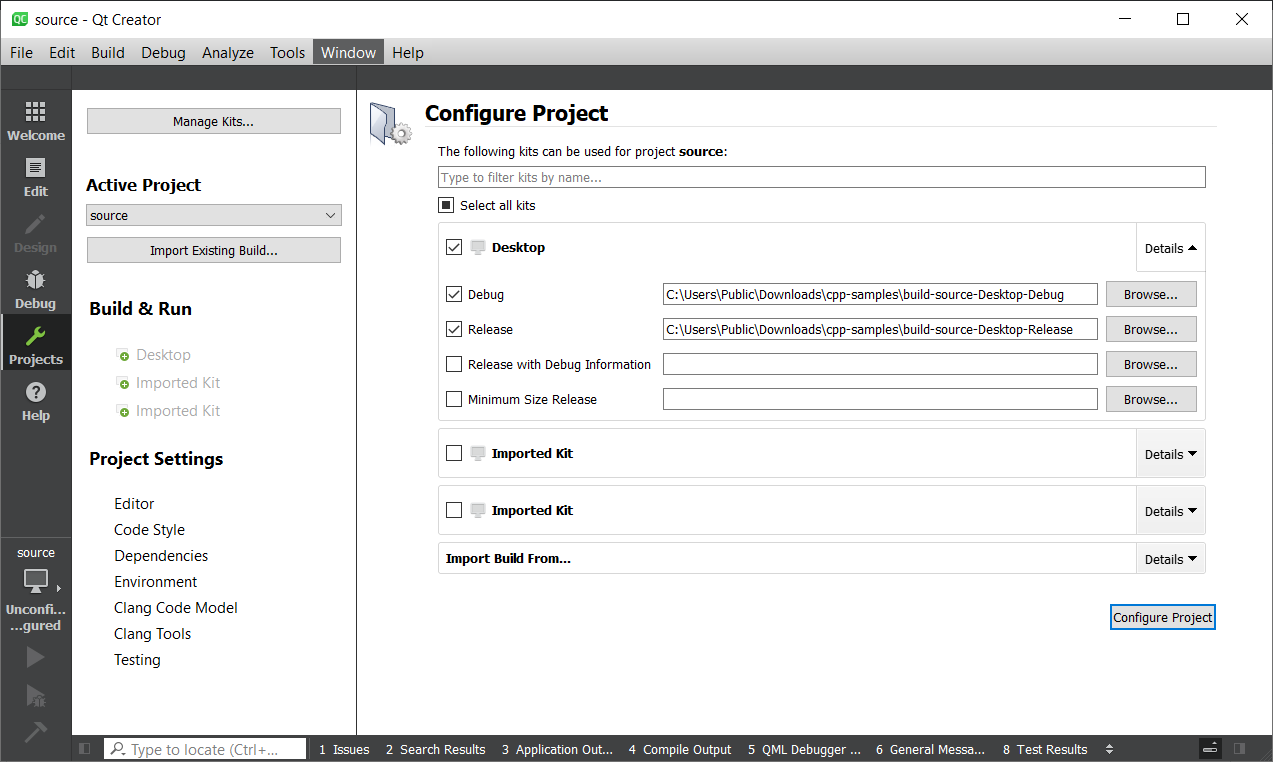
Configure Project 를 클릭합니다.
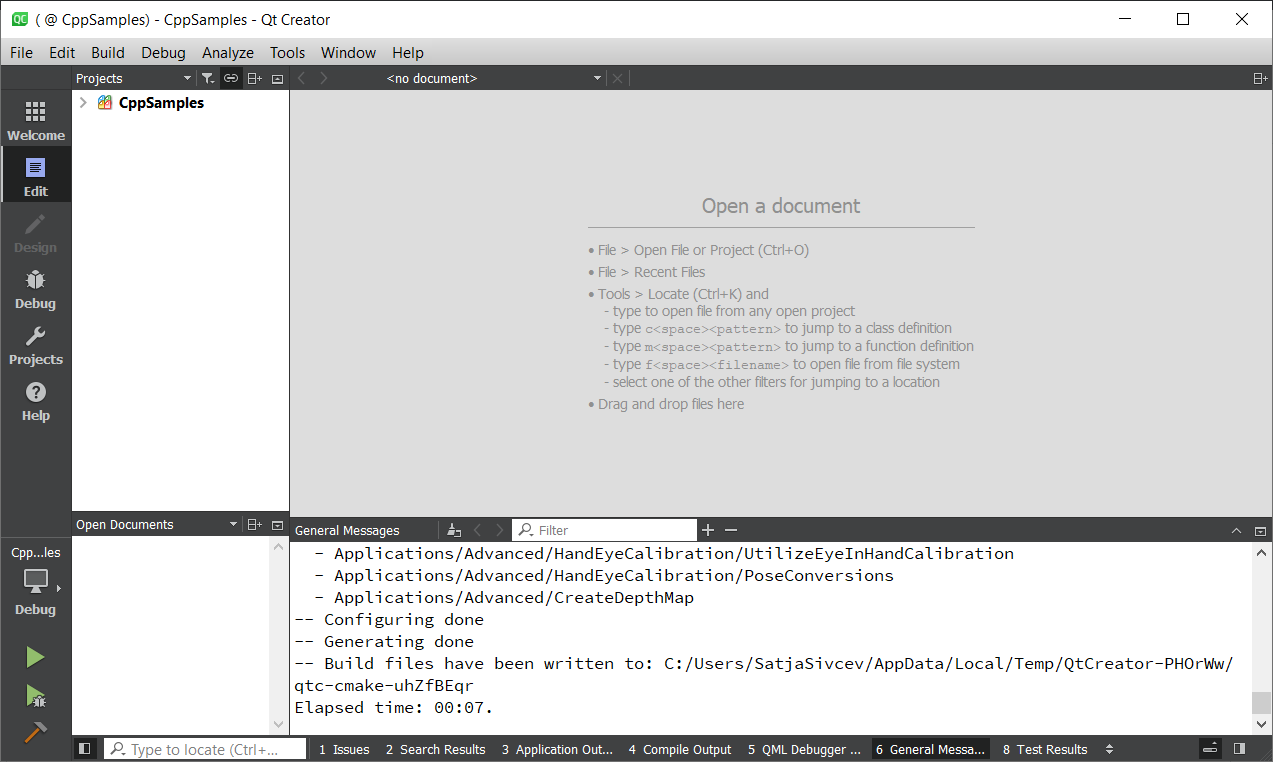
Build → Build All Projects 를 클릭합니다.

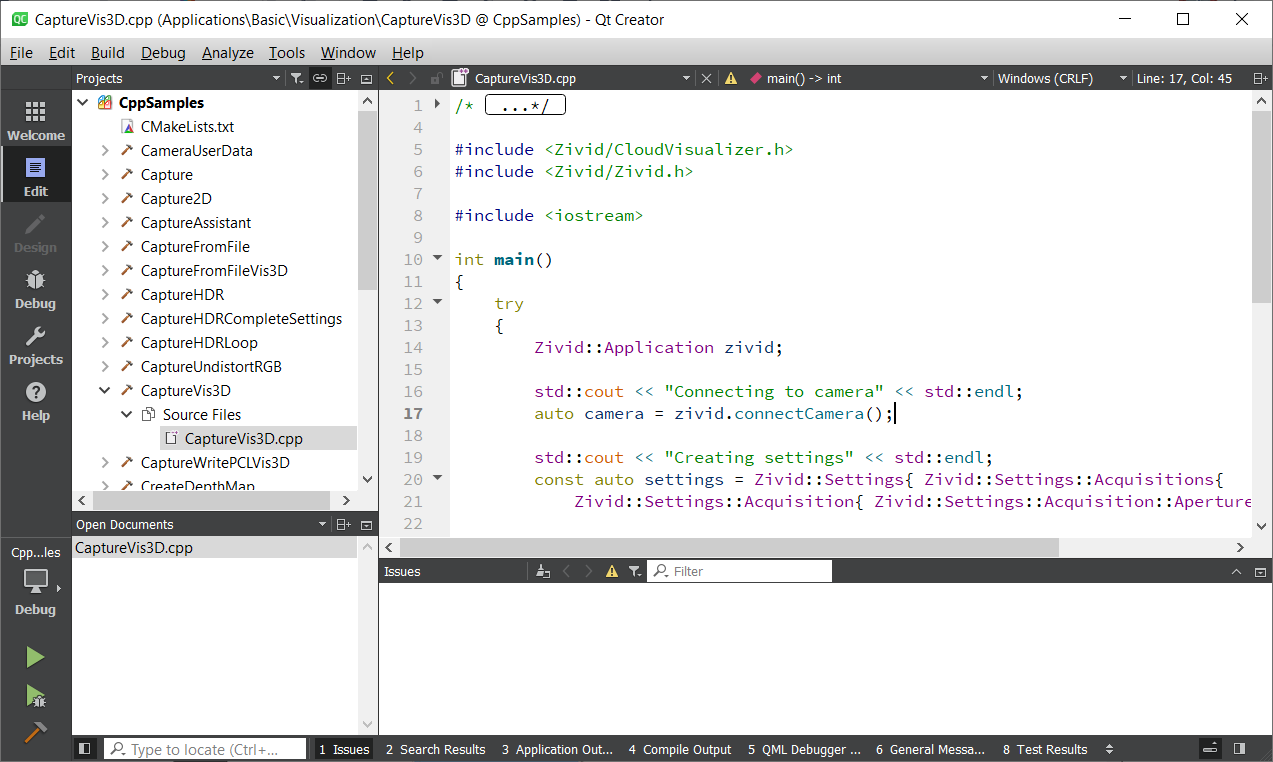
CppSamples 를 확장하면 C++ 프로그램을 선택하여 볼 수 있습니다.
Run the sample program
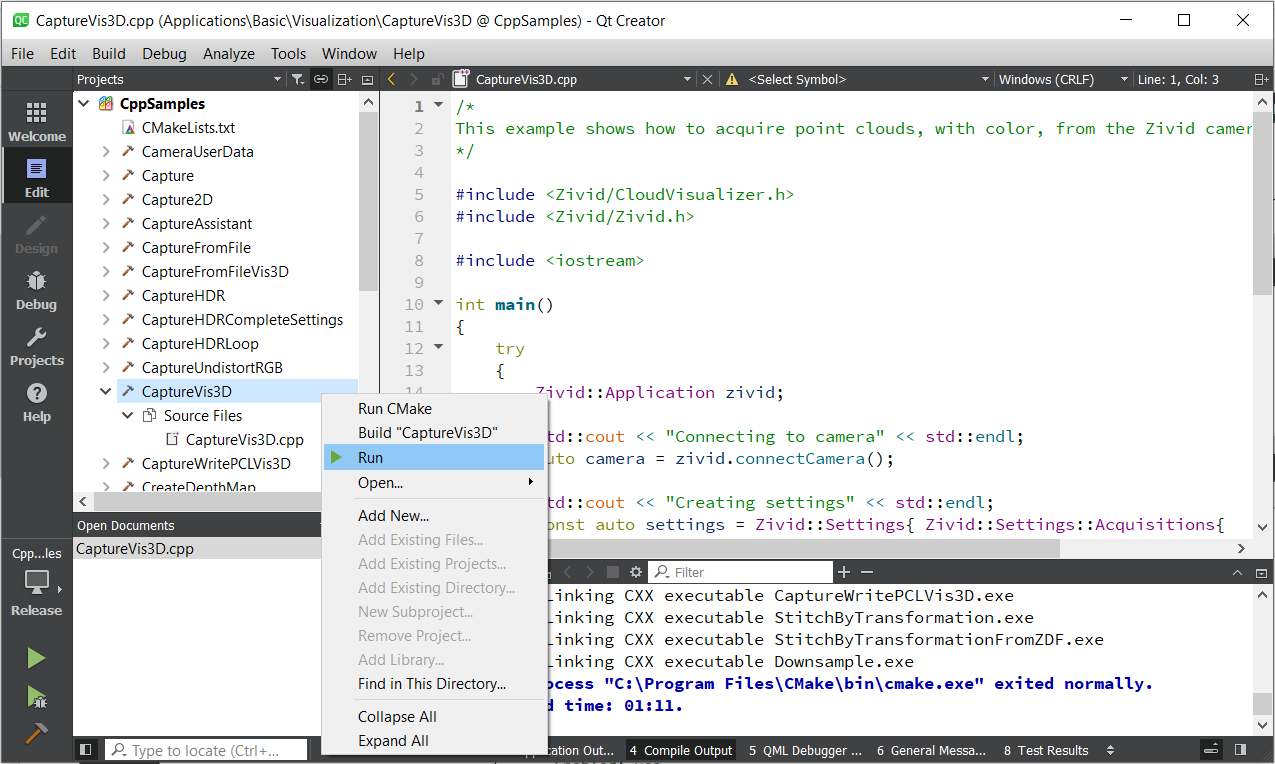
샘플 프로그램을 선택하십시오. 예, CaptureVis3D. 프로그램을 마우스 오른쪽 버튼으로 클릭한 다음 Run 을 클릭합니다.
또는 파일 탐색기에서 Release 폴더를 엽니다.
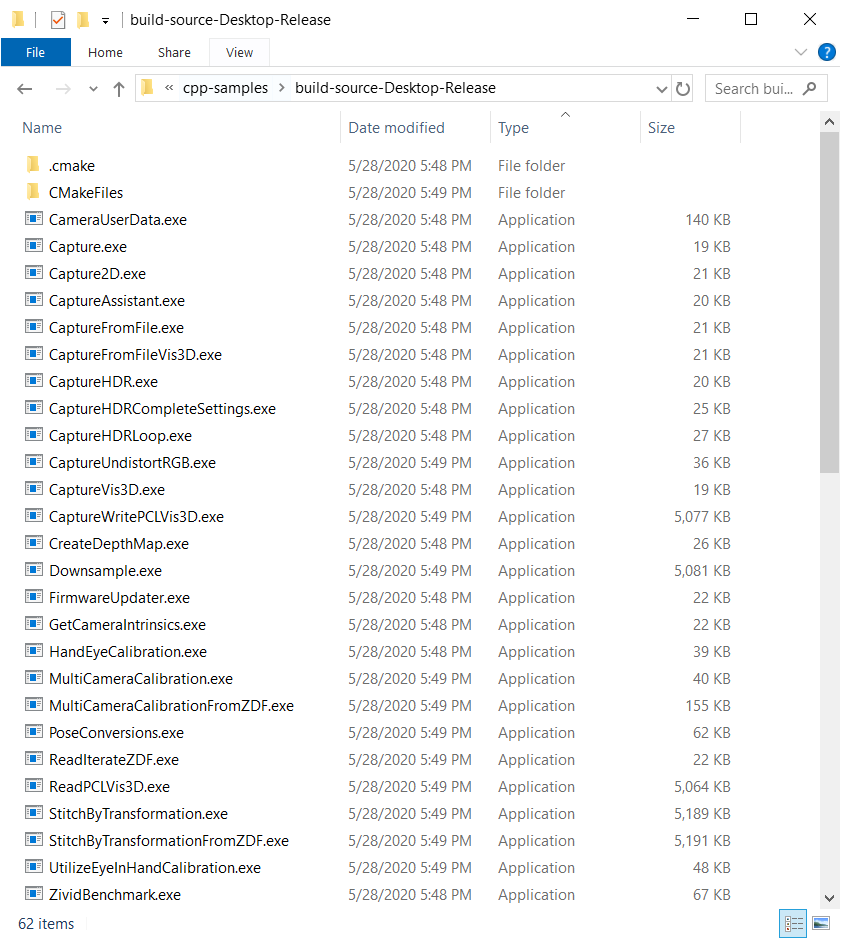
샘플 프로그램을 실행하십시오. 예, CaptureVis3D.exe.
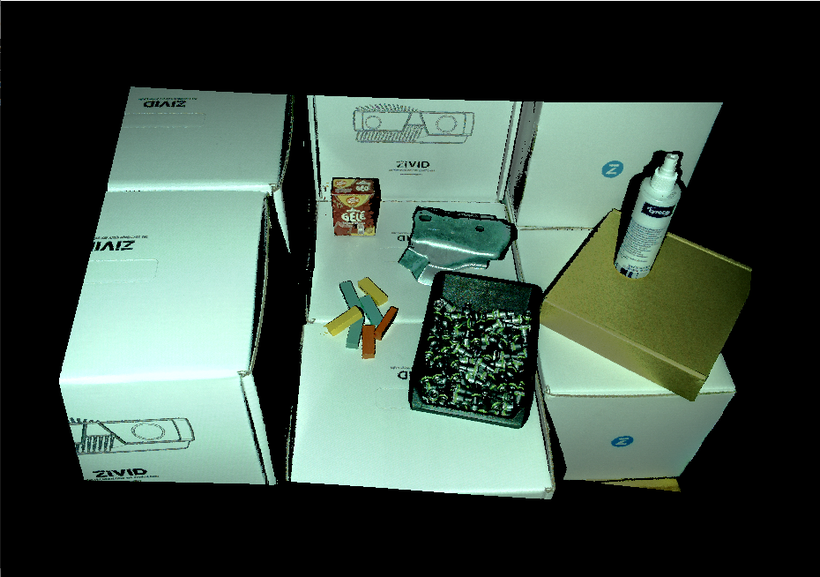
창을 닫습니다.