Zivid CLI Tool For Hand-Eye Calibration
This tutorial shows how to use the Command Line Interface (CLI) tool for Hand-Eye calibration. Step by step instructions are provided with screenshots below.
Note
The ZividExperimentalHandEyeCalibration.exe CLI tool using *.yaml file format for robot poses is experimental. It will eventually be replaced by a GUI.
Requirements
Basic knowledge of Hand-Eye Calibration
Hand-eye calibration dataset - covered in the first step below
Instructions
Acquire the dataset
If you haven’t read our complete tutorial on Hand-Eye Calibration, we encourage you to do so. The bare minimum for acquiring the dataset is to check out the Hand-Eye Calibration Process to learn more about the required robot poses, and to learn How To Get Good Quality Data On Zivid Calibration Object. Also, it can be very helpful to read on Cautions And Recommendations.
The dataset assumes 10 - 20 pairs of Zivid calibration object point clouds in .zdf file format and corresponding robot poses in .yaml file format. The naming convention is:
Point clouds: img01.zdf, img02.zdf, img03.zdf, and so on
Robot poses: pos01.yaml, pos02.yaml, pos03.yaml, and so on
Caution
Translation part of robot pose must be in mm.
The CLI tool works with Zivid checkerboards or ArUco markers. However, unlike the SDK, the CLI tool works with a single ArUco marker dictionary only: DICT_4X4_50.
Here’s an example of a robot pose available for download - pos01.yaml.
To learn how to write/read files in .yaml format, check out the OpenCV YAML file storage class.
The dataset folder should look similar to this:
Caution
Robot pose files are in .yaml file format, unlike camera settings and configuration files which are in .yml file format.

Run the hand-eye calibration CLI tool
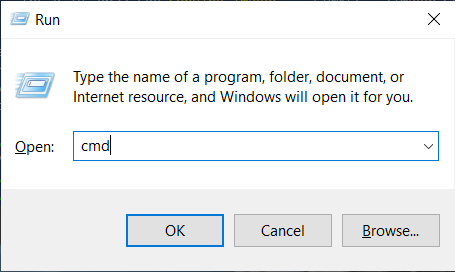
Launch the Command Prompt by pressing Win + R keys on the keyboard, then type cmd and press Enter.
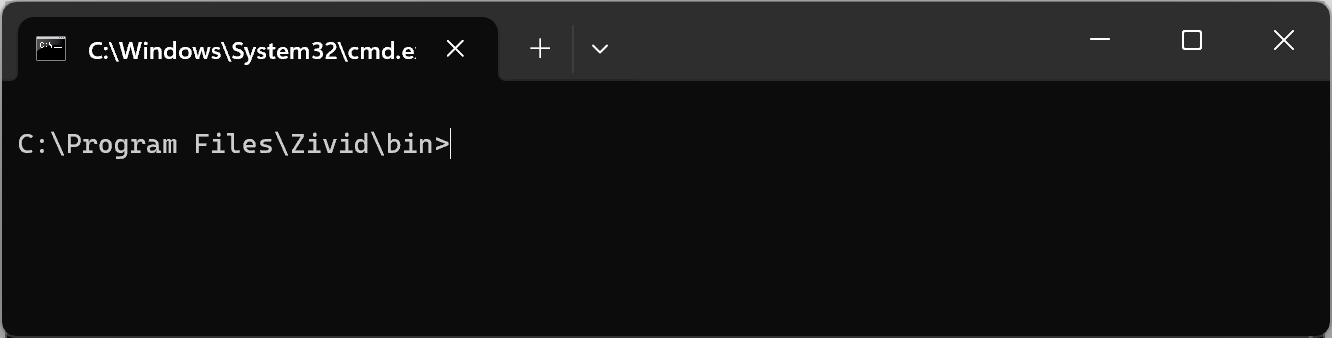
Navigate to the folder where you installed Zivid software:
cd C:\Program Files\Zivid\bin
The inputs and outputs of the ZividExperimentalHandEyeCalibration.exe CLI tool can be displayed by typing the following command:
ZividExperimentalHandEyeCalibration.exe -h
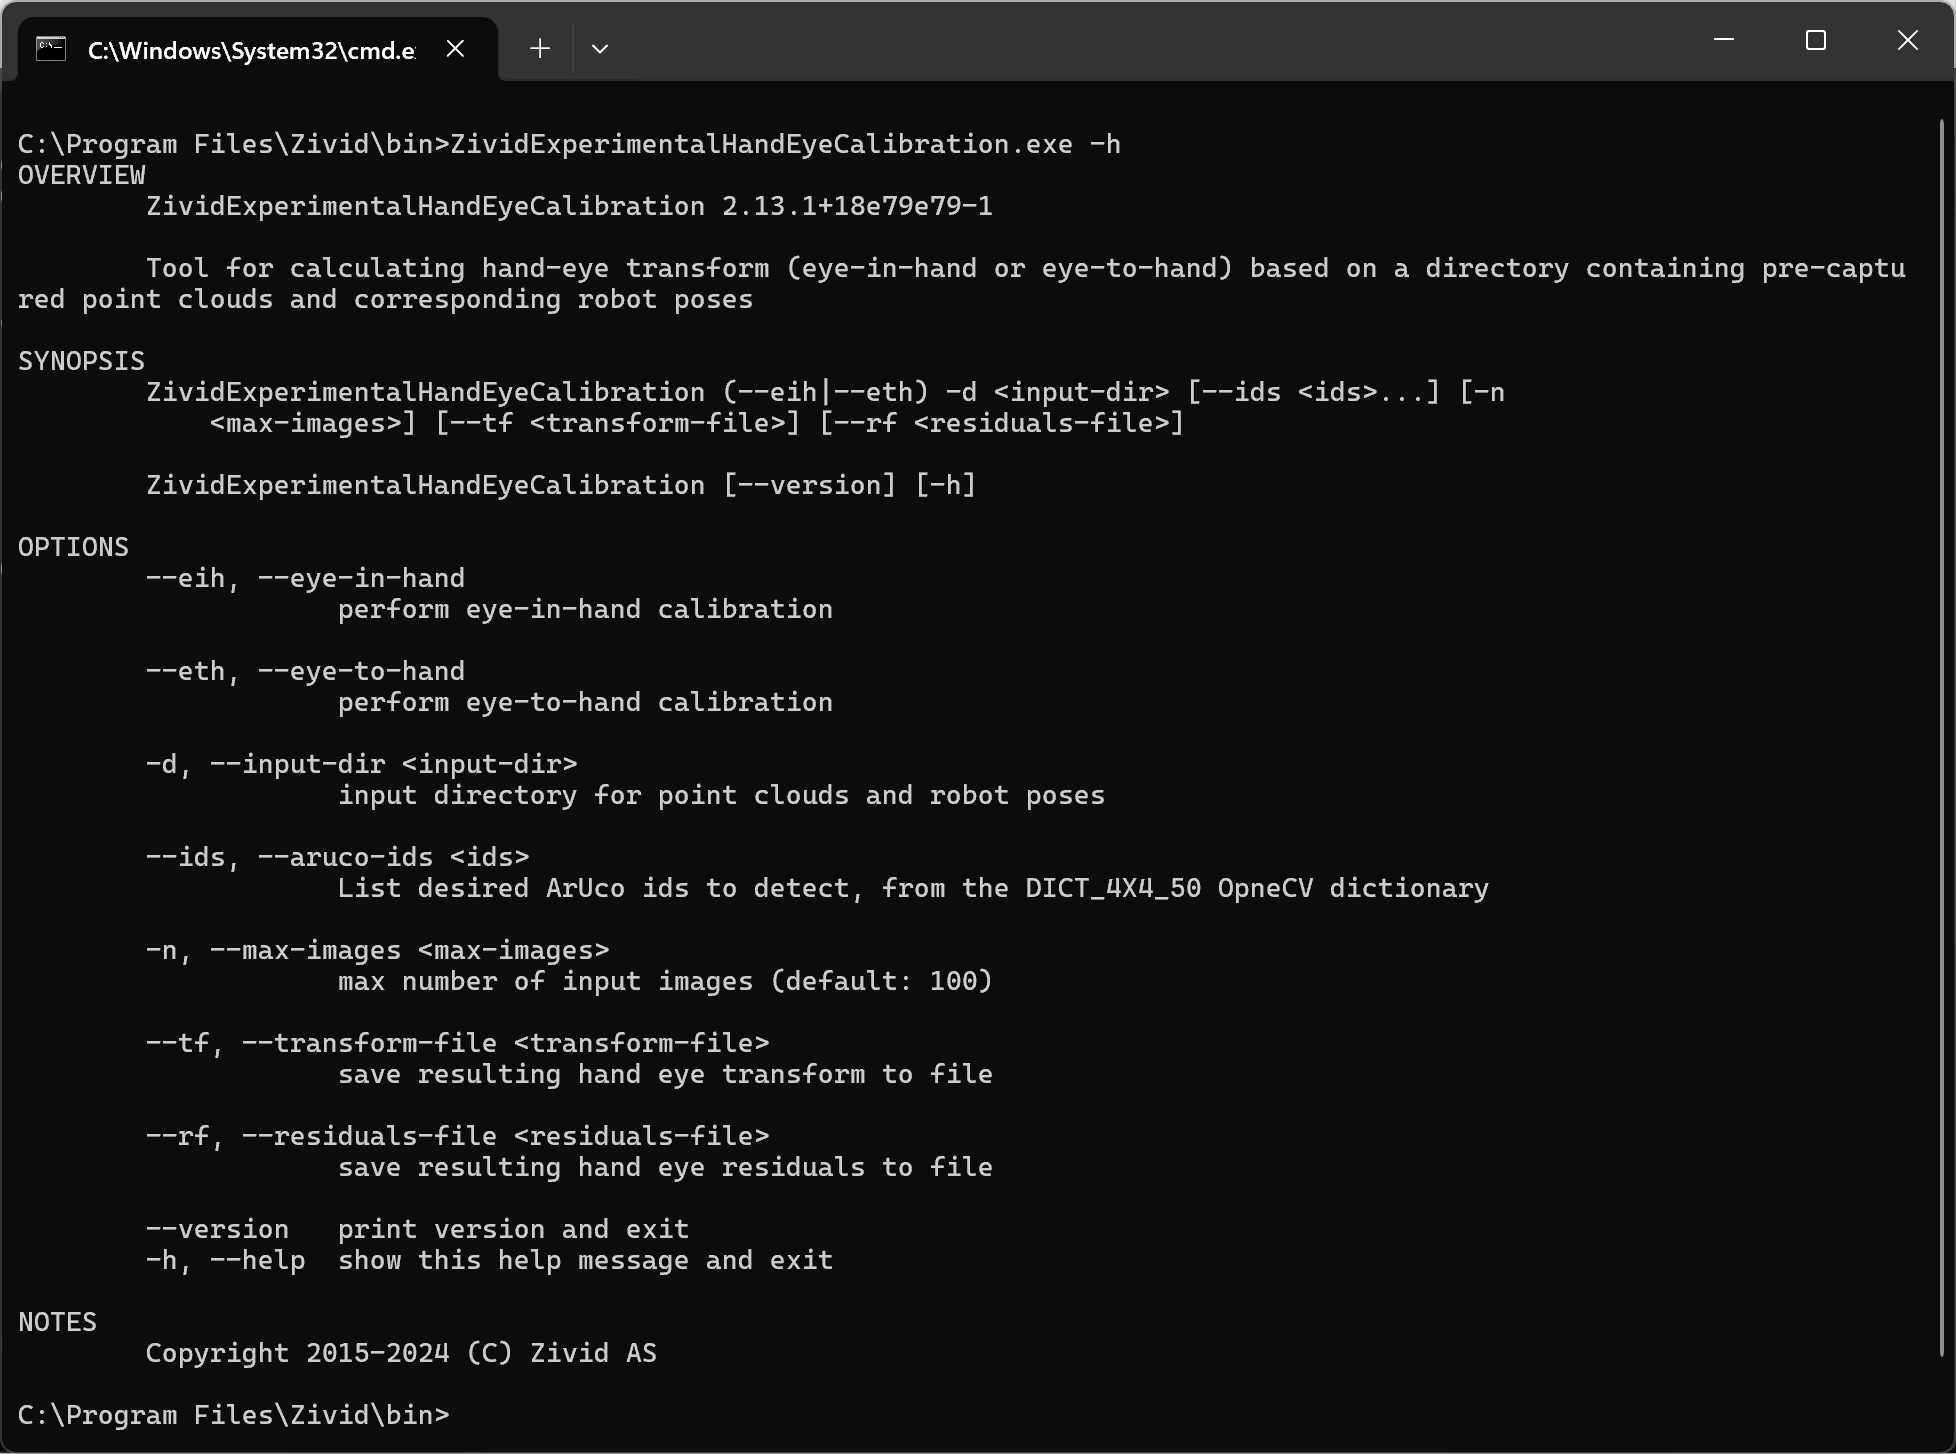
To run the ZividExperimentalHandEyeCalibration.exe CLI tool you must specify:
The type of calibration (eye-in-hand or eye-to-hand)
The path to the directory containing the dataset (.zdf files and .yaml robot poses)
It is also handy to specify the location where you want to save the resulting hand-eye transform and residuals, see the example below:
SET dataset=C:\Users\Public\Documents\Directory_where_dataset_is_located
ZividExperimentalHandEyeCalibration.exe --eth -d "%dataset%" --tf "%dataset%\transform.yaml" --rf "%dataset%\residuals.yaml"
The type of calibration (eye-in-hand or eye-to-hand)
The path to the directory containing the dataset (.zdf files and .yaml robot poses)
The IDs of the ArUco markers used
It is also handy to specify the location where you want to save the resulting hand-eye transform and residuals, see the example below:
SET dataset=C:\Users\Public\Documents\Directory_where_dataset_is_located
ZividExperimentalHandEyeCalibration.exe --eth -d "%dataset%" --tf "%dataset%\transform.yaml" --rf "%dataset%\residuals.yaml" --ids 1, 2, 3
During the execution, the algorithm outputs (“OK”) if it can detect the calibration object or (“FAILED”) if it cannot. After the detection phase, it outputs the resulting hand-eye transform (4x4 homogeneous transformation matrix). Lastly, it outputs Hand-Eye Calibration Residuals for every pose; see the example output below.
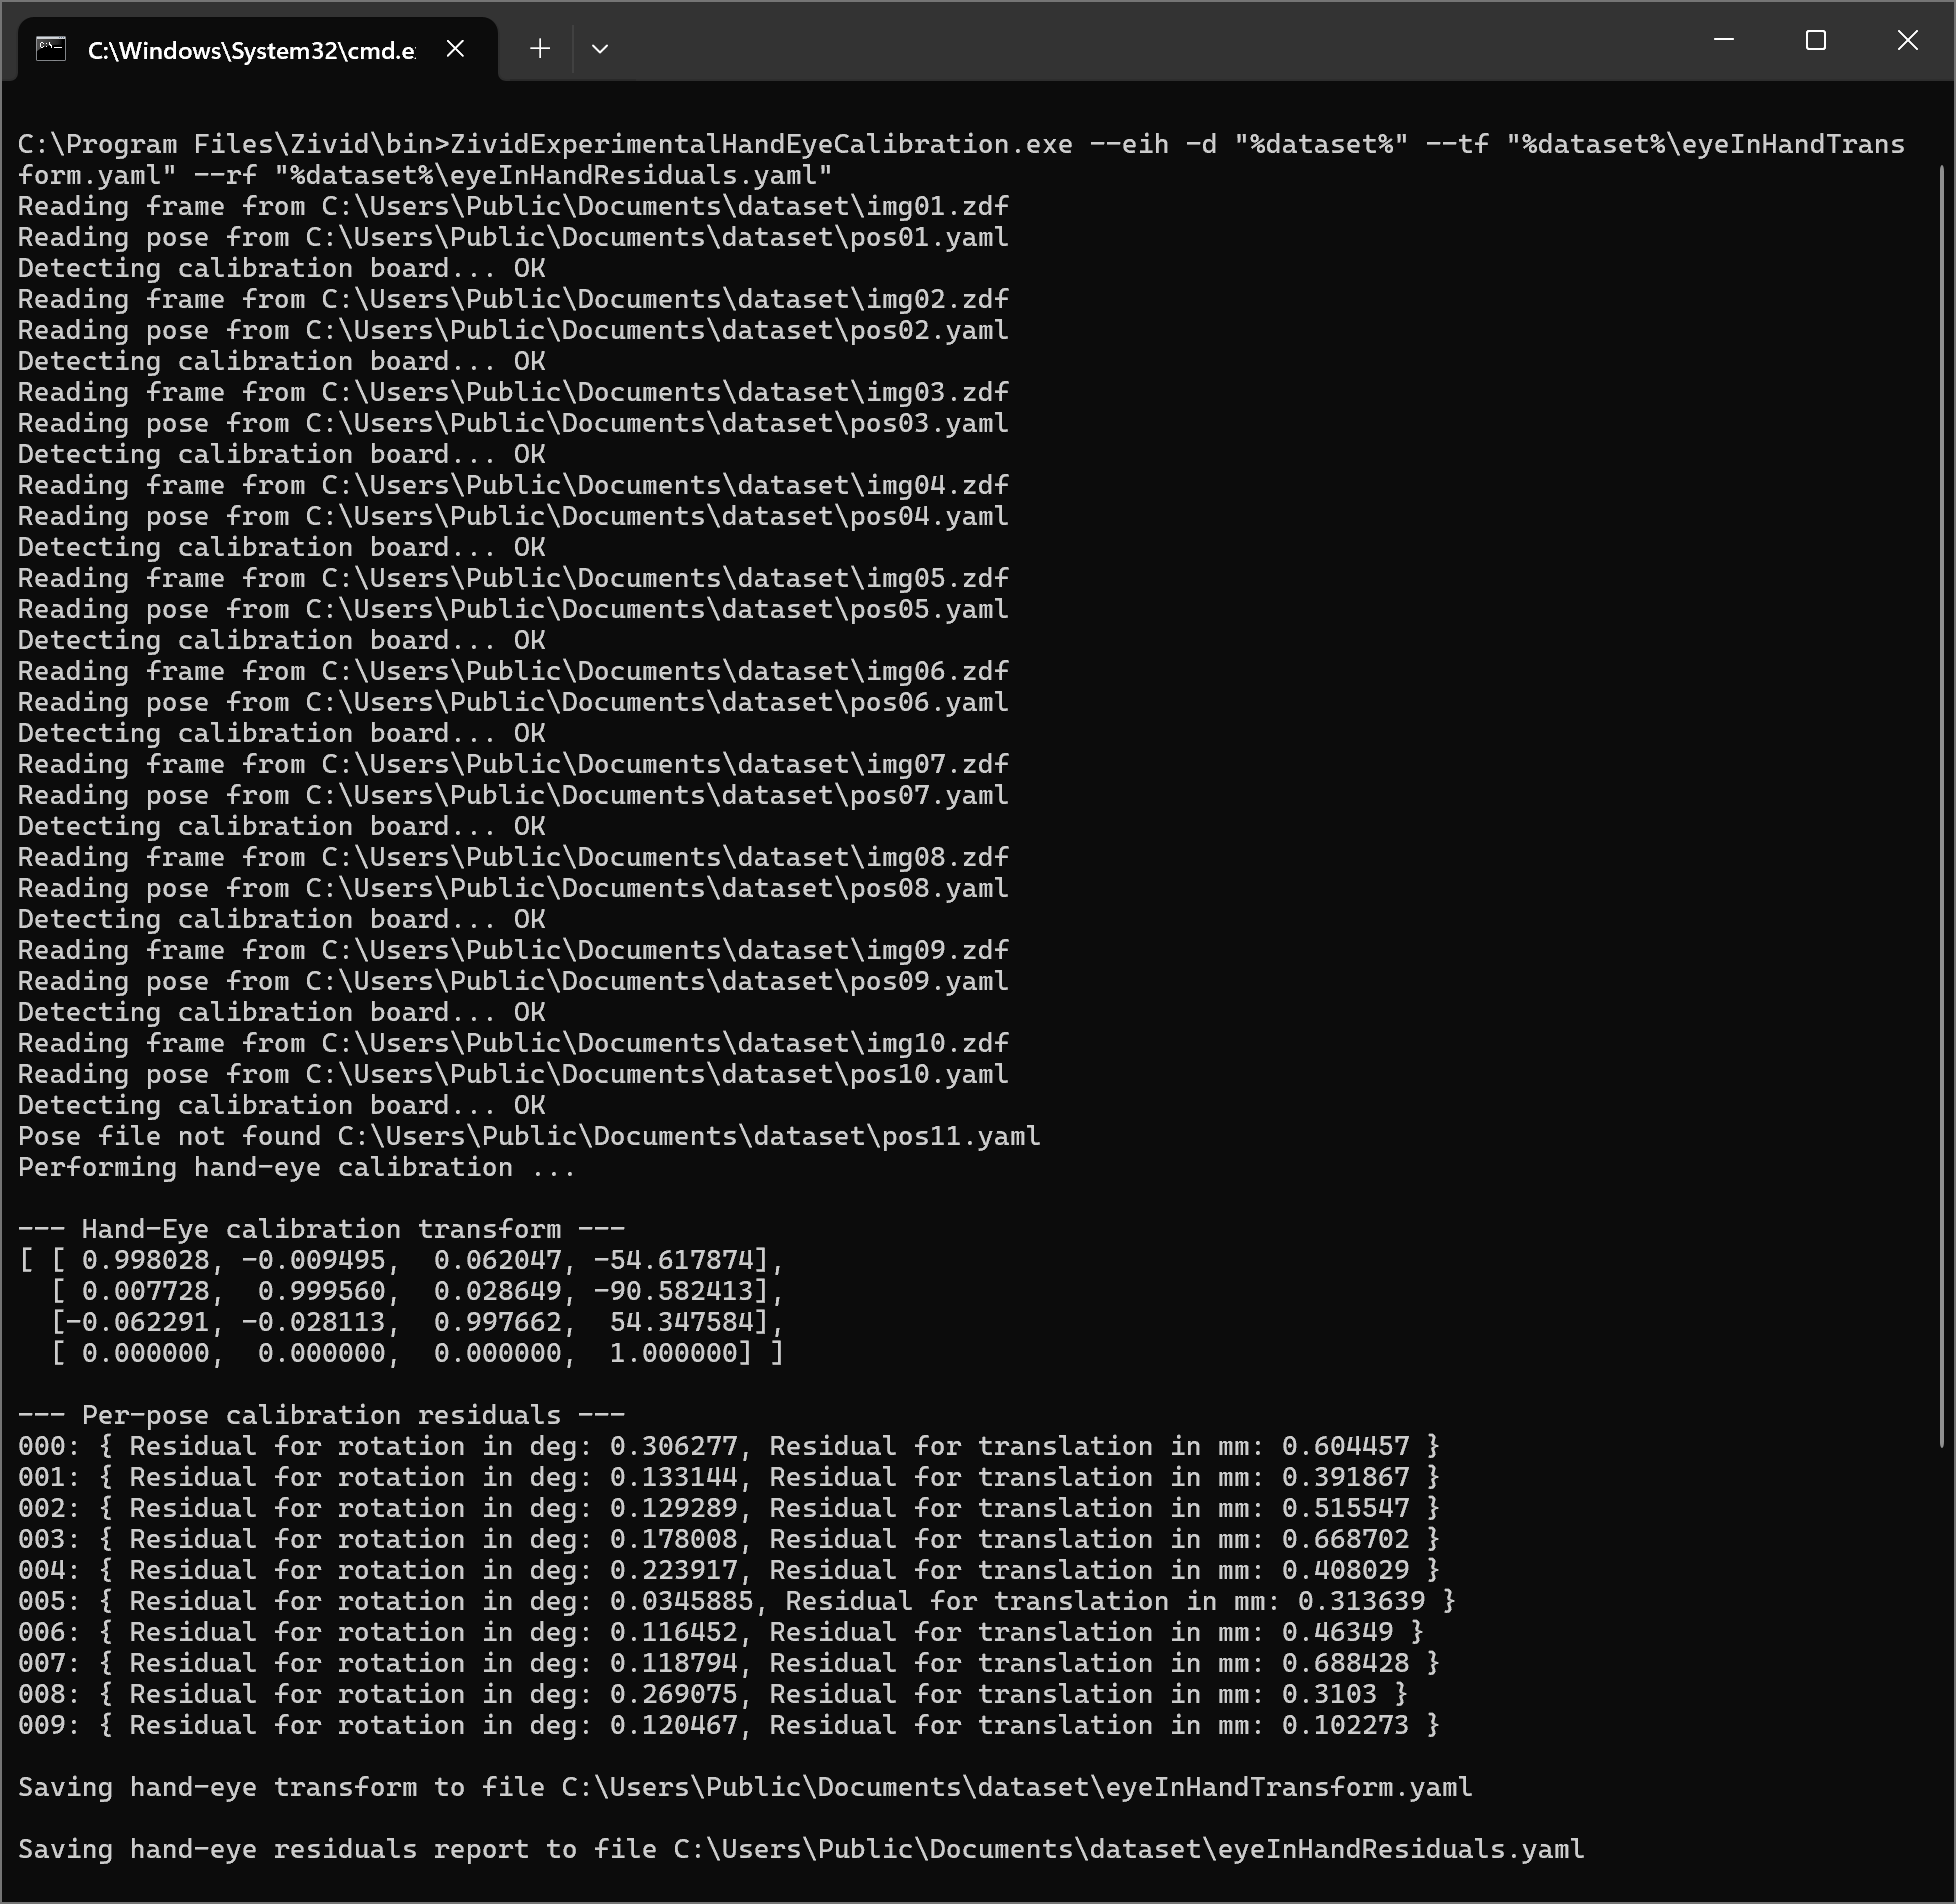
The resulting homogeneous transformation matrix (eyeInHandTransform.yaml) can then be used to transform the picking point coordinates or the entire point cloud from the camera frame to the robot base frame. To learn how to do this, check out How To Use The Result Of Hand-Eye Calibration.