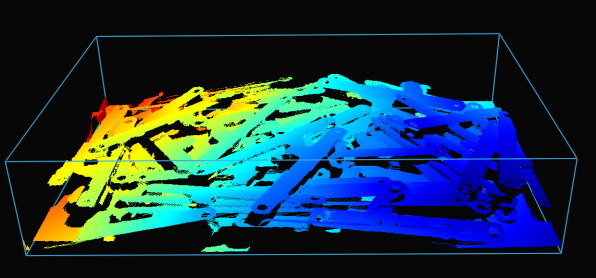
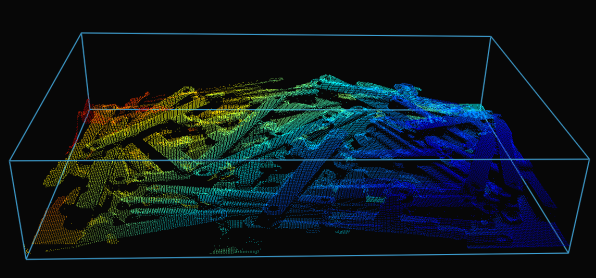
Production Preparation Processes
We have several processes and tools within the Zivid SDK to help you set up your system and prepare it for production. The essential ones that we advise doing before deploying are:
warm-up
infield correction
hand-eye calibration
Using these processes, we want to imitate the production conditions to optimize the camera for working temperature, distance, and FOV. Other tools that can help you reduce the processing time during production and hence maximize your picking rate are:
transforming and ROI box filtering
downsampling
Robot Calibration
Before starting production, you should make sure your robot is well calibrated, demonstrating good positioning accuracy. For more information about robot kinematic calibration and robot mastering/zeroing, contact your robot supplier.
Warm-up
Allowing the Zivid 3D camera to warm up and reach thermal equilibrium can improve the overall accuracy and success of an application. This is recommended if the application requires tight tolerances, e.g., picking applications with < 5 mm tolerance per meter distance from the camera. A warmed-up camera will improve both infield correction and hand-eye calibration results.
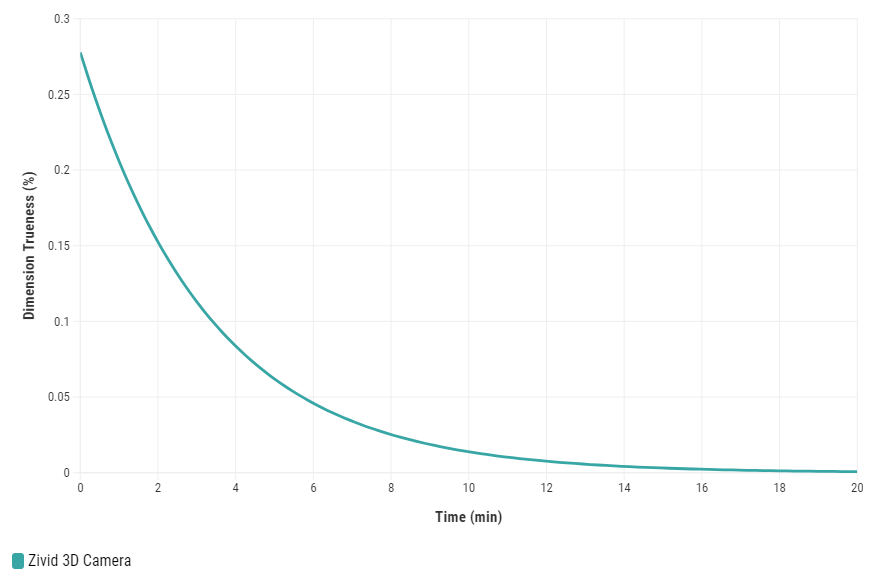
To warm up your camera, you can run our code sample, providing cycle time and path to your camera settings.
Sample: warmup.py
python /path/to/warmup.py --settings-path /path/to/settings.yml --capture-cycle 6.0
To understand better why warm-up is needed and how to perform it with SDK, read our Warm-up article.
Tip
If your camera encounters prolonged periods without capturing that last longer than 10 minutes, it is highly beneficial to keep Thermal Stabilization enabled.
Infield Correction
Infield correction is a maintenance tool designed to verify and correct the dimension trueness of Zivid cameras. The user can check the dimension trueness of the point cloud at different points in the field of view (FOV) and determine if it is acceptable for their application. If the verification shows the camera is not sufficiently accurate for the application, then a correction can be performed to increase the dimension trueness of the point cloud. The average dimension trueness error from multiple measurements is expected to be close to zero (<0.1%).
Why is this necessary?
Our cameras are made to withstand industrial working environments and continue to return quality point clouds. However, like most high precision electronic instruments, sometimes they might need a little adjustment to make sure they stay at their best performance. When a camera experiences substantial changes in its environment or heavy handling it could require a correction to work optimally in its new setting.
Read more about Infield Correction if this is your first time doing it.
When running infield verification, ensure that the dimensional trueness is good at both the top and bottom of the bin. For on-arm applications, move the robot to the capture pose when doing infield verification. If the verification results are good, you don’t need to run infield correction.
When infield correction is required, span the entire working volume for optimal results. This means placing the Zivid calibration board in multiple locations for a given distance and doing that at different distances while ensuring the entire board is in FOV. A couple of locations at the bottom and a couple at the top of the bin are sufficient for bin picking. Check Guidelines for Performing Infield Correction for more details.
To run infield verification and/or correction on a camera you can use:
Zivid Studio
CLI tool
SDK
Tip
If you are running Infield correction for the first time, we recommend using Zivid Studio.
Check out Running Infield Correction for step-by-step guide on running Infield correction.
Hand-Eye Calibration
Picking accuracy depends on:
Camera calibration
Hand-eye calibration
Machine vision software
Robot positioning
Robots are repeatable but not inherently accurate due to the factors such as temperature, joint friction, payload, manufacturing tolerances.
Recommendations:
Perform mastering (zeroing) to teach the robot the exact zero position of each joint.
Calibrate the robot for improved pose accuracy.
Repeat hand-eye calibration if:
robot loses calibration.
camera is dismounted and remounted.
Perform regular recalibration (robot and/or hand-eye) to maintain system performance.
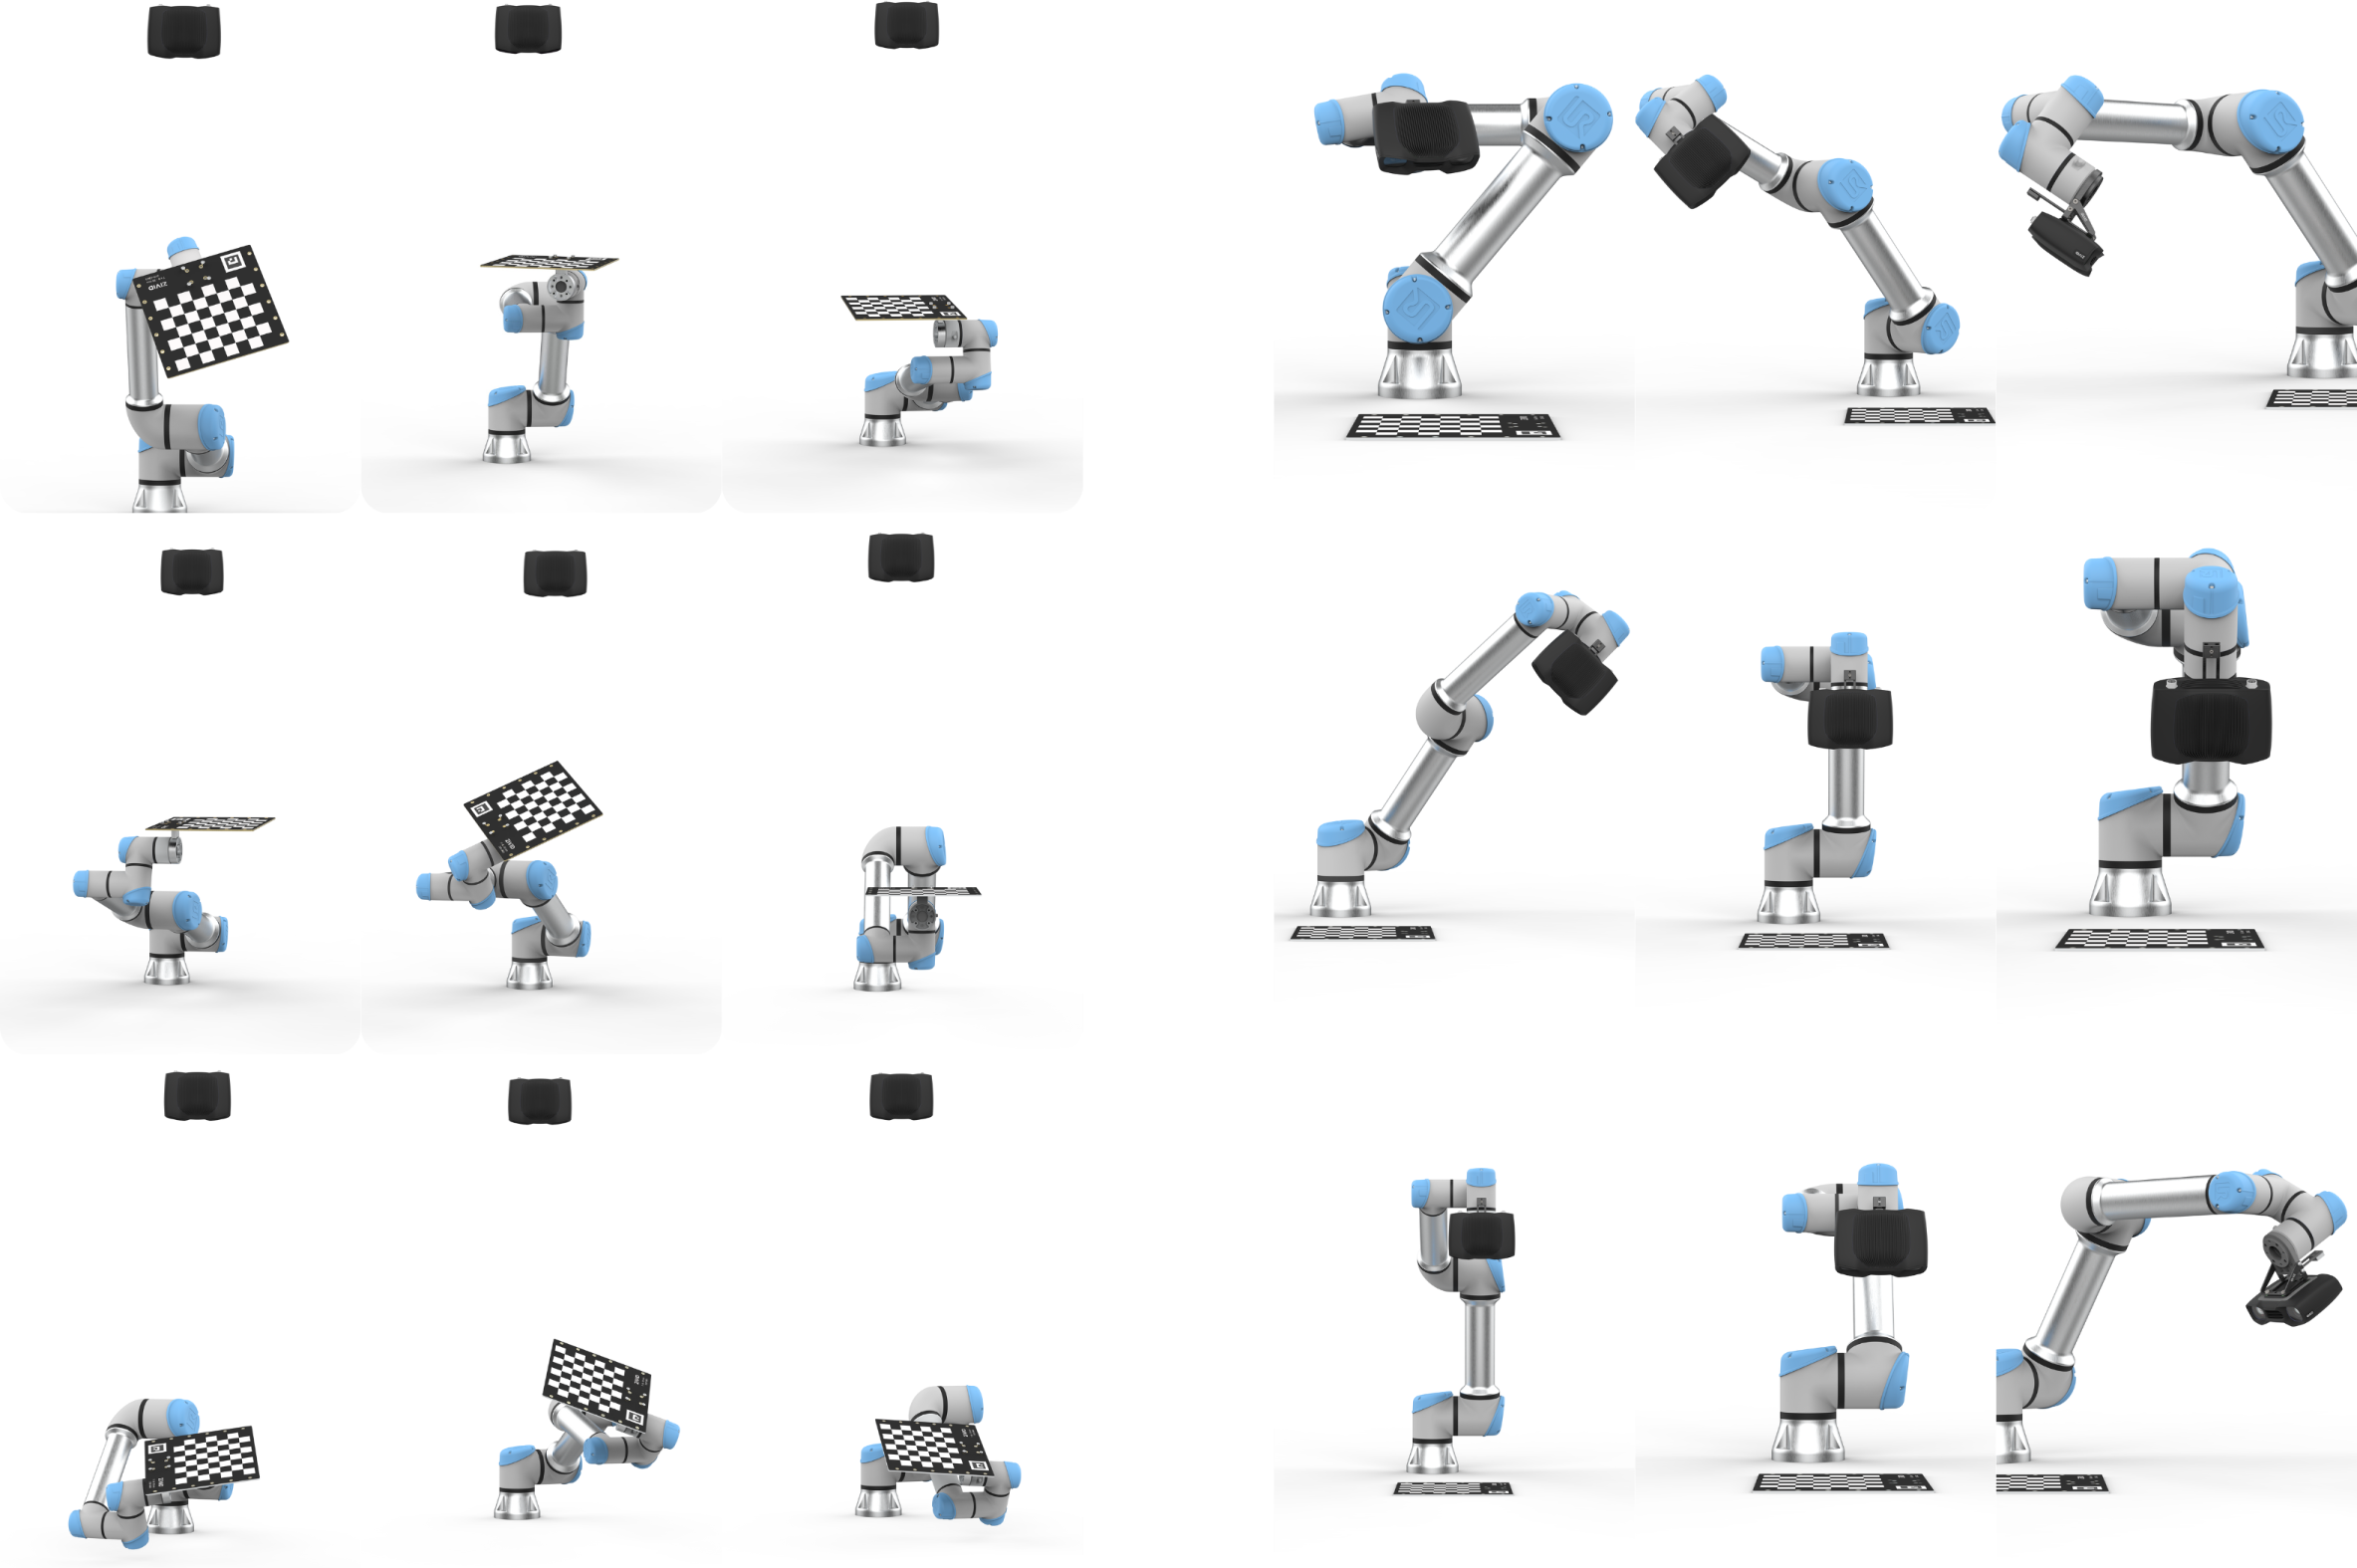
Recommended method
For users who want to perform hand-eye calibration without developing their own solution, Zivid recommends using the Hand-Eye GUI—a graphical tool provided as part of our Python sample library to simplify the process. It includes all essential features such as warmup, infield correction, calibration, and verification tests. While the tool supports integration with RoboDK, its use is optional; the GUI can be used independently for features with Zivid cameras.
Tip
It is recommended to Warm-up the camera and run Infield Correction before running hand-eye calibration. Use the same capture cycle during warmup, infield correction, and hand-eye calibration as in your application. To further reduce the impact of temperature dependent performance factors, enable Thermal Stabilization.
Alternative methods
If you prefer a different workflow or tighter integration into your system, several alternatives are available:
- UR5 + Python sample
For users who want to use the UR5 driver directly instead of RoboDK or GUI; see UR5 Robot + Python: Generate Dataset and perform Hand-Eye Calibration.
- RoboDK + Python sample
For those who prefer scripting the process using RoboDK and Python rather than using the GUI; see: Any Robot + RoboDK + Python: Generate Dataset and Perform Hand-Eye Calibration.
- Command-Line Tool
For users who prefer a workflow not based on Python or minimal dependencies; see: Zivid CLI Tool For Hand-Eye Calibration. This experimental CLI tool computes the hand-eye transform from a provided dataset and saves the transformation matrix and residuals to user-specified files.
Custom integration
If you prefer a more customized integration, e.g., embedding hand-eye calibration directly into your own solution, you can follow the step-by-step process outlined below and explore our interactive code samples.
Hand-eye calibration process steps:
Move the robot to a new posture
Register the end-effector pose
Image the calibration object (obtain its pose)
Repeat steps 1-3 multiple times, e.g. 10 - 20
Compute hand-eye transform
To learn how to integrate hand-eye calibration into your solution, check out our interactive code samples:
/*
Perform Hand-Eye calibration.
*/
#include <Zivid/Application.h>
#include <Zivid/Calibration/Detector.h>
#include <Zivid/Calibration/HandEye.h>
#include <Zivid/Calibration/Pose.h>
#include <Zivid/Exception.h>
#include <Zivid/Zivid.h>
#include <clipp.h>
#include <iostream>
#include <stdexcept>
namespace
{
std::string presetPath(const Zivid::Camera &camera)
{
const std::string presetsPath = std::string(ZIVID_SAMPLE_DATA_DIR) + "/Settings";
switch(camera.info().model().value())
{
case Zivid::CameraInfo::Model::ValueType::zividTwo:
{
return presetsPath + "/Zivid_Two_M70_ManufacturingSpecular.yml";
}
case Zivid::CameraInfo::Model::ValueType::zividTwoL100:
{
return presetsPath + "/Zivid_Two_L100_ManufacturingSpecular.yml";
}
case Zivid::CameraInfo::Model::ValueType::zivid2PlusM130:
{
return presetsPath + "/Zivid_Two_Plus_M130_ConsumerGoodsQuality.yml";
}
case Zivid::CameraInfo::Model::ValueType::zivid2PlusM60:
{
return presetsPath + "/Zivid_Two_Plus_M60_ConsumerGoodsQuality.yml";
}
case Zivid::CameraInfo::Model::ValueType::zivid2PlusL110:
{
return presetsPath + "/Zivid_Two_Plus_L110_ConsumerGoodsQuality.yml";
}
case Zivid::CameraInfo::Model::ValueType::zivid2PlusMR130:
{
return presetsPath + "/Zivid_Two_Plus_MR130_ConsumerGoodsQuality.yml";
}
case Zivid::CameraInfo::Model::ValueType::zivid2PlusMR60:
{
return presetsPath + "/Zivid_Two_Plus_MR60_ConsumerGoodsQuality.yml";
}
case Zivid::CameraInfo::Model::ValueType::zivid2PlusLR110:
{
return presetsPath + "/Zivid_Two_Plus_LR110_ConsumerGoodsQuality.yml";
}
case Zivid::CameraInfo::Model::ValueType::zivid3XL250:
{
return presetsPath + "/Zivid_Three_XL250_DepalletizationQuality.yml";
}
case Zivid::CameraInfo::Model::ValueType::zividOnePlusSmall:
case Zivid::CameraInfo::Model::ValueType::zividOnePlusMedium:
case Zivid::CameraInfo::Model::ValueType::zividOnePlusLarge: break;
default: throw std::runtime_error("Unhandled enum value '" + camera.info().model().toString() + "'");
}
throw std::invalid_argument("Invalid camera model");
}
enum class CommandType
{
AddPose,
Calibrate,
Unknown
};
std::string getInput()
{
std::string command;
std::getline(std::cin, command);
return command;
}
CommandType enterCommand()
{
std::cout << "Enter command, p (to add robot pose) or c (to perform calibration): ";
const auto command = getInput();
if(command == "P" || command == "p")
{
return CommandType::AddPose;
}
if(command == "C" || command == "c")
{
return CommandType::Calibrate;
}
return CommandType::Unknown;
}
Zivid::Calibration::Pose enterRobotPose(size_t index)
{
std::cout << "Enter pose with id (a line with 16 space separated values describing 4x4 row-major matrix) : "
<< index << std::endl;
std::stringstream input(getInput());
float element{ 0 };
std::vector<float> transformElements;
for(size_t i = 0; i < 16 && input >> element; ++i)
{
transformElements.emplace_back(element);
}
const auto robotPose{ Zivid::Matrix4x4{ transformElements.cbegin(), transformElements.cend() } };
std::cout << "The following pose was entered: \n" << robotPose << std::endl;
return robotPose;
}
std::string markersToString(const std::vector<int> &markerIds)
{
std::ostringstream oss;
for(const auto &id : markerIds)
{
oss << id << " ";
}
return oss.str();
}
void handleAddPose(
size_t ¤tPoseId,
std::vector<Zivid::Calibration::HandEyeInput> &handEyeInput,
Zivid::Camera &camera,
const std::string &calibrationObject,
const Zivid::Settings &settings)
{
const auto robotPose = enterRobotPose(currentPoseId);
std::cout << "Detecting calibration object in point cloud" << std::endl;
if(calibrationObject == "c")
{
const auto frame = camera.capture2D3D(settings);
const auto detectionResult = Zivid::Calibration::detectCalibrationBoard(frame);
if(detectionResult.valid())
{
std::cout << "Calibration board detected " << std::endl;
handEyeInput.emplace_back(robotPose, detectionResult);
currentPoseId++;
}
else
{
std::cout << "Failed to detect calibration board. " << detectionResult.statusDescription() << std::endl;
}
}
else if(calibrationObject == "m")
{
const auto frame = camera.capture2D3D(settings);
auto markerDictionary = Zivid::Calibration::MarkerDictionary::aruco4x4_50;
std::vector<int> markerIds = { 1, 2, 3 };
std::cout << "Detecting arUco marker IDs " << markersToString(markerIds) << "from the dictionary "
<< markerDictionary << std::endl;
auto detectionResult = Zivid::Calibration::detectMarkers(frame, markerIds, markerDictionary);
if(detectionResult.valid())
{
std::cout << "ArUco marker(s) detected: " << detectionResult.detectedMarkers().size() << std::endl;
handEyeInput.emplace_back(robotPose, detectionResult);
currentPoseId++;
}
else
{
std::cout
<< "Failed to detect any ArUco markers, ensure that at least one ArUco marker is in the view of the camera"
<< std::endl;
}
}
}
std::vector<Zivid::Calibration::HandEyeInput> readHandEyeInputs(
Zivid::Camera &camera,
const Zivid::Settings &settings)
{
size_t currentPoseId{ 0 };
bool calibrate{ false };
std::string calibrationObject;
while(true)
{
std::cout
<< "Enter calibration object you are using, m (for ArUco marker(s)) or c (for Zivid checkerboard): "
<< std::endl;
calibrationObject = getInput();
if(calibrationObject == "m" || calibrationObject == "c")
{
break;
}
}
std::cout << "Zivid primarily operates with a (4x4) transformation matrix. To convert" << std::endl;
std::cout << "from axis-angle, rotation vector, roll-pitch-yaw, or quaternion, check out" << std::endl;
std::cout << "our PoseConversions sample." << std::endl;
std::vector<Zivid::Calibration::HandEyeInput> handEyeInput;
do
{
switch(enterCommand())
{
case CommandType::AddPose:
{
try
{
handleAddPose(currentPoseId, handEyeInput, camera, calibrationObject, settings);
}
catch(const std::exception &e)
{
std::cout << "Error: " << Zivid::toString(e) << std::endl;
continue;
}
break;
}
case CommandType::Calibrate:
{
calibrate = true;
break;
}
case CommandType::Unknown:
{
std::cout << "Error: Unknown command" << std::endl;
break;
}
default: throw std::runtime_error{ "Unhandled command type" };
}
} while(!calibrate);
return handEyeInput;
}
Zivid::Calibration::HandEyeOutput performCalibration(
const std::vector<Zivid::Calibration::HandEyeInput> &handEyeInput)
{
while(true)
{
std::cout << "Enter type of calibration, eth (for eye-to-hand) or eih (for eye-in-hand): ";
const auto calibrationType = getInput();
if(calibrationType == "eth" || calibrationType == "ETH")
{
std::cout << "Performing eye-to-hand calibration with " << handEyeInput.size() << " dataset pairs"
<< std::endl;
std::cout << "The resulting transform is the camera pose in robot base frame" << std::endl;
return Zivid::Calibration::calibrateEyeToHand(handEyeInput);
}
if(calibrationType == "eih" || calibrationType == "EIH")
{
std::cout << "Performing eye-in-hand calibration with " << handEyeInput.size() << " dataset pairs"
<< std::endl;
std::cout << "The resulting transform is the camera pose in flange (end-effector) frame" << std::endl;
return Zivid::Calibration::calibrateEyeInHand(handEyeInput);
}
std::cout << "Entered uknown method" << std::endl;
}
}
} // namespace
int main(int argc, char *argv[])
{
try
{
std::string settingsPath;
bool showHelp = false;
auto cli =
(clipp::option("-h", "--help").set(showHelp) % "Show help message",
clipp::option("--settings-path")
& clipp::value("path", settingsPath) % "Path to the camera settings YML file");
if(!clipp::parse(argc, argv, cli) || showHelp)
{
auto fmt = clipp::doc_formatting{}.alternatives_min_split_size(1).surround_labels("\"", "\"");
std::cout << "USAGE:" << std::endl;
std::cout << clipp::usage_lines(cli, argv[0], fmt) << std::endl;
std::cout << "OPTIONS:" << std::endl;
std::cout << clipp::documentation(cli) << std::endl;
return showHelp ? EXIT_SUCCESS : EXIT_FAILURE;
}
Zivid::Application zivid;
std::cout << "Connecting to camera" << std::endl;
auto camera{ zivid.connectCamera() };
if(settingsPath.empty())
{
settingsPath = presetPath(camera);
}
const auto settings = Zivid::Settings(settingsPath);
const auto handEyeInput{ readHandEyeInputs(camera, settings) };
const auto calibrationResult{ performCalibration(handEyeInput) };
std::cout << "Zivid primarily operates with a (4x4) transformation matrix. To convert" << std::endl;
std::cout << "to axis-angle, rotation vector, roll-pitch-yaw, or quaternion, check out" << std::endl;
std::cout << "our PoseConversions sample." << std::endl;
if(calibrationResult.valid())
{
std::cout << "Hand-Eye calibration OK\n"
<< "Result:\n"
<< calibrationResult << std::endl;
}
else
{
std::cout << "Hand-Eye calibration FAILED" << std::endl;
return EXIT_FAILURE;
}
}
catch(const std::exception &e)
{
std::cerr << "\nError: " << Zivid::toString(e) << std::endl;
std::cout << "Press enter to exit." << std::endl;
std::cin.get();
return EXIT_FAILURE;
}
return EXIT_SUCCESS;
}
/*
Perform Hand-Eye calibration.
*/

using System;
using System.Collections.Generic;
using System.IO;
using System.Linq;
using Zivid.NET.Calibration;
using Duration = Zivid.NET.Duration;

class Program
{
    static int Main(string[] args)
    {
        try
        {
            var userOptions = ParseOptions(args);
            if (userOptions.ShowHelp)
            {
                ShowHelp();
                return 0;
            }

            var zivid = new Zivid.NET.Application();

            Console.WriteLine("Connecting to camera");
            var camera = zivid.ConnectCamera();

            var settingsPath = userOptions.SettingsPath;
            if (string.IsNullOrEmpty(settingsPath))
            {
                settingsPath = PresetPath(camera);
            }
            var settings = new Zivid.NET.Settings(settingsPath);

            var handEyeInput = readHandEyeInputs(camera, settings);

            var calibrationResult = performCalibration(handEyeInput);

            Console.WriteLine("Zivid primarily operates with a (4x4) transformation matrix. To convert");
            Console.WriteLine("to axis-angle, rotation vector, roll-pitch-yaw, or quaternion, check out");
            Console.WriteLine("our PoseConversions sample.");

            if (calibrationResult.Valid())
            {
                Console.WriteLine("{0}\n{1}\n{2}", "Hand-Eye calibration OK", "Result: ", calibrationResult);
            }
            else
            {
                Console.WriteLine("Hand-Eye calibration FAILED");
                return 1;
            }
        }
        catch (Exception ex)
        {
            Console.WriteLine("Error: {0}", ex.ToString());
            return 1;
        }
        return 0;
    }

    static (string SettingsPath, bool ShowHelp) ParseOptions(string[] args)
    {
        string settingsPath = "";
        bool showHelp = false;
        foreach (var arg in args)
        {
            if (arg.StartsWith("--settings-path="))
            {
                settingsPath = arg.Substring("--settings-path=".Length);
            }
            else if (arg.StartsWith("-h") || arg.StartsWith("--help"))
            {
                showHelp = true;
            }
        }

        return (settingsPath, showHelp);
    }

    static List<HandEyeInput> readHandEyeInputs(Zivid.NET.Camera camera, Zivid.NET.Settings settings)
    {
        var handEyeInput = new List<HandEyeInput>();
        var currentPoseId = 0U;
        var beingInput = true;

        var calibrationObject = "";
        while (true)
        {
            Console.WriteLine("Enter calibration object you are using, m (for ArUco marker(s)) or c (for Zivid checkerboard): ");
            calibrationObject = Console.ReadLine();

            if (calibrationObject.Equals("m", StringComparison.CurrentCultureIgnoreCase) ||
                calibrationObject.Equals("c", StringComparison.CurrentCultureIgnoreCase))
            {
                break;
            }
        }


        Interaction.ExtendInputBuffer(2048);

        Console.WriteLine("Zivid primarily operates with a (4x4) transformation matrix. To convert");
        Console.WriteLine("from axis-angle, rotation vector, roll-pitch-yaw, or quaternion, check out");
        Console.WriteLine("our PoseConversions sample.");

        do
        {
            switch (Interaction.EnterCommand())
            {
                case CommandType.AddPose:
                    try
                    {
                        HandleAddPose(ref currentPoseId, ref handEyeInput, camera, calibrationObject, settings);
                    }
                    catch (Exception ex)
                    {
                        Console.WriteLine("Error: {0}", ex.ToString());
                        continue;
                    }
                    break;

                case CommandType.Calibrate: beingInput = false; break;

                case CommandType.Unknown: Console.WriteLine("Error: Unknown command"); break;
            }
        } while (beingInput);
        return handEyeInput;
    }

    public static void HandleAddPose(ref uint currentPoseId, ref List<HandEyeInput> handEyeInput, Zivid.NET.Camera camera, string calibrationObject, Zivid.NET.Settings settings)
    {
        var robotPose = Interaction.EnterRobotPose(currentPoseId);

        Console.Write("Detecting calibration object in point cloud");
        if (calibrationObject.Equals("c", StringComparison.CurrentCultureIgnoreCase))
        {
            using (var frame = camera.Capture2D3D(settings))
            {
                var detectionResult = Detector.DetectCalibrationBoard(frame);

                if (detectionResult.Valid())
                {
                    Console.WriteLine("Calibration board detected");
                    handEyeInput.Add(new HandEyeInput(robotPose, detectionResult));
                    ++currentPoseId;
                }
                else
                {
                    Console.WriteLine("Failed to detect calibration board, ensure that the entire board is in the view of the camera");
                }
            }
        }
        else if (calibrationObject.Equals("m", StringComparison.CurrentCultureIgnoreCase))
        {
            using (var frame = camera.Capture2D3D(settings))
            {
                var markerDictionary = Zivid.NET.MarkerDictionary.Aruco4x4_50;
                var markerIds = new List<int> { 1, 2, 3 };

                Console.WriteLine("Detecting arUco marker IDs " + string.Join(", ", markerIds));
                var detectionResult = Detector.DetectMarkers(frame, markerIds, markerDictionary);

                if (detectionResult.Valid())
                {
                    Console.WriteLine("ArUco marker(s) detected: " + detectionResult.DetectedMarkers().Length);
                    handEyeInput.Add(new HandEyeInput(robotPose, detectionResult));
                    ++currentPoseId;
                }
                else
                {
                    Console.WriteLine("Failed to detect any ArUco markers, ensure that at least one ArUco marker is in the view of the camera");
                }
            }
        }
    }

    static string PresetPath(Zivid.NET.Camera camera)
    {
        var presetsPath = Environment.GetFolderPath(Environment.SpecialFolder.CommonApplicationData)
            + "/Zivid/Settings/";

        switch (camera.Info.Model)
        {
            case Zivid.NET.CameraInfo.ModelOption.ZividTwo:
                {
                    return presetsPath + "Zivid_Two_M70_ManufacturingSpecular.yml";
                }
            case Zivid.NET.CameraInfo.ModelOption.ZividTwoL100:
                {
                    return presetsPath + "Zivid_Two_L100_ManufacturingSpecular.yml";
                }
            case Zivid.NET.CameraInfo.ModelOption.Zivid2PlusM130:
                {
                    return presetsPath + "Zivid_Two_Plus_M130_ConsumerGoodsQuality.yml";
                }
            case Zivid.NET.CameraInfo.ModelOption.Zivid2PlusM60:
                {
                    return presetsPath + "Zivid_Two_Plus_M60_ConsumerGoodsQuality.yml";
                }
            case Zivid.NET.CameraInfo.ModelOption.Zivid2PlusL110:
                {
                    return presetsPath + "Zivid_Two_Plus_L110_ConsumerGoodsQuality.yml";
                }
            case Zivid.NET.CameraInfo.ModelOption.Zivid2PlusMR130:
                {
                    return presetsPath + "Zivid_Two_Plus_MR130_ConsumerGoodsQuality.yml";
                }
            case Zivid.NET.CameraInfo.ModelOption.Zivid2PlusMR60:
                {
                    return presetsPath + "Zivid_Two_Plus_MR60_ConsumerGoodsQuality.yml";
                }
            case Zivid.NET.CameraInfo.ModelOption.Zivid2PlusLR110:
                {
                    return presetsPath + "Zivid_Two_Plus_LR110_ConsumerGoodsQuality.yml";
                }
            case Zivid.NET.CameraInfo.ModelOption.Zivid3XL250:
                {
                    return presetsPath + "Zivid_Three_XL250_DepalletizationQuality.yml";
                }
            default: throw new System.InvalidOperationException("Unhandled camera model: " + camera.Info.Model.ToString());
        }
        throw new System.InvalidOperationException("Invalid camera model");
    }

    static Zivid.NET.Calibration.HandEyeOutput performCalibration(List<HandEyeInput> handEyeInput)
    {
        while (true)
        {
            Console.WriteLine("Enter type of calibration, eth (for eye-to-hand) or eih (for eye-in-hand): ");
            var calibrationType = Console.ReadLine();
            if (calibrationType.Equals("eth", StringComparison.CurrentCultureIgnoreCase))
            {
                Console.WriteLine("Performing eye-to-hand calibration with " + handEyeInput.Count + " dataset pairs");
                Console.WriteLine("The resulting transform is the camera pose in robot base frame");
                return Calibrator.CalibrateEyeToHand(handEyeInput);
            }
            if (calibrationType.Equals("eih", StringComparison.CurrentCultureIgnoreCase))
            {
                Console.WriteLine("Performing eye-in-hand calibration with " + handEyeInput.Count + " dataset pairs");
                Console.WriteLine("The resulting transform is the camera pose in flange (end-effector) frame");
                return Calibrator.CalibrateEyeInHand(handEyeInput);
            }
            Console.WriteLine("Entered unknown method");
        }
    }

    static void ShowHelp()
    {
        Console.WriteLine("Usage: HandEyeCalibration.exe [options]");
        Console.WriteLine("Options:");
        Console.WriteLine("  --settings-path=<path>   Path to the camera settings YML file (default: based on camera model)");
        Console.WriteLine("  -h, --help               Show this help message");
    }
}

enum CommandType
{
    AddPose,
    Calibrate,
    Unknown
}

class Interaction
{
    // Console.ReadLine only supports reading 256 characters, by default. This limit is modified
    // by calling ExtendInputBuffer with the maximum length of characters to be read.
    public static void ExtendInputBuffer(int size)
    {
        Console.SetIn(new StreamReader(Console.OpenStandardInput(), Console.InputEncoding, false, size));
    }

    public static CommandType EnterCommand()
    {
        Console.Write("Enter command, p (to add robot pose) or c (to perform calibration): ");
        var command = Console.ReadLine().ToLower();

        switch (command)
        {
            case "p": return CommandType.AddPose;
            case "c": return CommandType.Calibrate;
            default: return CommandType.Unknown;
        }
    }

    public static Pose EnterRobotPose(ulong index)
    {
        var elementCount = 16;
        Console.WriteLine(
            "Enter pose with id (a line with {0} space separated values describing 4x4 row-major matrix) : {1}",
            elementCount,
            index);
        var input = Console.ReadLine();

        var elements = input.Split().Where(x => !string.IsNullOrEmpty(x.Trim())).Select(x => float.Parse(x)).ToArray();

        var robotPose = new Pose(elements); Console.WriteLine("The following pose was entered: \n{0}", robotPose);
        return robotPose;
    }
}
"""
Perform Hand-Eye calibration.

"""

import argparse
from pathlib import Path
from typing import List, Tuple

import numpy as np
import zivid
from zividsamples.paths import get_sample_data_path
from zividsamples.save_load_matrix import assert_affine_matrix_and_save


def _options() -> argparse.Namespace:
    """Function to read user arguments.

    Returns:
        Arguments from user

    """
    parser = argparse.ArgumentParser(description=__doc__)

    parser.add_argument(
        "--settings-path",
        required=False,
        type=Path,
        help="Path to the camera settings YML file",
    )

    return parser.parse_args()


def _preset_path(camera: zivid.Camera) -> Path:
    """Get path to preset settings YML file, depending on camera model.

    Args:
        camera: Zivid camera

    Raises:
        ValueError: If unsupported camera model for this code sample

    Returns:
        Path: Zivid 2D and 3D settings YML path

    """
    presets_path = get_sample_data_path() / "Settings"

    if camera.info.model == zivid.CameraInfo.Model.zivid3XL250:
        return presets_path / "Zivid_Three_XL250_DepalletizationQuality.yml"
    if camera.info.model == zivid.CameraInfo.Model.zivid2PlusMR60:
        return presets_path / "Zivid_Two_Plus_MR60_ConsumerGoodsQuality.yml"
    if camera.info.model == zivid.CameraInfo.Model.zivid2PlusMR130:
        return presets_path / "Zivid_Two_Plus_MR130_ConsumerGoodsQuality.yml"
    if camera.info.model == zivid.CameraInfo.Model.zivid2PlusLR110:
        return presets_path / "Zivid_Two_Plus_LR110_ConsumerGoodsQuality.yml"
    if camera.info.model == zivid.CameraInfo.Model.zivid2PlusM60:
        return presets_path / "Zivid_Two_Plus_M60_ConsumerGoodsQuality.yml"
    if camera.info.model == zivid.CameraInfo.Model.zivid2PlusM130:
        return presets_path / "Zivid_Two_Plus_M130_ConsumerGoodsQuality.yml"
    if camera.info.model == zivid.CameraInfo.Model.zivid2PlusL110:
        return presets_path / "Zivid_Two_Plus_L110_ConsumerGoodsQuality.yml"
    if camera.info.model == zivid.CameraInfo.Model.zividTwo:
        return presets_path / "Zivid_Two_M70_ManufacturingSpecular.yml"
    if camera.info.model == zivid.CameraInfo.Model.zividTwoL100:
        return presets_path / "Zivid_Two_L100_ManufacturingSpecular.yml"

    raise ValueError("Invalid camera model")


def _enter_robot_pose(index: int) -> zivid.calibration.Pose:
    """Robot pose user input.

    Args:
        index: Robot pose ID

    Returns:
        robot_pose: Robot pose

    """
    inputted = input(
        f"Enter pose with id={index} (a line with 16 space separated values describing 4x4 row-major matrix): "
    )
    elements = inputted.split(maxsplit=15)
    data = np.array(elements, dtype=np.float64).reshape((4, 4))
    robot_pose = zivid.calibration.Pose(data)
    print(f"The following pose was entered:\n{robot_pose}")
    return robot_pose


def _perform_calibration(hand_eye_input: List[zivid.calibration.HandEyeInput]) -> zivid.calibration.HandEyeOutput:
    """Hand-Eye calibration type user input.

    Args:
        hand_eye_input: Hand-Eye calibration input

    Returns:
        hand_eye_output: Hand-Eye calibration result

    """
    while True:
        calibration_type = input("Enter type of calibration, eth (for eye-to-hand) or eih (for eye-in-hand): ").strip()
        if calibration_type.lower() == "eth":
            print(f"Performing eye-to-hand calibration with {len(hand_eye_input)} dataset pairs")
            print("The resulting transform is the camera pose in robot base frame")
            hand_eye_output = zivid.calibration.calibrate_eye_to_hand(hand_eye_input)
            return hand_eye_output
        if calibration_type.lower() == "eih":
            print(f"Performing eye-in-hand calibration with {len(hand_eye_input)} dataset pairs")
            print("The resulting transform is the camera pose in flange (end-effector) frame")
            hand_eye_output = zivid.calibration.calibrate_eye_in_hand(hand_eye_input)
            return hand_eye_output
        print(f"Unknown calibration type: '{calibration_type}'")


def _handle_add_pose(
    current_pose_id: int,
    hand_eye_input: List,
    camera: zivid.Camera,
    calibration_object: str,
    settings: zivid.Settings,
) -> Tuple[int, List]:
    """Acquire frame and keeps track of the robot's pose id.

    Args:
        current_pose_id: Counter of the current pose in the hand-eye calibration dataset
        hand_eye_input: List of hand-eye calibration dataset pairs (poses and point clouds)
        camera: Zivid camera
        calibration_object: m (for ArUco marker(s)) or c (for Zivid checkerboard)
        settings: Zivid camera settings

    Returns:
        Tuple[int, List]: Updated current_pose_id and hand_eye_input

    """

    robot_pose = _enter_robot_pose(current_pose_id)

    print("Detecting calibration object in point cloud")

    if calibration_object == "c":

        frame = zivid.calibration.capture_calibration_board(camera)
        detection_result = zivid.calibration.detect_calibration_board(frame)

        if detection_result.valid():
            print("Calibration board detected")
            hand_eye_input.append(zivid.calibration.HandEyeInput(robot_pose, detection_result))
            current_pose_id += 1
        else:
            print(f"Failed to detect calibration board. {detection_result.status_description()}")
    elif calibration_object == "m":
        frame = camera.capture_2d_3d(settings)

        marker_dictionary = zivid.calibration.MarkerDictionary.aruco4x4_50
        marker_ids = [1, 2, 3]

        print(f"Detecting arUco marker IDs {marker_ids} from the dictionary {marker_dictionary}")
        detection_result = zivid.calibration.detect_markers(frame, marker_ids, marker_dictionary)

        if detection_result.valid():
            print(f"ArUco marker(s) detected: {len(detection_result.detected_markers())}")
            hand_eye_input.append(zivid.calibration.HandEyeInput(robot_pose, detection_result))
            current_pose_id += 1
        else:
            print(
                "Failed to detect any ArUco markers, ensure that at least one ArUco marker is in the view of the camera"
            )
    return current_pose_id, hand_eye_input


def _main() -> None:
    user_options = _options()
    app = zivid.Application()

    print("Connecting to camera")
    camera = app.connect_camera()

    if user_options.settings_path is None:
        user_options.settings_path = _preset_path(camera)
    settings = zivid.Settings.load(user_options.settings_path)

    current_pose_id = 0
    hand_eye_input = []
    calibrate = False
    while True:
        calibration_object = input(
            "Enter calibration object you are using, m (for ArUco marker(s)) or c (for Zivid checkerboard): "
        ).strip()
        if calibration_object.lower() == "m" or calibration_object.lower() == "c":
            break

    print(
        "Zivid primarily operates with a (4x4) transformation matrix. To convert\n"
        "from axis-angle, rotation vector, roll-pitch-yaw, or quaternion, check out\n"
        "our pose_conversions sample."
    )

    while not calibrate:
        command = input("Enter command, p (to add robot pose) or c (to perform calibration): ").strip()
        if command == "p":
            try:
                current_pose_id, hand_eye_input = _handle_add_pose(
                    current_pose_id, hand_eye_input, camera, calibration_object, settings
                )
            except ValueError as ex:
                print(ex)
        elif command == "c":
            calibrate = True
        else:
            print(f"Unknown command '{command}'")

    calibration_result = _perform_calibration(hand_eye_input)
    transform = calibration_result.transform()
    transform_file_path = Path(Path(__file__).parent / "transform.yaml")
    assert_affine_matrix_and_save(transform, transform_file_path)

    print(
        "Zivid primarily operates with a (4x4) transformation matrix. To convert\n"
        "to axis-angle, rotation vector, roll-pitch-yaw, or quaternion, check out\n"
        "our pose_conversions sample."
    )

    if calibration_result.valid():
        print("Hand-Eye calibration OK")
        print(f"Result:\n{calibration_result}")
    else:
        print("Hand-Eye calibration FAILED")


if __name__ == "__main__":
    _main()
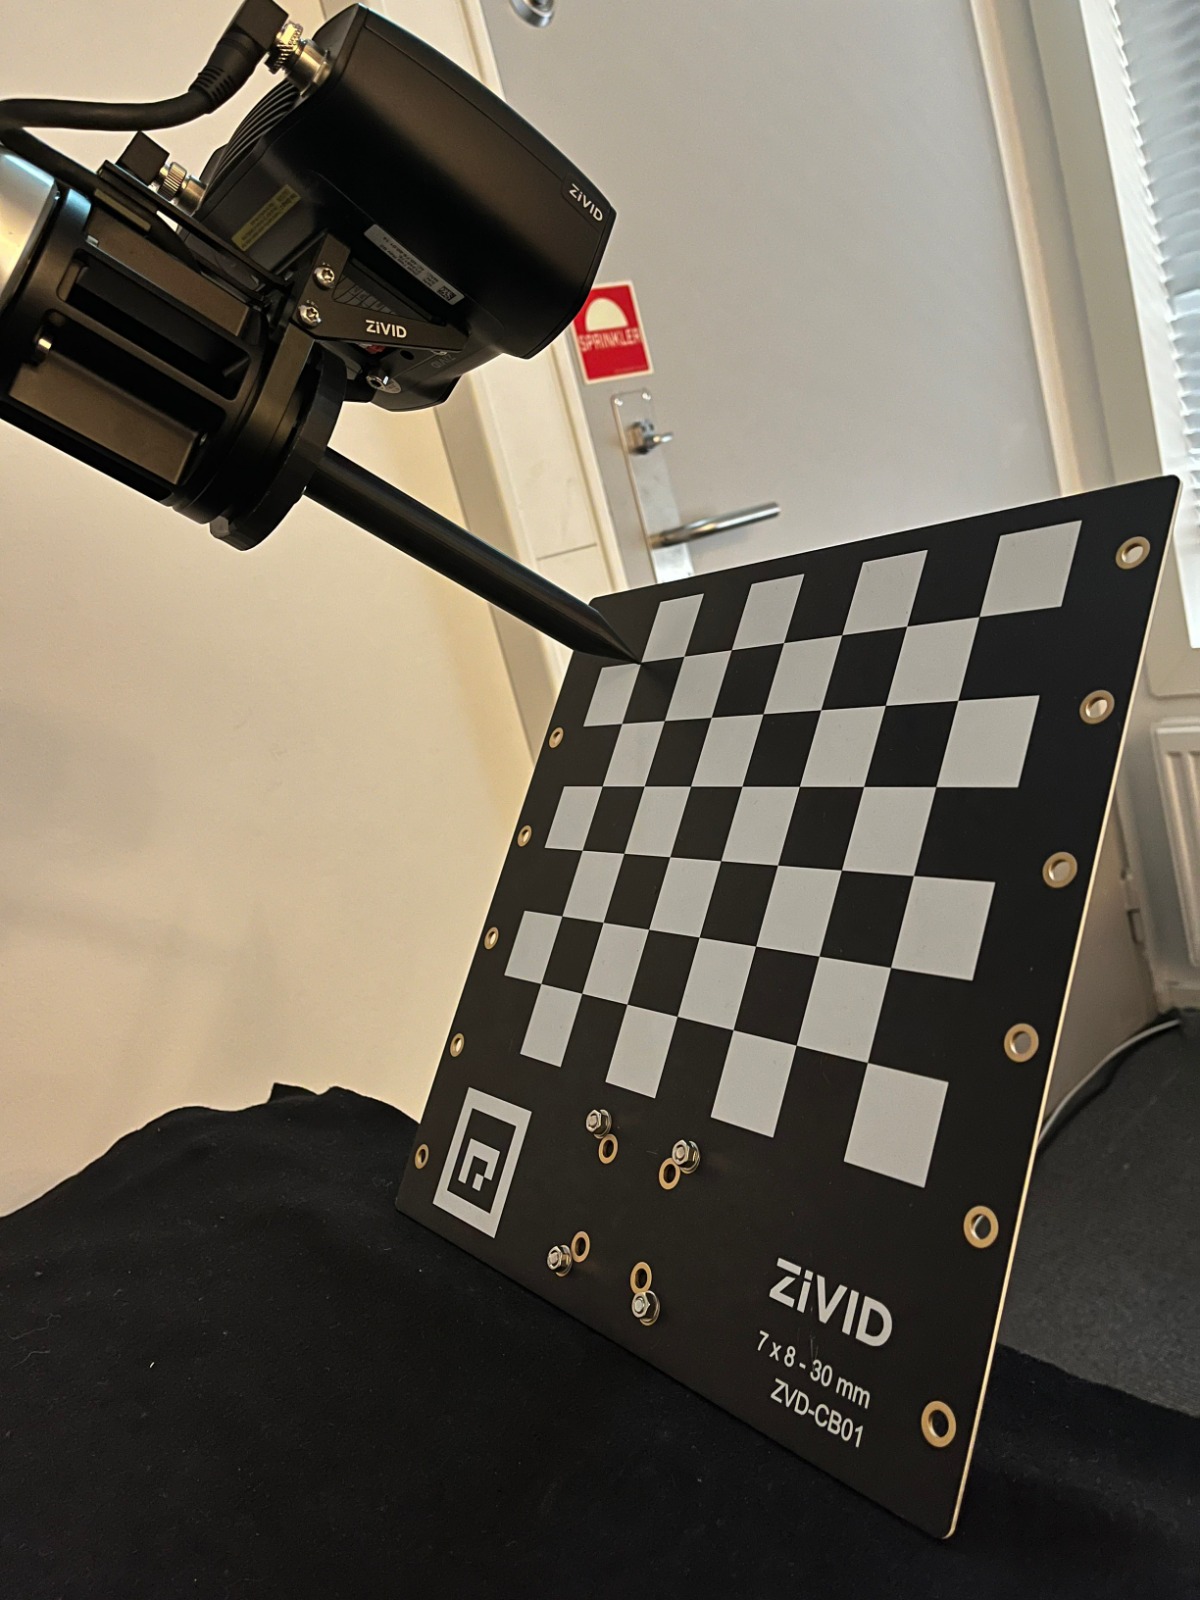
After completing hand-eye calibration, you may want to verify that the resulting transformation matrix is correct and within the accuracy requirements. We offer two options:
To learn more about the topic, check out Hand-Eye Calibration.
ROI Box Filtering
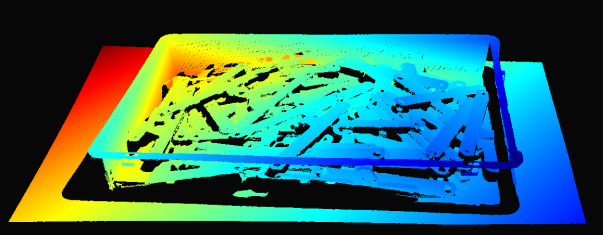
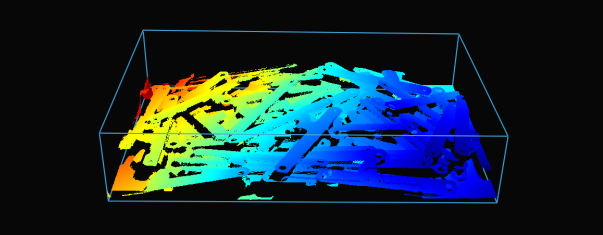
The camera field of view is often larger than our Region of Interest (ROI), e.g., a bin. To optimize data processing, we can set an ROI box around the bin and crop the point cloud accordingly, capturing only the bin contents. ROI box filtering not only decreases the capture time but also reduces the number of data points used by the algorithm, consequently enhancing its speed and efficiency.
Tip
Smaller point clouds are faster to capture, and can make the detection faster and total picking cycle times shorter.
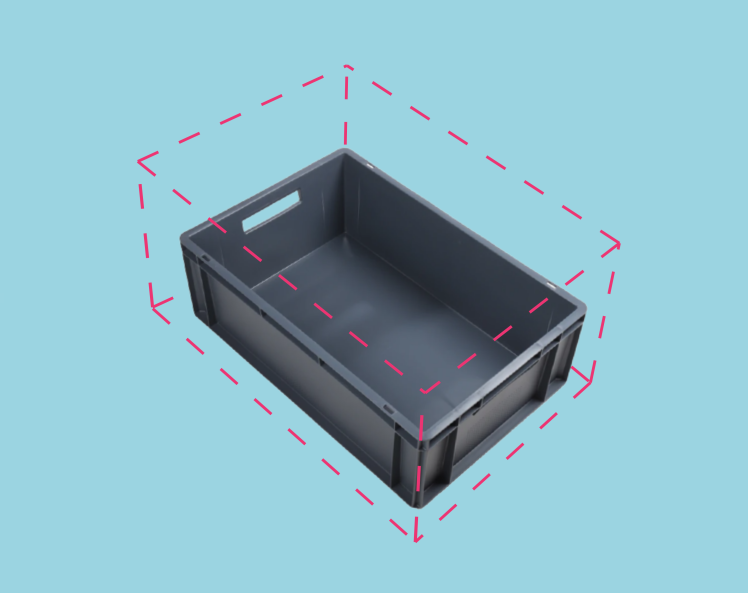
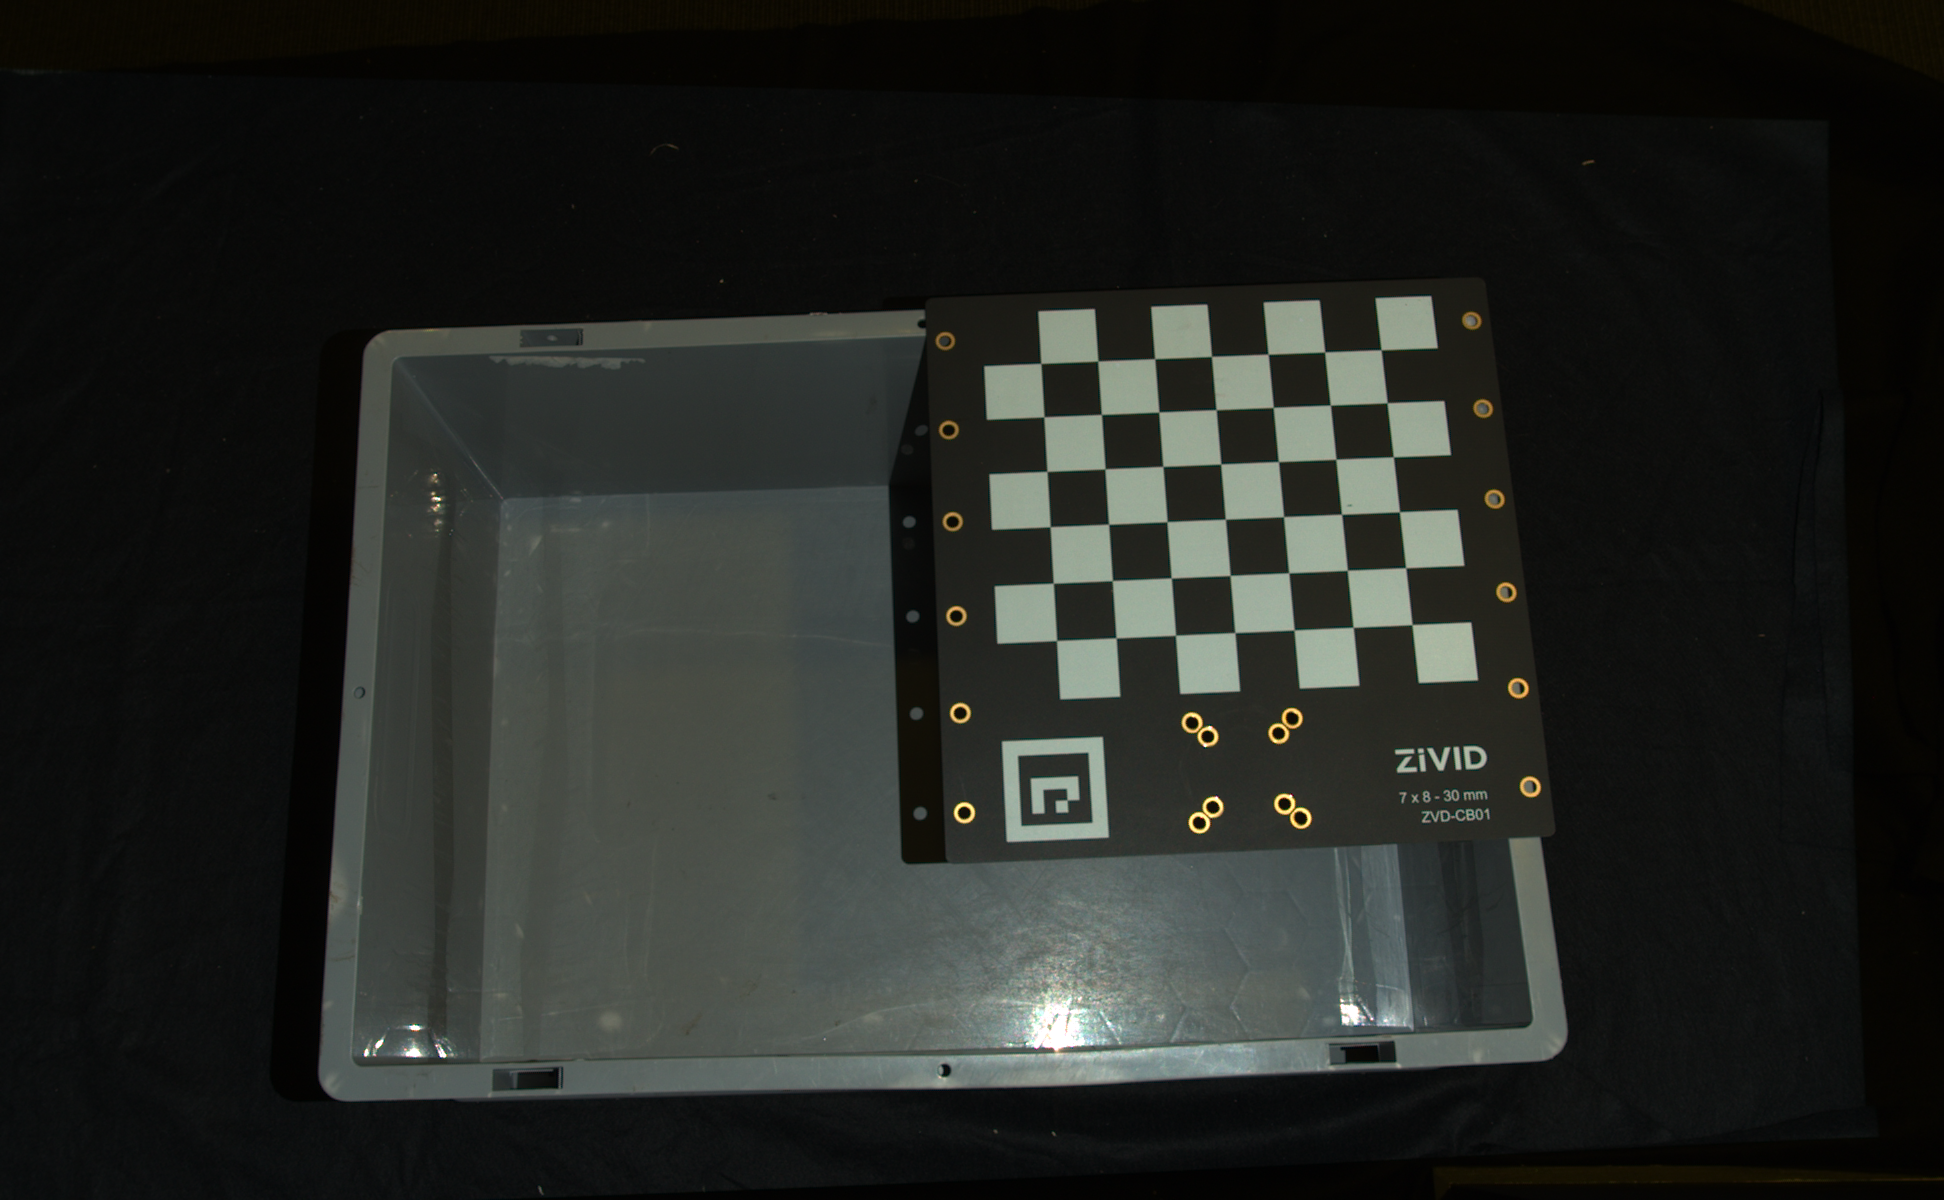
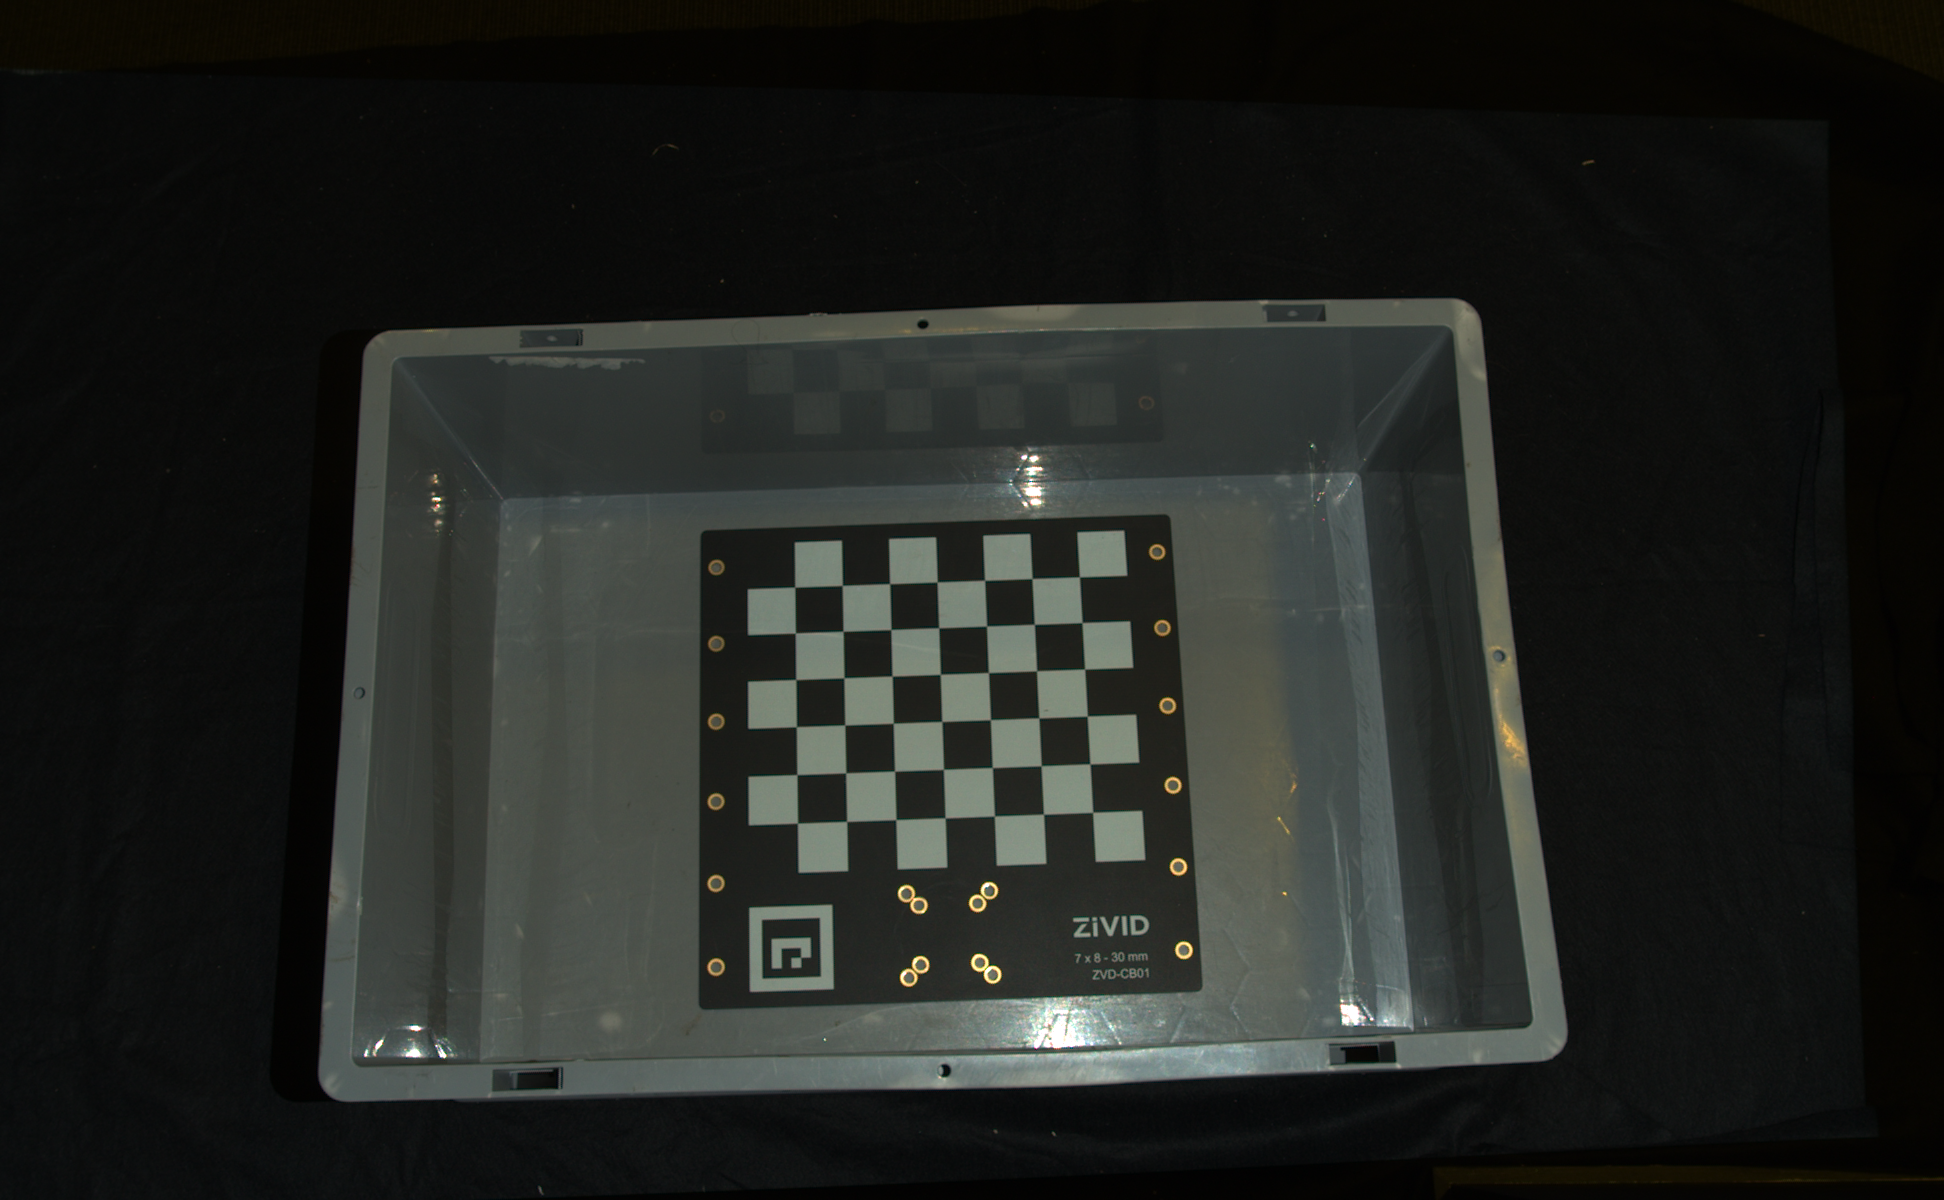
For an implementation example, check out ROI Box via Checkerboard. This tutorial demonstrates how to filter the point cloud using the Zivid calibration board based on a ROI box given relative to the checkerboard.
Example and Performance
Here is an example of heavy point cloud processing using a low-end PC (Intel Iris Xe integrated laptop GPU and a 1G network card) where ROI box filtering is beneficial.
Imagine a robot picking from a 600 x 400 x 300 mm bin with a stationary-mounted Zivid 2+ MR130 camera. For good robot clearance, the camera is mounted at 1700 mm distance from the bin top, providing a FOV of approximately 1000 x 800 mm. With the camera mounted at this distance, a lot of the FOV is outside of the ROI, allowing one to crop ~20/25% of pixel columns/rows from each side. As can be seen from the table below, the capture time can be significantly reduced with ROI box filtering.

Presets |
Acquisition Time |
Capture Time |
||
|---|---|---|---|---|
No ROI |
ROI |
No ROI |
ROI |
|
Manufacturing Specular |
0.64 s |
0.64 s |
2.1 s |
1.0 s |
Downsampling
Note
Choosing a preset includes choice of downsampling. However, in order to understand what this means, please refer to Sampling (3D). This article also helps understand what downsampling settings to use in case a preset is not chosen.
Some applications do not require high-density point cloud data. Examples are box detection by fitting a plane to the box surface and CAD matching, where the object has distinct and easily identifiable features. In addition, this amount of data is often too large for machine vision algorithms to process with the speed required by the application. It is such applications where point cloud downsampling comes into play.
Downsampling in point cloud context is the reduction in spatial resolution while keeping the same 3D representation. It is typically used to transform the data to a more manageable size and thus reduce the storage and processing requirements.
There are two ways to downsample a point cloud with Zivid SDK:
Via the setting
Settings::Processing::Resampling(Resampling), which means it’s controlled via the capture settings.Via the API
PointCloud::downsample.
In both cases the same operation is applied to the point cloud. Via the API version you can choose to downsample in-place or get a new point cloud instance with the downsampled data.
Downsampling can be done in-place, which modifies the current point cloud.
It is also possible to get the downsampled point cloud as a new point cloud instance, which does not alter the existing point cloud.
Zivid SDK supports the following downsampling rates: by2x2, by3x3, and by4x4, with the possibility to perform downsampling multiple times.
To downsample a point cloud, you can run our code sample, or you can skip it now, and do it as part of the next step of this tutorial.
Sample: downsample.py
python /path/to/downsample.py --zdf-path /path/to/file.zdf
If you don’t have a ZDF file, you can run the following code sample. It saves a Zivid point cloud captured with your settings to file.
Sample: capture_with_settings_from_yml
python /path/to/capture_with_settings_from_yml.py --settings-path /path/to/settings.yml
To read more about downsampling, go to Downsample.
Congratulations! You have covered everything on the Zivid side to be ready to put your bin picking system into production. The following section is Maintenance which covers specific processes we advise carrying out to ensure that the bin picking cell is stable with minimum downtime.
Version History
SDK |
Changes |
|---|---|
2.12.0 |
Added section to demonstrate how ROI box filtering provides a speed-up in capture time.
Downsampling can now also be done via |
2.10.0 |
Monochrome Capture introduces a faster alternative to Downsampling. |
