Blooming
Problem
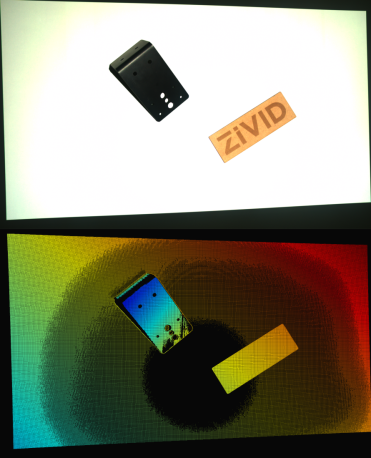
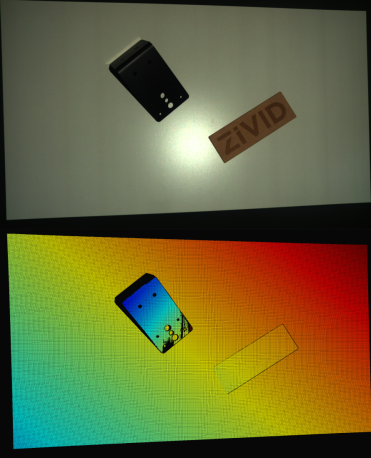
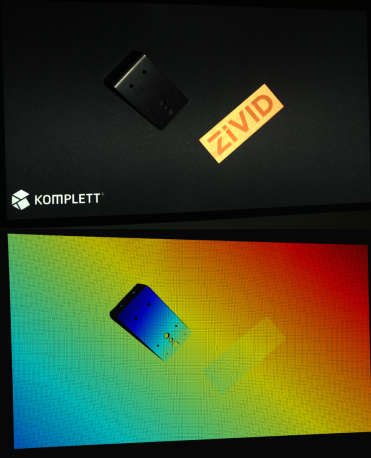
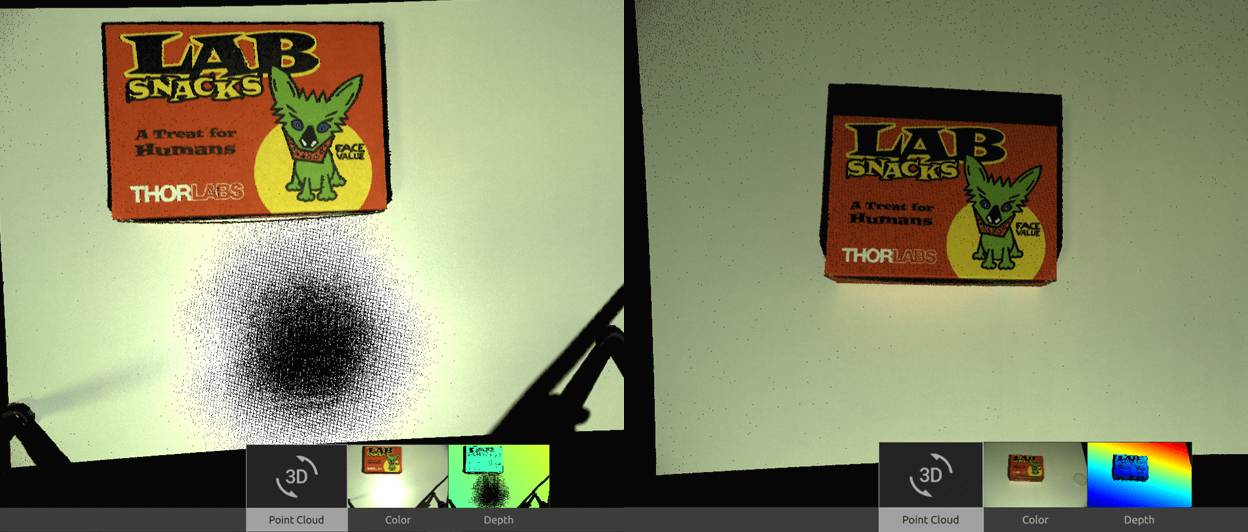
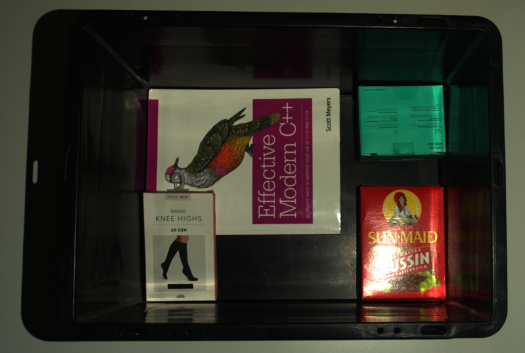
Blooming happens when bright light, like reflections from a Zivid camera’s projector, hits the imaging sensor and causes oversaturation. This creates bright spots in the color image and missing data or artifacts in the point cloud.
Potential Solutions
There are multiple ways to handle blooming.
Configure 2D capture settings independently
If you encounter blooming in the 2D image, it may be because you have not configured Settings::Color (added in SDK 2.14).
Under these conditions, the Zivid software generates both the point cloud and the color image using the same acquisition settings, which is not optimal.
To resolve blooming in the 2D image, consider the following.
First, configure 2D acquisition settings using Settings::Color.
We recommend starting with the 2D Presets.
If further adjustments are needed, check Optimizing Color Image.
Tip
You can load your old YML file in Zivid Studio, configure 2D settings, and export the settings to a YML file.
- Separate 2D and 3D captures
Use
capture2D()for 2D captures.Use
capture3D()for 3D captures.Tip
You can use the same YML file / settings object for these two capture APIs.
- Combined 2D and 3D capture
Use
capture2D3D()to perform a single operation that combines 2D and 3D captures.
Note
If you still experience blooming in the color image, check the next section: Adjust 2D capture settings.
If you must use the deprecated camera.capture() API, ensure that 2D acquisition settings are explicitly configured using Settings::Color.
This ensures the color image is generated based on the specified 2D acquisition settings.
Adjust 2D capture settings
If the Zivid camera’s projector is causing blooming in the 2D image, adjust these 2D capture settings:
Reduce gain.
Reduce exposure time.
Lower projector brightness.
Increase aperture f-number, if your camera supports it.
Use HDR capture
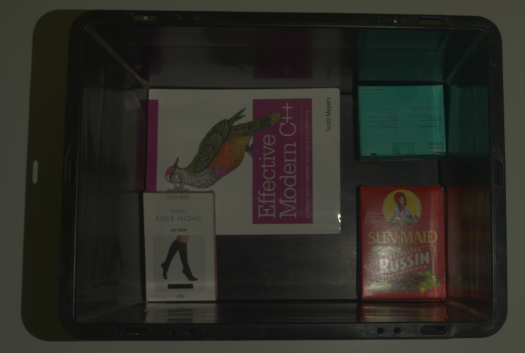
If the Zivid camera’s projector is causing blooming in the point cloud, consider using multi-acquisition 3D HDR. Add one or more 3D acquisitions to capture details in the overexposed areas.
Change the background
The background material can significantly contribute to the blooming effect. In that case, replace bright and reflective surfaces with darker, diffuse, absorptive materials (Optical Properties of Materials).
Adjust the Camera Angle
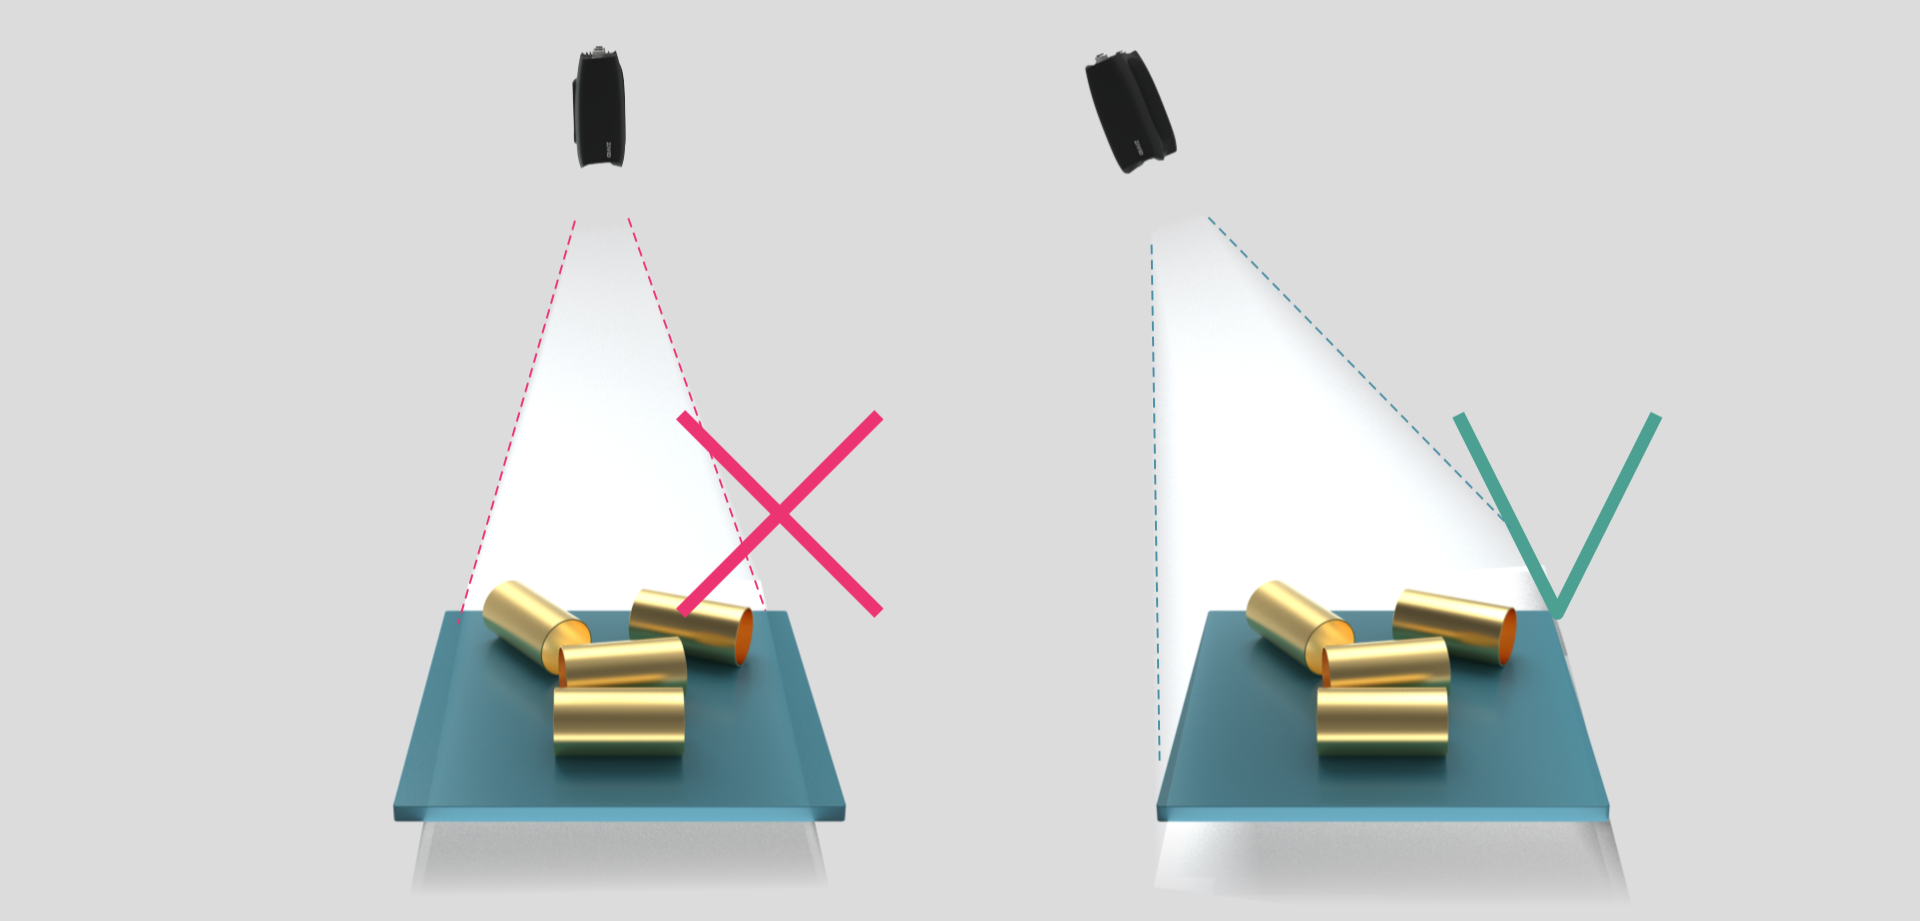
Changing the camera’s position and angle can reduce blooming. Avoid positioning the camera perpendicular to reflective surfaces. Instead, tilt it to prevent direct reflections from the projector or other light sources into the camera. See the right side of the image below.
A simple rule of thumb is to mount the camera so that the region of interest is in front of it but slightly tilted for better results.

