Qt Creator を使用して Windows で C++ サンプルをビルドする
はじめに
このチュートリアルでは、Qt Creator 4.12.1 を使用して Zivid C++ サンプルを構成およびビルドする方法を説明します。
前提条件
OpenCV の手順を含む CMake を使用して C++ サンプルを構成し、Windows の Visual Studio でビルドする の要件とインストール手順に従ってください。
Qt Creator でプロジェクトを構成する
Qt Creator を起動します。
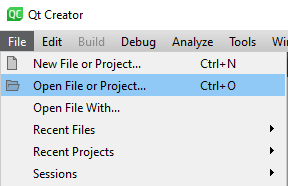
File → Open Project をクリックします。
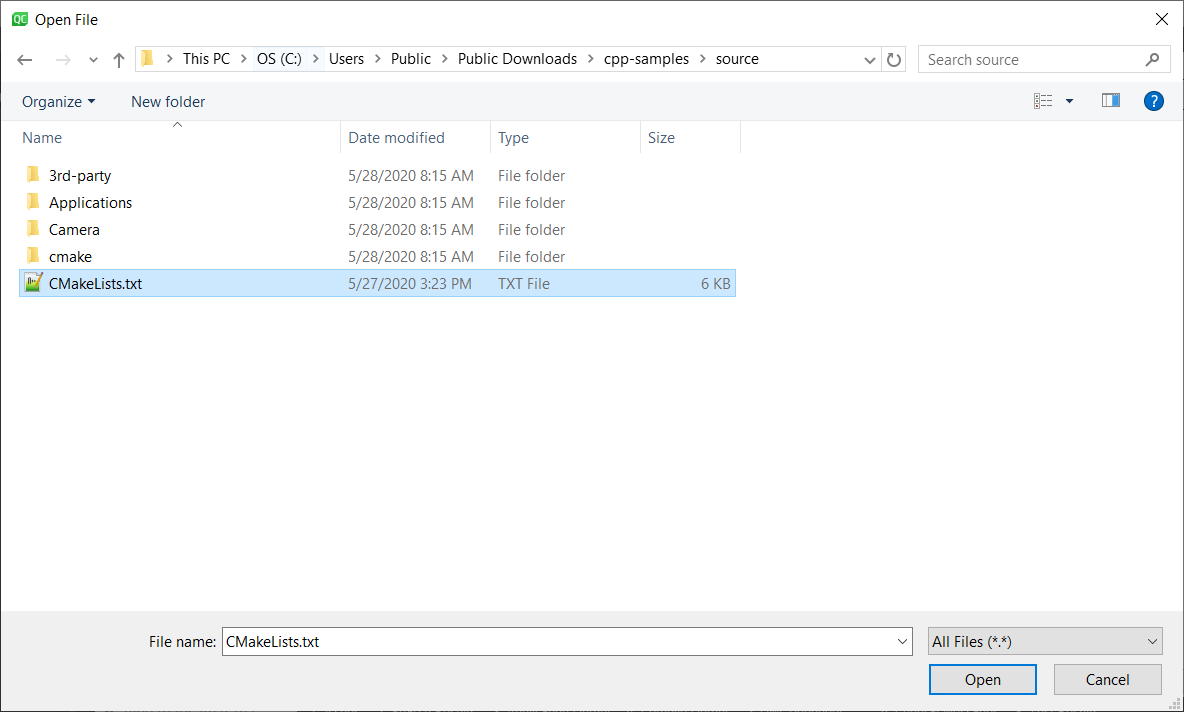
C++ サンプルのクローンに移動し、CMakeLists.txt を開きます。
キットの構成
Manage Kits… をクリックし、以下の図に従ってデスクトップキットを設定します。
コンパイラ: |
Microsoft Visual C++ Compiler (x86_amd64) |
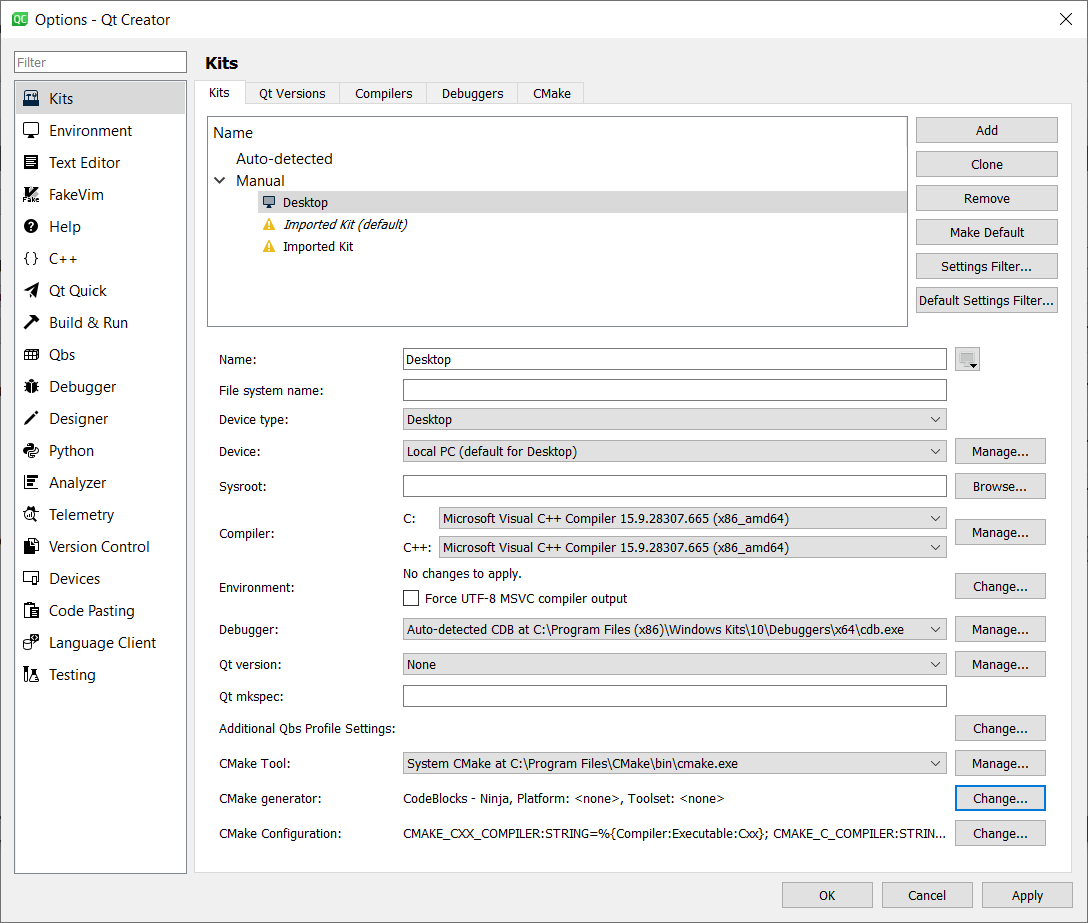
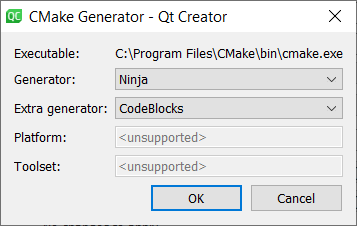
CMake ジェネレーターの場合は Change… をクリックして、次のエントリを設定します。
ジェネレーター: |
Ninja |
追加のジェネレーター: |
CodeBlocks |
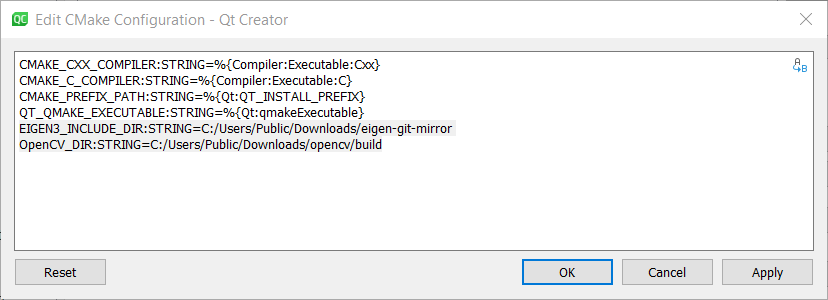
CmakeConfiguration に Eigen と OpenCV を含めるには、 Change… をクリックして以下を追加します。
EIGEN3_INCLUDE_DIR:STRING=C:/Users/Public/Downloads/eigen-git-mirror
OpenCV_DIR:STRING=C:/Users/Public/Downloads/opencv/build
OK をクリックし、もう一度 OK をクリックします。
プロジェクトの構成
Desktop を選択し、 Details を展開します。次に、 Debug と Release を確認します。
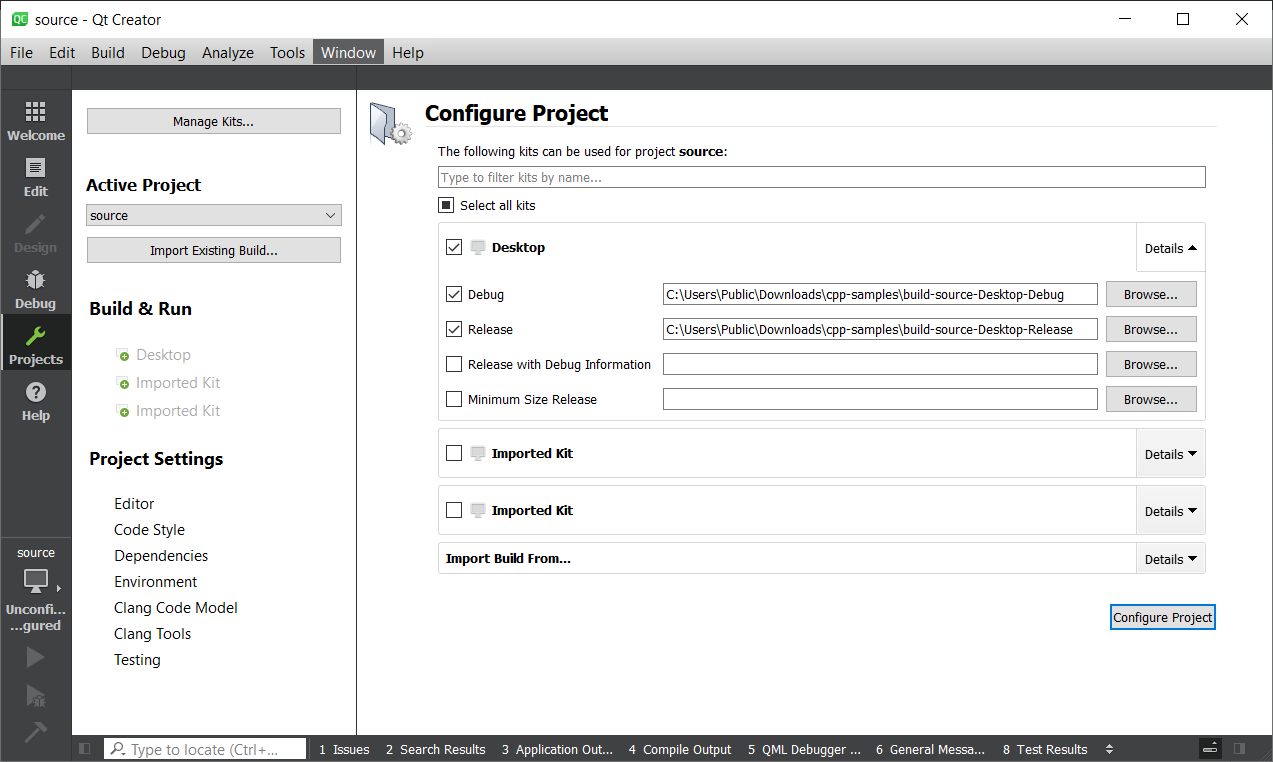
Configure Project をクリックします。
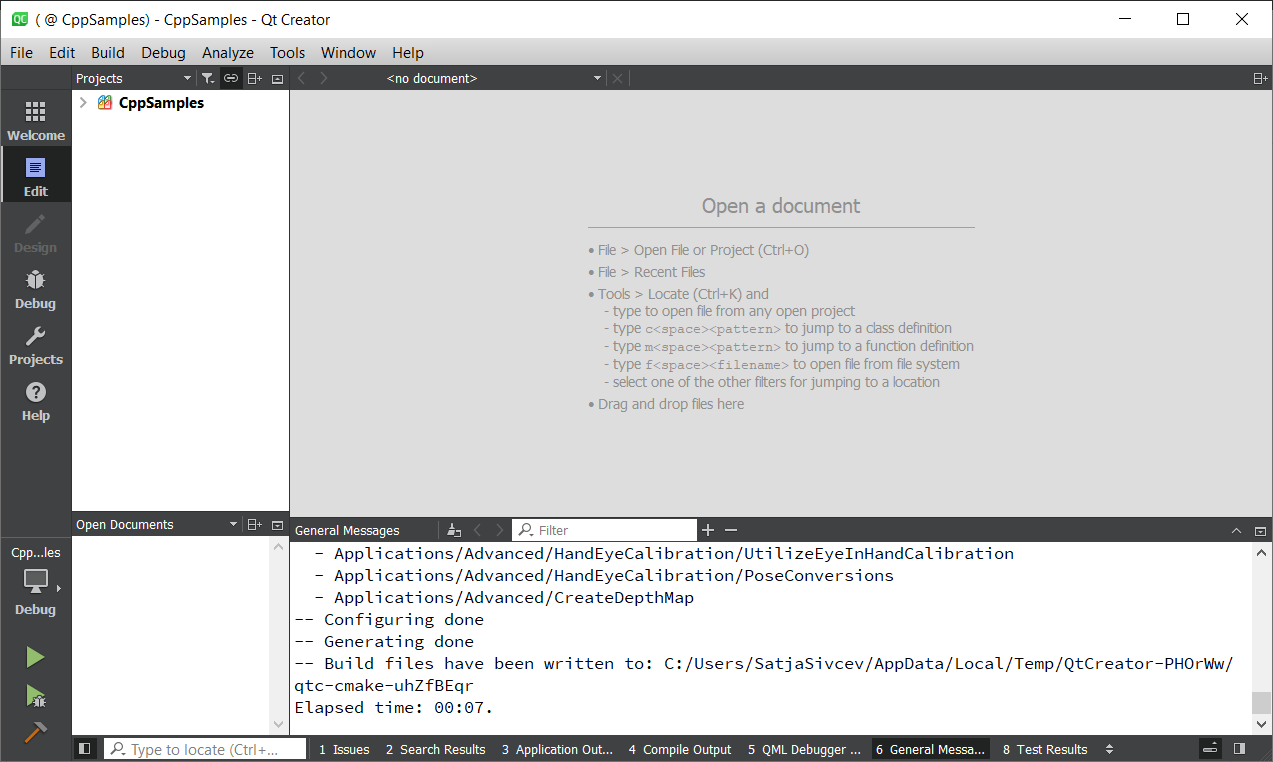
Build → Build All Projects をクリックします。

CppSamples を展開し、表示する C++ プログラムを選択します。
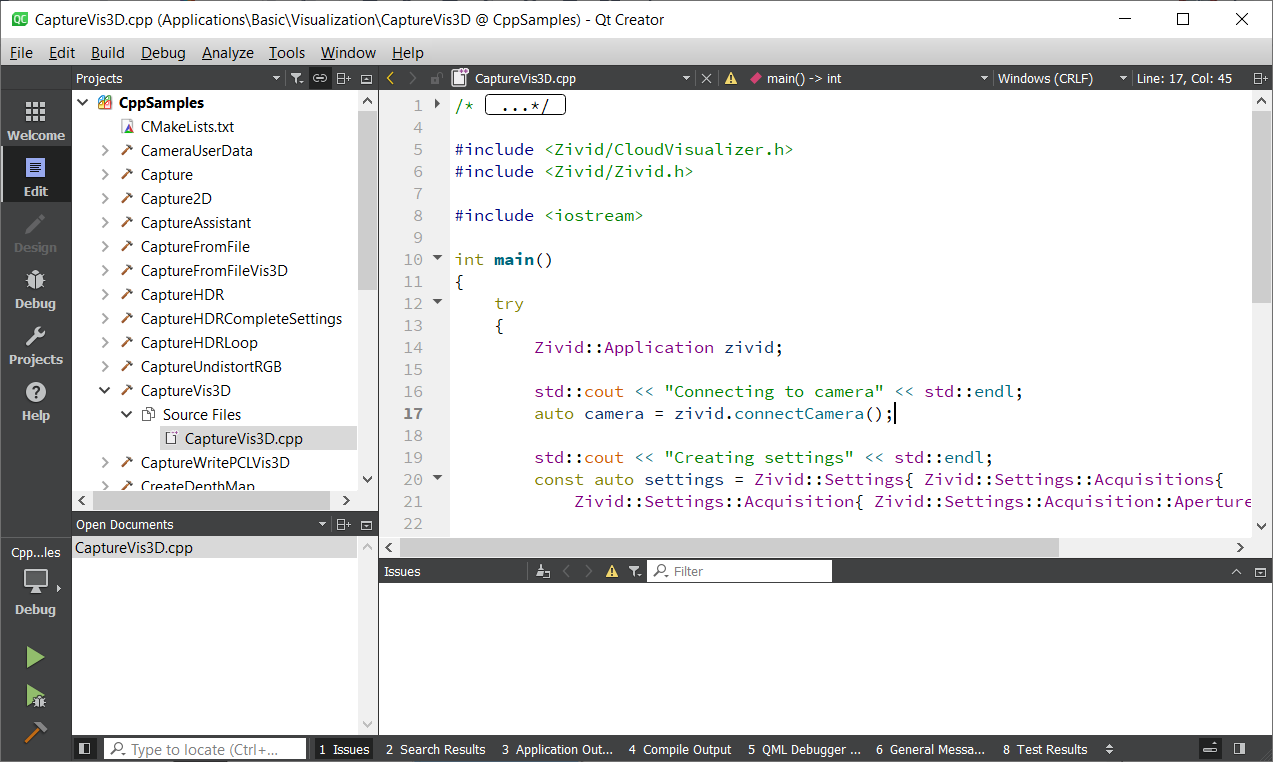
サンプルプログラムを実行する
サンプルプログラム(例: CaptureVis3D)を選択します。プログラムを右クリックし、 Run をクリックします。

または、ファイルエクスプローラーで Release フォルダーに移動します。
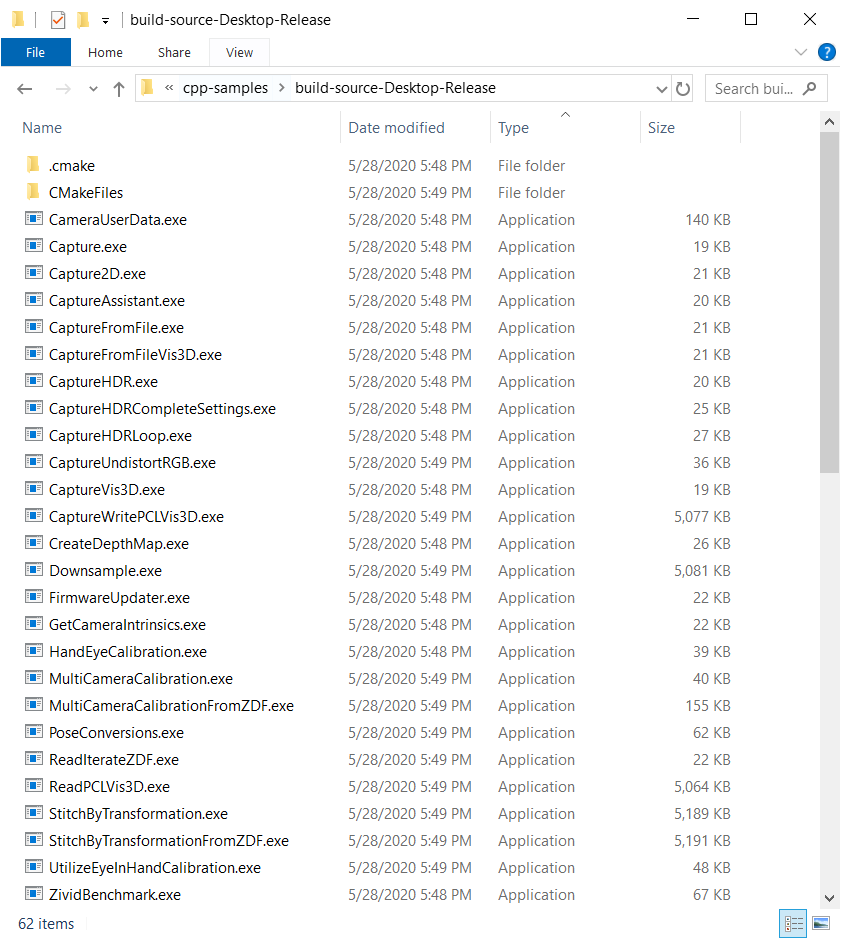
サンプルプログラム(例: CaptureVis3D.exe)を実行します。
ウィンドウを閉じます。