Settings Selector
This section provides detailed guidance on the best camera settings based on your time budget from when you trigger an acquisition until you get the point cloud. Here we also consider your PC specs because data transfer and point cloud processing depend on that as well. We address settings for 3D captures to get good point clouds and 2D captures to get good color images.
You have determined which Zivid camera to use for your (De-)palletization application, and you have mounted it and positioned it correctly. The next step is to select the camera settings that meet your cycle time requirements, given your PC specs. If you haven’t got a PC yet, then this section is also about finding the PC specs that will meet your capture time requirements in combination with the settings used.
3D settings

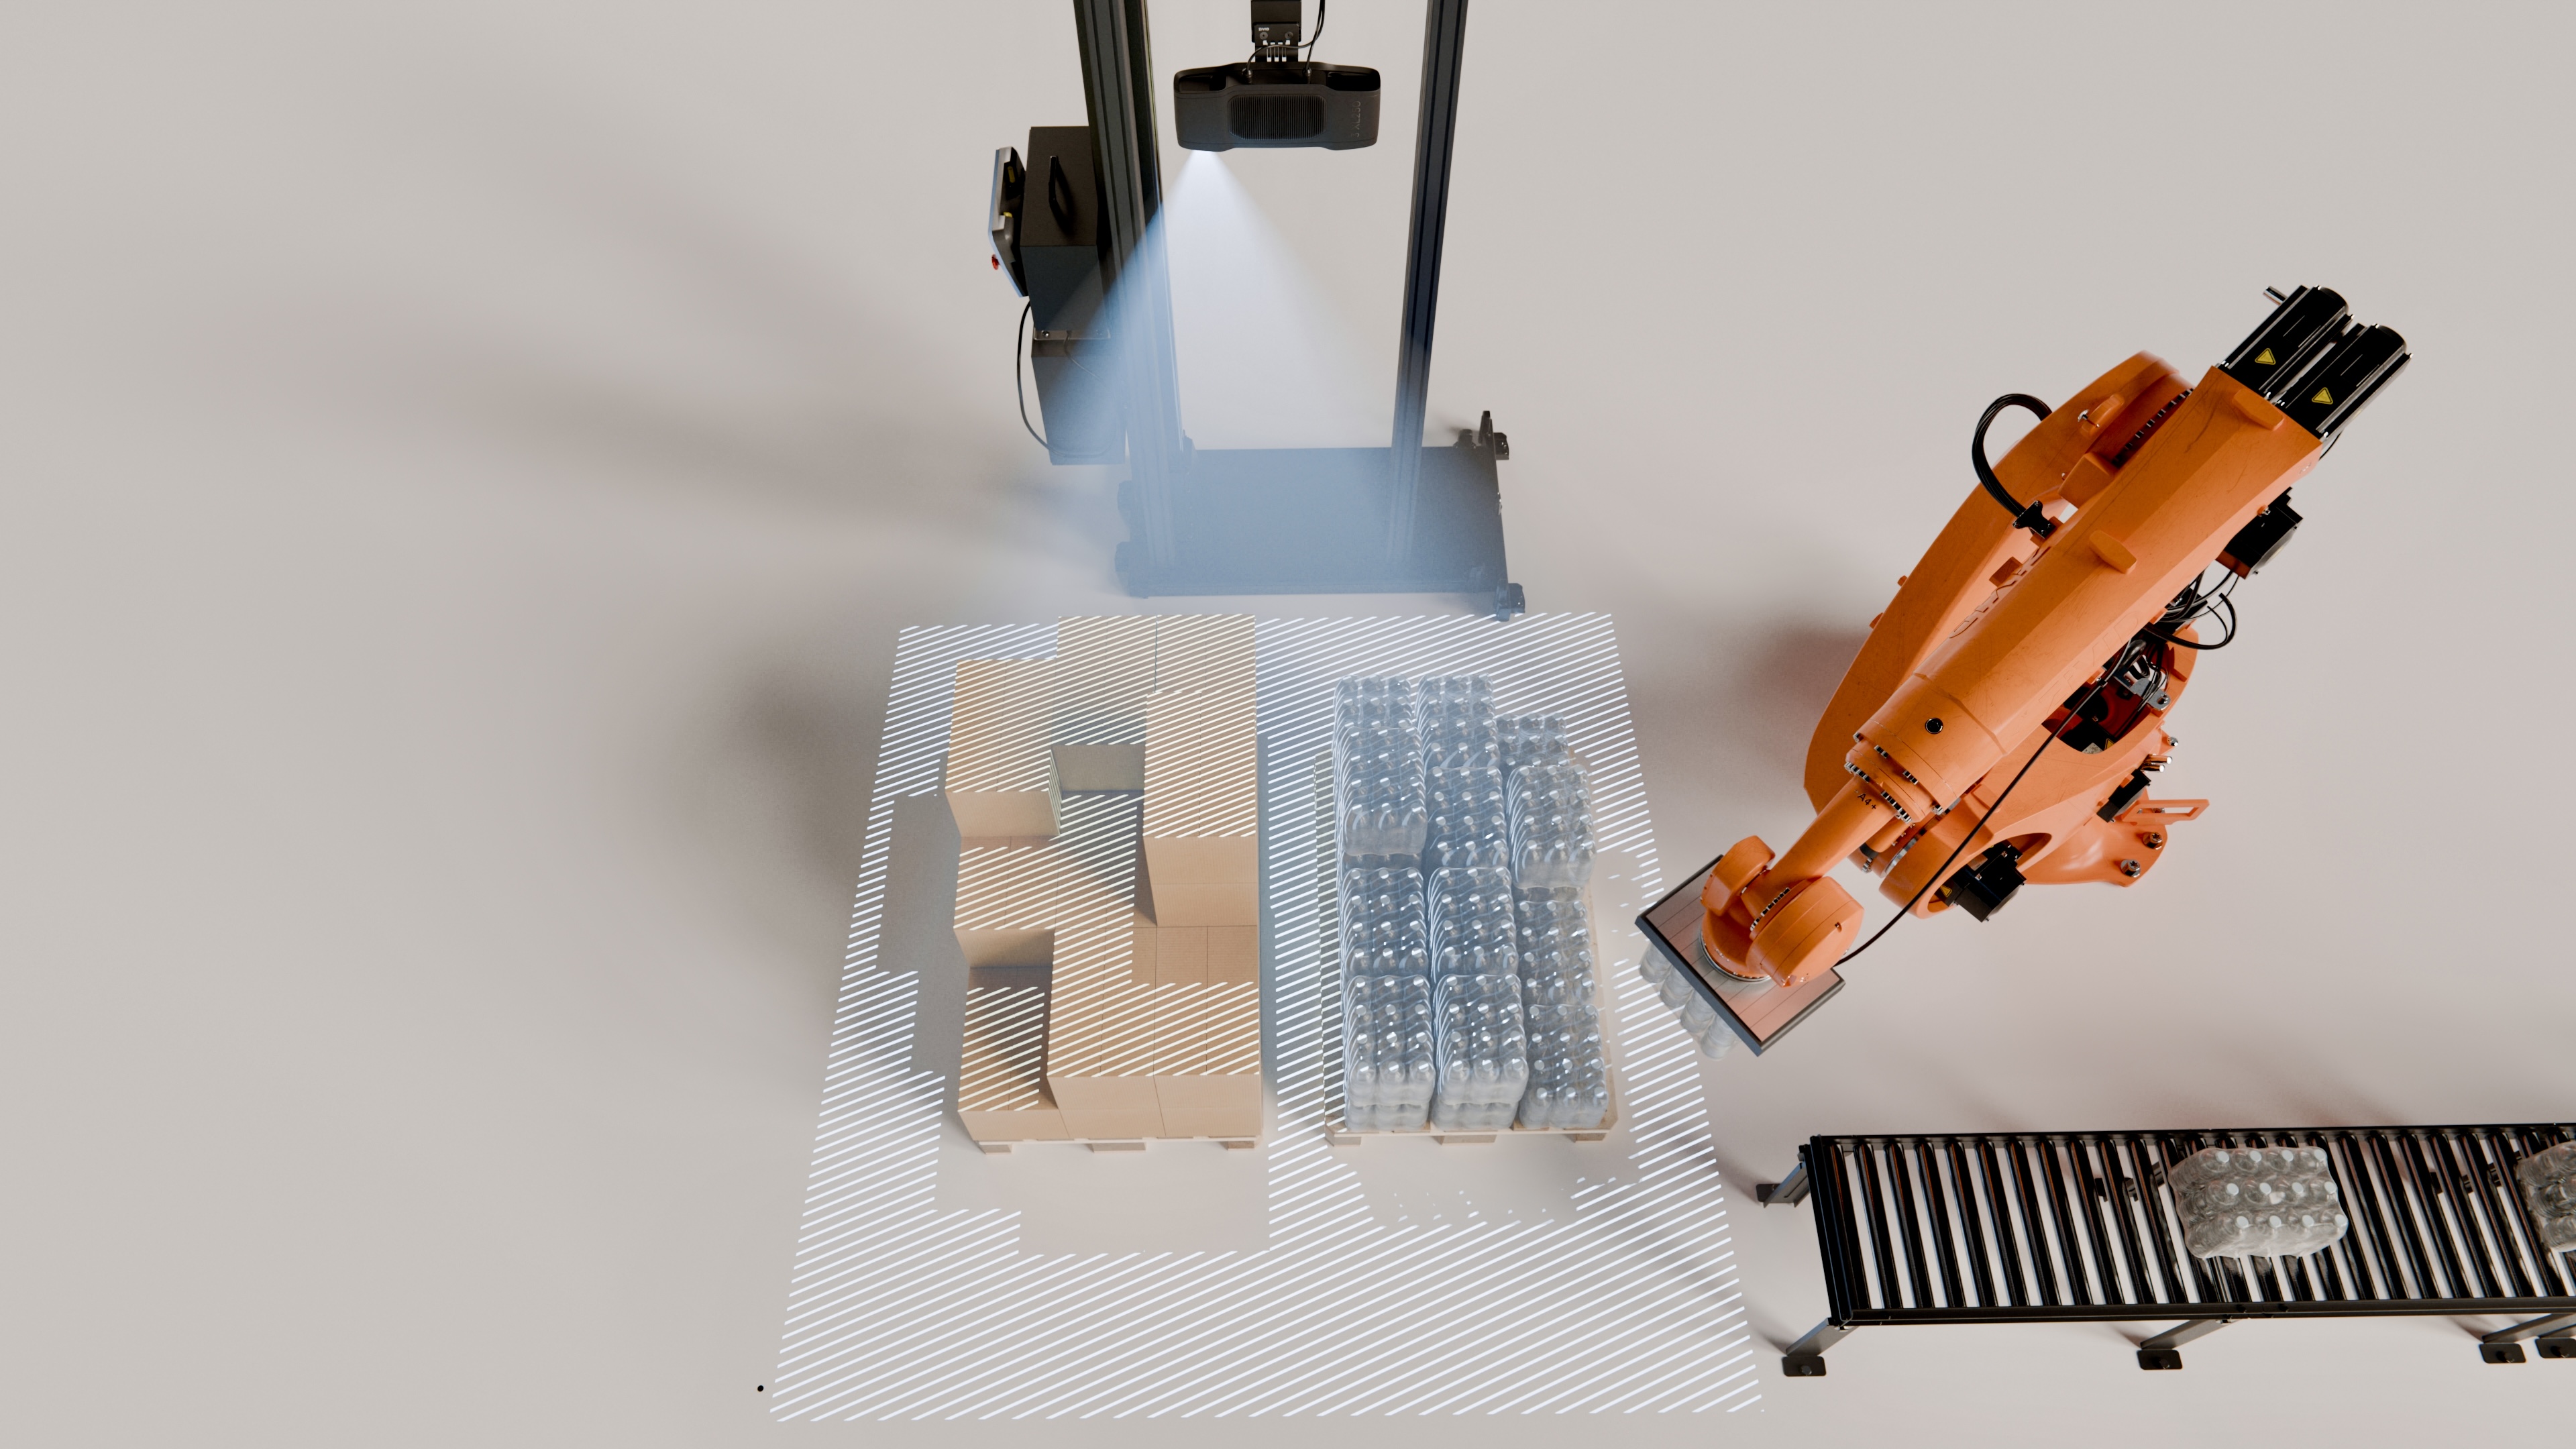
For simple scenarios with simple objects, ref the left pallet in the image above, use the Z3 XL250 Fast preset.
For more complex scenarios with mixed SKUs, use the Z3 XL250 Quality preset.
2D settings
The Depalletization preset includes 2D settings.
The preset recommended at long distances and high ambient light uses a special RGB mode that enhances colors. This comes at a penalty of increased capture time.
Avoiding interference from flickering light
Flickering light sources (10-1000 Hz), such as barcode readers and fluorescent tubes, can interfere with the Zivid camera. This interference can manifest as color inconsistency in the color image. To prevent this, ensure the flickering light source is either:
continuous and frequency correlated to the Zivid camera exposure time
continuous and frequency correlated to the Zivid camera sampling interval
inactive during the Zivid camera acquisition
Configuration in presence of active light sources
The first step is to identify the frequency of the active light source. If you are unsure about the frequency, you can measure it with the Zivid camera.
Detecting and measuring ambient light frequency
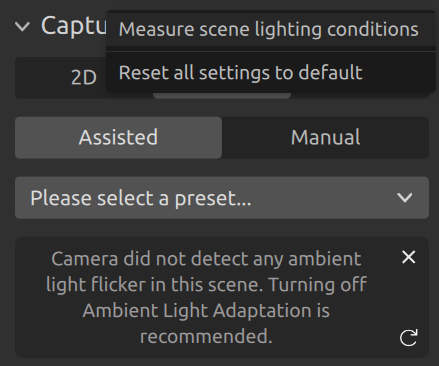
Open Zivid Studio and connect to your camera. Click on the three dots in the Capture section. Then click Measure scene lighting conditions. The software will display the detected ambient light flicker frequency.

Alternatively, use the SDK to measure the ambient light conditions. This method will report whether significant ambient light flicker is detected and if it corresponds to a 50 Hz or 60 Hz power grid.
std::cout << "Measuring scene conditions" << std::endl;
auto sceneConditions = camera.measureSceneConditions();
auto flickerClassification = sceneConditions.ambientLight().flickerClassification().toString();
std::cout << "Flicker classification: " << flickerClassification << std::endl;
    auto flickerFrequency = sceneConditions.ambientLight().flickerFrequency();
    std::cout << "Measured flickering frequency in the scene: " << flickerFrequency << " Hz." << std::endl;
Console.WriteLine("Measuring scene conditions");
var sceneConditions = camera.MeasureSceneConditions();
var flickerClassification = sceneConditions.AmbientLight.FlickerClassification.ToString();
Console.WriteLine("Flicker classification: " + flickerClassification);
    var flickerFrequency = sceneConditions.AmbientLight.FlickerFrequency;
    Console.WriteLine($"Measured flickering frequency in the scene: {flickerFrequency} Hz.");
print("Measuring scene conditions")
scene_conditions = camera.measure_scene_conditions()
flicker_classification = scene_conditions.ambient_light.flicker_classification
print(f"Flicker classification: {flicker_classification}")
    flicker_frequency = scene_conditions.ambient_light.flicker_frequency
    print(f"The measured flickering frequency in the scene: {flicker_frequency} Hz.")
If measuring for one source, e.g., barcode scanner, turn off all other light sources in the scene, e.g., ambient lights.
Then, you can choose to configure the active light source or the Zivid camera settings to avoid interference.
Match the active light source, e.g., barcode scanner, frequency (\(f_c\)) to the Zivid camera exposure time (\(t_z\)) using:
For example:
Match the exposure times (\(t_z\)) of the Zivid camera to the active light source, e.g., barcode scanner, frequency (\(f_c\)) using:
For example:
If the calculated exposure times are not feasible then set the 2D sampling interval (\(t_z\)) to match the active light source frequency (\(f_c\)) using the same formula:
For example:
An example of such case is when compensating with the longer exposure time requires lowering the projector brightness too much, thus causing noticeable noise in the color image.
This is the case when using rgb mode for Settings2D::Sampling::Color, and not when using the rgbStrongAmbientLight mode.
Another example is overexposure, which occurs if long exposure times cannot be adequately compensated for using other acquisition settings such as gain or projector brightness.
Configuration in presence of both active and flickering AC-powered light sources
The presence of strong and uncontrollable light sources operating with power line frequency modulation (e.g., 60 Hz in the US, 50 Hz in the EU) can introduce additional challenges. Since changing the frequency of AC-powered light sources, e.g., fluorescent tubes, is not feasible, you need to adjust the Zivid camera settings and the frequency of the active light sources.
Configuring Zivid camera
To mitigate the interference from ambient light, set the exposure times of the Zivid camera to match a multiple of the power line period.
10 000 µs or 20 000 µs in the presence of 50 Hz grid frequency.
8 333 µs or 16 667 µs in the presence of 60 Hz grid frequency.
If you are unable to adjust the exposure times to match the grid frequency, e.g., due to overexposure in the 2D image, then instead enable 2D sampling interval and synchronize it to your region’s grid frequency.
10 000 µs in the presence of 50 Hz grid frequency.
8 333 µs in the presence of 60 Hz grid frequency.
The exposure times or 2D sampling interval duration must be configured for 2D acquisitions to avoid Color Inconsistency (random Color Tint). For 3D acquisitions, this is not necessary unless the Ripples from Ambient Light Interference are observed.
The solution with exposure time matching is preferred over 2D sampling interval matching because it provides better performance and more consistent capture times.
Configuring active light source
Finally, the frequency of the active flickering light source, matched to the Zivid camera exposure time, can be calculated as:
In the next section, we cover Optimizing Robot Cycle Times for speed by making use of multithreading.