Sampling (2D)
Color
Setting Settings2D::Sampling::Color to rgb or grayscale specifies the type of information that can be captured from the scene.
Depending on camera model the setting will have different options.
Zivid 2/2+ |
Zivid 2+ R |
Zivid 3 |
|
|---|---|---|---|
|
✓ |
✓ |
✓ |
|
✓ |
||
|
✓ |
✓ |
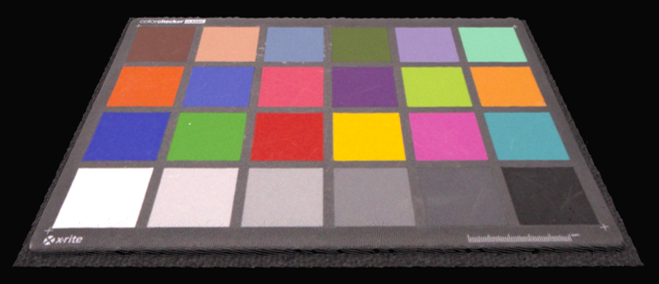
The behavior of different capture functions in relation to Settings2D::Sampling::Color is as follows:
Capture2D3D() and Capture2D()
Acquire full color information when
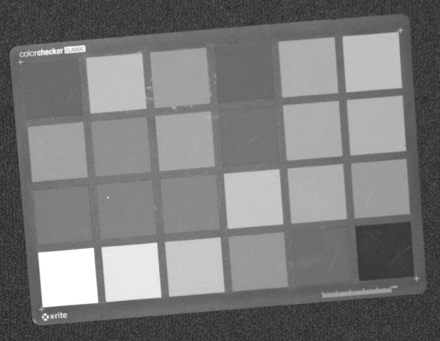
Settings2D::Sampling::Coloris set torgb.Acquire texture or intensity information when
Settings2D::Sampling::Coloris set tograyscale.
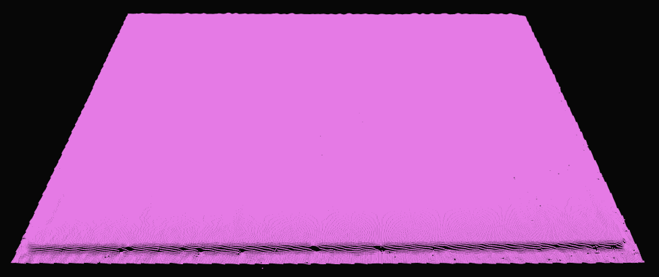
Capture3D()
Does not acquire color or texture information, regardless of the
Settings2D::Sampling::Colorsetting.Assigns uniform RGB values (\(R=200\), \(G=50\), and \(B=200\)) to all pixels, resulting in a pink image and point cloud.
Capture function |
|
2D image |
Point cloud |
|---|---|---|---|
|
|
RGB |
RGB |
|
RGB |
RGB |
|
|
Grayscale |
Grayscale |
|
|
RGB |
RGB |
|
|
|
RGB |
/ |
|
RGB |
/ |
|
|
Grayscale |
/ |
|
|
RGB |
/ |
|
|
|
Pink |
Pink |
|
Pink |
Pink |
|
|
Pink |
Pink |
|
|
Pink |
Pink |
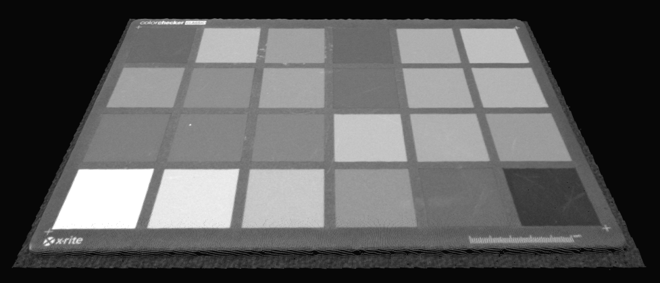 Point cloud is in grayscale when Capture2D3D() is used with Settings2D::Sampling::Color set to grayscale
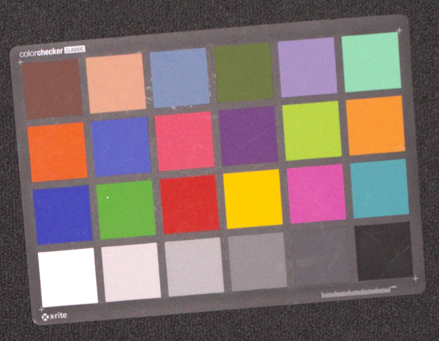 2D image is in color when Capture2D3D() or Capture2D() is used with Settings2D::Sampling::Color set to rgb
Pixel
The Settings2D::Sampling::Pixel parameter is used to choose the sampled pixels to generate 2D image.
Depending on camera model the setting will have different options.
Zivid 2/2+ |
Zivid 2+R/3 |
|
|---|---|---|
|
✓ |
✓ |
|
✓ |
|
|
✓ |
|
|
✓ |
|
|
✓ |
|
|
✓ |
|
|
✓ |
The respective resolutions, given camera, are as follows:
3D capture |
Zivid 3 |
Zivid 2+/2+R |
Zivid 2 |
|---|---|---|---|
Full resolution [1] |
2816 x 2816 |
2448 x 2048 |
1944 x 1200 |
2x2 [1] |
1408 x 1408 |
1224 x 1024 |
972 x 600 |
4x4 [1] |
704 x 704 |
612 x 512 |
Not available |
When set to all, all pixels sampled, and the 2D image has full resolution.
The following illustration shows the sensor grid and associated indices.
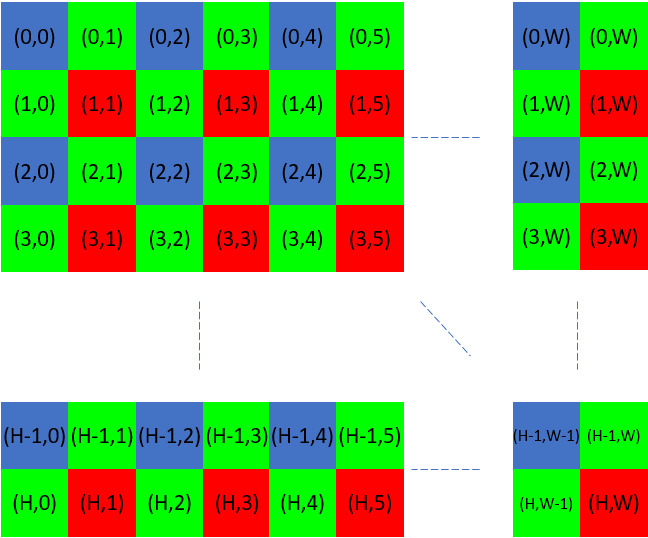
When we sub-/downsample (2x2) we get 1/4 of the original number of pixels.
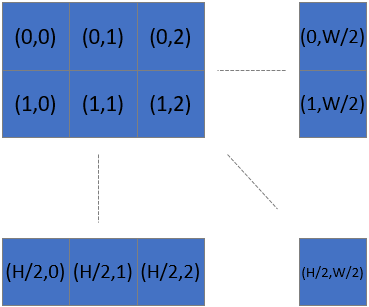
This means that, after subsampling or downsampling 2x2, the number of pixels along x and y axis is divided by 2. For subsample 4x4 the number of points along x and y axis is divided by 4.
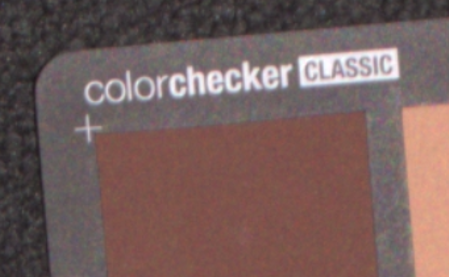
As an example see the zoomed-in sections of three images of the same scene, each captured with different Settings2D::Sampling::Pixel setting.
Subsampling decreases the acquisition and capture time, as less data will be captured and processed. Additionally, it eliminates the need to downsample the data to transform it to a more manageable size and thus reduces the storage and post-processing requirements. With a quarter of the data, user post-processing (e.g., AI based segmentation) become faster.
Interval
The Sampling Interval setting controls the timing of 2D image acquisitions to avoid interference with external light sources.
Note
2D Sampling Interval is only available for Zivid 3.
When Settings2D::Sampling::Interval is disabled, the camera captures images as quickly as possible, based solely on the specified exposure times.
When Settings2D::Sampling::Interval is enabled, the base time interval for 2D image acquisition is defined by the Settings2D::Sampling::Interval::Duration parameter.
Actual acquisitions will align with the nearest multiple of this duration, depending on the exposure times.
Example
If the exposure time is 3 000 µs and the sampling interval duration is 10 000 µs, the acquisition will occur at 10 000 µs (1 x 10 000 µs).
If the exposure time is 15 000 µs and the sampling interval duration is 10 000 µs, the acquisition will occur at 20 000 µs (2 x 10 000 µs).
If the exposure time is 9 000 µs and the duration is 10 000 µs, the acquisition may still occur at 20 000 µs due to system overhead. This behavior is determined at runtime and cannot be predicted in advance.
When the exposure time is close to the sampling interval duration, capture timing may fluctuate due to internal processing overhead.
Adapting to Flickering Ambient Light
The sampling interval is especially useful in environments with flickering ambient light, such as:
Fluorescent lighting powered by alternating current (AC)
Barcode scanners with intense LED illumination
Flickering light can cause color inconsistencies in captured images (e.g., random green or pink tints) if the exposure times are not synchronized with the grid frequency.
Flickering AC-Powered Light
To mitigate this:
Enable
Settings2D::Sampling::IntervalSet
Settings2D::Sampling::Interval::Durationbased on the grid frequency:10 000 µs for 50 Hz
8 333 µs for 60 Hz
This synchronization helps avoid interference from flickering light and ensures consistent color reproduction.
Note
Matching the Exposure Time to the grid frequency is a better solution than using the sampling interval. Use the sampling interval only as a fallback, e.g., when avoiding overexposure in 2D images by adjusting exposure time is not feasible. Another example is when compensating with the longer exposure time requires lowering the projector brightness too much, causing more noise in the color image. This is the case when using rgb mode, and not when using the rgbStrongAmbientLight mode.
If your exposure times already compensate for flicker (e.g., 10 000 µs for 50 Hz), it is recommended to keep Settings2D::Sampling::Interval disabled.
Active Light Sources
The sampling interval can also be used to synchronize with actively pulsing light sources (e.g., barcode scanners, LED strobes), helping to minimize interference and enhance image quality. Learn more about how to avoid interference from active light sources.
Version History
SDK |
Changes |
|---|---|
2.17.0 |
Added support for Sampling Interval setting for Zivid 3 camera. |
