点群構造と出力形式
整列された点群
Zivid はデフォルトで整列された点群を出力します。つまり、点群は画像のような構造を持つ 2D の点配列として配置されます。
この構造にはいくつかの利点があります。
2D 配列は 1D 配列として解釈できるため、非整列点群用に設計されたアルゴリズムは整列点群でも同様に機能します。その逆が常に当てはまるわけではありません。
順序付けされた点群では、2D 画像のピクセル(色と深さ)と点群の 3D 点の間に 1:1 の相関関係があります。これは、画像内の隣接するピクセルが点群内の隣接する点であることを意味します。これにより、2D 操作とアルゴリズムを 2D 画像に適用しながら、その結果を点群に直接適用できます。たとえば、物体検出とセグメンテーションでは、2D 画像をセグメント化し、対象のピクセルから 3D 点を直接抽出できます。
点の順序性により、計算が高速化され、特定のアルゴリズム、特に隣接する点を使用する演算のコストが削減されます。
Pixel indexing: Studio (x, y) vs. API (row, column)
The organized point cloud and the 2D image share the same grid, but Zivid Studio and the API address a pixel in that grid differently. In both cases the origin is the top-left corner.
Zivid Studio displays the pixel position as
(x, y), wherexis the horizontal position (column, increasing to the right) andyis the vertical position (row, increasing downwards).The API addresses a pixel as
(row, column), i.e. the vertical index first and the horizontal index second. For example,PointCloudandArray2Dare indexed as(row, column)withrowfrom 0 to height - 1 andcolumnfrom 0 to width - 1, and arrays in C#, Python, and MATLAB are shaped[height, width, ...].
The two are therefore the reverse of each other: a pixel shown as (x, y) in Studio corresponds to (row = y, column = x) in the API.
Keep this in mind when you read a pixel coordinate from Studio and use it to index the point cloud in code.
The ReadIterateZDF sample iterates over the point cloud and reads individual points by their (row, column) index:

const size_t iStart = (pointCloud.height() - pixelsToDisplay) / 2;
const size_t iEnd = (pointCloud.height() + pixelsToDisplay) / 2;
const size_t jStart = (pointCloud.width() - pixelsToDisplay) / 2;
const size_t jEnd = (pointCloud.width() + pixelsToDisplay) / 2;
for(size_t i = iStart; i < iEnd; i++)
{
    for(size_t j = jStart; j < jEnd; j++)
    {
        const auto &point = data(i, j);
        const auto &pointSnr = snr(i, j);

        std::cout << std::setprecision(1) << std::fixed << "Values at pixel (" << i << "," << j << "):   "
                  << "X:" << std::left << std::setfill(' ') << std::setw(8) << point.point.x
                  << "Y:" << std::setw(8) << point.point.y << "Z:" << std::setw(8) << point.point.z
                  << "R:" << std::setw(8) << std::to_string(point.color.r) << "G:" << std::setw(8)
                  << std::to_string(point.color.g) << "B:" << std::setw(8) << std::to_string(point.color.b)
                  << "SNR:" << std::setw(8) << pointSnr.value << std::endl;
    }
}
ulong iStart = (height - pixelsToDisplay) / 2;
ulong iStop = (height + pixelsToDisplay) / 2;
ulong jStart = (width - pixelsToDisplay) / 2;
ulong jStop = (width + pixelsToDisplay) / 2;
for (ulong i = iStart; i < iStop; i++)
{
    for (ulong j = jStart; j < jStop; j++)
    {
        Console.WriteLine(string.Format(
            "{0} {1} {2,-7} {3} {4,-7} {5} {6,-7} {7} {8,-7} {9} {10,-7} {11} {12,-7} {13} {14,-7}",
            "Values at pixel (" + i + "," + j + "):  ",
            "X:",
            pointCloudData[i, j].point.x.ToString("F1"),
            "Y:",
            pointCloudData[i, j].point.y.ToString("F1"),
            "Z:",
            pointCloudData[i, j].point.z.ToString("F1"),
            "R:",
            pointCloudData[i, j].color.r.ToString(),
            "G:",
            pointCloudData[i, j].color.g.ToString(),
            "B:",
            pointCloudData[i, j].color.b.ToString(),
            "SNR:",
            pointCloudSNR[i, j].ToString("F1")));
    }
}
for row in range(int((height - pixels_to_display) / 2), int((height + pixels_to_display) / 2)):
    for col in range(int((width - pixels_to_display) / 2), int((width + pixels_to_display) / 2)):
        print(
            f"Values at pixel ({row} , {col}): X:{xyz[row,col,0]:.1f} Y:{xyz[row,col,1]:.1f}"
            f" Z:{xyz[row,col,2]:.1f} R:{rgba[row,col,0]} G:{rgba[row,col,1]} B:{rgba[row,col,2]}"
            f" SNR:{snr[row,col]:.1f}"
        )
非整列点群
非整列点群とは、1D 配列に点が並んだリストのことです。各点には、整列点群と同じ情報が含まれています。
非整列点群にも利点があります。
センサーピクセルへのマッピングが保持されないため、情報を持たない点(NaN)も保持されません。結果として、非整列点群は整列点群よりもサイズが小さくなる可能性があります。
複数の点群を組み合わせる場合、それらを単一の非整列点群に統合する方が容易です。
注釈
非整列点群からピクセルインデックスを取得することは可能です。これは内部パラメータを使用して行うことができます。ただし、内部パラメータモデルはカメラの完全なキャリブレーションを網羅しているわけではありません。正確なピクセルマッピングを得る唯一の方法は、整列点群を使用することです。詳細については カメラ内部パラメータ を参照してください。
Zivid 点群
Different Zivid camera models use sensors with different resolutions to capture point clouds of a scene. For how sensor resolution is defined, see Zivid 仕様に関する用語.
カメラ |
メガピクセル (MP) |
解像度 |
|---|---|---|
Zivid 3 |
8 |
2816 x 2816 |
Zivid 2+ |
5 |
2448 x 2048 |
Zivid 2 |
2.3 |
1944 x 1200 |
SDK から解像度を取得するには複数の方法があります。
const auto cameraInfo = camera.info();

auto defaultSettings = Zivid::Experimental::SettingsInfo::defaultValue<Zivid::Settings>(cameraInfo);
defaultSettings.acquisitions().emplaceBack(
    Zivid::Experimental::SettingsInfo::defaultValue<Zivid::Settings::Acquisition>(cameraInfo));

defaultSettings.set(
    Zivid::Settings::Color{
        Zivid::Experimental::SettingsInfo::defaultValue<Zivid::Settings2D>(cameraInfo)
            .copyWith(
                Zivid::Settings2D::Acquisitions{
                    Zivid::Experimental::SettingsInfo::defaultValue<Zivid::Settings2D::Acquisition>(
                        cameraInfo) }) });


std::cout << "Camera resolution for default settings:" << std::endl;
const auto resolution = Zivid::Experimental::SettingsInfo::resolution(cameraInfo, defaultSettings);
std::cout << "  Height: " << resolution.height() << std::endl;
std::cout << "  Width: " << resolution.width() << std::endl;

std::cout << "Point cloud (GPU memory) resolution:" << std::endl;
const auto pointCloud = camera.capture2D3D(defaultSettings).pointCloud();
std::cout << "  Height: " << pointCloud.height() << std::endl;
std::cout << "  Width: " << pointCloud.width() << std::endl;

std::cout << "Point cloud (CPU memory) resolution:" << std::endl;
const auto data = pointCloud.copyPointsXYZColorsRGBA_SRGB();
std::cout << "  Height: " << data.height() << std::endl;
std::cout << "  Width: " << data.width() << std::endl;
Zivid 3
生成された点群は 800 万点から構成されます。ピクセルと点の間には 1:1 の相関関係があるため、各ピクセルについて XYZ (mm)、RGB (8 ビット)、および SNR(信号対雑音比)を取得できます。GPU 内部では、3D 座標、色値、および SNR 値は、サイズ 2816 x 2816 の個別の 2D 配列として格納されます。ユーザー側(CPU メモリ)では、要求方法に応じて、データをさまざまな形式で格納できます。詳細については Point Cloud Tutorial を参照してください。
Zivid 2+
生成された点群は 500 万点から構成されます。ピクセルと点の間には 1:1 の相関関係があるため、各ピクセルについて XYZ (mm)、RGB (8 ビット)、および SNR(信号対雑音比)を取得できます。GPU 内部では、3D 座標、色値、および SNR 値は、サイズ 2448 x 2048 の個別の 2D 配列として格納されます。ユーザー側(CPU メモリ)では、要求方法に応じて、データをさまざまな形式で格納できます。詳細については Point Cloud Tutorial を参照してください。
Zivid 2
生成された点群は 230 万点から構成されます。ピクセルと点の間には 1:1 の相関関係があるため、各ピクセルについて XYZ (mm)、RGB (8 ビット)、および SNR(信号対雑音比)を取得できます。GPU 内部では、3D 座標、色値、および SNR 値は、サイズ 1944 x 1200 の個別の 2D 配列として格納されます。ユーザー側(CPU メモリ)では、要求方法に応じて、データをさまざまな形式で格納できます。詳細については Point Cloud Tutorial を参照してください。
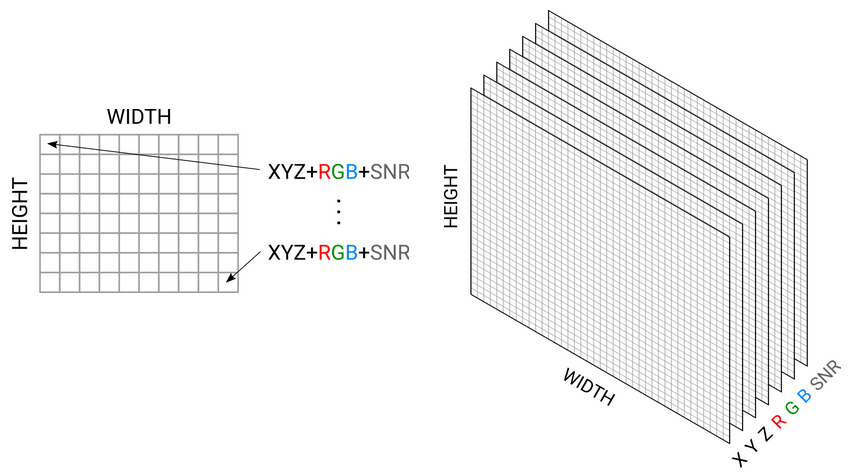
カラー画像と深度マップは、Zivid 点群から直接抽出できます。これを行う方法の例は、 GitHub repository に示されています。
Zivid 出力形式
Zivid Studio から、点群を Zivid データファイル(*.zdf)に保存できます。さらに、点群を次の形式でエクスポートできます(File → Export)。
ポリゴン(PLY)
点群データ(PCD)
ASCII(XYZ)
Zivid Studio からエクスポートする際には、各フォーマットごとに、 カラースペース や 法線 などさまざまなエクスポートオプションから選択できます。
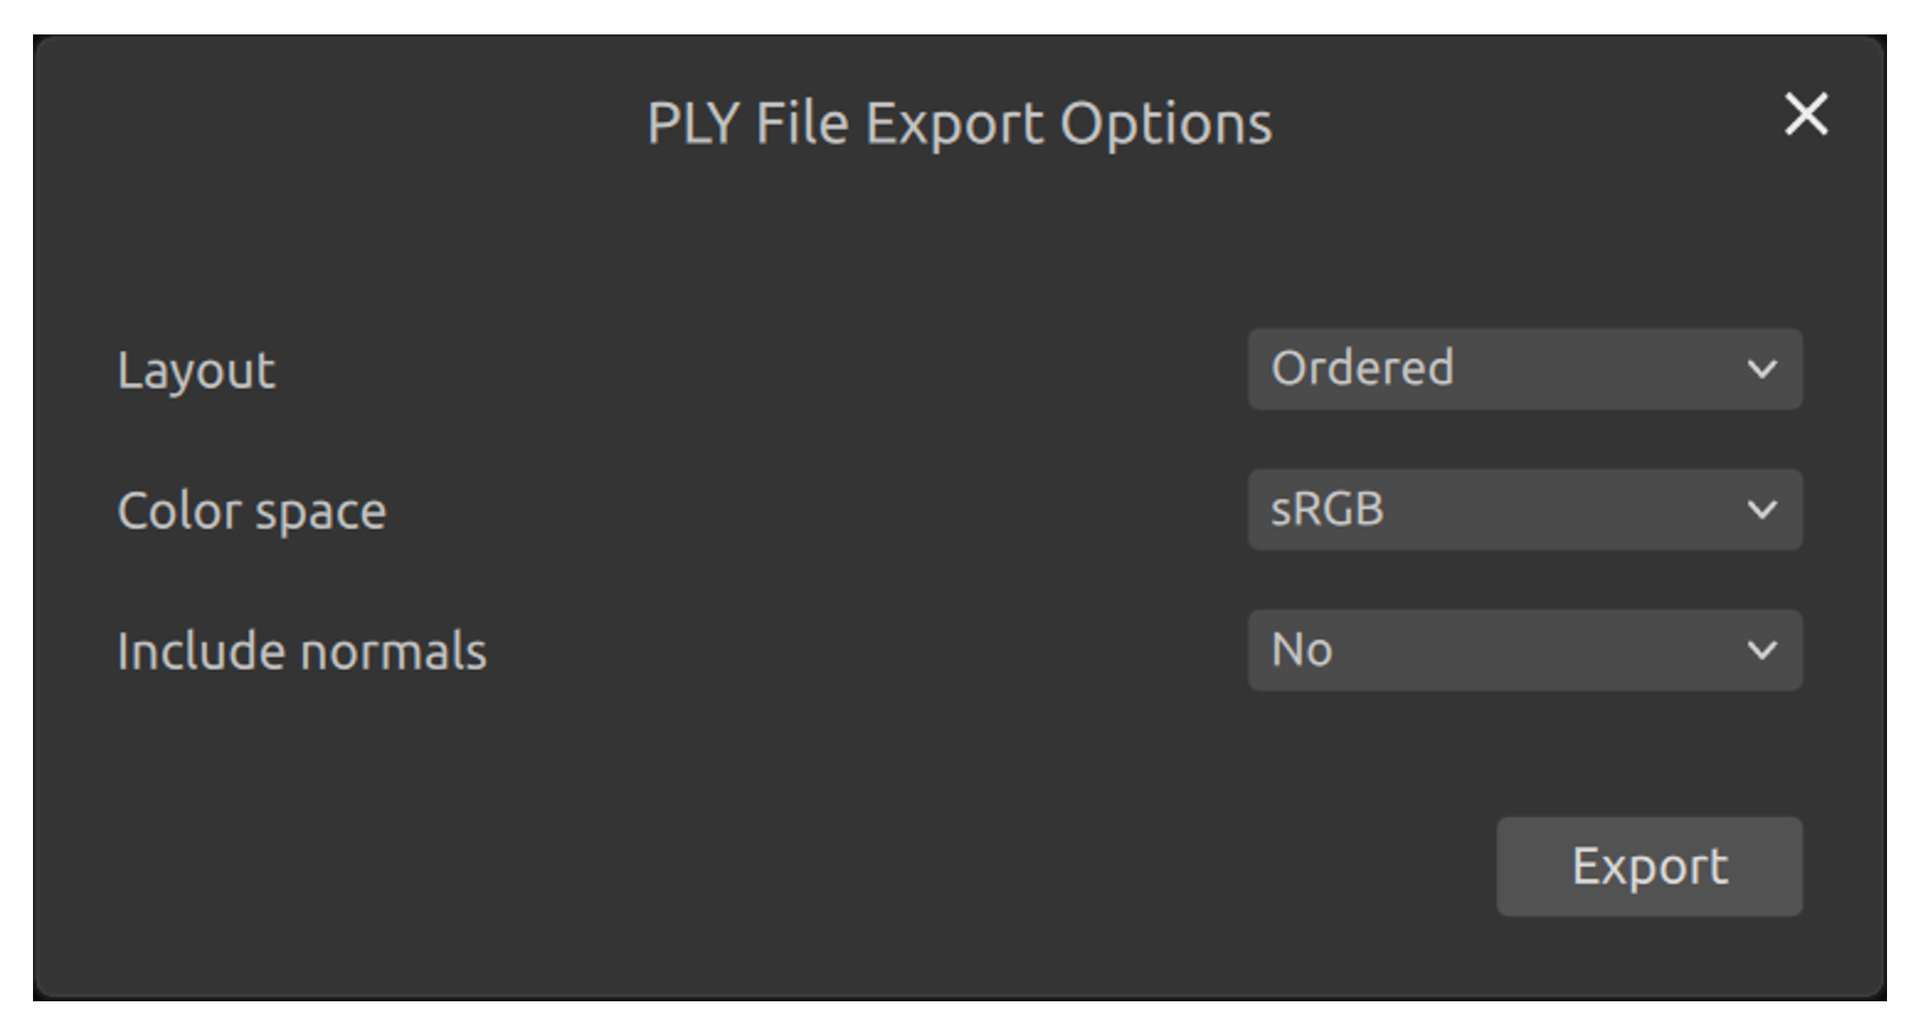
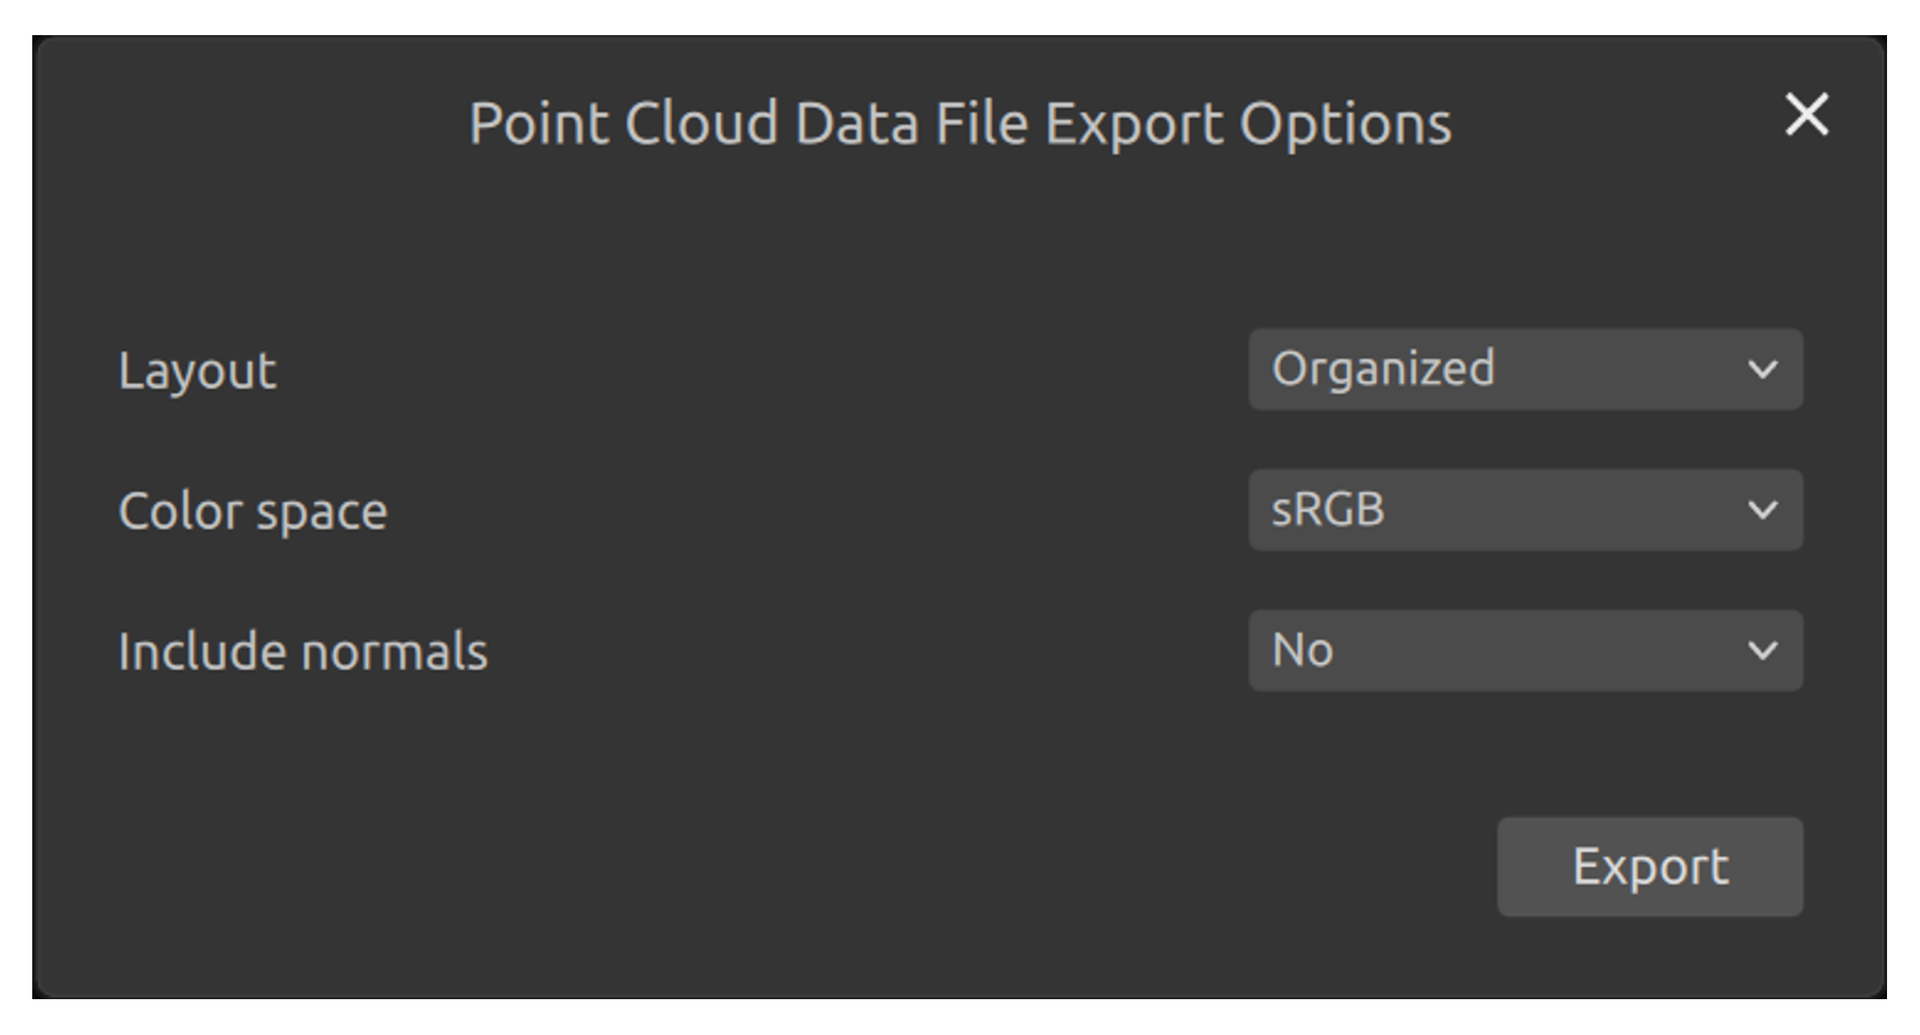
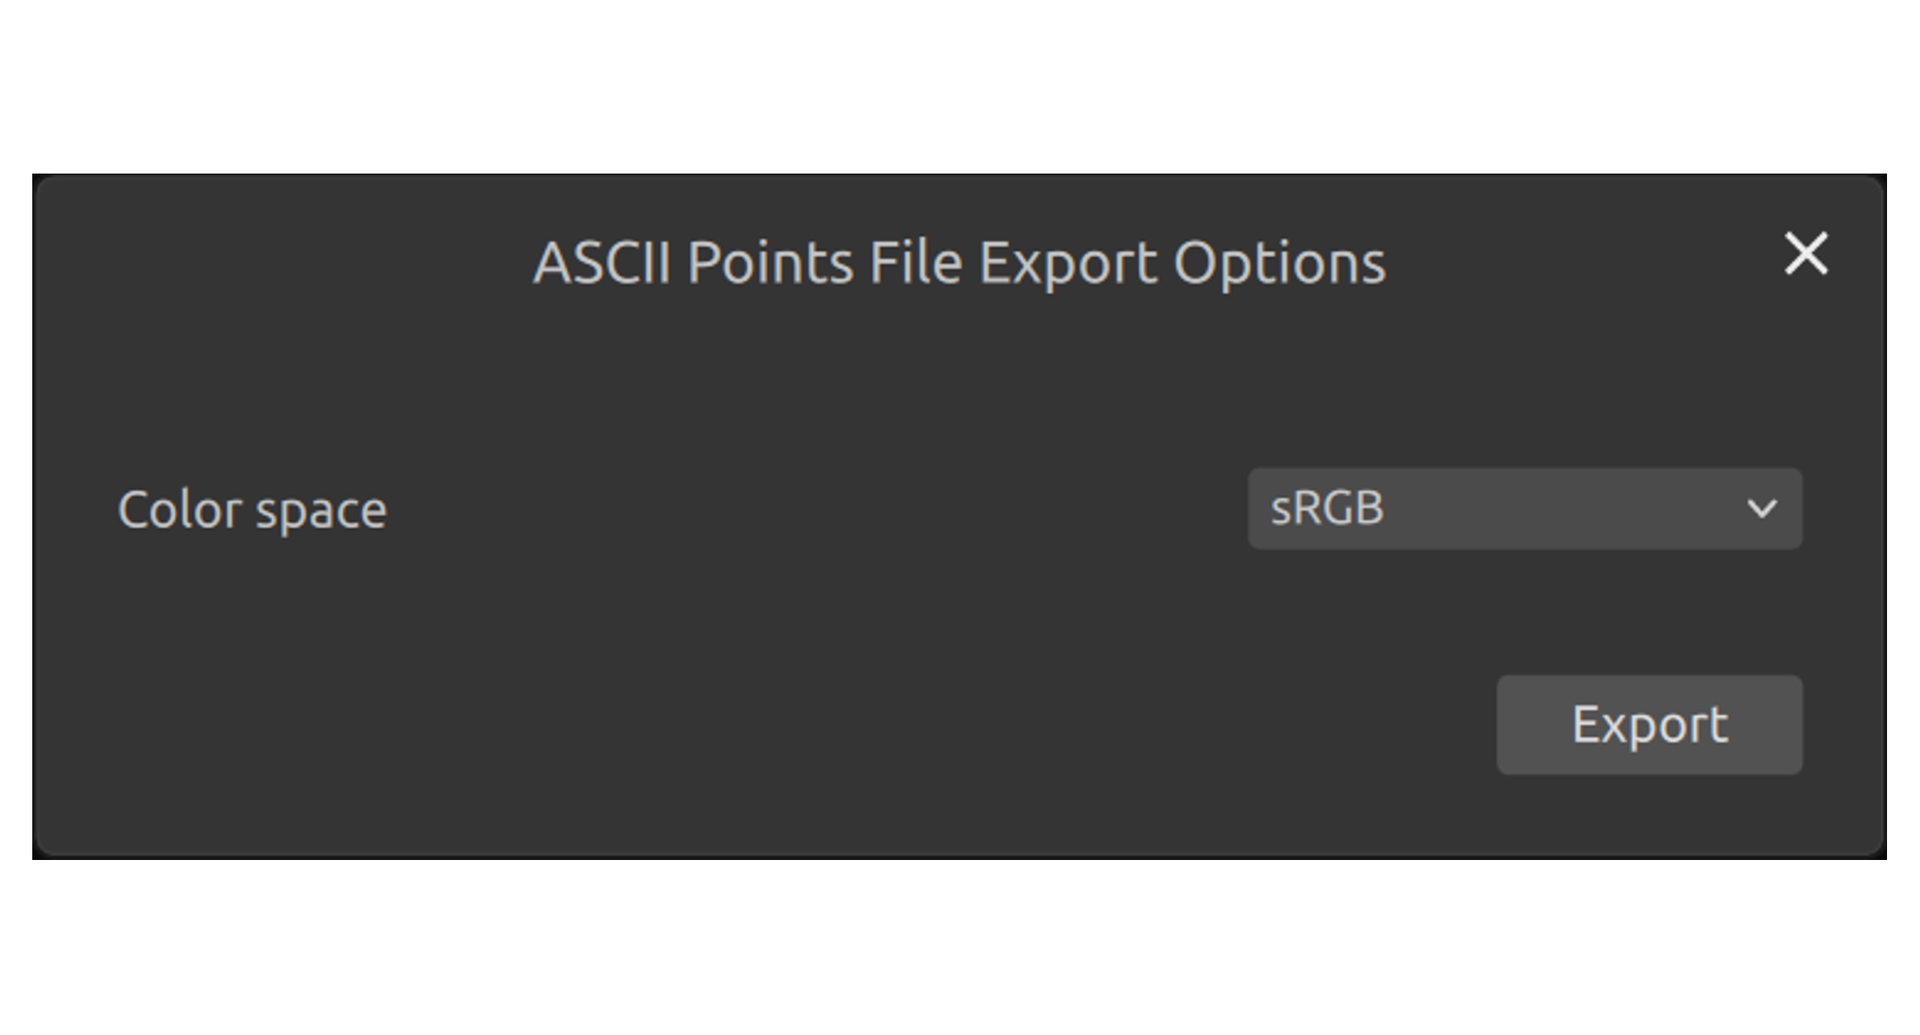
PLY、PCD、および XYZ ファイル形式のエクスポートオプション。
The Zivid Data File (*.zdf) is the native Zivid file format. If you are using the API, you can loop over the point cloud and save the X, Y, Z, R, G, B, and SNR data in whichever format you prefer. To see how to read or convert Zivid data, check our C++ file format samples, C# file format samples, and Python file format samples.
Tip
The easiest way to view a Zivid point cloud is to copy the ZDF file to your PC and use Zivid Studio. Alternatively, you can use the API to convert ZDF to PLY (or use our Python script) and open the file in a 3D point cloud tool such as MeshLab or CloudCompare to visualize and measure distances, planes, and deviations.
ASCII ポイント(*.xyz)
ASCII 文字は、デカルト座標を格納するために使用されます。XYZ は空白で区切られます。本バージョンでは、各点に RGB 値も追加されます。新しい各点は改行文字で区切られます。このファイルは通常のテキストエディタで表示できます。
PLY ファイル(*.ply)
PLY はスタンフォードで開発されたファイル形式です。 Learn more about PLY。
点群データファイル(*.pcd)
PCD は Point Cloud Library にネイティブなファイル形式です。 Learn more about PCD。
Zivid SDK を使用して点群を希望の形式にエクスポートするには、 Experimental::PointCloudExport::exportFrame API を使用します。
Read this if you use Frame::save API to export point clouds to PCD
整列 PCD 形式
Frame::save を使用する場合、Zivid SDK は整列点群を非整列点群を示すヘッダーとともに保存します。SDK 2.5 以降では、Config.yml ファイルを使用して SDK を構成し、整列点群を示す正しいヘッダーで PCD をエクスポートすることが可能です。ファイルが既に存在し、Windows の場合は %LOCALAPPDATA%\Zivid\API 、Ubuntu の場合は "${XDG_CONFIG_HOME-$HOME/.config}"/Zivid/API にある場合は、 Configuration/APIBreakingBugFixes/FileFormats/PCD/UseOrganizedFormat を更新してください。
ファイルが存在しない場合:
Config.ymlファイルをダウンロードします。設定ファイルには次の情報が含まれています。
__version__:
    serializer: 1
    data: 12
Configuration:
    APIBreakingBugFixes:
        FileFormats:
            PCD:
                UseOrganizedFormat: yes
設定ファイルを次のディレクトリに配置します。
Windows
mkdir %LOCALAPPDATA%\Zivid\API
move %HOMEPATH%\Downloads\Config.yml %LOCALAPPDATA%\Zivid\API\
Ubuntu
mkdir --parents "${XDG_CONFIG_HOME-$HOME/.config}"/Zivid/API
mv ~/Downloads/Config.yml "${XDG_CONFIG_HOME-$HOME/.config}"/Zivid/API/
注意
既存の設定ファイルは上書きされます。
注意
Zivid の設定ファイルは、.yml ファイル拡張子を使用する必要があります(.yaml は使用しないでください)。
Version History
SDK |
変更点 |
|---|---|
2.17.0 |
Zivid 3 XL250 のサポートを追加しました。 |
2.16.0 |
Added support for |