Reset Button Fails to Reset Network Configuration

Problem
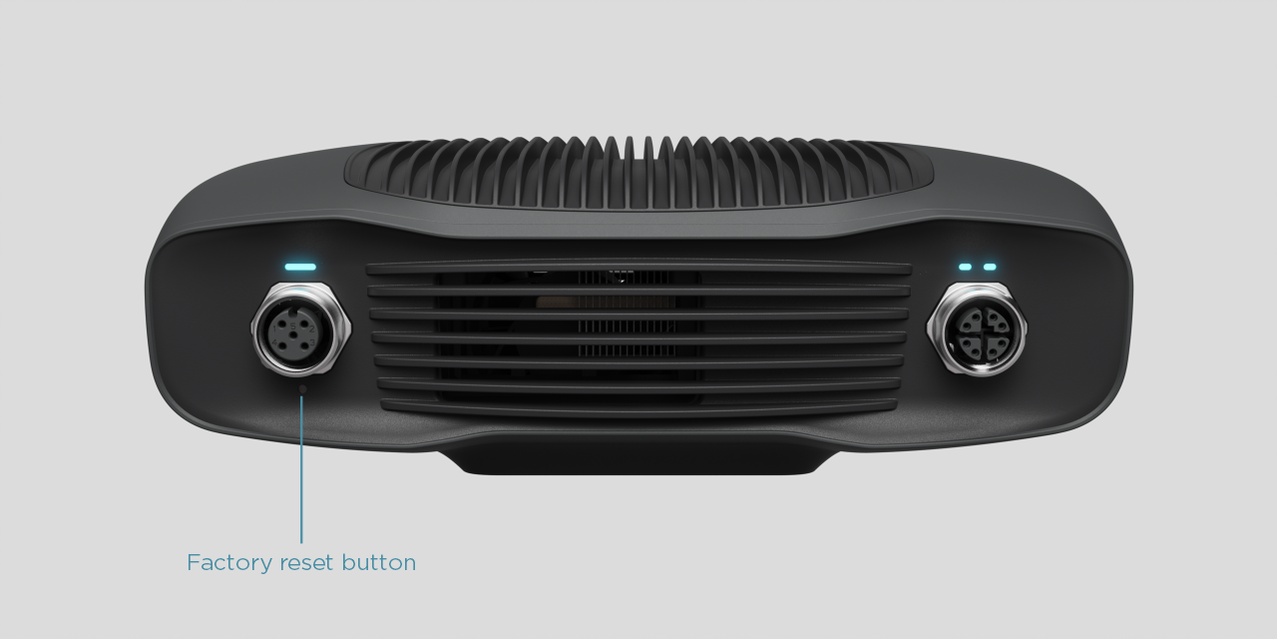
Using the reset button below the power connector will sometimes not reset the camera’s network configuration back to the default configuration. The network configuration remains the same after a reset, even though the status LED indicates that a reset has taken place.
Cause
Resetting the network configuration this way is handled by a separate firmware component that runs when the reset button is held. It is a known problem in this component that it may be unable to see the camera’s network configuration. Thus, the network configuration may remain the same, even though the status LED indicates that a reset has taken place. The normally running firmware is unaffected by this, and the camera is always recoverable by the normal procedure for network configuration.
Solution
Known network configuration
If you know the network configuration of the camera and wish to reset it to the default configuration, you can use the ZividNetworkCameraConfigurator CLI tool.
Make sure your PC network interface is configured to the same mode, subnet and IP range (but different IP) as the camera (see Zivid Two Network Configuration).
Verify that you can reach the camera by running
ZividNetworkCameraConfigurator get-configtool in a terminal while connected to the camera by$ ZividNetworkCameraConfigurator get-config <host>
where
<host>is the IP of the camera.Reset the camera network configuration with the
ZividNetworkCameraConfigurator set-configtool by$ ZividNetworkCameraConfigurator set-config <host> --static --ip <ip> --subnet-mask <mask> --gateway <gateway>
where
<host>is the current IP of the camera,<ip>is the desired IP of the camera,<mask>is the subnet-mask and<gateway>is the gateway IP. The default configuration is IP172.28.60.5, subnet-mask255.255.255.0and gateway172.28.60.1.
Unknown network configuration
There is currently no official solution to this problem if the network configuration of the camera is unknown. Since the camera periodically sends out ARP broadcasts with its IP address, one can use a network analyzer to find the IP address. The following steps uses Wireshark as an example.
Connect the camera to your PC.
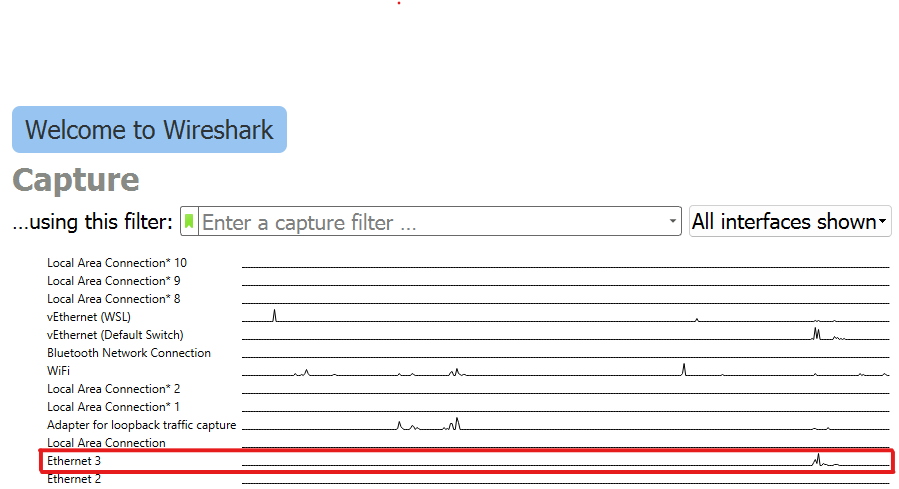
Open Wireshark and select the network interface connected to the camera, e.g. Ethernet 3 in this example.
Wait until you see the ARP announcement from
ZividAS, which announces the IP address of the camera in the info segment. In the example below, the IP is seen from Wireshark to be172.28.60.5.You now know the IP address of the camera and can follow the steps in Known network configuration.
If you are still not able to reset the camera network configuration, contact customersuccess@zivid.com.

