DHCP Network Configuration
To configure DHCP, set the camera to DHCP mode, then run a DHCP server on the PC (unless one is already running on the network).
Caution
The correct instructions for network configuration will depend on your SDK version. Choose your SDK version in the top left drop-down.
Camera
To set the camera to DHCP mode, use Zivid Studio, the CLI Tool, or the API.
Zivid Studio
Open Zivid Studio and click Cameras → All Cameras to open the camera menu.
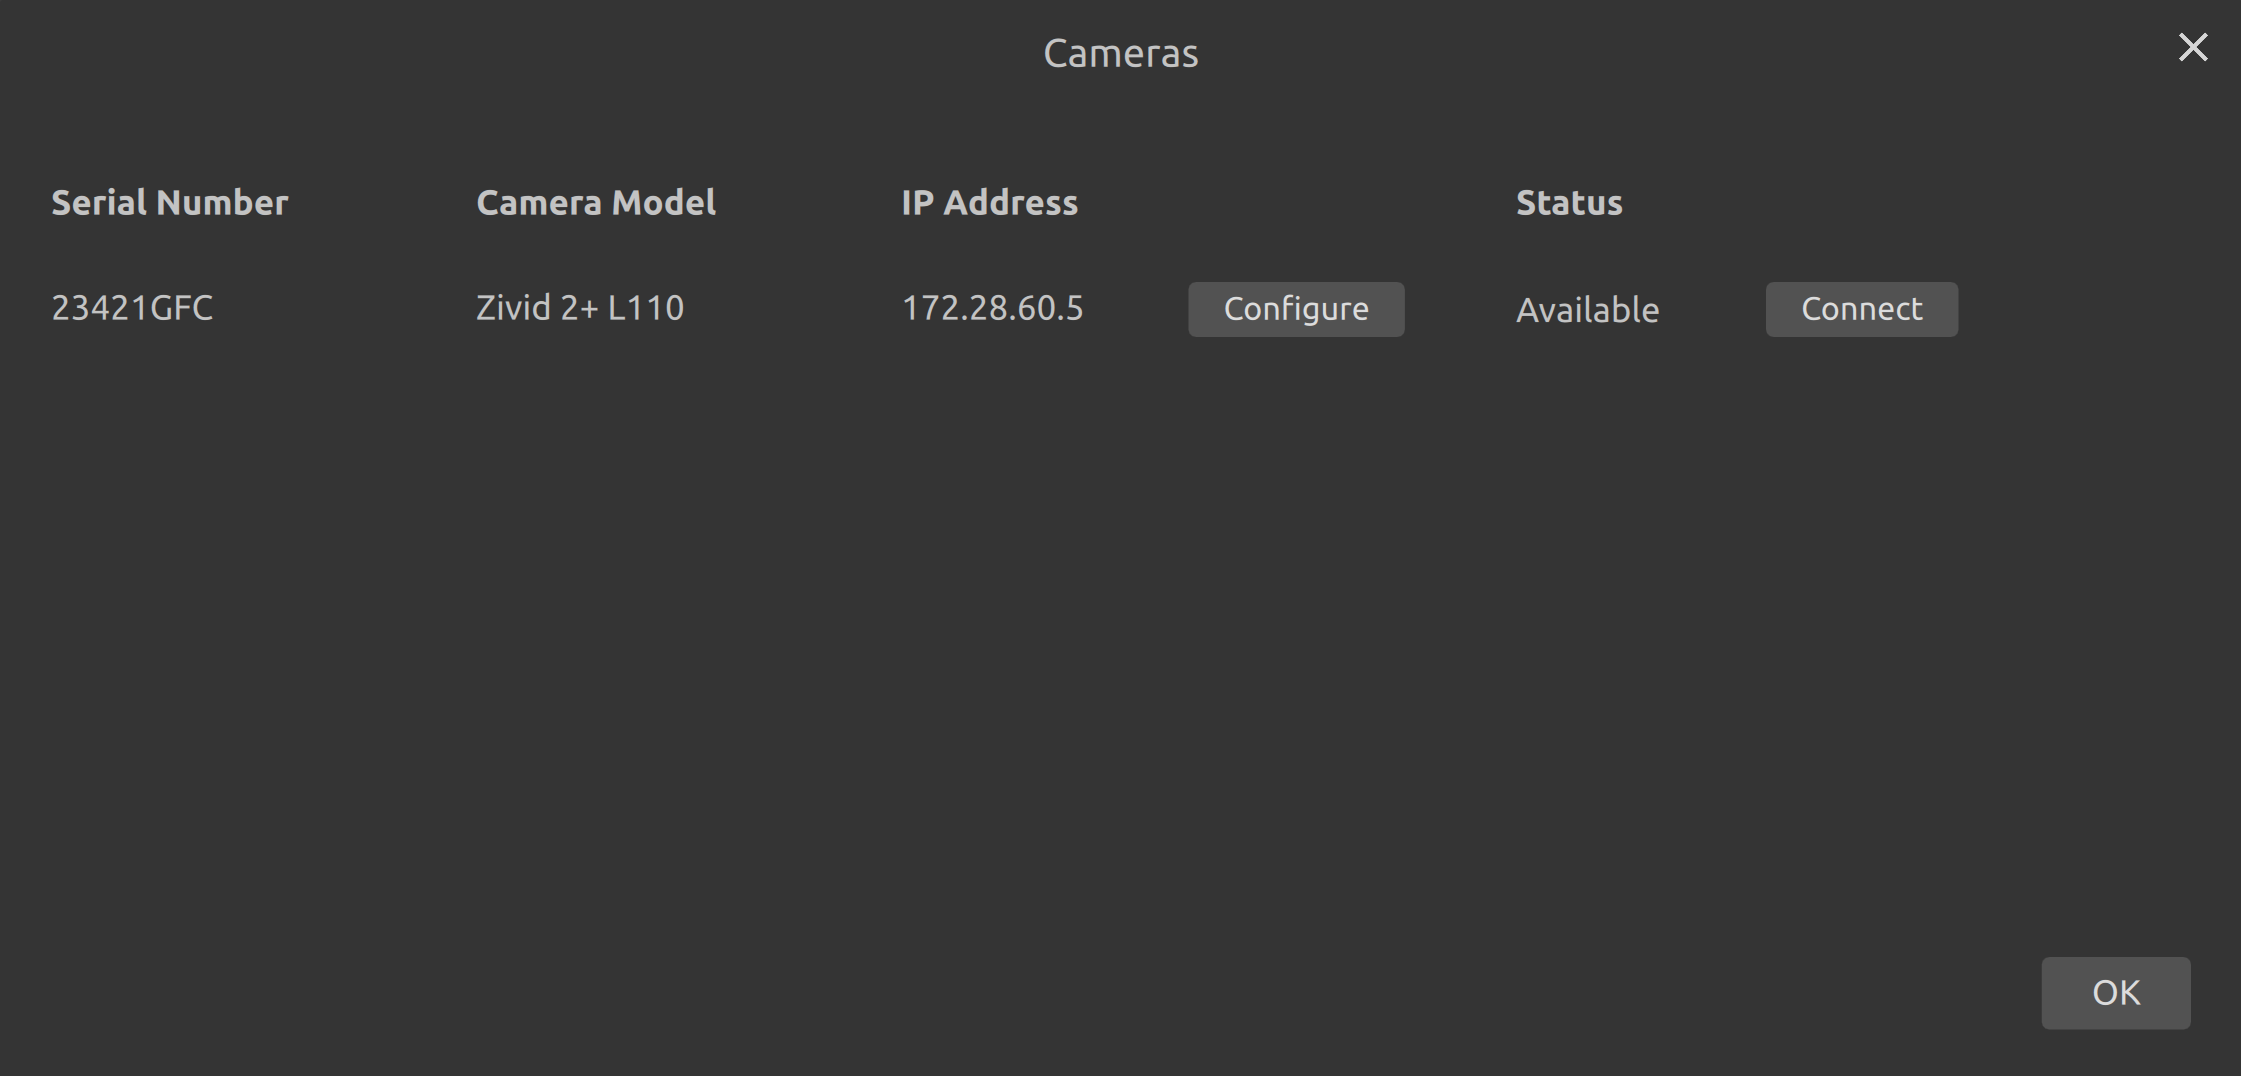
Click Configure on the camera that you want to configure.
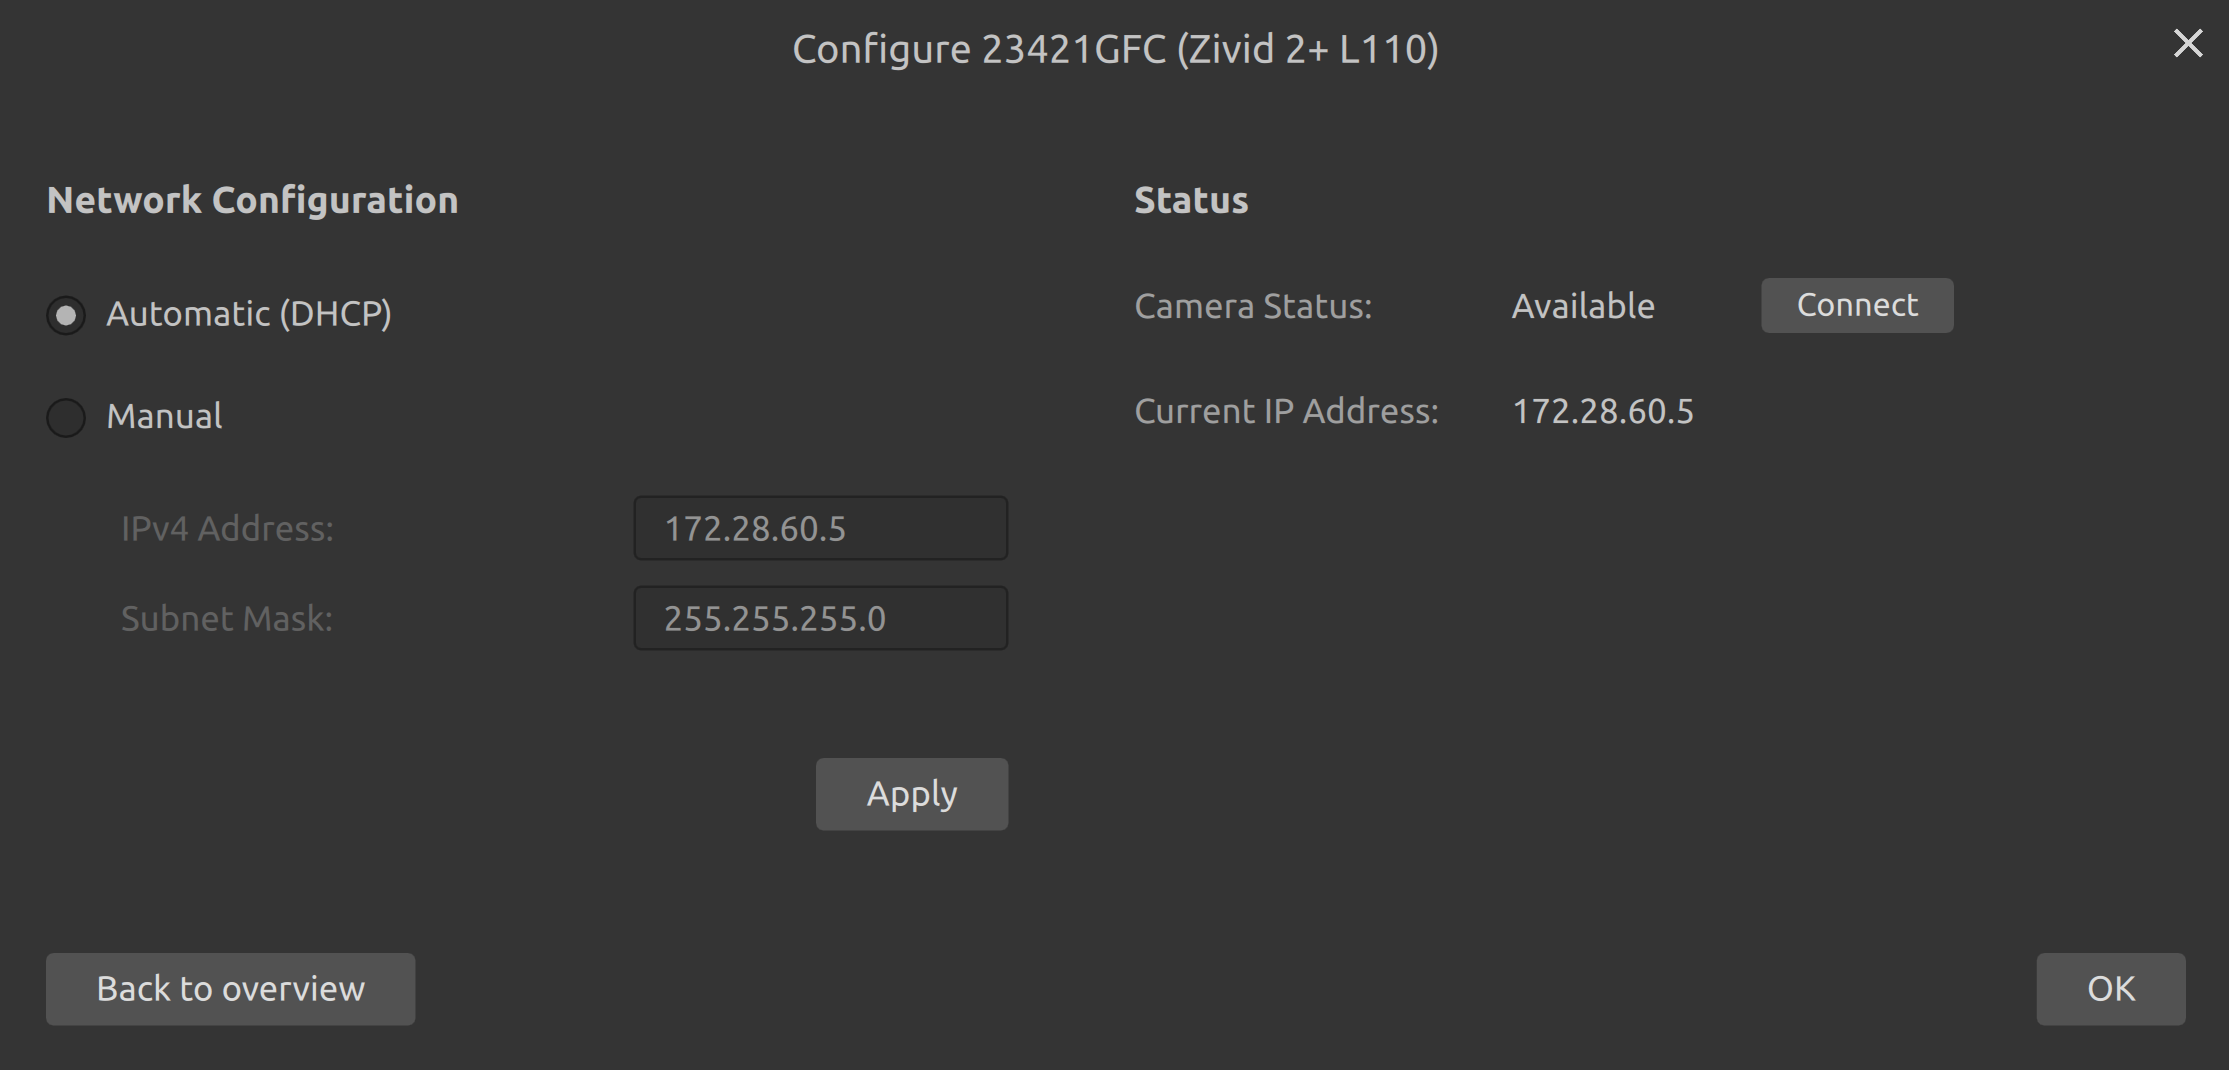
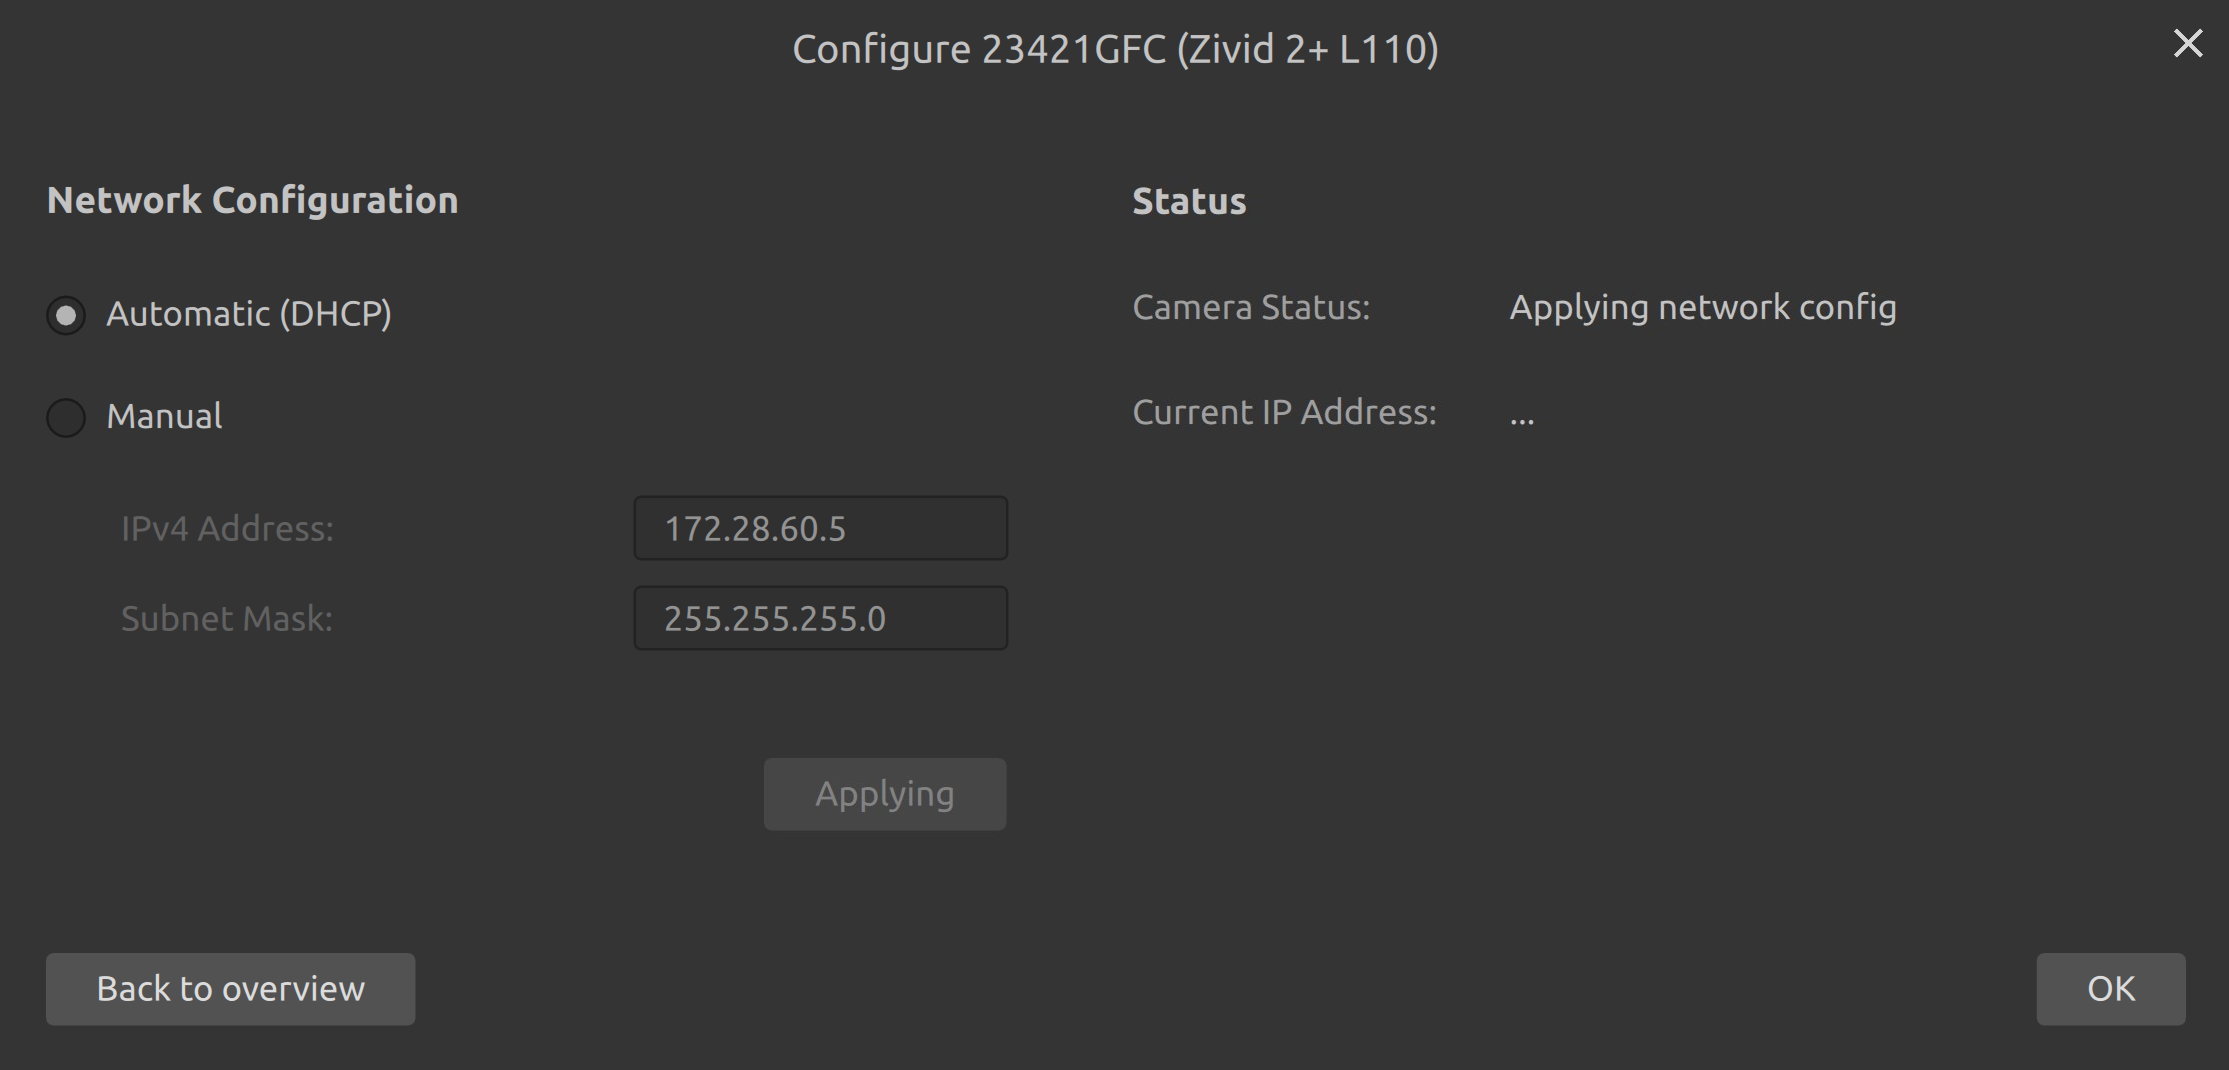
Select the automatic (DHCP) configuration mode. Click Apply to apply the configuration to the camera.
CLI Tool
With the CLI tool ZividNetworkCameraConfigurator, you can change the camera network configuration of one camera at a time.
This tool is installed alongside the Zivid SDK on Windows, and with the Zivid Tools package on Ubuntu.
Open a terminal/Command Prompt.
Connect the camera.
Verify that your camera is found by running:
Windows
ZividListCameras.exe
Ubuntu
ZividListCameras
Set the camera with current IP
<host>in DHCP mode by:Windows
ZividNetworkCameraConfigurator.exe set-config <host> --dhcp
For example, changing the mode from static to DHCP for a camera with IP
172.28.60.5:ZividNetworkCameraConfigurator.exe set-config 172.28.60.5 --dhcp
Ubuntu
ZividNetworkCameraConfigurator set-config <host> --dhcp
For example, changing the mode from static to DHCP for a camera with IP
172.28.60.5:ZividNetworkCameraConfigurator set-config 172.28.60.5 --dhcp
You can also set a hostname by using the optional argument
[--hostname <hostname>]. All ethernet-based Zivid cameras come with a pre-defined hostname with the following format zivid-serialnumber, e.g., zivid-2234AB12.If you are configuring IP addresses of multiple cameras, repeat steps 2 (Connect the camera) through 4 (set DHCP mode) for each camera.
If you are using Cameras.yml
It is highly recommended to use hostnames when using a dynamic IP. If not you have to list all possible IP addresses in
Cameras.yml, or find the IP address assigned to the camera and list them. When you use hostnames you only have to list the expected hostnames, and it doesn’t matter if the IP address is reassigned. The default hostname has the following format:zivid-<serialnumber>, e.g.,zivid-2234AB12.Go to Restrict Discoverable Cameras with Cameras.yml for more information about
Cameras.yml.Make sure a DHCP server is active on the network before connecting the camera(s). See the PC section below to host your own.
API
The SDK provides the functions to configure the camera network configuration.
Connect to your camera.
Set the mode to DHCP.
Create a network configuration object.

Zivid::NetworkConfiguration newConfig(Zivid::NetworkConfiguration::IPV4(mode, address, subnetMask));
var newConfig = new Zivid.NET.NetworkConfiguration()
{
    IPV4 = {
        Mode = mode,
        Address = address,
        SubnetMask = subnetMask,
    }
};
Apply the new network configuration to the camera.
PC
This guides you through how to set up a DHCP server on the PC. If the network already has a DHCP server running (e.g. on a router), you can skip this and connect the camera.
Warning
Make sure you are familiar with DHCP before you configure this mode. It is easy to run into issues with DHCP. For example, running more than one DHCP server with overlapping address range on the same network.
Install a DHCP server. If the network already has a DHCP server running you can skip this step.
Windows
Install from https://www.dhcpserver.de/cms/.
Ubuntu
We want to use the latest DHCP server from ISC, Kea, and we will use their automatic setup script. The setup script URL is pinned to the
kea-3-2release repository; check Kea’s repository list for a newer release if this version becomes unavailable.curl -1sLf 'https://dl.cloudsmith.io/public/isc/kea-3-2/setup.deb.sh' | sudo -E bash
Now that the repository is ready we can install the DHCPv4 server.
sudo apt -y install isc-kea-dhcp4-server
Configure the DHCP server. The example here is based on the DHCP server implementation referred to in the previous step. The concepts should apply to alternative DHCP servers. You can either List IP addresses, or List hostnames assigned to the connected camera(s).
Option: List IP addresses
Windows
Configure the settings in the
dhcpsrv.inifile[Settings] IPBIND_1=172.28.60.2 IPPOOL_1=172.28.60.3-172.28.60.10 AssociateBindsToPools=1 [General] SUBNETMASK=255.255.255.0
Ubuntu
Find interface name:
ip addr
1: lo: <LOOPBACK,UP,LOWER_UP> mtu 65536 qdisc noqueue state UNKNOWN group default qlen 1000
    link/loopback 00:00:00:00:00:00 brd 00:00:00:00:00:00
    inet 127.0.0.1/8 scope host lo
    valid_lft forever preferred_lft forever
    inet6 ::1/128 scope host
    valid_lft forever preferred_lft forever
8: eth0: <BROADCAST,MULTICAST,UP,LOWER_UP> mtu 1500 qdisc fq_codel state UP group default qlen 1000
    link/ether 48:65:ee:1c:12:ba brd ff:ff:ff:ff:ff:ff
    inet 172.21.96.50/24 brd 172.28.60.255 scope global noprefixroute eth0
    valid_lft forever preferred_lft forever
    inet6 fe80::4a65:eeff:fe1c:12ba/64 scope link
    valid_lft forever preferred_lft forever
Next we will use the most basic default configuration. Replace the default file
/etc/kea/kea-dhcp4.confwith. Create a backup if you want to keep it as a local reference.sudo nano /etc/kea/kea-dhcp4.conf
Add the following:
{
   "Dhcp4": {
      "interfaces-config": {
            "interfaces": [ "eth0" ],
            "dhcp-socket-type": "raw"
      },
      "valid-lifetime": 4000,
      "renew-timer": 1000,
      "rebind-timer": 2000,
      "subnet4": [{
         "pools": [ { "pool": "172.28.60.3-172.28.60.10" } ],
         "subnet": "172.28.60.0/24"
      }],
      "loggers": [{
            "name": "*",
            "severity": "WARNING"
      }]
   }
}
Option: List hostnames
Windows
Configure the settings in the
dhcpsrv.inifile[Settings] IPBIND_1=172.28.60.2 [DNS-Settings] EnableDNS=1 [General] SUBNETMASK=255.255.255.0 DNS_1=$(IPBIND_1)
Ubuntu
Find interface name:
ip addr
1: lo: <LOOPBACK,UP,LOWER_UP> mtu 65536 qdisc noqueue state UNKNOWN group default qlen 1000
    link/loopback 00:00:00:00:00:00 brd 00:00:00:00:00:00
    inet 127.0.0.1/8 scope host lo
    valid_lft forever preferred_lft forever
    inet6 ::1/128 scope host
    valid_lft forever preferred_lft forever
8: eth0: <BROADCAST,MULTICAST,UP,LOWER_UP> mtu 1500 qdisc fq_codel state UP group default qlen 1000
    link/ether 48:65:ee:1c:12:ba brd ff:ff:ff:ff:ff:ff
    inet 172.21.96.50/24 brd 172.28.60.255 scope global noprefixroute eth0
    valid_lft forever preferred_lft forever
    inet6 fe80::4a65:eeff:fe1c:12ba/64 scope link
    valid_lft forever preferred_lft forever
Next we will use the most basic default configuration. Replace the default file
/etc/kea/kea-dhcp4.confwith. Create a backup if you want to keep it as a local reference.sudo nano /etc/kea/kea-dhcp4.conf
Add the following:
{
   "Dhcp4": {
      "interfaces-config": {
            "interfaces": [ "eth0" ],
            "dhcp-socket-type": "raw"
      },
      "valid-lifetime": 4000,
      "renew-timer": 1000,
      "rebind-timer": 2000,
      "subnet4": [{
         "pools": [ { "pool": "172.28.60.3-172.28.60.10" } ],
         "subnet": "172.28.60.0/24"
      }],
      "loggers": [{
            "name": "*",
            "severity": "WARNING"
      }]
   }
}
From SDK 2.7, enabling NetBIOS Naming Service is no longer required. There is an additional step for earlier SDK versions to enable NetBIOS Naming Service. Change the Knowledge Base version in the top left corner to see instructions.
If you are using
Cameras.yml, update it according to the DHCP configuration, with examples for either IP addresses or hostnames shown below. Go to Restrict Discoverable Cameras with Cameras.yml for more information aboutCameras.yml.Option: List IP addresses
__version__: 1
Cameras:
   NetworkCameras:
         - NetworkCamera:
            Host: 172.28.60.3
         - NetworkCamera:
            Host: 172.28.60.4
         - NetworkCamera:
            Host: 172.28.60.5
         - NetworkCamera:
            Host: 172.28.60.6
         - NetworkCamera:
            Host: 172.28.60.7
         - NetworkCamera:
            Host: 172.28.60.8
         - NetworkCamera:
            Host: 172.28.60.9
         - NetworkCamera:
            Host: 172.28.60.10
Option: List hostnames
__version__: 1
Cameras:
   NetworkCameras:
         - NetworkCamera:
            Host: zivid-2022C0DE.local
         - NetworkCamera:
            Host: zivid-two.local
         - NetworkCamera:
            Host: zivid-two-alt-1.local
         - NetworkCamera:
            Host: zivid-two-alt-2.local
(Re-)start the DHCP server.
Windows
Navigate to the folder where you extracted the executable, and double-click dhcpsrv.exe, or open Command Prompt and
dhcpsrv.exe -runapp
You can verify that the DHCP server is running by checking your tray:

Ubuntu
sudo systemctl restart isc-kea-dhcp4-server
Next Steps
You have now configured the camera to DHCP and started the DHCP server on the PC. Go to Connecting to the camera.