通过ArUco标记实现的ROI框过滤器
This tutorial demonstrates how to filter the point cloud transformed to the ArUco marker coordinate system based on a ROI box given relative to the marker. This results in filtering out all the points that are outside of the bin.
小技巧
Zivid calibration board 包含一个 ArUco 标记。
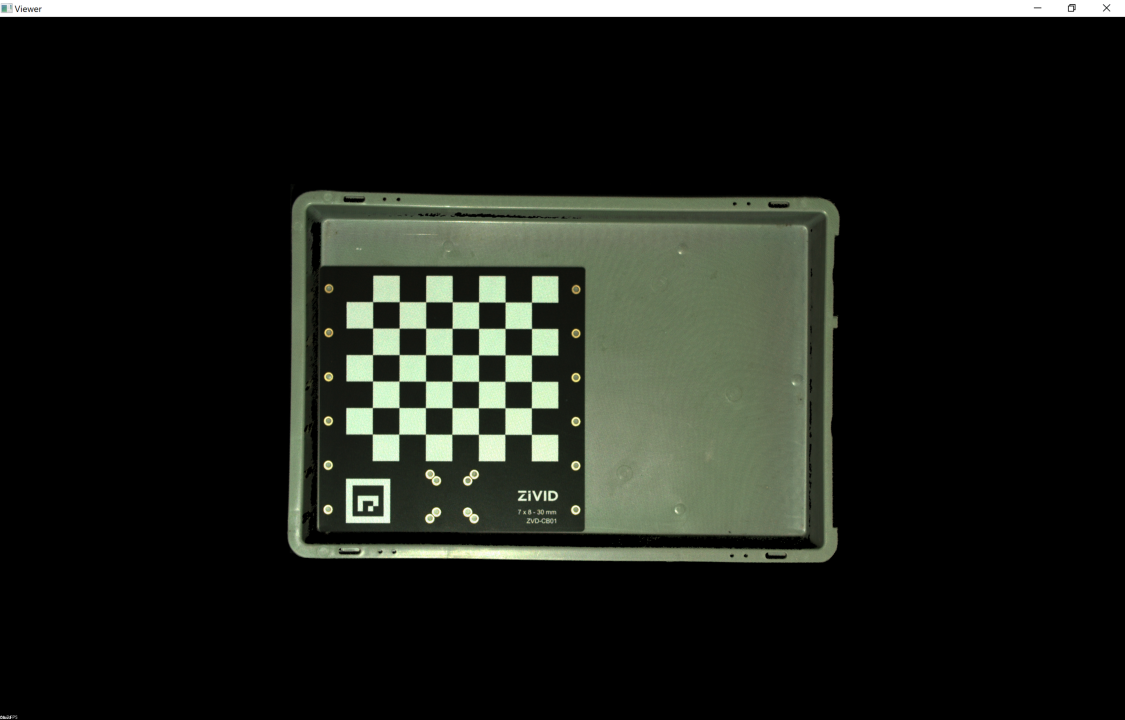
This tutorial uses the point cloud of a ArUco marker displayed in the image below.
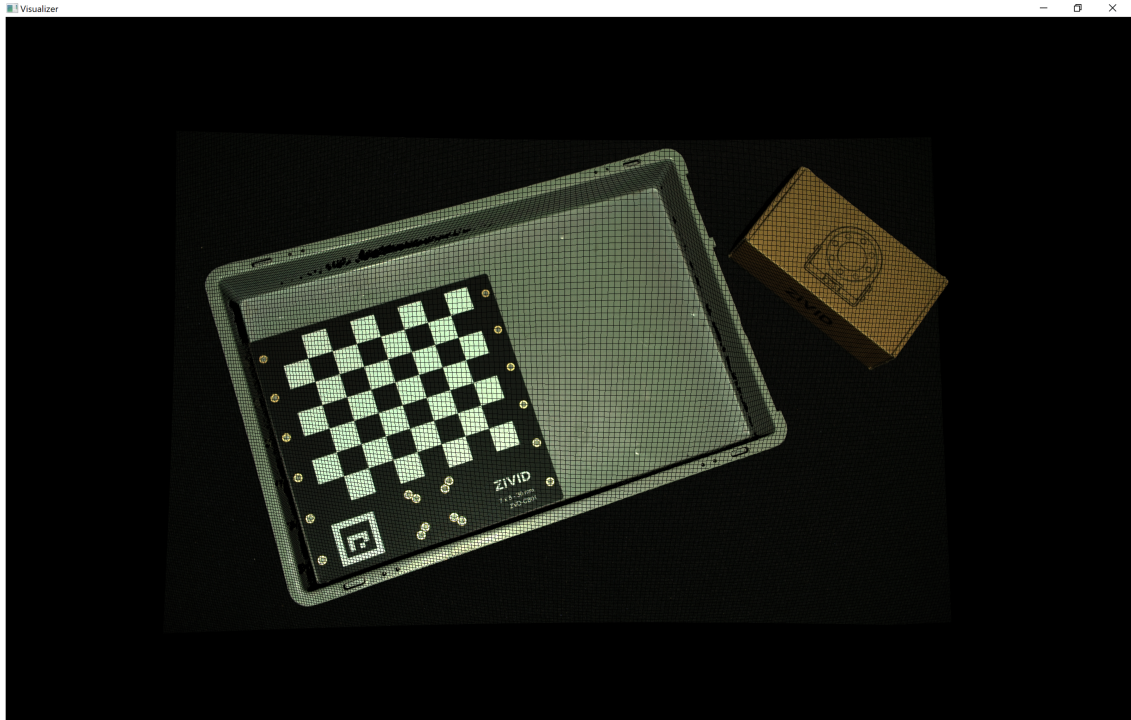
We can open the original point cloud in Zivid Studio and inspect it.
备注
原始点云在 Sample Data(示例数据) 中。
To skip the part about transforming the point cloud, which is also covered in 基于ArUco标记的坐标转换, go to 基于ROI框的过滤.
转换点云
首先,我们加载一个 ArUco 标记的点云。

由于我们使用的是OpenCV,因此需要将2D图像从点云转换为OpenCV图像格式。
然后我们将配置ArUco标记。
std::cout << "Configuring ArUco marker" << std::endl;
const auto markerDictionary = cv::aruco::getPredefinedDictionary(cv::aruco::DICT_4X4_100);
std::vector<int> markerIds;
std::vector<std::vector<cv::Point2f>> markerCorners;
cv::Ptr<cv::aruco::DetectorParameters> detectorParameters = cv::aruco::DetectorParameters::create();
detectorParameters->cornerRefinementMethod = cv::aruco::CORNER_REFINE_SUBPIX;
接下来在2D图像中检测ArUco标记。
然后估计ArUco标记的位姿。
将点云转换到ArUco标记坐标系。
提示
Learn more about 位置、方向和坐标变换.
基于ROI框的过滤
现在我们将定义ROI框的左下角相对于ArUco标记的位置,以及ROI框的大小。

std::cout << "Bottom-Left ROI Box corner:" << std::endl;
const int roiBoxBottomLeftCornerX = 60; // Positive is "South"
const int roiBoxBottomLeftCornerY = 90; // Positive is "West"
const int roiBoxBottomLeftCornerZ = 15; // Positive is "Down"
std::cout << "X: " << roiBoxBottomLeftCornerX << std::endl
          << "Y: " << roiBoxBottomLeftCornerY << std::endl
          << "Z: " << roiBoxBottomLeftCornerZ << std::endl;
std::cout << "ROI Box size:" << std::endl;
const int roiBoxLength = 600;
const int roiBoxWidth = 400;
const int roiBoxHeight = 80;
std::cout << "Length: " << roiBoxLength << std::endl
          << "Width: " << roiBoxWidth << std::endl
          << "Height: " << roiBoxHeight << std::endl;
现在我们根据ROI框的大小和位置过滤点云。这是通过使 用 PCL 库实现的。
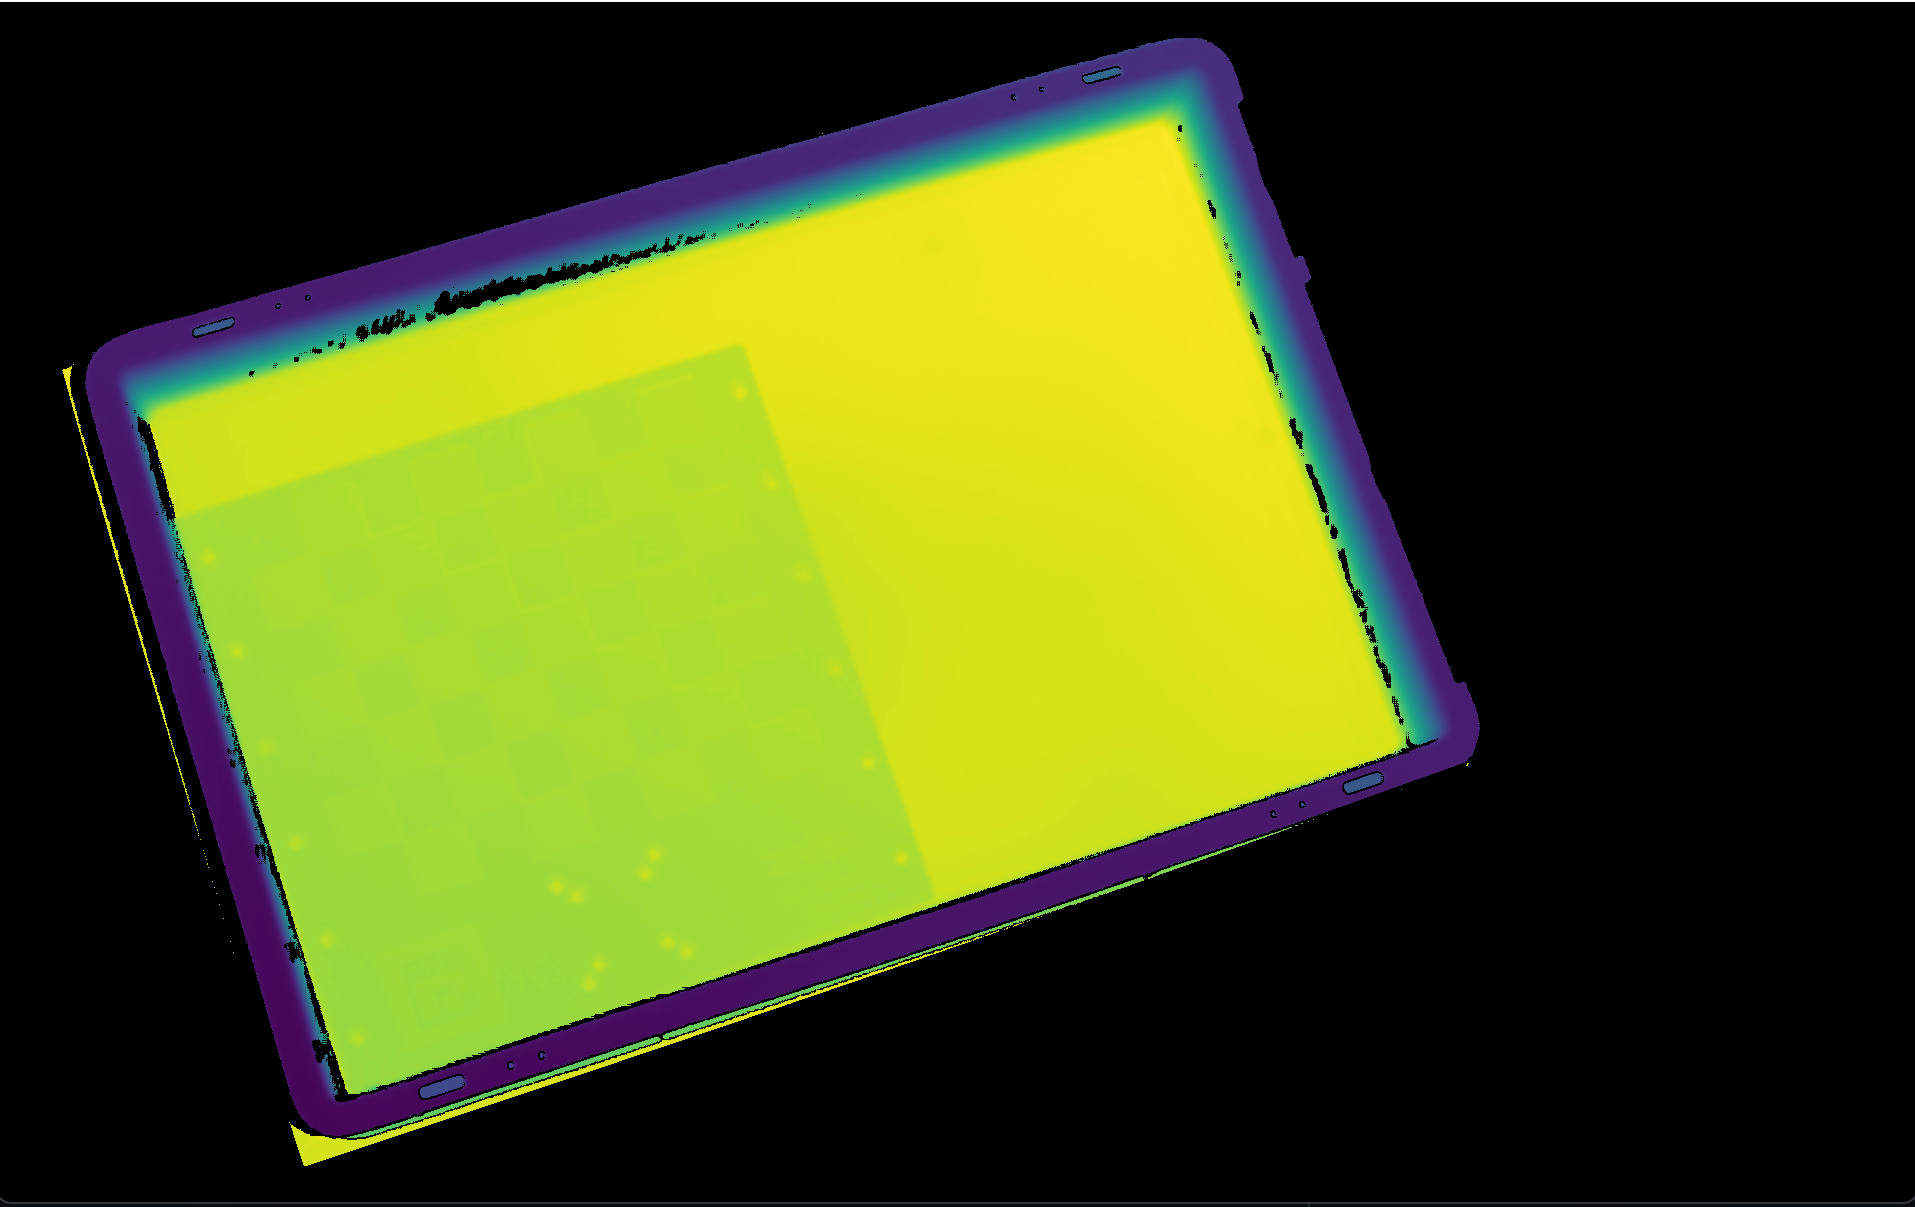
最后可视化经过转换和过滤的点云。
Lastly, we display the depth map of the transformed and filtered point cloud.