用于手眼标定的Zivid CLI工具
本教程描述了如何使用命令行界面(CLI)工具进行手眼标定。 以下是包含了屏幕截屏的分步说明。
备注
使用*.yaml文件格式记录机器人位姿的ZividExperimentalHandEyeCalibration.exe CLI工具是 实验性的。 它将被一个GUI代替。
操作说明
采集数据集
如果您还没有阅读关 于 手眼标定 的完整教程 ,我们建议您先观看该教程。要保证能够正确采集数据集,请至少阅读 手眼标定的流程 了解有关所需机器人位姿的信息,并学习 如何获得Zivid标定板的高质量数据。另外,阅读 注意事项和建议 也会非常有帮助。
The dataset assumes 10 - 20 pairs of Zivid checkerboard point clouds in .zdf file format and corresponding robot poses in .yaml file format. The naming convention is:
点云: img01.zdf、img02.zdf、img03.zdf 等
机器人位姿: pos01.yaml、pos02.yaml、pos03.yaml 等
小心
机器人位姿的平移部分必须以毫米为单位。
Here’s an example of a robot pose available for download - pos01.yaml.
To learn how to write/read files in .yaml format, check out the OpenCV YAML file storage class.
The dataset folder should look similar to this:
小心
Robot pose files are in .yaml file format, unlike camera settings and configuration file which are in .yml file format.

运行手眼标定CLI工具
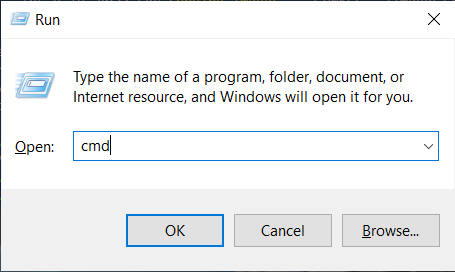
同时按下键盘上的Win+R键启动命令提示符,然后键入 cmd 并 按 Enter 键。
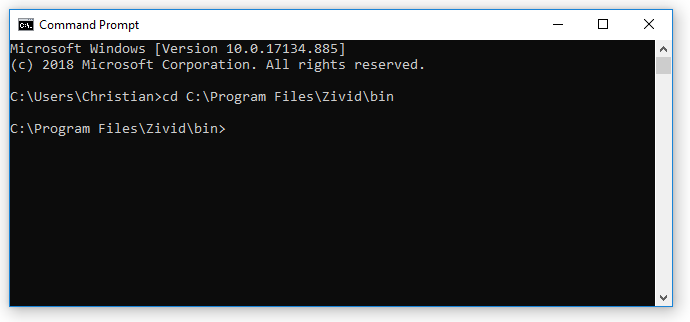
导航到您安装Zivid软件的文件夹:
cd C:\Program Files\Zivid\bin>
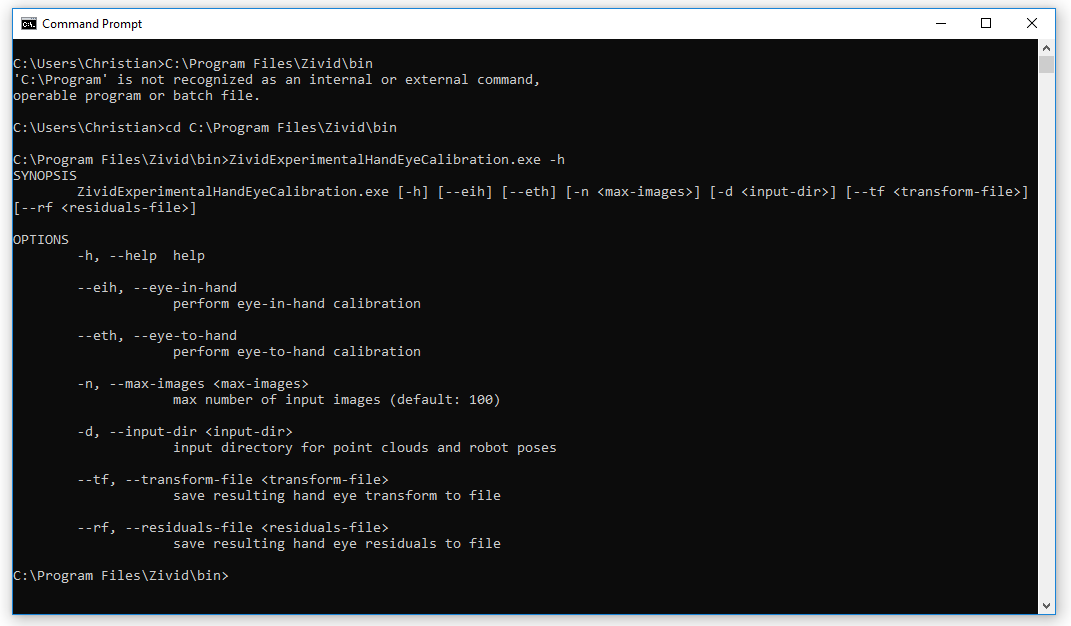
通过输入以下命令即可显示 ZividExperimentalHandEyeCalibration.exe CLI工具的输入和输出:
ZividExperimentalHandEyeCalibration.exe -h
要运行 ZividExperimentalHandEyeCalibration.exe CLI 工具,您必须指定:
标定的类型(eye-in-hand或eye-to-hand)
The path to the directory containing the dataset (.zdf files and .yaml robot poses).
指定要保存生成的手眼转换和残差的位置也很方便,请参见下面的示例:
SET dataset=C:\Users\Christian\Directory_where_dataset_is_located
ZividExperimentalHandEyeCalibration.exe --eth -d "%dataset%" --tf "%dataset%\tf.yaml" --rf "%dataset%\rf.yaml"
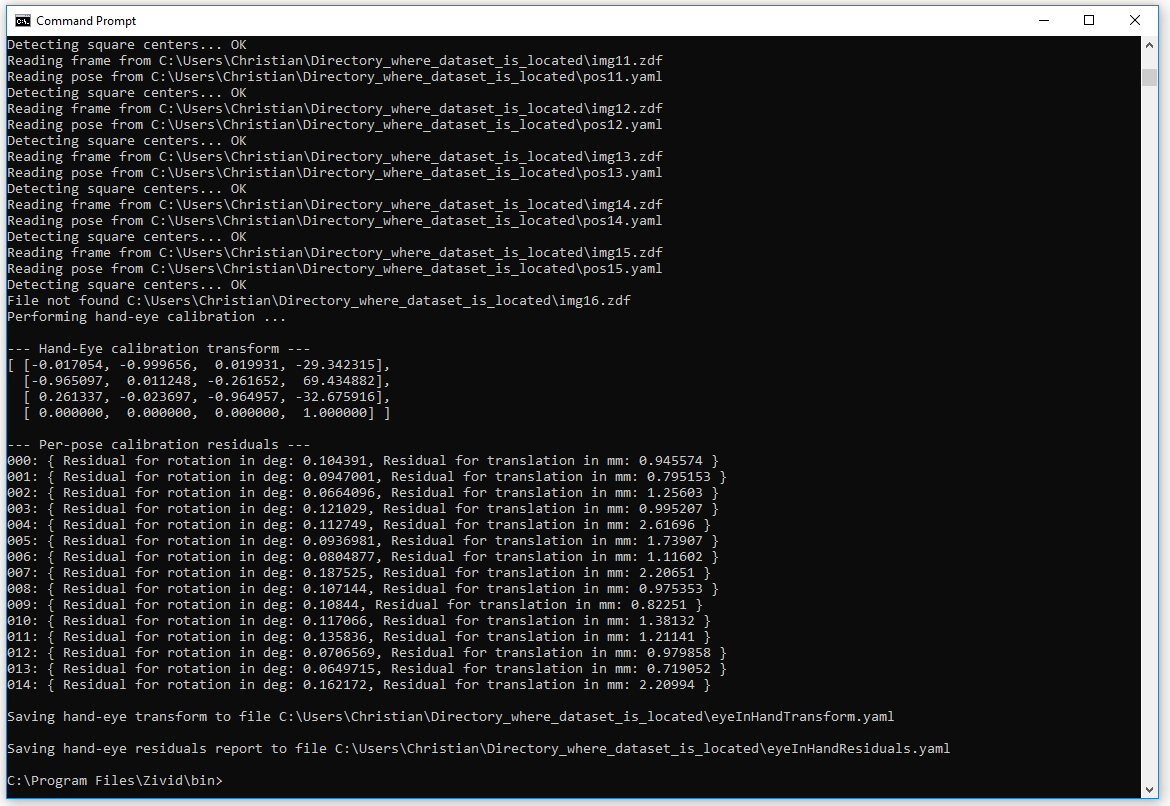
在运行期间,算法将输出能够检测到棋盘格图案(”OK”)或不能(”FAILED”)。 在检测完成之后,它将输出手眼转换的结果(4x4齐次变换矩阵)。 最后将输出每个位姿的 手眼标定的残差 。 请参阅下面的输出的示例。
然后可以使用生成的齐次变换矩阵 (eyeInHandTransform.yaml) 将拾取点坐标或基于相机坐标系的整个点云转换到机器人基坐标系。 要进行该转换,请查看 如何使用手眼标定的结果。