Available Views
There are three available views to choose from at the bottom of the Zivid Studio GUI.
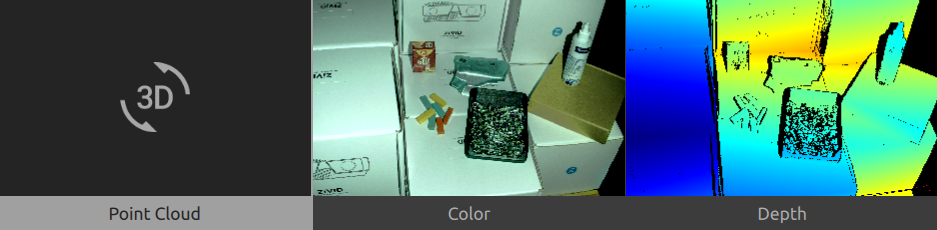
Point Cloud
This view displays the point cloud of the scene after a capture or after loading a ZDF file.
Use the left mouse button to rotate the point cloud
Use the right mouse button to pan.
Zoom in or out by rolling the mouse wheel or, if available, by the middle mouse button followed by dragging the mouse.
Turning color (C & D) and mesh (M) on and off in this view helps evaluate the point cloud quality.
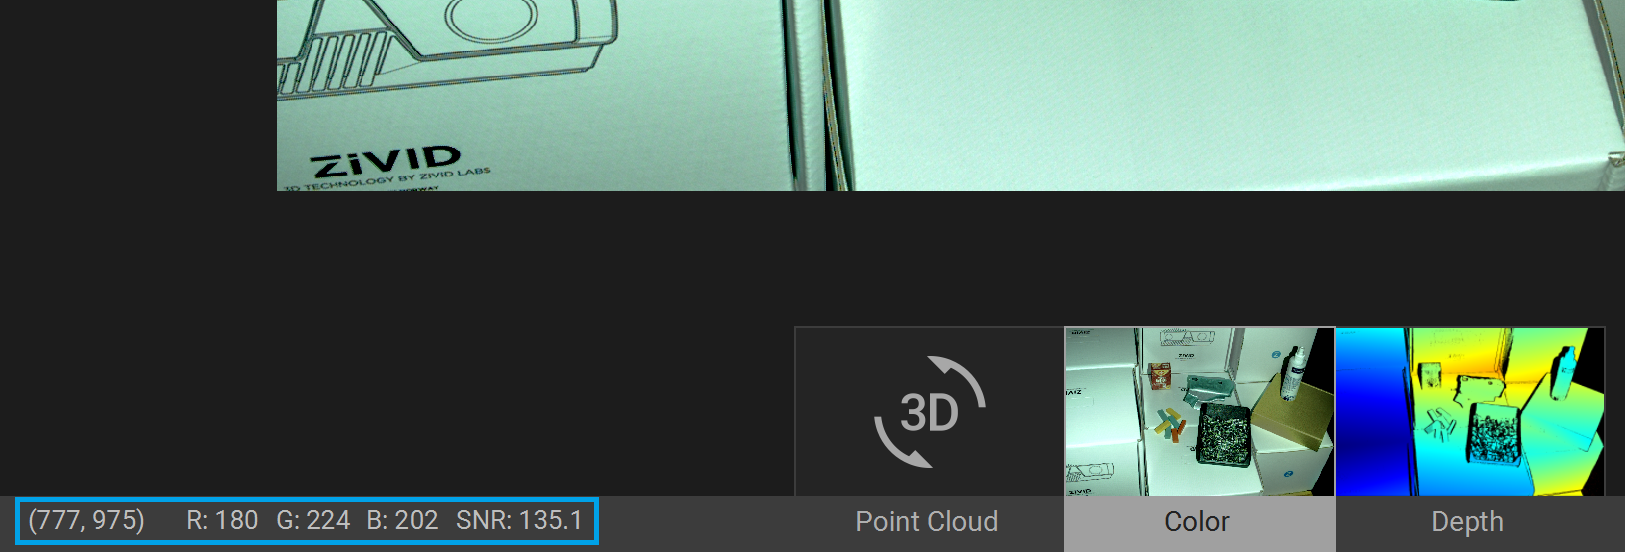
Color
This view displays the color image of the scene after a capture or after loading a ZDF file.
Position the mouse pointer over a pixel in the image to get image coordinates, RGB, and SNR values. The pixel values are displayed in the status bar in the bottom left corner of the window.
Zoom in or out by rolling the mouse wheel or, if available, by the middle mouse button followed by dragging the mouse.
Use the left mouse button to pan the view.
Depth
This view displays the depth image of the scene after a capture or after loading a ZDF file.
Position the mouse pointer over a pixel in the image to get image coordinates, XYZ, and SNR values. The pixel values are displayed in the status bar in the bottom left corner of the window.
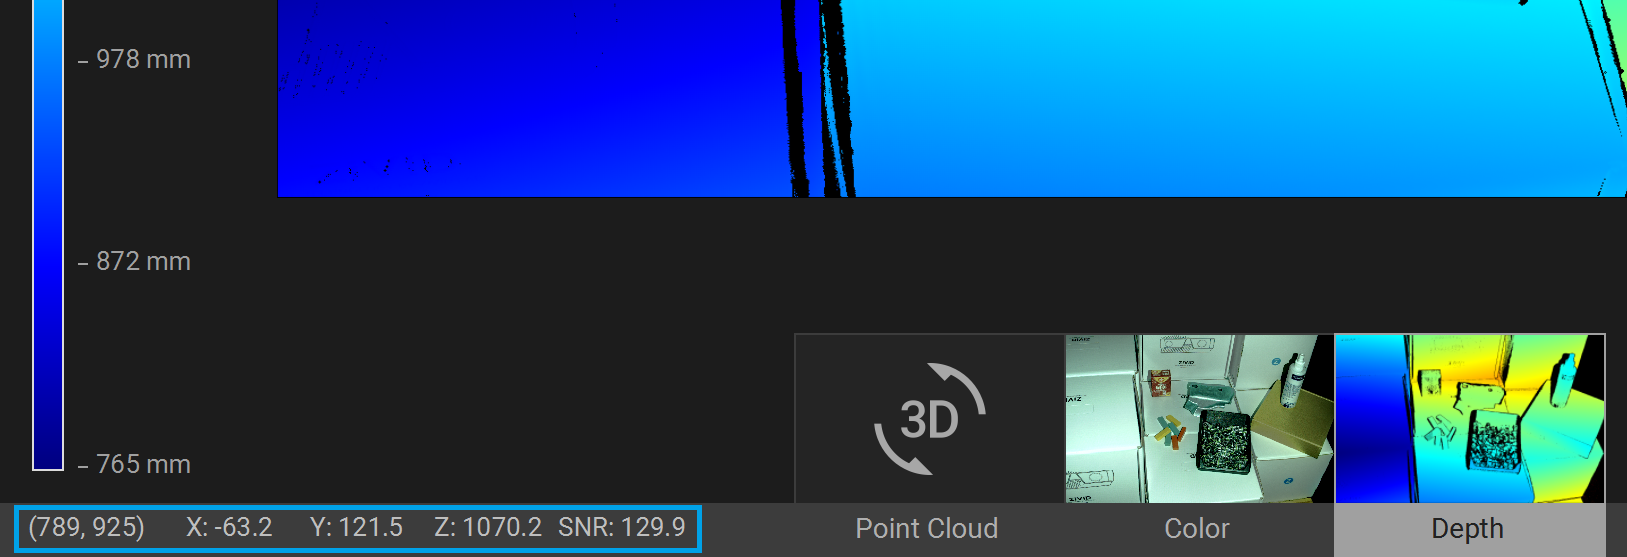
Use the drop-down menu located at the top left corner of the view to modify the Z range.
Use zoom and pan functionalities in the same way as described in the Color View.
The color scale represents the distance variation along the z-axis from the camera to the surfaces of the imaged objects.
Continue reading about Zivid Studio: Toolbar