Toolbar
The toolbar is located at the top of the Zivid Studio GUI. It consists of drop-down menus to handle files, control the GUI, and get information about the Zivid Software.
Save and Open
Zivid Studio offers various saving options for point clouds, color images, and settings to disk.
Save/Export Point Cloud
To save the point cloud in file ZDF format:
Note
.zdf is the native Zivid file format that includes point cloud, color image, and depth image data.
Click on File → Save
Navigate to the location where you want to save the point cloud
Write down the file name
Click Save
Note
ZDF is the preferred file format for the Zivid Customer Success Team.
To export to one of our supported point cloud formats, unordered or ordered Polygon (PLY), ASCII (XYZ), or Point Cloud Data (PCD) 1 file format:
Click on File → Export
Navigate to the location where you want to save the point cloud
Write down the file name
Click Save
- 1
PCD is by default exported as unorganized points but can be configured to be exported as organized points. See Organized PCD format for tutorial on how to export PCD as organized points.
Open Point Cloud
Opening a point cloud in Zivid Studio is only supported for ZDF file format:
Click on File → Open
Navigate to the location of your ZDF file
Click Open
Tip
Drag and drop a ZDF file to load the point cloud to Zivid Studio - added in Zivid SDK 2.5.
Save Color Image
You can also save the 2D color image in PNG, BMP, and JPG file format:
Click on File → Save Color Image
Navigate to the location where you want to save the color image
Write down the file name
Click Save
Export Settings
It is possible to save all settings to disk.
Click on File → Export Capture Settings
Navigate to the location where you want to save the settings
Write down the file name
Click Save
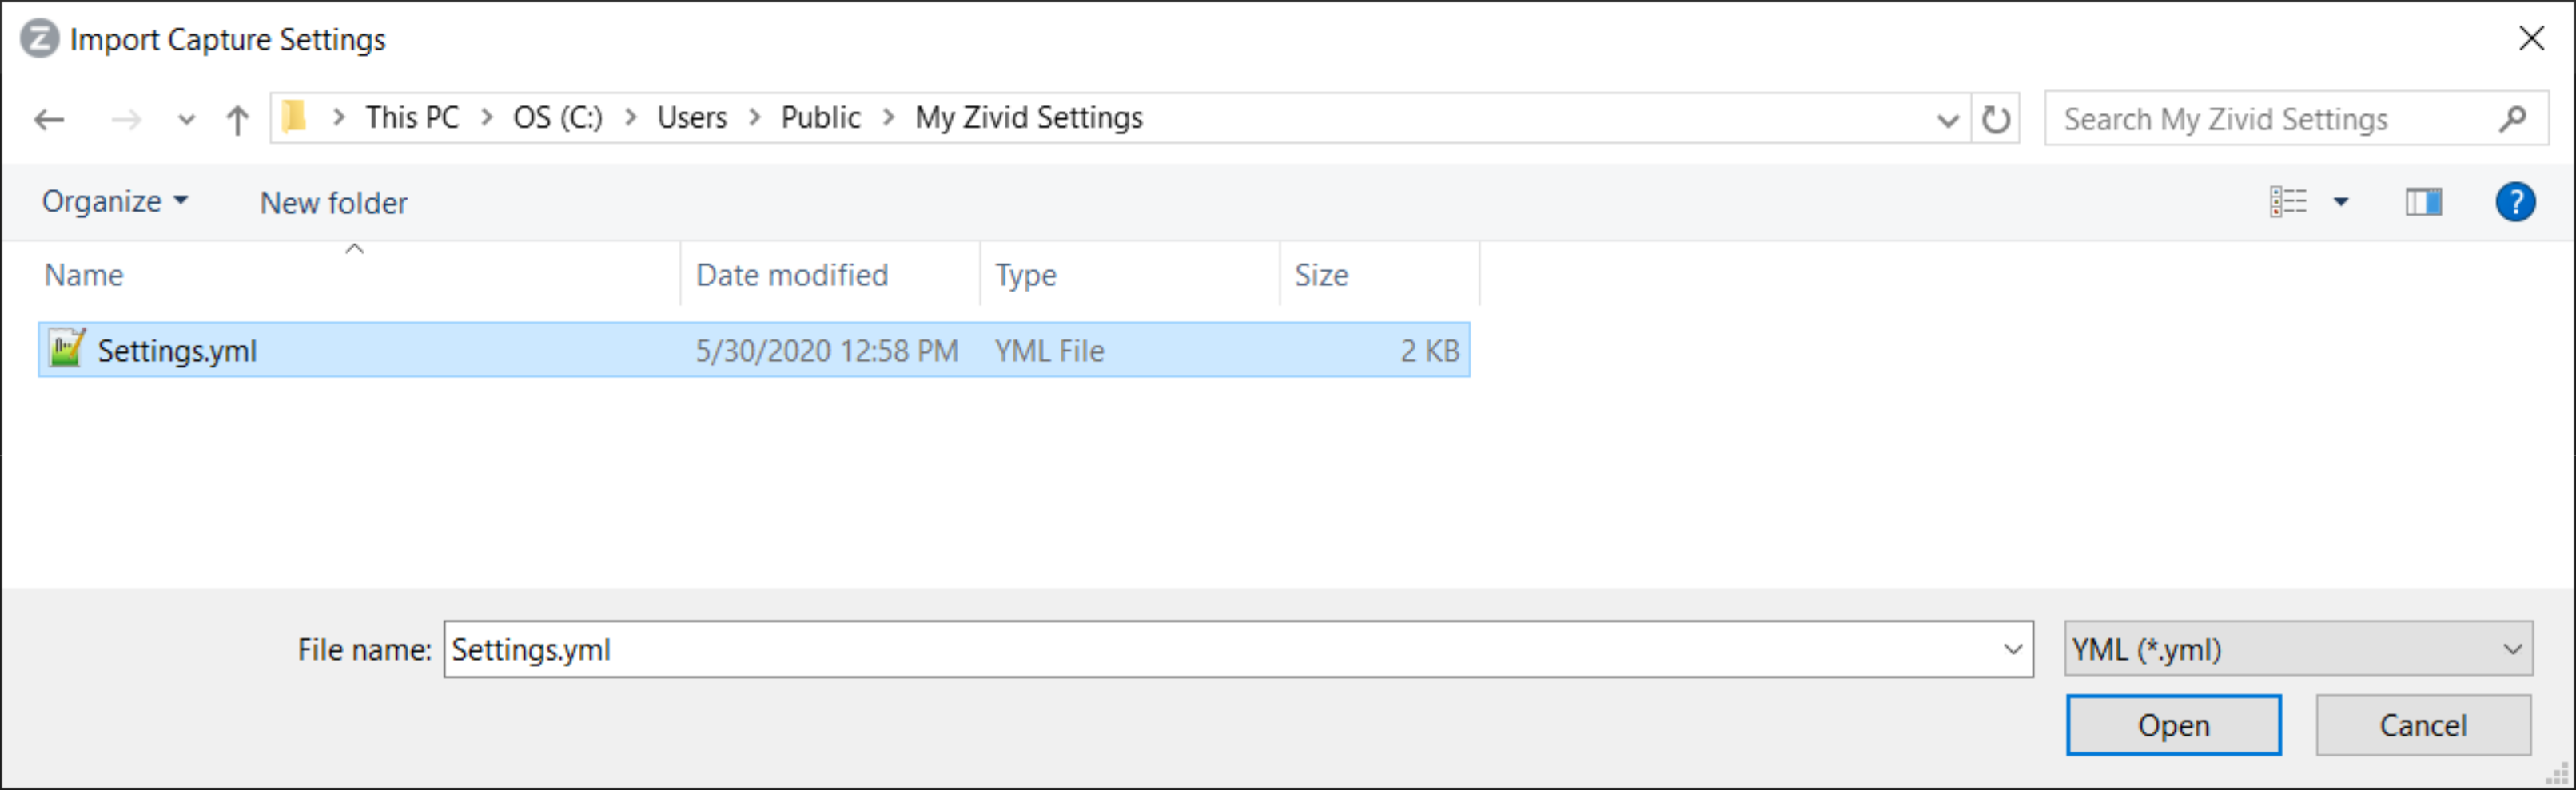
Import Settings
To import the settings in Zivid Studio:
Click on File → Import Capture Settings
Navigate to the location of your settings file
Click Open
Tip
Drag and drop a YML file to import the settings to Zivid Studio - added in Zivid SDK 2.5.
Settings can be loaded using the Zivid SDK as well.

std::cout << "Loading settings from file" << std::endl;
const auto cameraModel = camera.info().model().toString().substr(0, 8);
const auto settingsFile = std::string(ZIVID_SAMPLE_DATA_DIR) + "/Settings/" + cameraModel + "/Settings01.yml";
const auto settings = Zivid::Settings(settingsFile);
Console.WriteLine("Loading settings from file");
var cameraModel = camera.Info.Model.ToString().Substring(0, 8);
var settingsFile = Environment.GetFolderPath(Environment.SpecialFolder.CommonApplicationData)
                   + "/Zivid/Settings/" + cameraModel + "/Settings01.yml";
var settings = new Zivid.NET.Settings(settingsFile);