Control Panel
The control panel is located on the right side in the Zivid Studio GUI. It contains two sections:
Camera
Capture
Camera
This section is used to scan for, connect to, and disconnect from available cameras.
Camera |
Function |
|---|---|
Scan for connected cameras |
Show all cameras plugged into the PC and list them by model and serial number. |
Connect |
Connect to the camera selected in the drop-down menu. Zivid Studio can connect to a single camera at a time. |
Disconnect from active camera |
Disconnect from the active camera. |
Note
If multiple cameras are physically connected, they will all appear in this section. However, Zivid Studio only supports establishing a connection with a single camera at a time. To capture with multiple cameras using Zivid Studio, start another instance of Zivid Studio.
Firmware Update
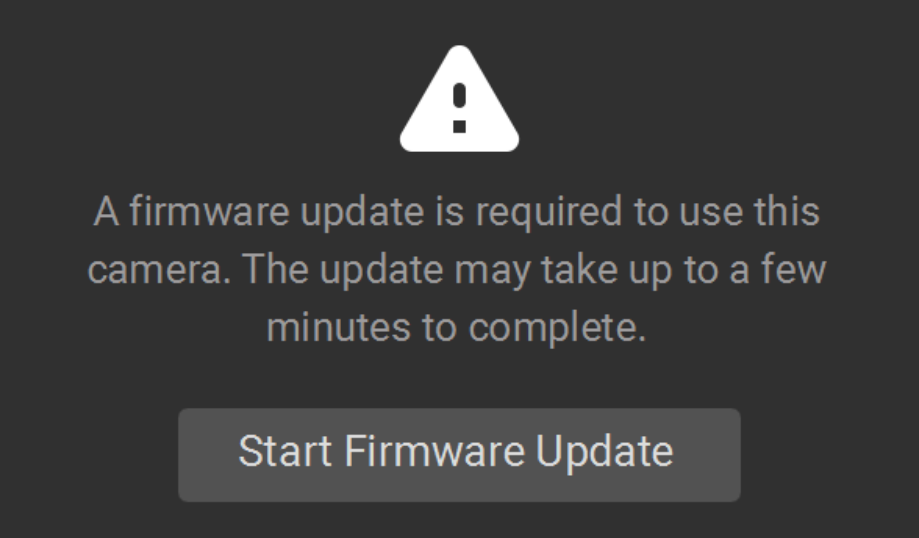
Each SDK version is matched with camera firmware, and the SDK will make sure that the camera runs compatible firmware. When Zivid Studio connects to a camera, it will check whether the camera has matching firmware. If the firmware does not match, you will get prompted to update firmware on your camera. Read more about Firmware Update.

Capture
This section is used to capture 3D images. Here you can control and configure the camera settings. This section has two modes:
Assisted Mode
Manual Mode
Assisted Mode
This mode is the easiest to use.
Specify Max Capture Time
Click Analyze & Capture
This triggers the camera to analyze the scene and output the camera settings required to cover as much of the dynamic range in the scene as possible. Immediately after this, the camera performs a second capture using these settings.
The Capture button performs a capture with the settings suggested by the assisted capture, without additional scene analysis.
Ambient Light Adaptation is used when ambient light (AC powered) is mixed with the camera’s projector.
Select your power grid frequency from the drop-down menu. 60 Hz is typically used in Japan, Americas, Taiwan, South Korea, and the Philippines. 50 Hz is the normal in rest of the world.
Acquisition and filter settings appear at the bottom right corner of the “Capture” section after camera captures.
Manual Mode
In the manual mode, users must configure all settings and filters manually.
Settings and Filters
Exposure Settings
Setting |
Function |
|---|---|
The duration a single camera image is exposed to light. |
|
The opening that controls the amount of light to the camera sensor through the lens. |
|
The output power (the amount of light) emitted by the LED projector. |
|
The amplification of the signal from the camera sensor. |
Filters
Setting |
Function |
|---|---|
Remove points where the projected pattern signal-to-noise-ratio is below the specified threshold. |
|
Remove points if the distance to their neighboring pixels within the small local region is larger than the threshold specified in mm. |
|
Remove points impacted by reflections and thus erroneous. |
|
Perform Gaussian smoothing on the point cloud. |
|
Correct and/or remove points affected by blurring in the camera lens. |
Color
The color temperature of ambient light affects the appearance of the color image. Set the white balance by adjusting blue, green, and red color balance to make color images look natural.
Gamma
The output color image can appear too dark. Set the Gamma to adjust the brightness of the color image.
To learn to how to tune settings and filters check Capturing High Quality Point Clouds.
Diagnostics
The diagnostics setting is used to collect extra diagnostic data from a capture. When this setting is enabled the additional data will be saved in the .zdf file. It is recommended to only enable it when reporting issues to Zivid’s support team.
Caution
Diagnostics increases the capture time, the RAM usage, and the size of the .zdf file.
Single and Live Captures
The Single button captures a single acquisition with the specified settings, which is then displayed.
The Live button triggers continuous captures, which enables you to view the scene in real-time.
HDR
For high dynamic range scenes, it is necessary to use multi-acquisition HDR. In this mode, the camera captures one image per acquisition. Each image captured uses the settings configured for the specific acquisition. These images are then automatically merged into a single, high-quality HDR frame.
Once you select the manual mode, you can click the Add Acquisition button to add additional acquisitions. By default, each new acquisition added uses the settings of the previous acquisition. You can clone a specific acquisition by clicking on the three dots next to that acquisition and then on the Clone acquisition option. Use the same menu to reset acquisition settings or delete individual acquisitions. Disable or enable acquisitions with the checkbox.
Click the HDR button to capture an image with the acquisition settings specified; unchecked acquisitions are ignored by the capture.
You can also use the Assisted mode to get suggested settings, and then switch to the Manual mode to fine tune these settings manually.
Continue reading about Zivid Studio: Available Views