Use Qt Creator to Build C++ Samples in Windows
Introduction
This tutorial shows how to configure and build the Zivid C++ Samples with Qt Creator 4.12.1.
Pre-requisites
Follow requirements and installation steps in Configure C++ Samples With CMake and Build Them in Visual Studio in Windows, including Install OpenCV.
Configure the project in Qt Creator
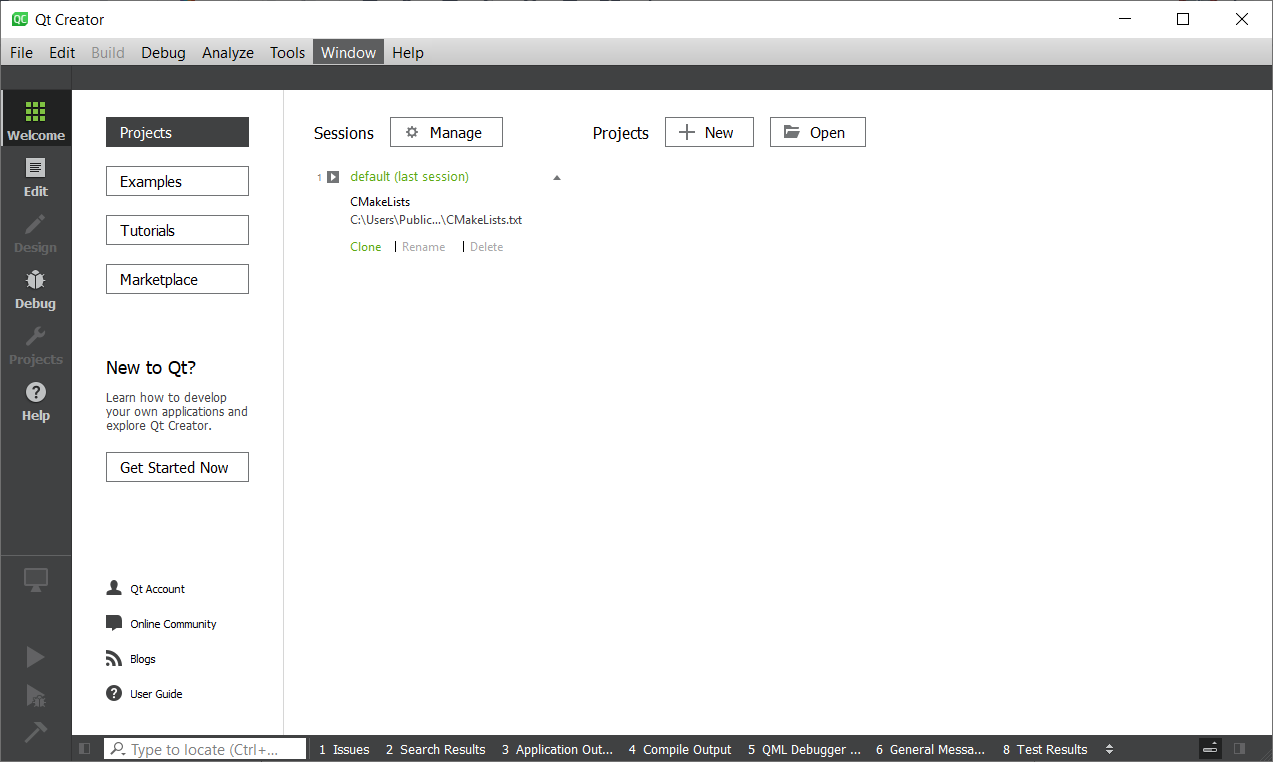
Start Qt Creator.
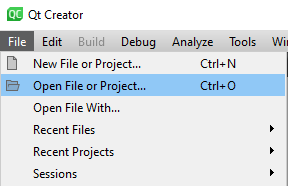
Click File → Open Project.
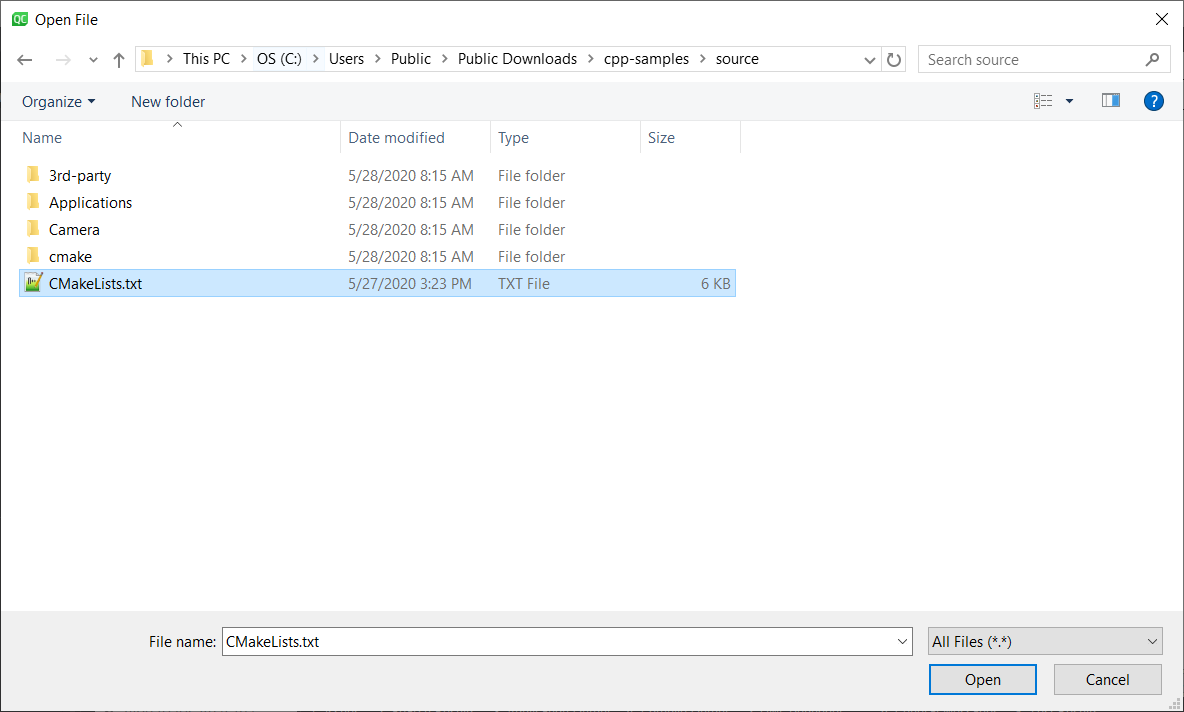
Navigate to your clone of the C++ Samples and open CMakeLists.txt.
Configure Kits
Click Manage Kits… and configure your Desktop Kit as per the figure below.
Compiler: |
Microsoft Visual C++ Compiler (x86_amd64) |
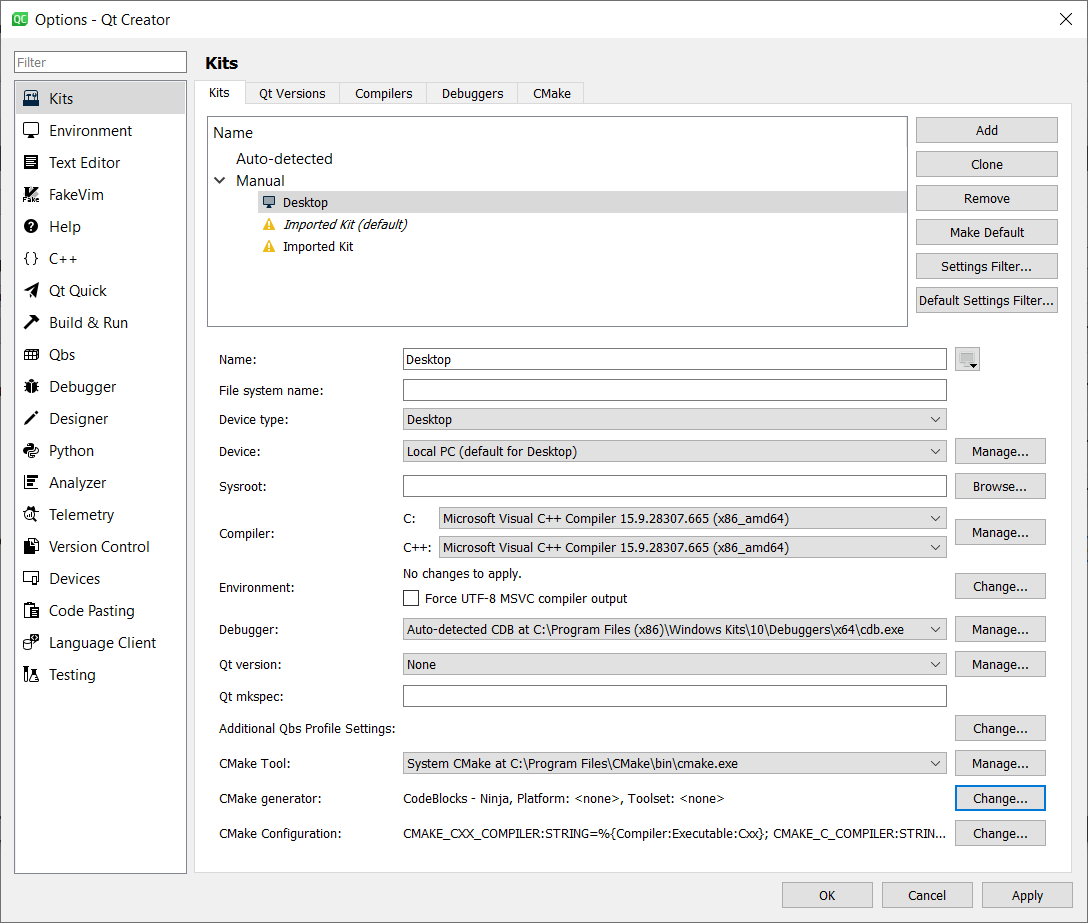
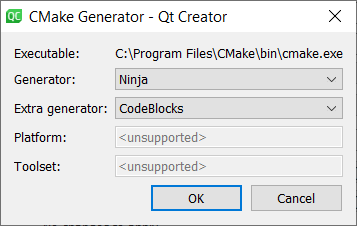
For CMake generator click Change… and set the following entries:
Generator: |
Ninja |
Extra generator: |
CodeBlocks |
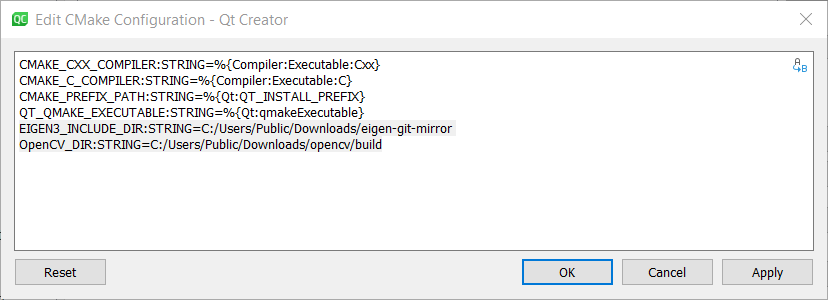
To include Eigen and OpenCV for CmakeConfiguration click Change… and add the following:
EIGEN3_INCLUDE_DIR:STRING=C:/Users/Public/Downloads/eigen-git-mirror
OpenCV_DIR:STRING=C:/Users/Public/Downloads/opencv/build
Click OK, and again OK.
Configure Project
Select Desktop and expand Details. Then, check Debug and Release.
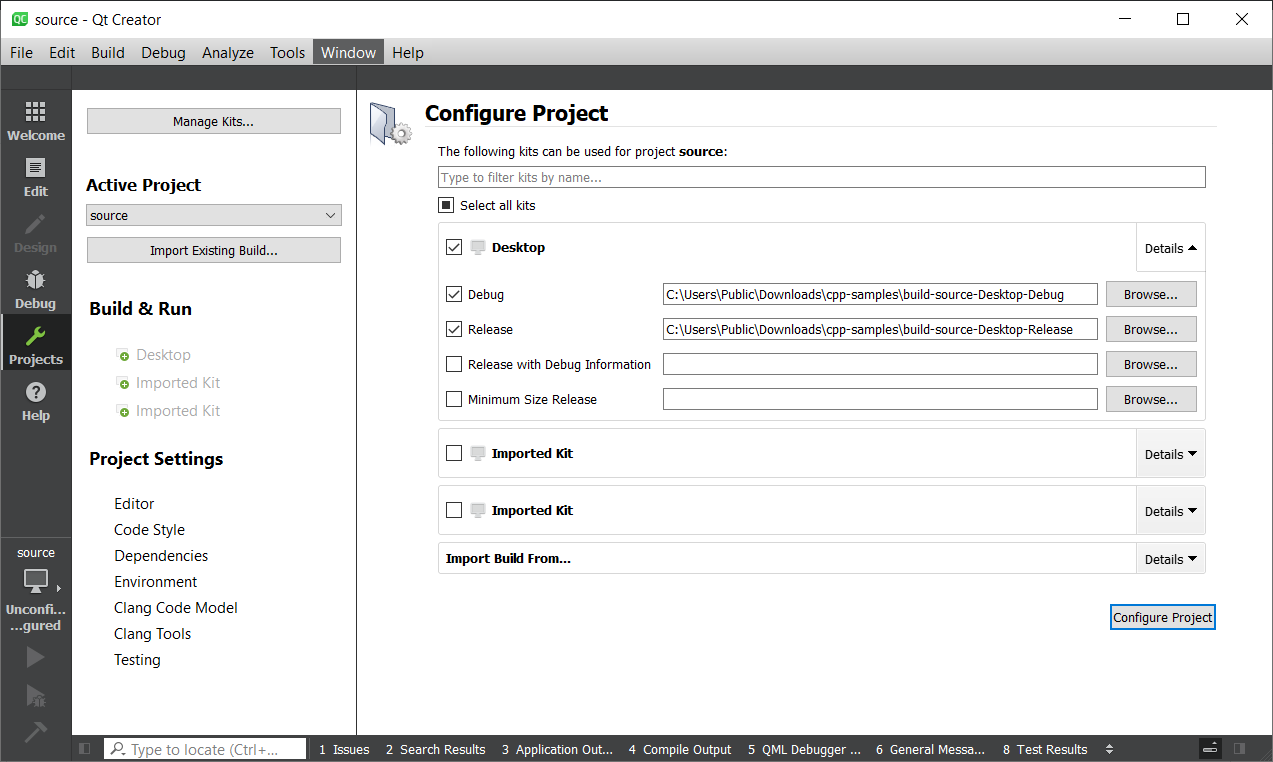
Click Configure Project.

Click Build → Build All Projects

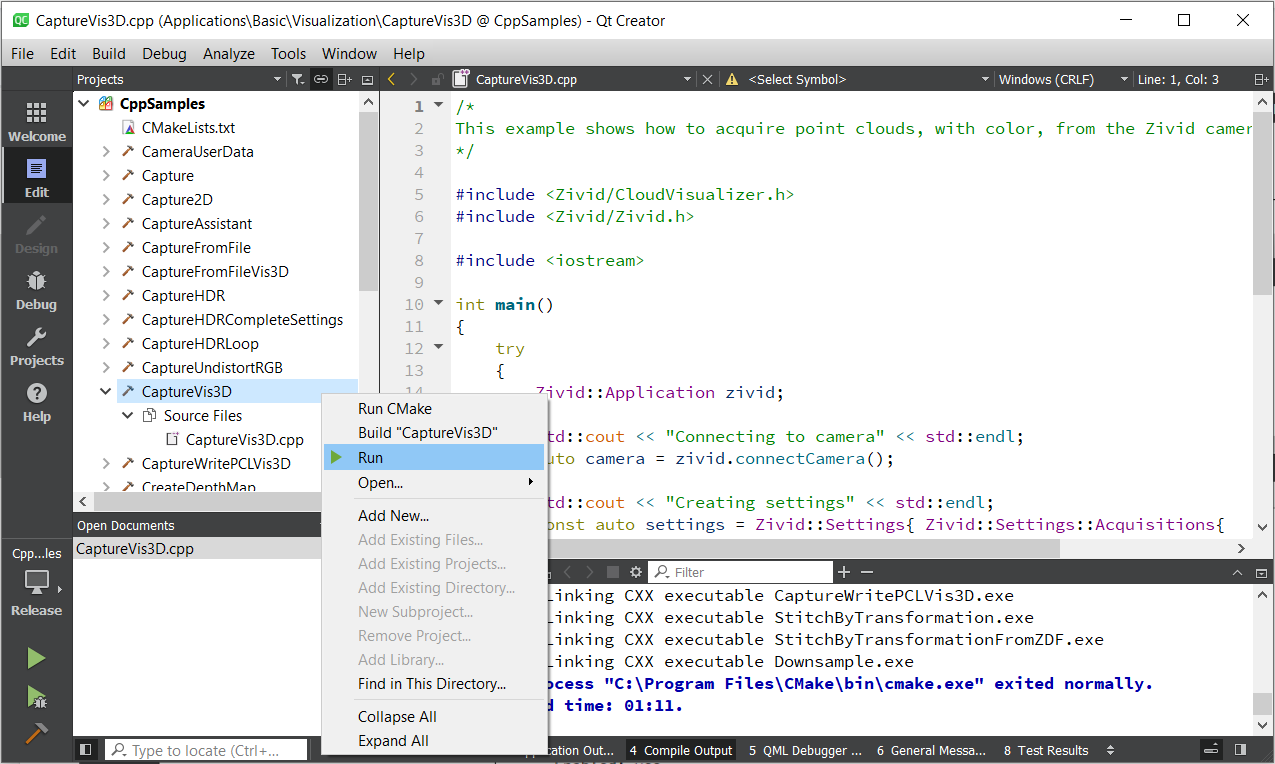
Expand CppSamples and select a C++ program to view it.

Run the sample program
Select a sample program, e.g. CaptureVis3D. Right-click on the program, then click Run.
Alternatively, navigate to the Release folder in File Explorer.
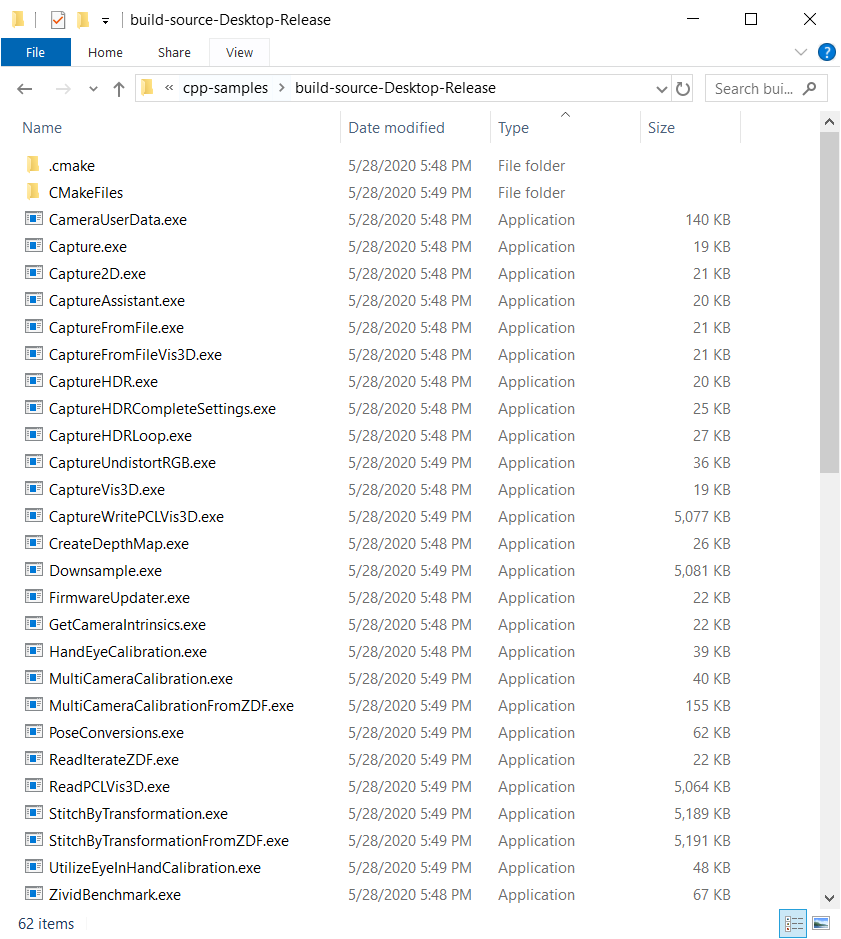
Run a sample program, e.g. CaptureVis3D.exe.
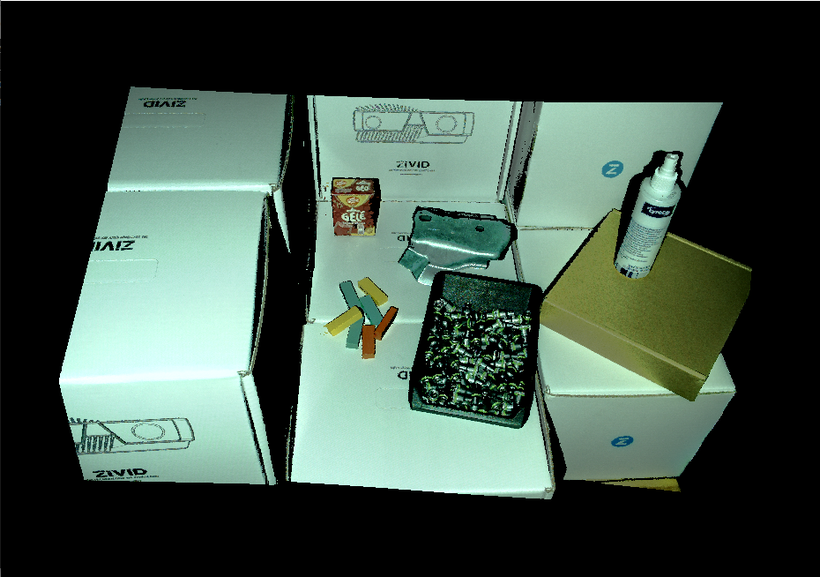
Close the window.