Build a C++ “Hello World” Application With Reference to Zivid API in Visual Studio in Windows
Introduction
This tutorial shows how to create and start developing a C++ application for Zivid in Visual Studio 2017.
Requirements
Note
The CMake version that is tested is 3.15.3.
Instructions
Step by step instructions are provided with screenshots below.
Create ZividHelloWorld.cpp and CMakeLists.txt
The destination used for this tutorial is "C:/Users/Public/Documents/ZividHelloWorld"
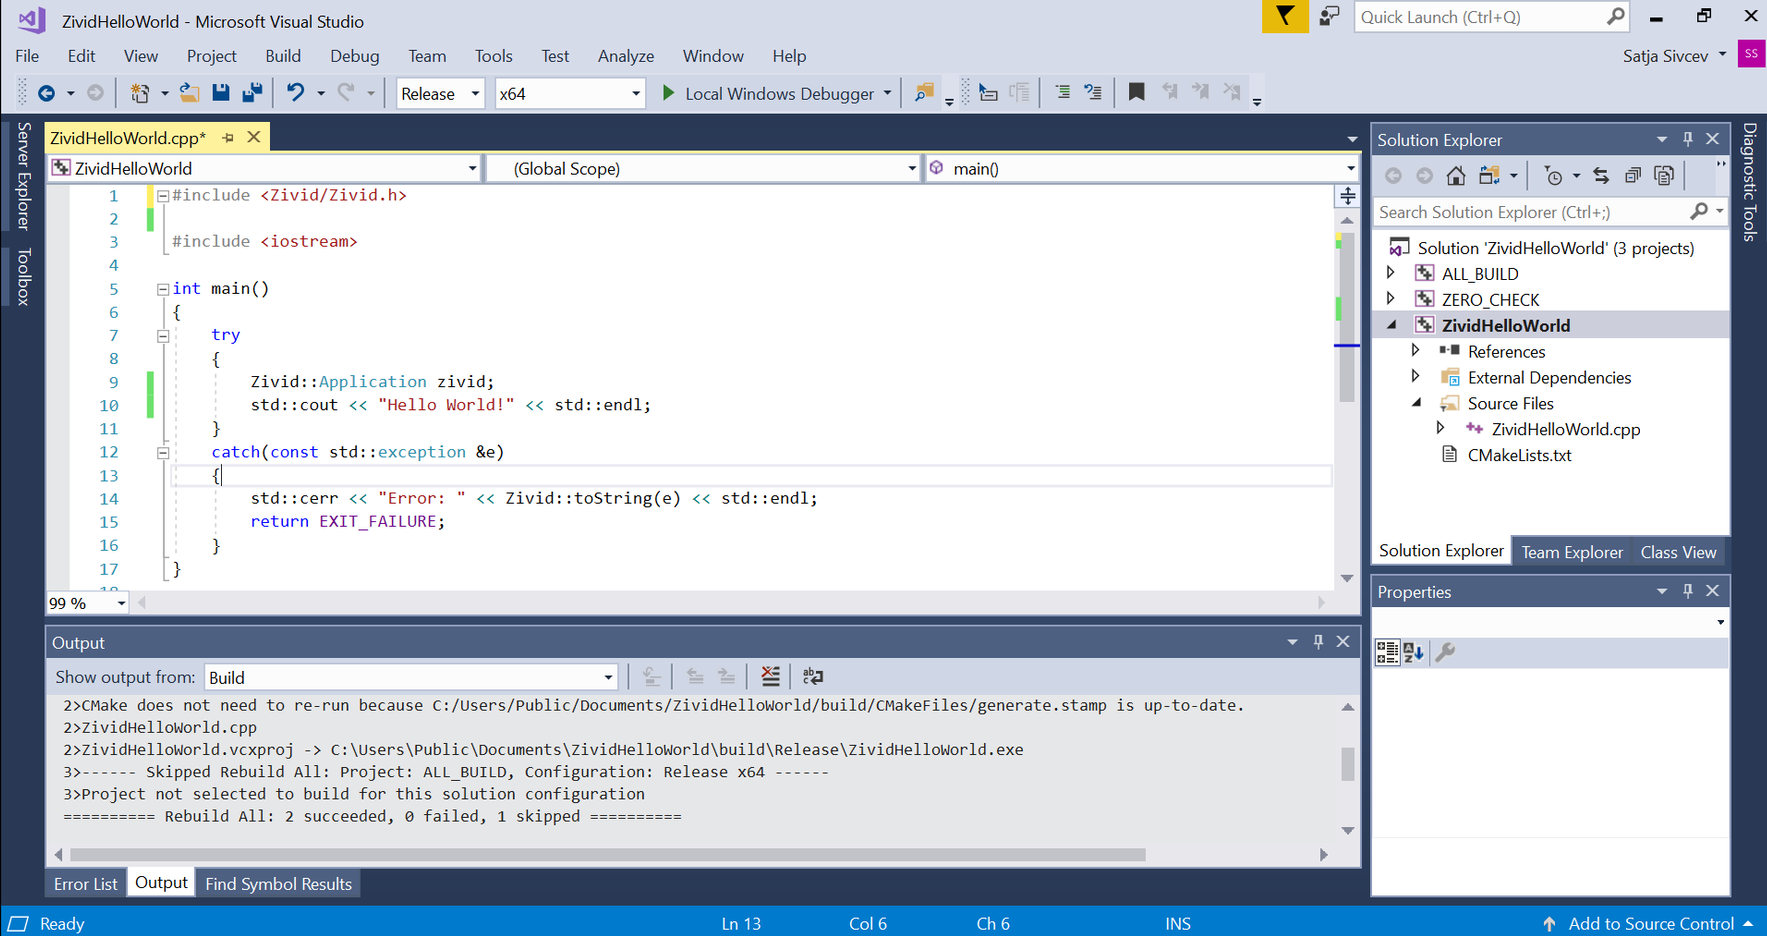
#include <Zivid/Zivid.h>
#include <iostream>

int main()
{
    try
    {
        Zivid::Application zivid;
        std::cout << "Hello Zivid World!" << std::endl;
    }
    catch(const std::exception &e)
    {
        std::cerr << "Error: " << Zivid::toString(e) << std::endl;
        return EXIT_FAILURE;
    }
}
project(ZividHelloWorld)

cmake_minimum_required(VERSION 3.3.2 FATAL_ERROR)

set(CMAKE_CXX_STANDARD 11)

find_package(
    Zivid
    COMPONENTS Core
    REQUIRED)

add_executable(${PROJECT_NAME} ${PROJECT_NAME}.cpp)

target_link_libraries(${PROJECT_NAME} Zivid::Core Zivid::Visualization)
Configure the solution with CMake
Run CMake (cmake-gui.exe), then set the top two entries:
Where is the source code |
|
Where to build the binaries |
|
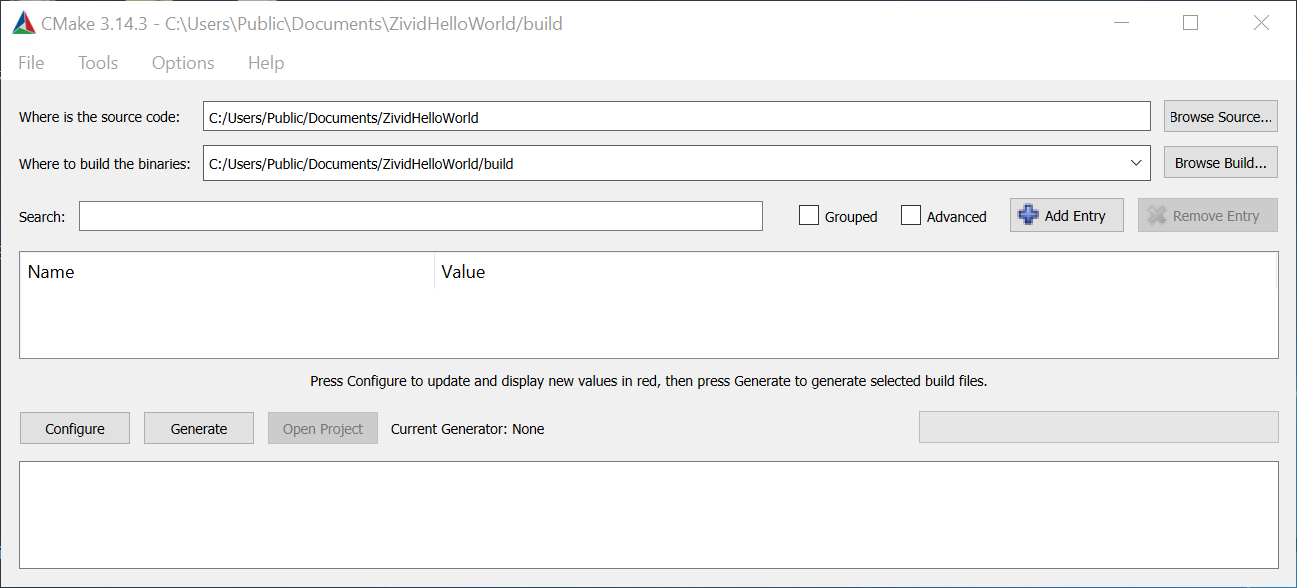
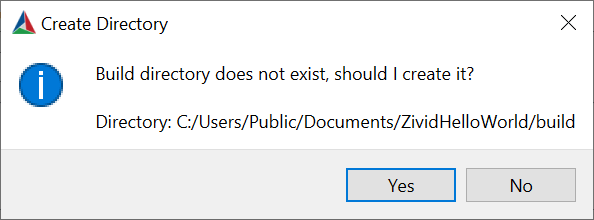
Click Configure. When prompted, click Yes to create a new build directory.
Set the top two entries:
Specify the generator for this project |
Visual Studio 15 2017 |
Optional platform for generator |
x64 |
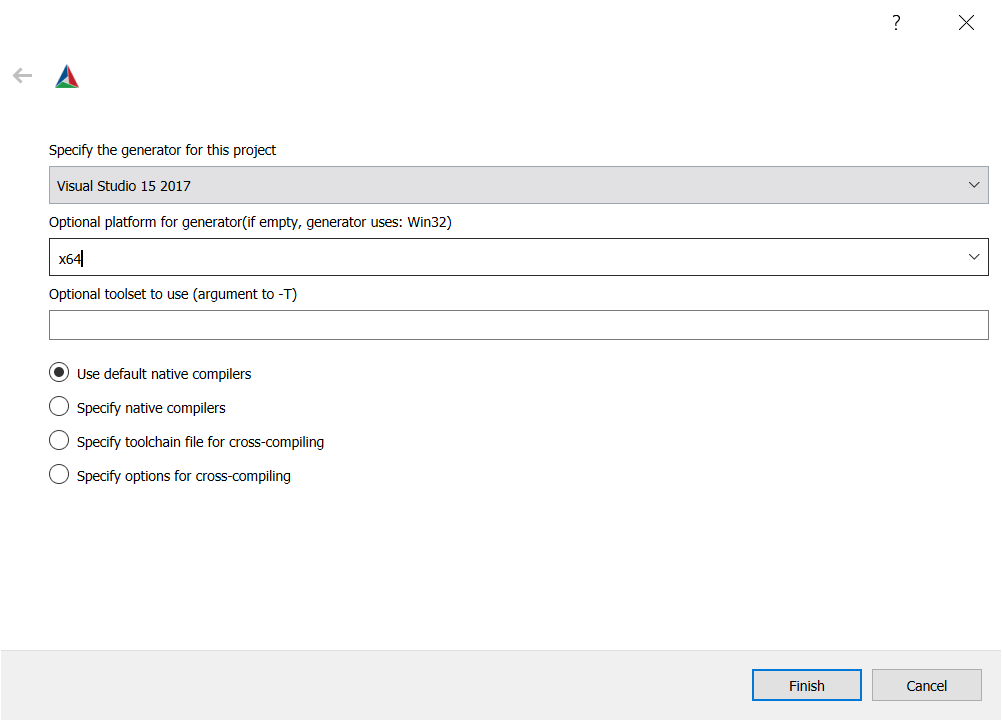
Click Configure.
If the value Zivid_DIR is empty, add C:/ProgramFiles/Zivid/CMake/Zivid to it, as shown in the figure below.
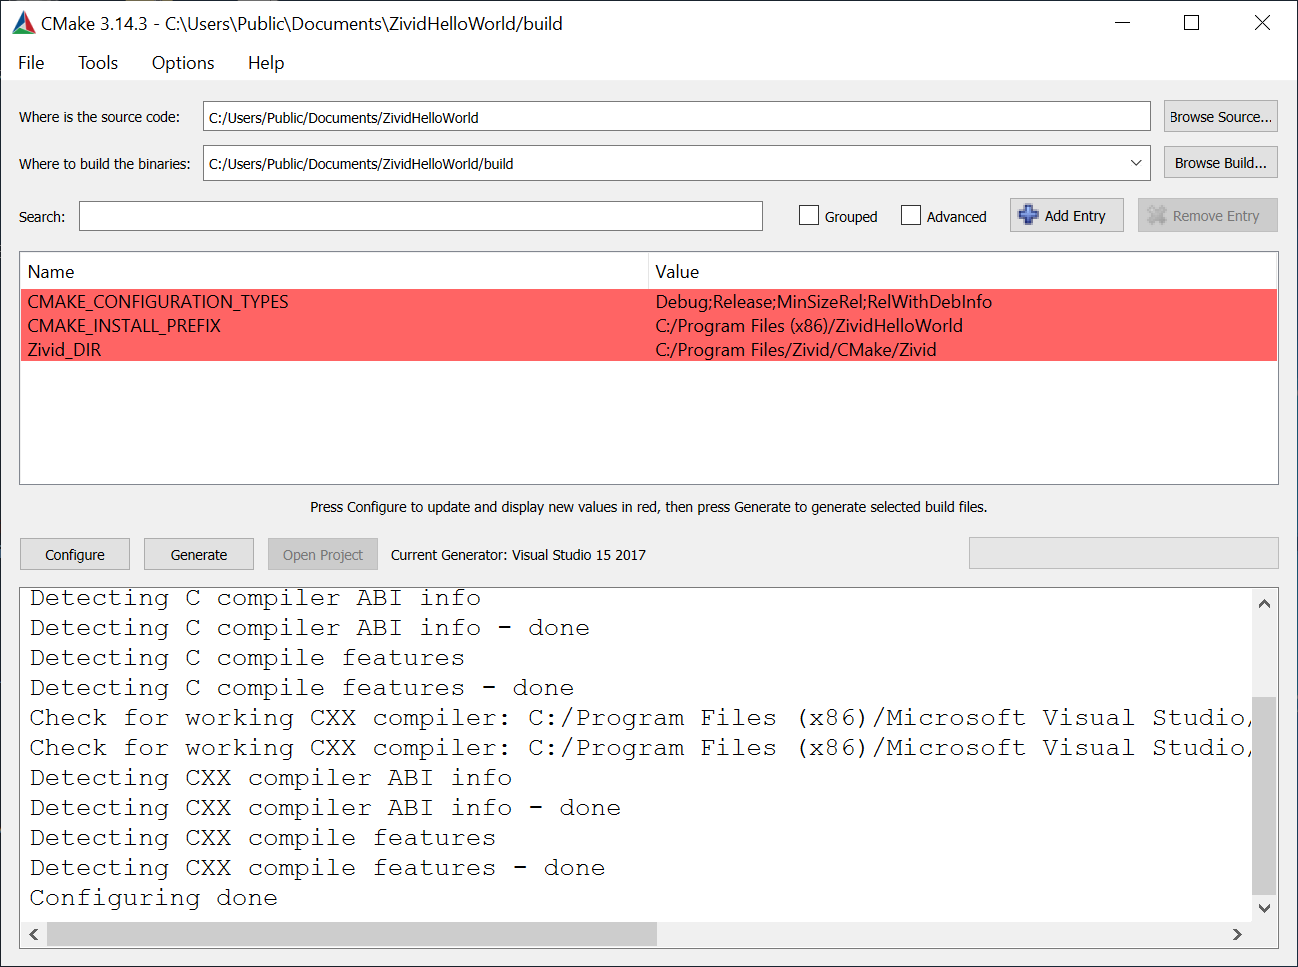
Click Configure again.
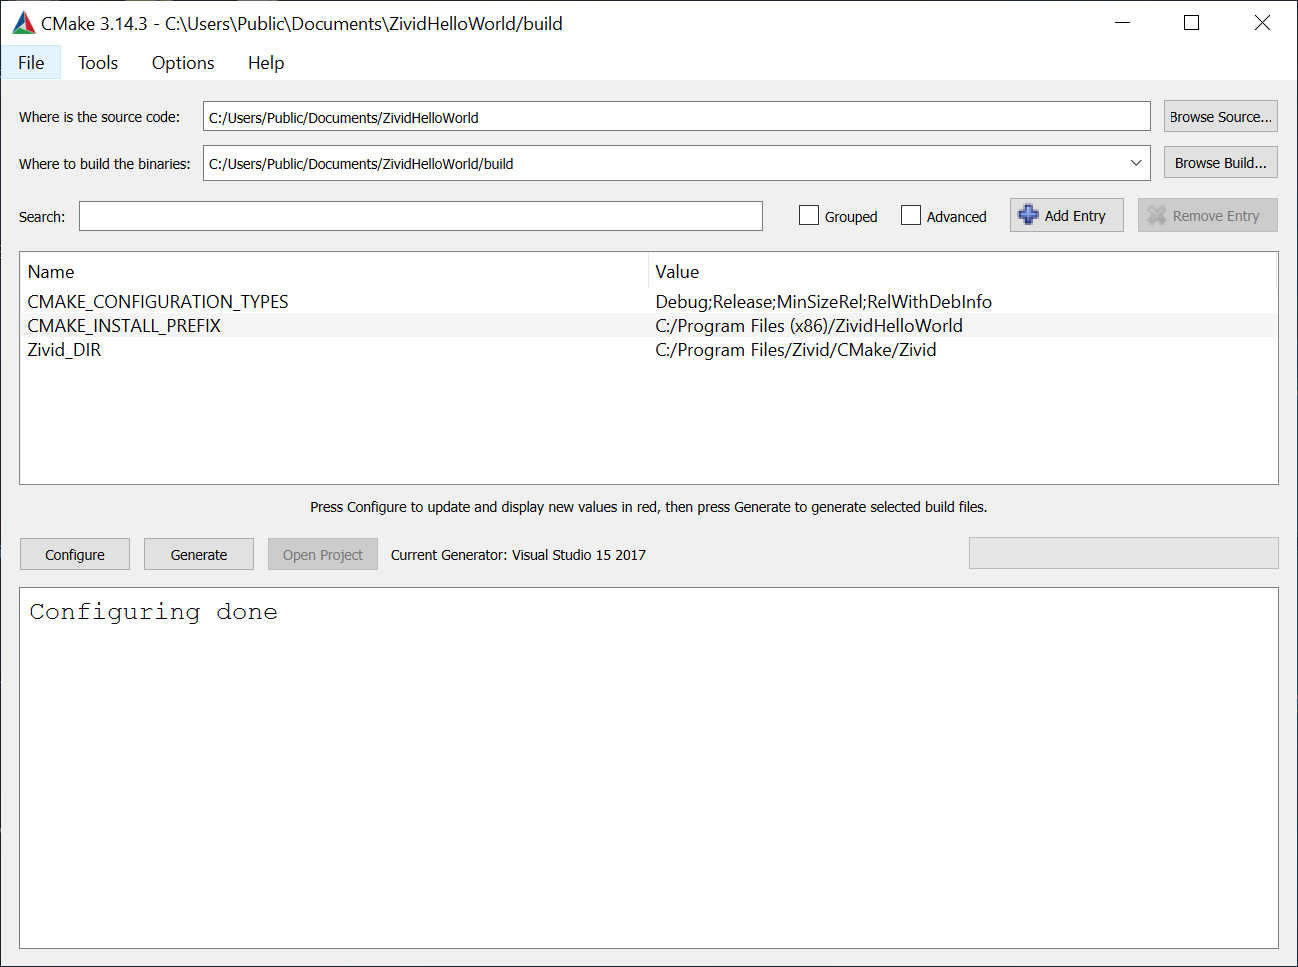
Click Generate.
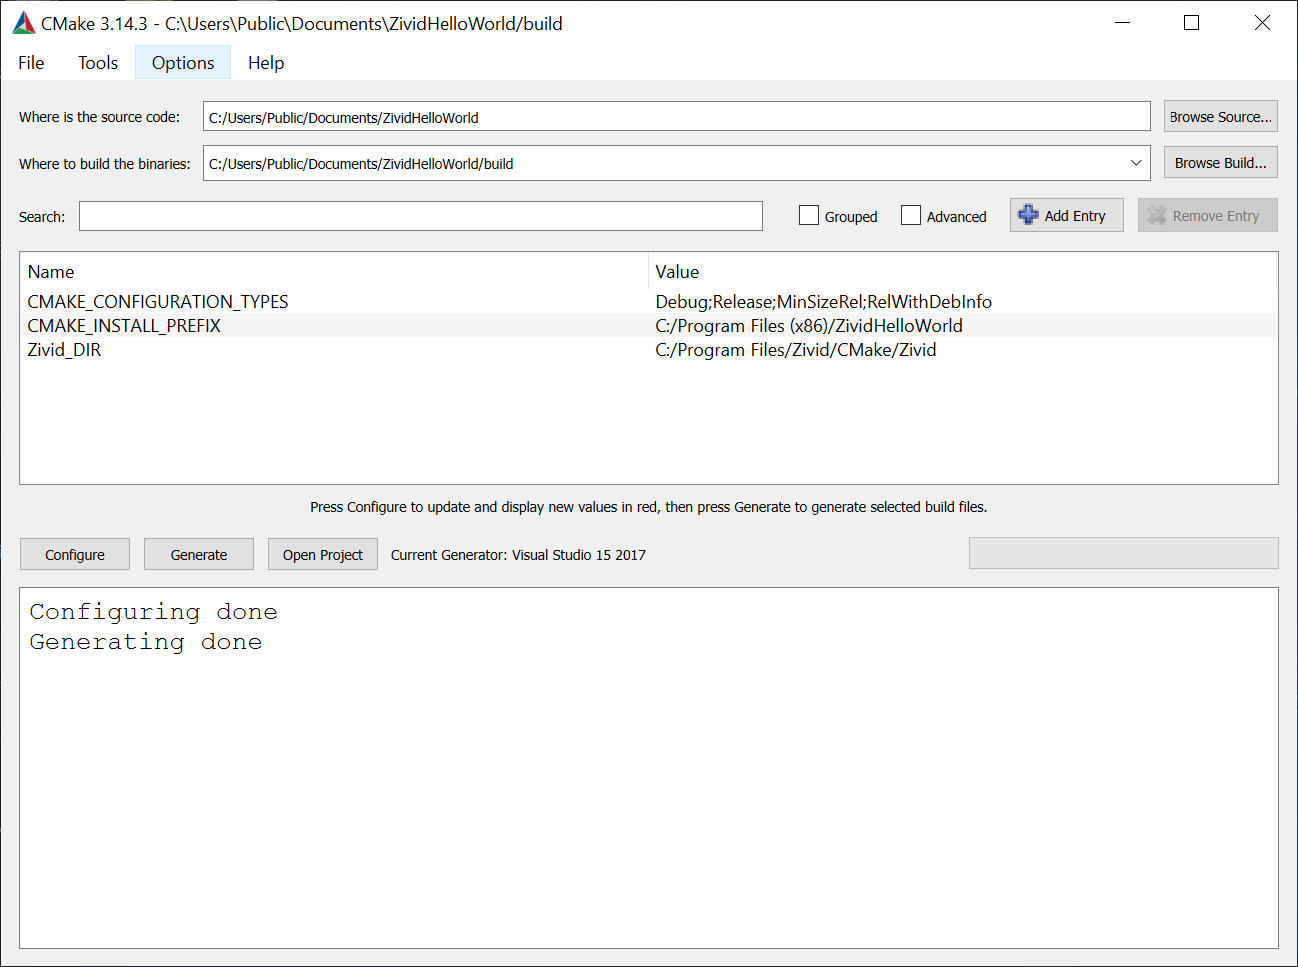
Click Open Project.
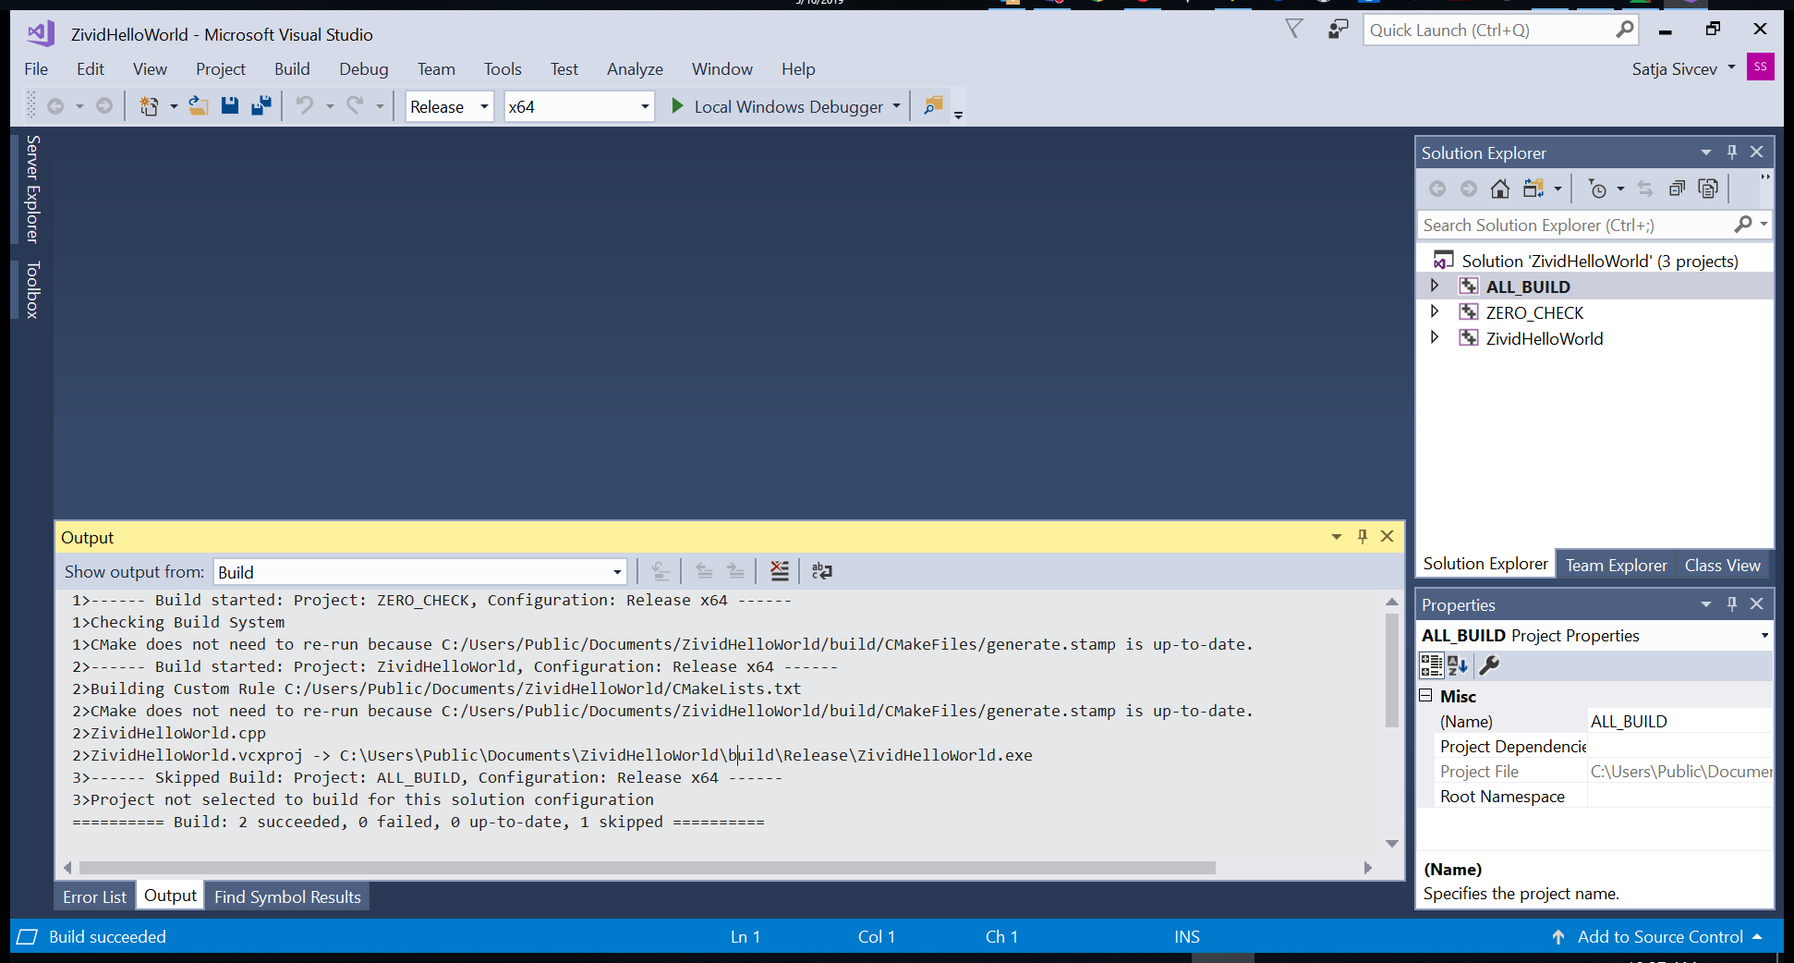
Build the solution
Build the solution by pressing Ctrl + Shift + B.
Run the program
On the right side, right click on ZividHelloWorld, then click Set as StartUp project.
Run the program by pressing F5 key.

To continue developing in Zivid and C++, check out Zivid C++ API reference and the tutorial to Configure C++ Samples With CMake and Build Them in Visual Studio in Windows on the next page.