Running Infield Correction
Introduction
To run infield verification and/or correction on a camera you can use:
Zivid Studio
CLI tool
SDK
Tip
If you are running Infield correction for the first time, we recommend using Zivid Studio.
Infield Correction functionality overview
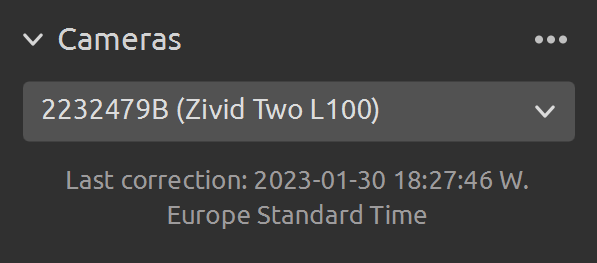
Last correction shows the last date and time an infield correction was written to the camera.
Capture & Measure captures to determine the local dimension trueness of the point cloud where the Zivid calibration board is placed.
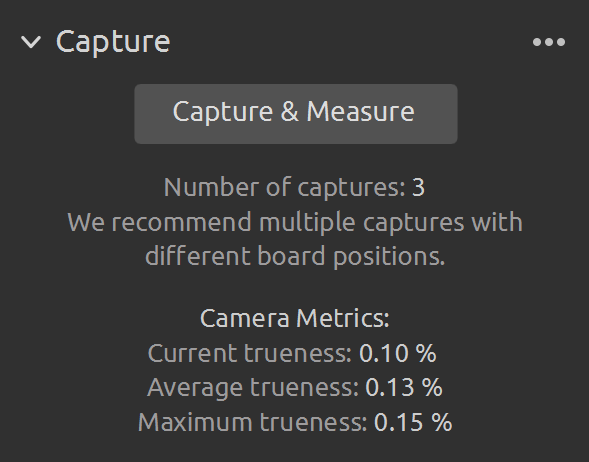
Current Camera Metrics shows the local dimension trueness for the last capture taken with Capture & Measure, as well as the average and the maximum for all the captures.
Current trueness shows the local dimension trueness for the last capture taken with Capture & Measure.
Average trueness shows the average of the local dimension trueness errors for all the captures taken with Capture & Measure so far.
Maximum trueness shows the maximum of the local dimension trueness errors for all the captures taken with Capture & Measure so far.
Expected Post-Correction Metrics shows the estimated post-correction error within 1σ statistical uncertainty over the working distances the images were captured at.
Save Correction to Camera writes to the camera the parameters for improving the accuracy of the point cloud determined from the captures of the Zivid calibration board taken with Capture & Measure.
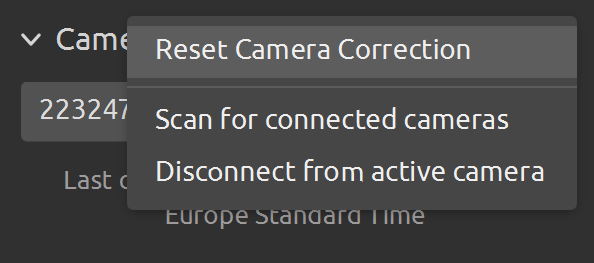
Reset Camera Correction removes any infield correction that has been applied in previous correct instances. It is not required to do a reset before doing a new infield correction.
DESCRIPTION
Tool for verifying, computing and updating infield correction parameters on a Zivid camera

SYNOPSIS
        ZividExperimentalInfieldCorrection.exe (verify|correct|read|reset) [-h]

OPTIONS
        verify      verify camera correction quality based on a single capture
        correct     calculate infield correction based on a series of captures at different distances and positions
        read        get information about the correction currently on the connected camera
        reset       reset correction on connected camera to factory settings
The CLI tool is in PATH if Zivid was added to PATH during installation, otherwise, the CLI tool is found under C:\Program Files\Zivid\bin.
The CLI tool is in the main PATH.
verify: this function uses a single capture to determine the local dimension trueness of the point cloud where the Zivid calibration board is placed.
correct: this function is used to determine the necessary parameters for improving the accuracy of the point cloud using captures of the Zivid calibration board. This will return a post-correction error within 1σ statistical uncertainty over the working distances the images were captured.
reset: using reset will remove any infield correction that has been applied in previous correct instances. It is not required to do a reset before doing a new infield correction.
read: the read function will return the last time an infield correction was written to the camera.
Verify
Place the board in the desired location. We recommend using Zivid Studio in live capture mode to help align the board correctly. Place the checkerboard at the closest distance you want to capture for the first capture in your infield correction dataset. Try to have the board as parallel as possible to the coordinate system in the camera and ensure the entire board is visible in the camera frame.
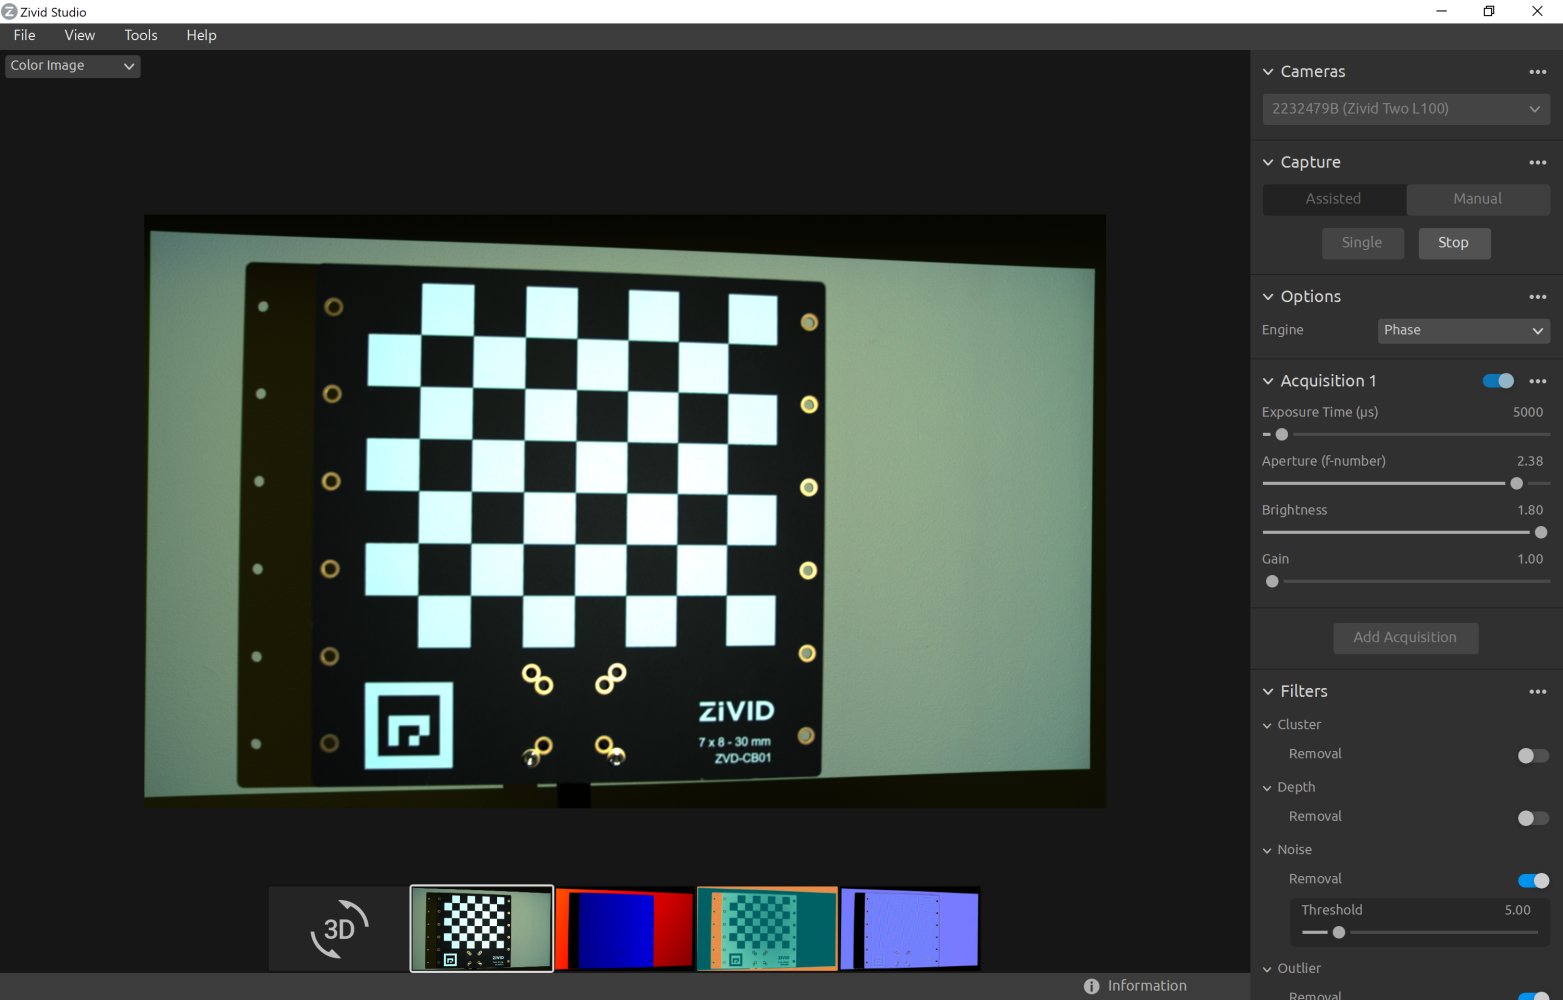
Then, open the Infield Correction tool; from the toolbar, click Tools → Infield Correction.

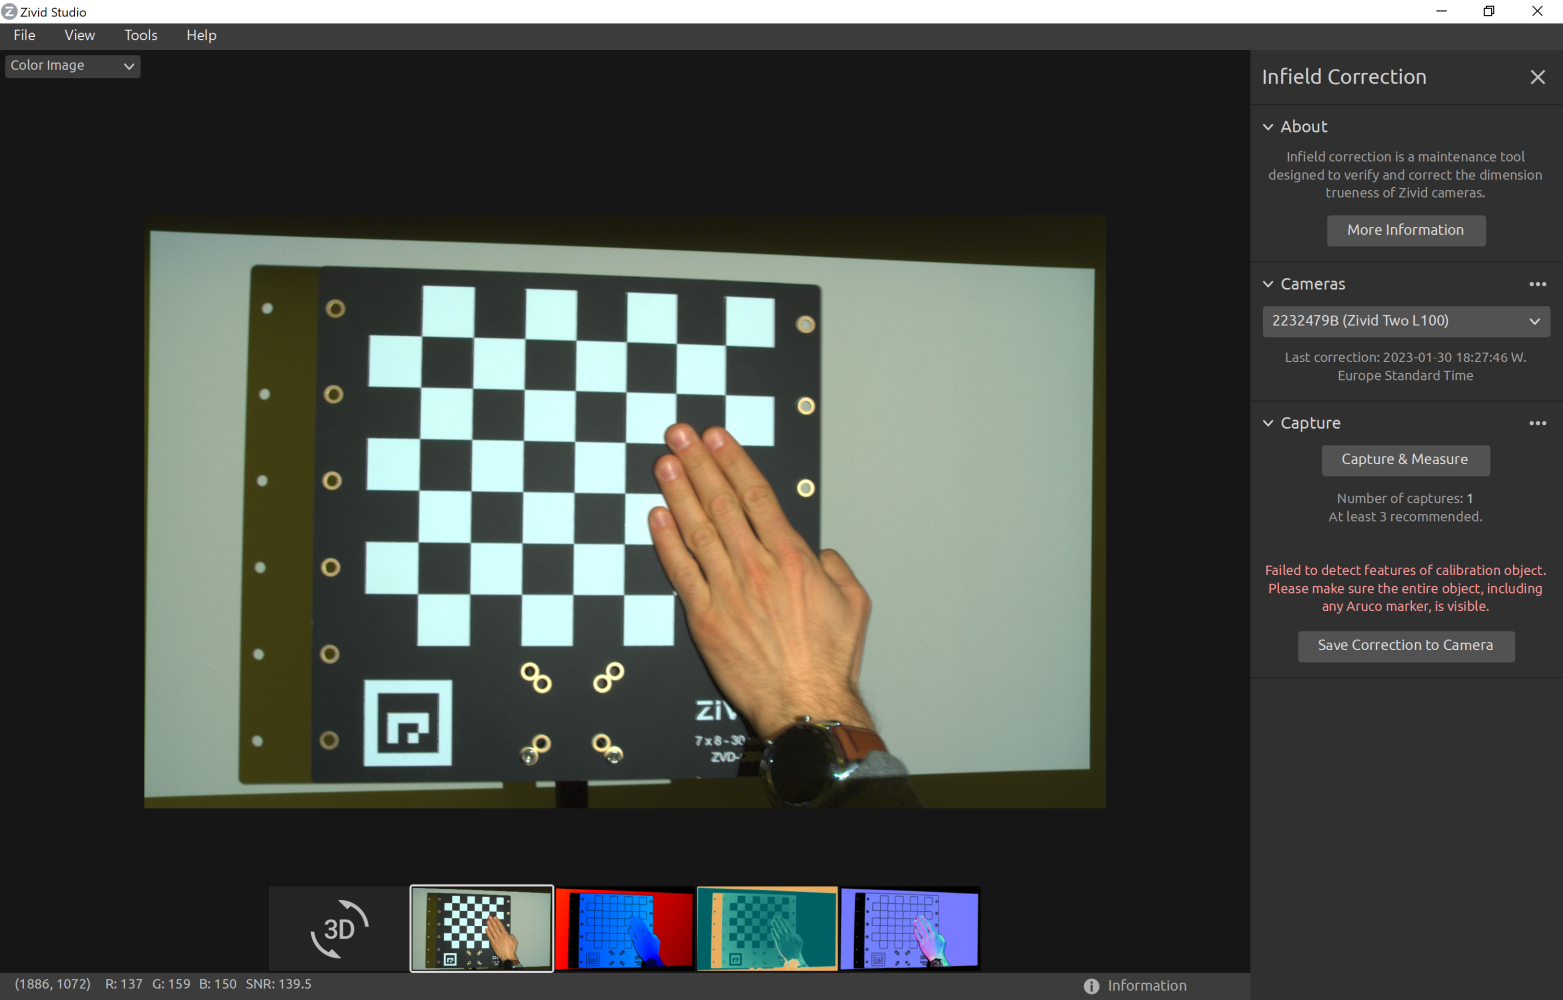
Click Capture & Measure to verify the local dimension trueness of the connected camera.
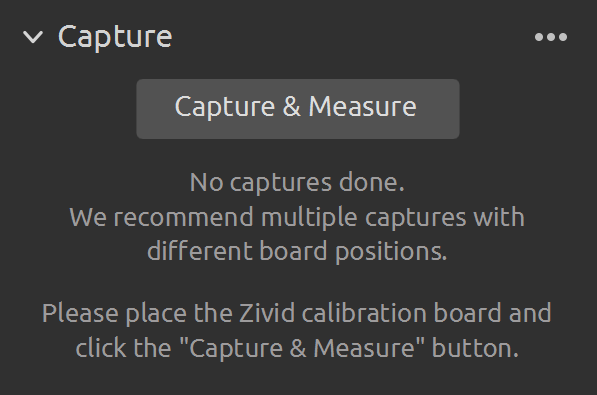
The results will show up under Current Camera Metrics:
Potential Issues
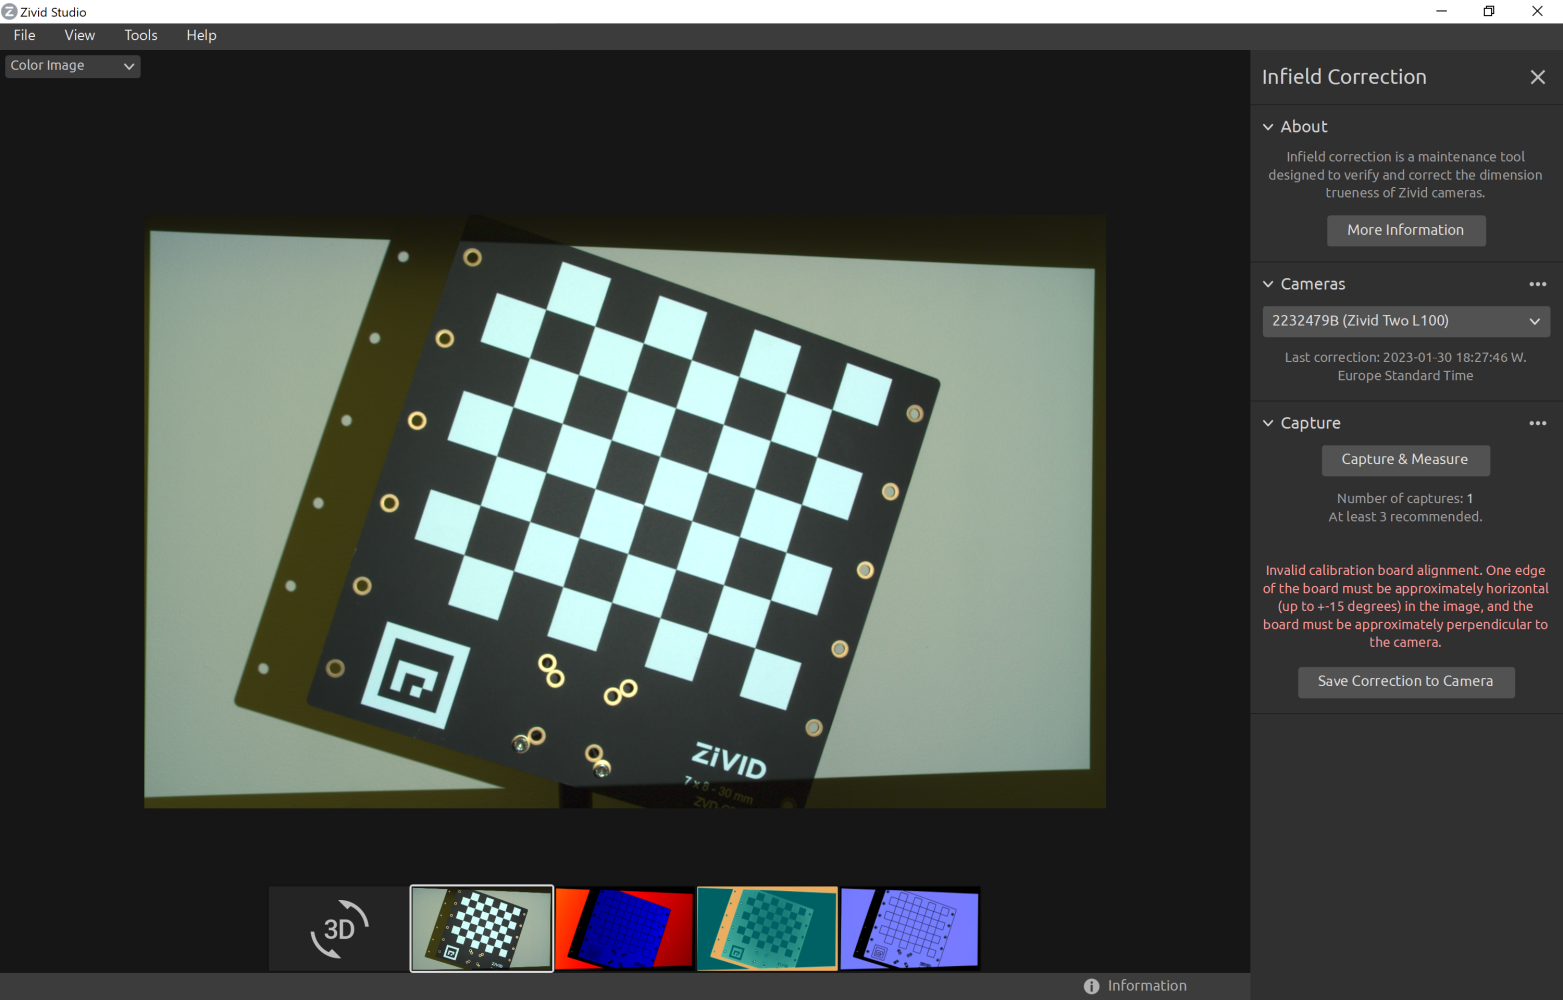
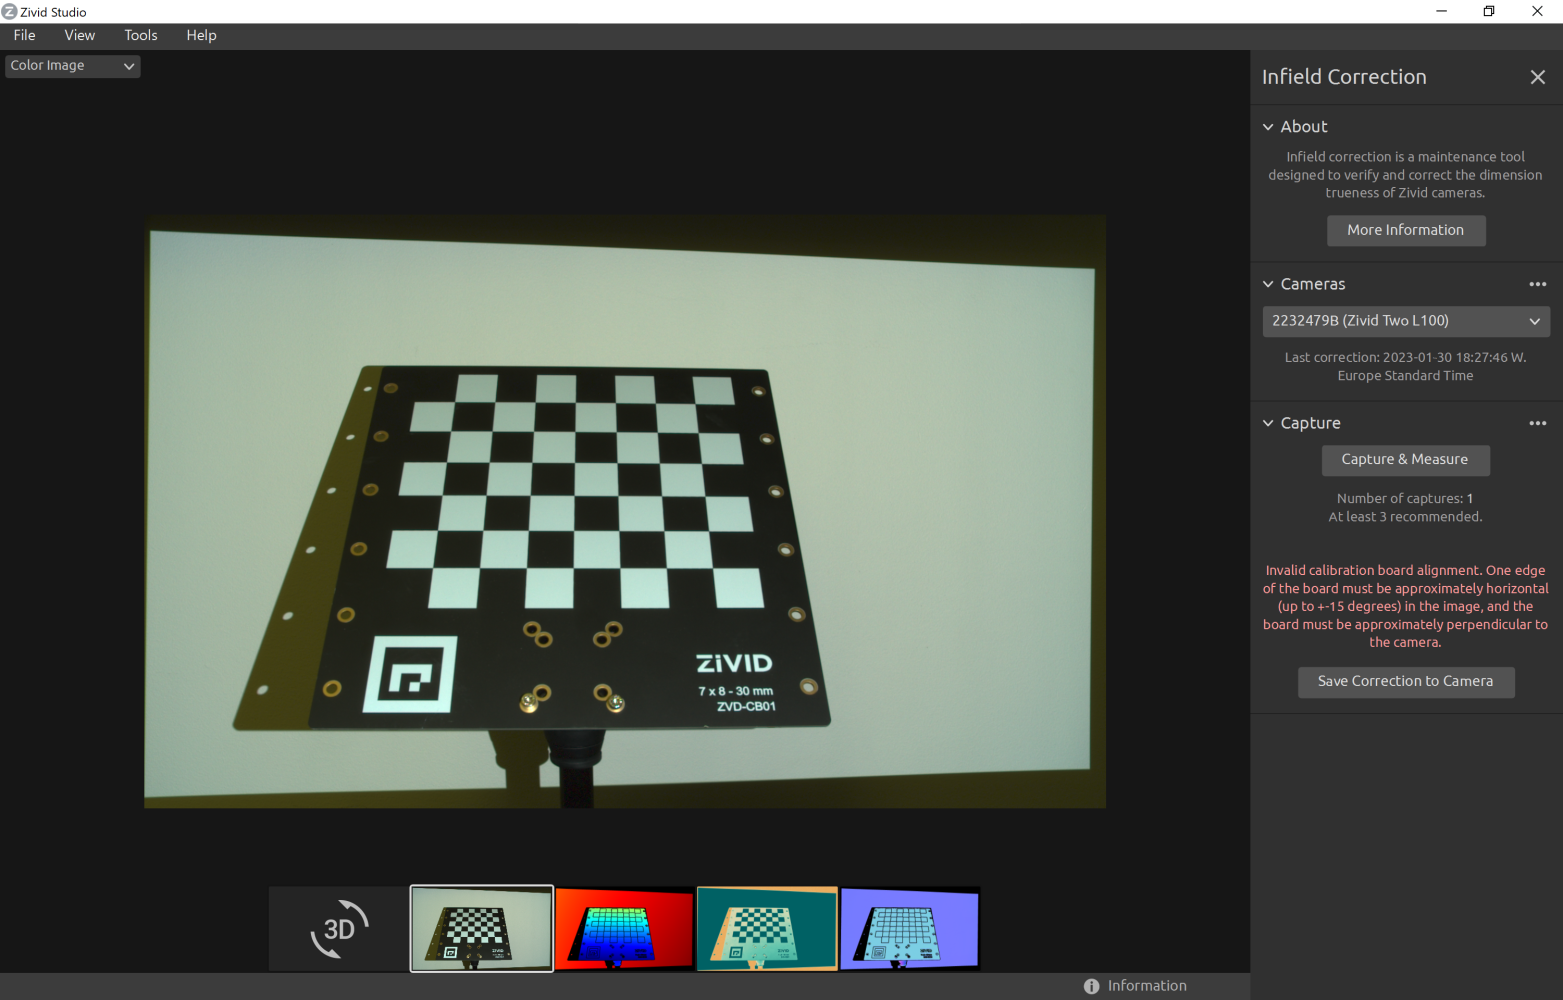
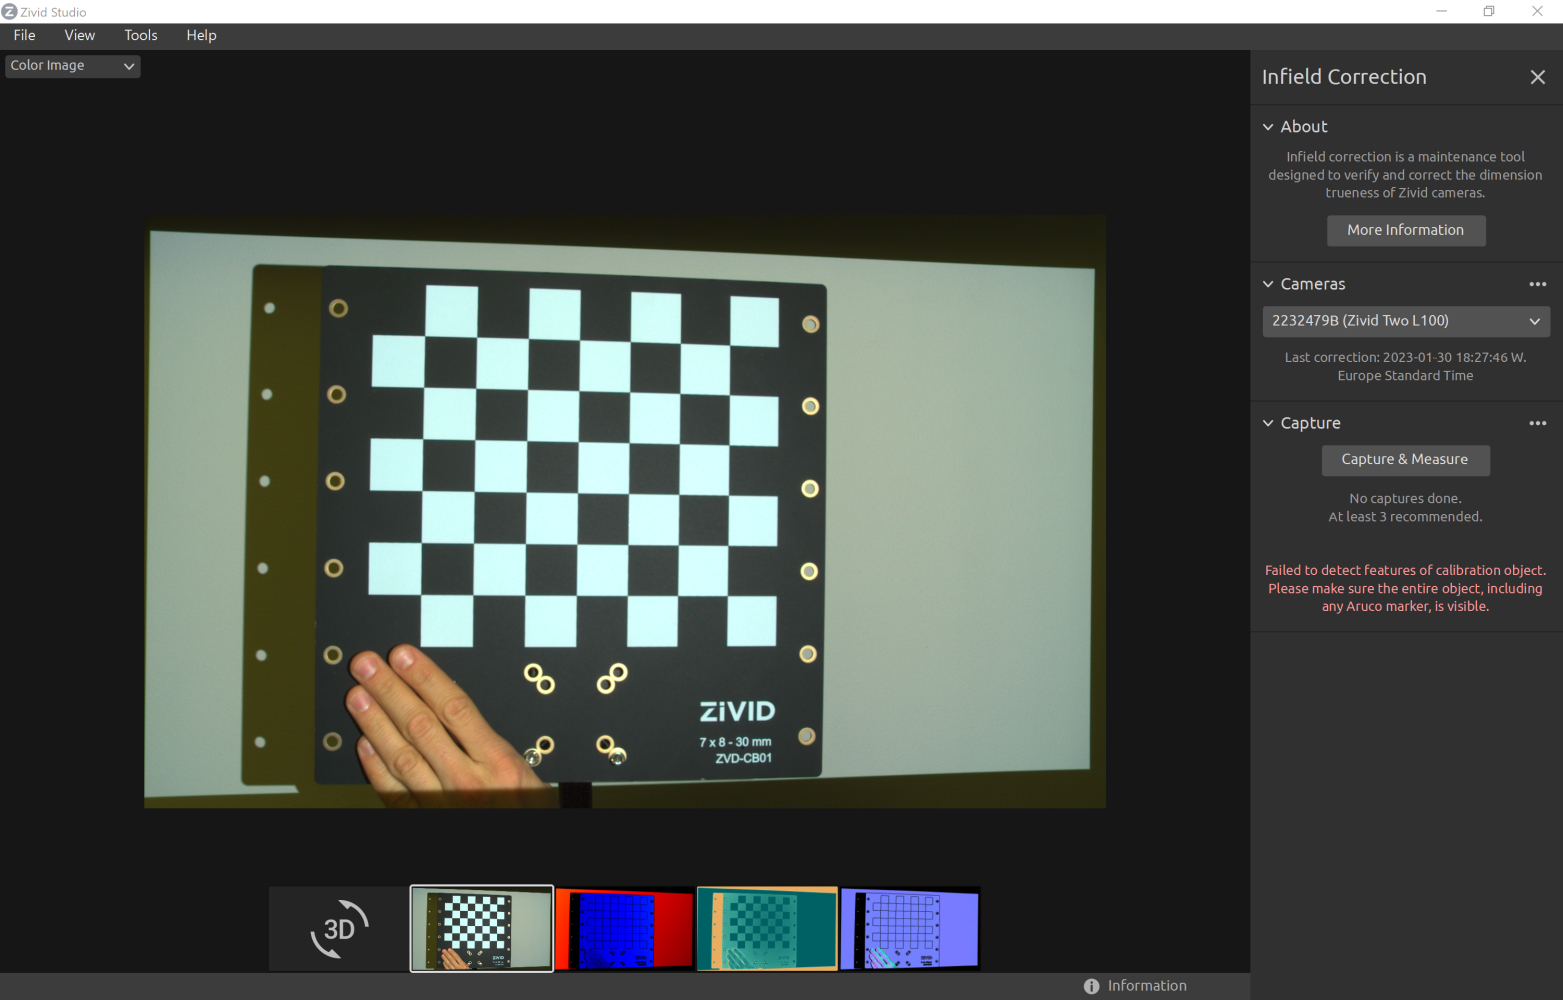
If the board is too far out of the orientation or the capture is of poor quality to provide sufficient data, you will be informed of the potential setup issue:
Board is too tilted in X, Y, or Z planes.
Not all of the feature points are detectable.
The fiducial marker is not visible.
The image of the board is of too poor quality to provide sufficient data.
Run the verify function with input argument verify using the command line (don’t forget to disconnect from the camera in Zivid Studio):
ZividExperimentalInfieldCorrection verify
Potential Issues
If the board is too far out of the orientation or the capture is of poor quality to provide sufficient data, you will be informed of the potential setup issue:
Board is too tilted in X, Y, or Z planes.
Not all of the feature points are detectable.
The fiducial marker is not visible.
The image of the board is of too poor quality to provide sufficient data.
To verify the local dimension trueness of a camera from the SDK, first connect to the camera (don’t forget to disconnect from the camera in Zivid Studio).
Then, gather data by capturing the Zivid calibration board.
Verify from ZDF file
Why is verifying camera accuracy from a ZDF file useful?
Let us assume that your system is in production. You want to verify the accuracy of the camera while the system is running. At the same time, you want to minimize the time the robot and the camera are used for anything else than their main task, e.g., bin picking. Instead of running a full infield verification live, which consists of capturing, detecting, and estimating accuracy, you can instead only capture and save results to ZDF files on disk. As the robot and the camera go back to their main tasks, you can load the ZDF files and verify the accuracy offline, using a different PC than the one used in production. In addition, you can send these ZDF files to Zivid Customer Success for investigation.
To verify the camera accuracy from ZDF files, first capture the calibration board.
Then, save the frame to disk.
Load the frame from a ZDF file.
Then, detect the calibration board feature points from the frame.
Note
A frame captured with captureCalibrationBoard(camera) is not the same as a frame resulting from capture(camera).
The function detectFeaturePoints only supports frame objects returned from captureCalibrationBoard(camera) function.
After that, prepare data and check that it is appropriate for infield verification.
Finally, show verification results.
std::cout << "Successful measurement at " << detectionResult.centroid() << std::endl;
const auto verification = Zivid::Experimental::Calibration::verifyCamera(input);
std::cout << "Estimated dimension trueness at measured position: " << std::setprecision(2) << std::fixed
<< verification.localDimensionTrueness() * 100.0F << "%" << std::endl;
Potential Issues
If the board is too far out of the orientation or the capture is of poor quality to provide sufficient data, you will be informed of the potential setup issue:
Board is too tilted in X, Y, or Z planes.
Not all of the feature points are detectable.
The fiducial marker is not visible.
The image of the board is of too poor quality to provide sufficient data.
Correct
To perform Infield correction on a camera, gather data by clicking Capture & Measure with the board at different distances and at different locations in the FOV, as described in Guidelines for Performing Infield Correction.

As you take captures for infield correction, you will see the expected dimension accuracy for the given number of captures (if you were to apply the correction).
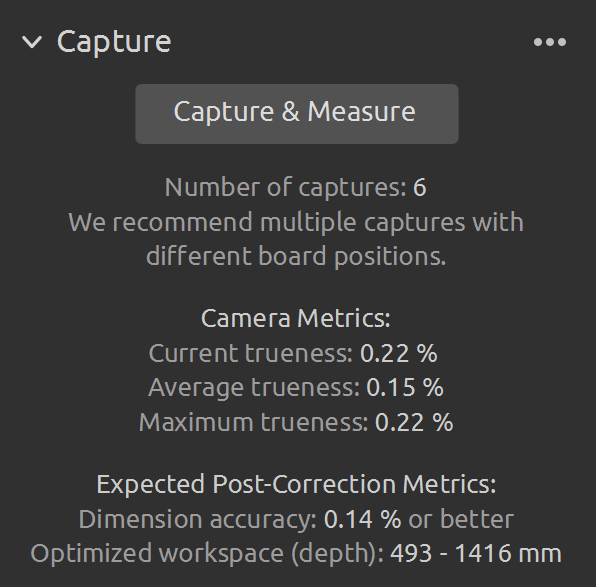
The information returned from completing this process includes:
Estimated new maximum dimension trueness error for the majority of the FOV.
The range at which this error is expected, dependent on the distances at which the correction images were taken at.
If satisfied with the correction output, then choose to apply the correction parameters to the camera.
Note
It is not unexpected to get larger values for the Expected Post-Correction Metrics than the values under Camera Metrics. This is because the Expected Post-Correction Metrics are given for the majority of the FOV and the distance range that was used in the infield correction dataset. On the other hand, the Camera Metrics are local dimension trueness errors calculated for a capture for the FOV covered by the calibration board and at the distance to the board.
Finally, apply the Infield correction on the camera by clicking Save Correction to Camera.

Potential Issues
If the board is too far out of the orientation or the capture is of poor quality to provide sufficient data, you will be informed of the potential setup issue:
Board is too tilted in X, Y, or Z planes.
Not all of the feature points are detectable.
The fiducial marker is not visible.
The image of the board is of too poor quality to provide sufficient data.


Run the verify function with input argument correct using the command line (don’t forget to disconnect from the camera in Zivid Studio):
ZividExperimentalInfieldCorrection correct
Potential Issues
If the board is too far out of the orientation or the capture is of poor quality to provide sufficient data, you will be informed of the potential setup issue:
Board is too tilted in X, Y, or Z planes.
Not all of the feature points are detectable.
The fiducial marker is not visible.
The image of the board is of too poor quality to provide sufficient data.
Note
It is not unexpected to get larger values for expected post-correction dimension accuracy than the values you got for each capture measurement. This is because the expected post-correction metrics are given for the majority of the FOV and the distance range that was used in the infield correction dataset. On the other hand, the capture measurements are local dimension trueness errors calculated for a capture for the FOV covered by the calibration board and at the distance to the board.
To perform Infield correction on a camera from the SDK, first connect to the camera (don’t forget to disconnect from the camera in Zivid Studio).
Then, point the camera at a Zivid calibration board and gather data for Infield correction.
std::vector<Zivid::Experimental::Calibration::InfieldCorrectionInput> dataset;
std::cout << "Please point the camera at a Zivid infield calibration board. " << std::endl;
const std::string printLine = "------------------------------------------------------------------------";
while(true)
{
std::cout << printLine << std::endl;
if(yesNoPrompt("Capture (y) or finish (n)?"))
{
std::cout << "Capturing calibration board" << std::endl;
const auto detectionResult = Zivid::Experimental::Calibration::detectFeaturePoints(camera);
const auto input = Zivid::Experimental::Calibration::InfieldCorrectionInput{ detectionResult };
if(input.valid())
{
dataset.emplace_back(input);
std::cout << "Valid measurement at: " << input.detectionResult().centroid() << std::endl;
}
else
{
std::cout << "****INVALID****" << std::endl;
std::cout << "Feedback: " << input.statusDescription() << std::endl;
}
std::cout << printLine << std::endl;
}
else
{
std::cout << "End of capturing stage." << std::endl;
std::cout << printLine << std::endl;
break;
}
std::cout << "You have collected " << dataset.size() << " valid measurements so far." << std::endl;
}
dataset = []
print("Please point the camera at a Zivid infield calibration board. ")
print_line = "------------------------------------------------------------------------"
while True:
print(print_line)
if _yes_no_prompt("Capture (y) or finish (n)? "):
print("Capturing calibration board")
detection_result = calibration.detect_feature_points(camera)
infield_input = calibration.InfieldCorrectionInput(detection_result)
if infield_input.valid():
dataset.append(infield_input)
else:
print("****INVALID****")
print(f"Feedback: {infield_input.status_description()}")
print(print_line)
else:
print("End of capturing stage.")
print(print_line)
break
print(f"You have collected {len(dataset)} valid measurements so far.")
Before applying it, estimate the expected dimension accuracy for the new correction.
const auto accuracyEstimate = correction.accuracyEstimate();
std::cout
    << "If written to the camera, this correction can be expected to yield a dimension accuracy of "
    << std::fixed << std::setprecision(2) << 100.0F * accuracyEstimate.dimensionAccuracy()
    << "% or better in the range of z=[" << static_cast<int>(std::round(accuracyEstimate.zMin())) << ","
    << static_cast<int>(std::round(accuracyEstimate.zMax()))
    << "] across the full FOV. Accuracy close to where the correction data was collected is likely better."
    << std::endl;
accuracy_estimate = correction.accuracy_estimate()

print(
    "If written to the camera, this correction can be expected to yield a dimension accuracy of ",
    f"{accuracy_estimate.dimension_accuracy()*100:.3f} or better in the range of z=[{accuracy_estimate.z_min():.3f}, {accuracy_estimate.z_max():.3f}] across the full FOV.",
    "Accuracy close to where the correction data was collected is likely better.",
)
The information returned from completing this process includes:
Estimated new maximum dimension trueness error for the majority of the FOV.
The range at which this error is expected, dependent on the distances at which the correction images were taken at.
If satisfied with the correction output, then choose to apply the correction parameters to the camera.
Note
It is not unexpected to get larger values for expected post-correction dimension accuracy than the values you got for each capture measurement. This is because the expected post-correction metrics are given for the majority of the FOV and the distance range that was used in the infield correction dataset. On the other hand, the capture measurements are local dimension trueness errors calculated for a capture for the FOV covered by the calibration board and at the distance to the board.
Finally, apply the Infield correction on the camera.
Potential Issues
If the board is too far out of the orientation or the capture is of poor quality to provide sufficient data, you will be informed of the potential setup issue:
Board is too tilted in X, Y, or Z planes.
Not all of the feature points are detectable.
The fiducial marker is not visible.
The image of the board is of too poor quality to provide sufficient data.
Read
It is possible to check the date and time when the last correction was written to the camera.
Use input argument read to check when the last correction was applied to the camera.
ZividExperimentalInfieldCorrection read
Use the read function to check when the last correction was applied to the camera.
if(Zivid::Experimental::Calibration::hasCameraCorrection(camera))
{
    const auto timestamp = Zivid::Experimental::Calibration::cameraCorrectionTimestamp(camera);
    const auto time = std::chrono::system_clock::to_time_t(timestamp);
    std::cout << "Timestamp of current camera correction: " << std::put_time(std::gmtime(&time), "%FT%TZ")
              << std::endl;
}
else
{
    std::cout << "This camera has no infield correction written to it." << std::endl;
}
Reset
It is possible to remove the correction that has been applied to the camera. It is not necessary to remove a correction before testing and applying a new one.
Use input argument reset to remove the correction that has been applied to the camera.
ZividExperimentalInfieldCorrection reset
Use the reset function to remove the correction that has been applied to the camera.
Note
Zivid performs infield correction on new cameras before they are shipped. This reset will also clear that correction, resetting the camera to have only the factory calibration. We recommend that you do infield correction in your environment for optimal performance.

