Guidelines for Performing Infield Correction
Quick Tips and Advice
For correction over multiple distances, cover at least 500 mm in Z-depth to get the best results.
If the board is positioned farther than 3000 mm, it may fail detection or result in inaccurate measurements.
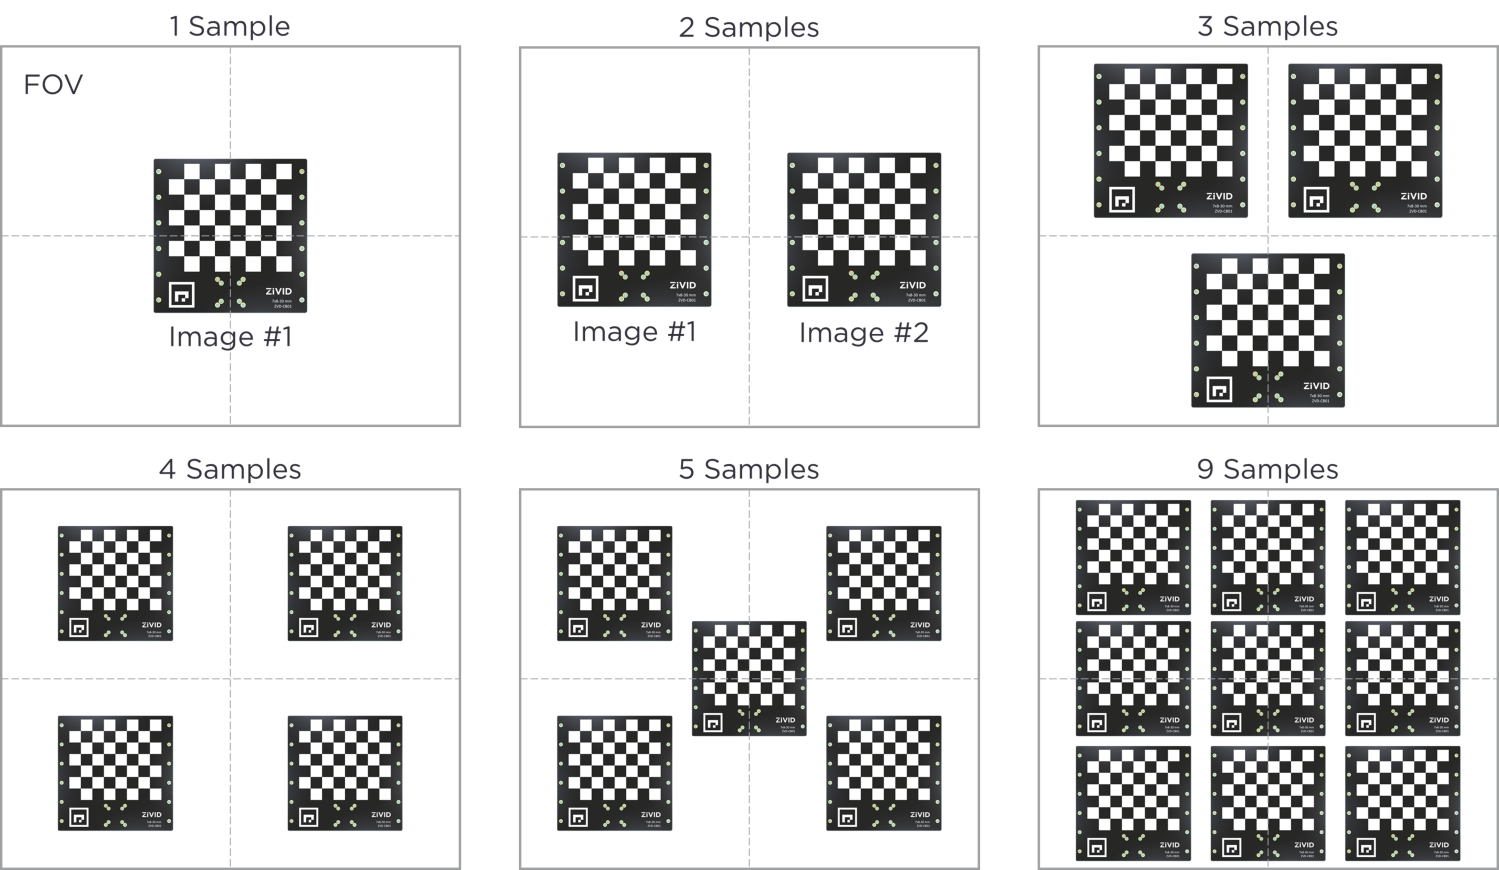
Take three or more images to provide multiple data points for the best correction.
Take measurements at multiple distances to get a better correction.
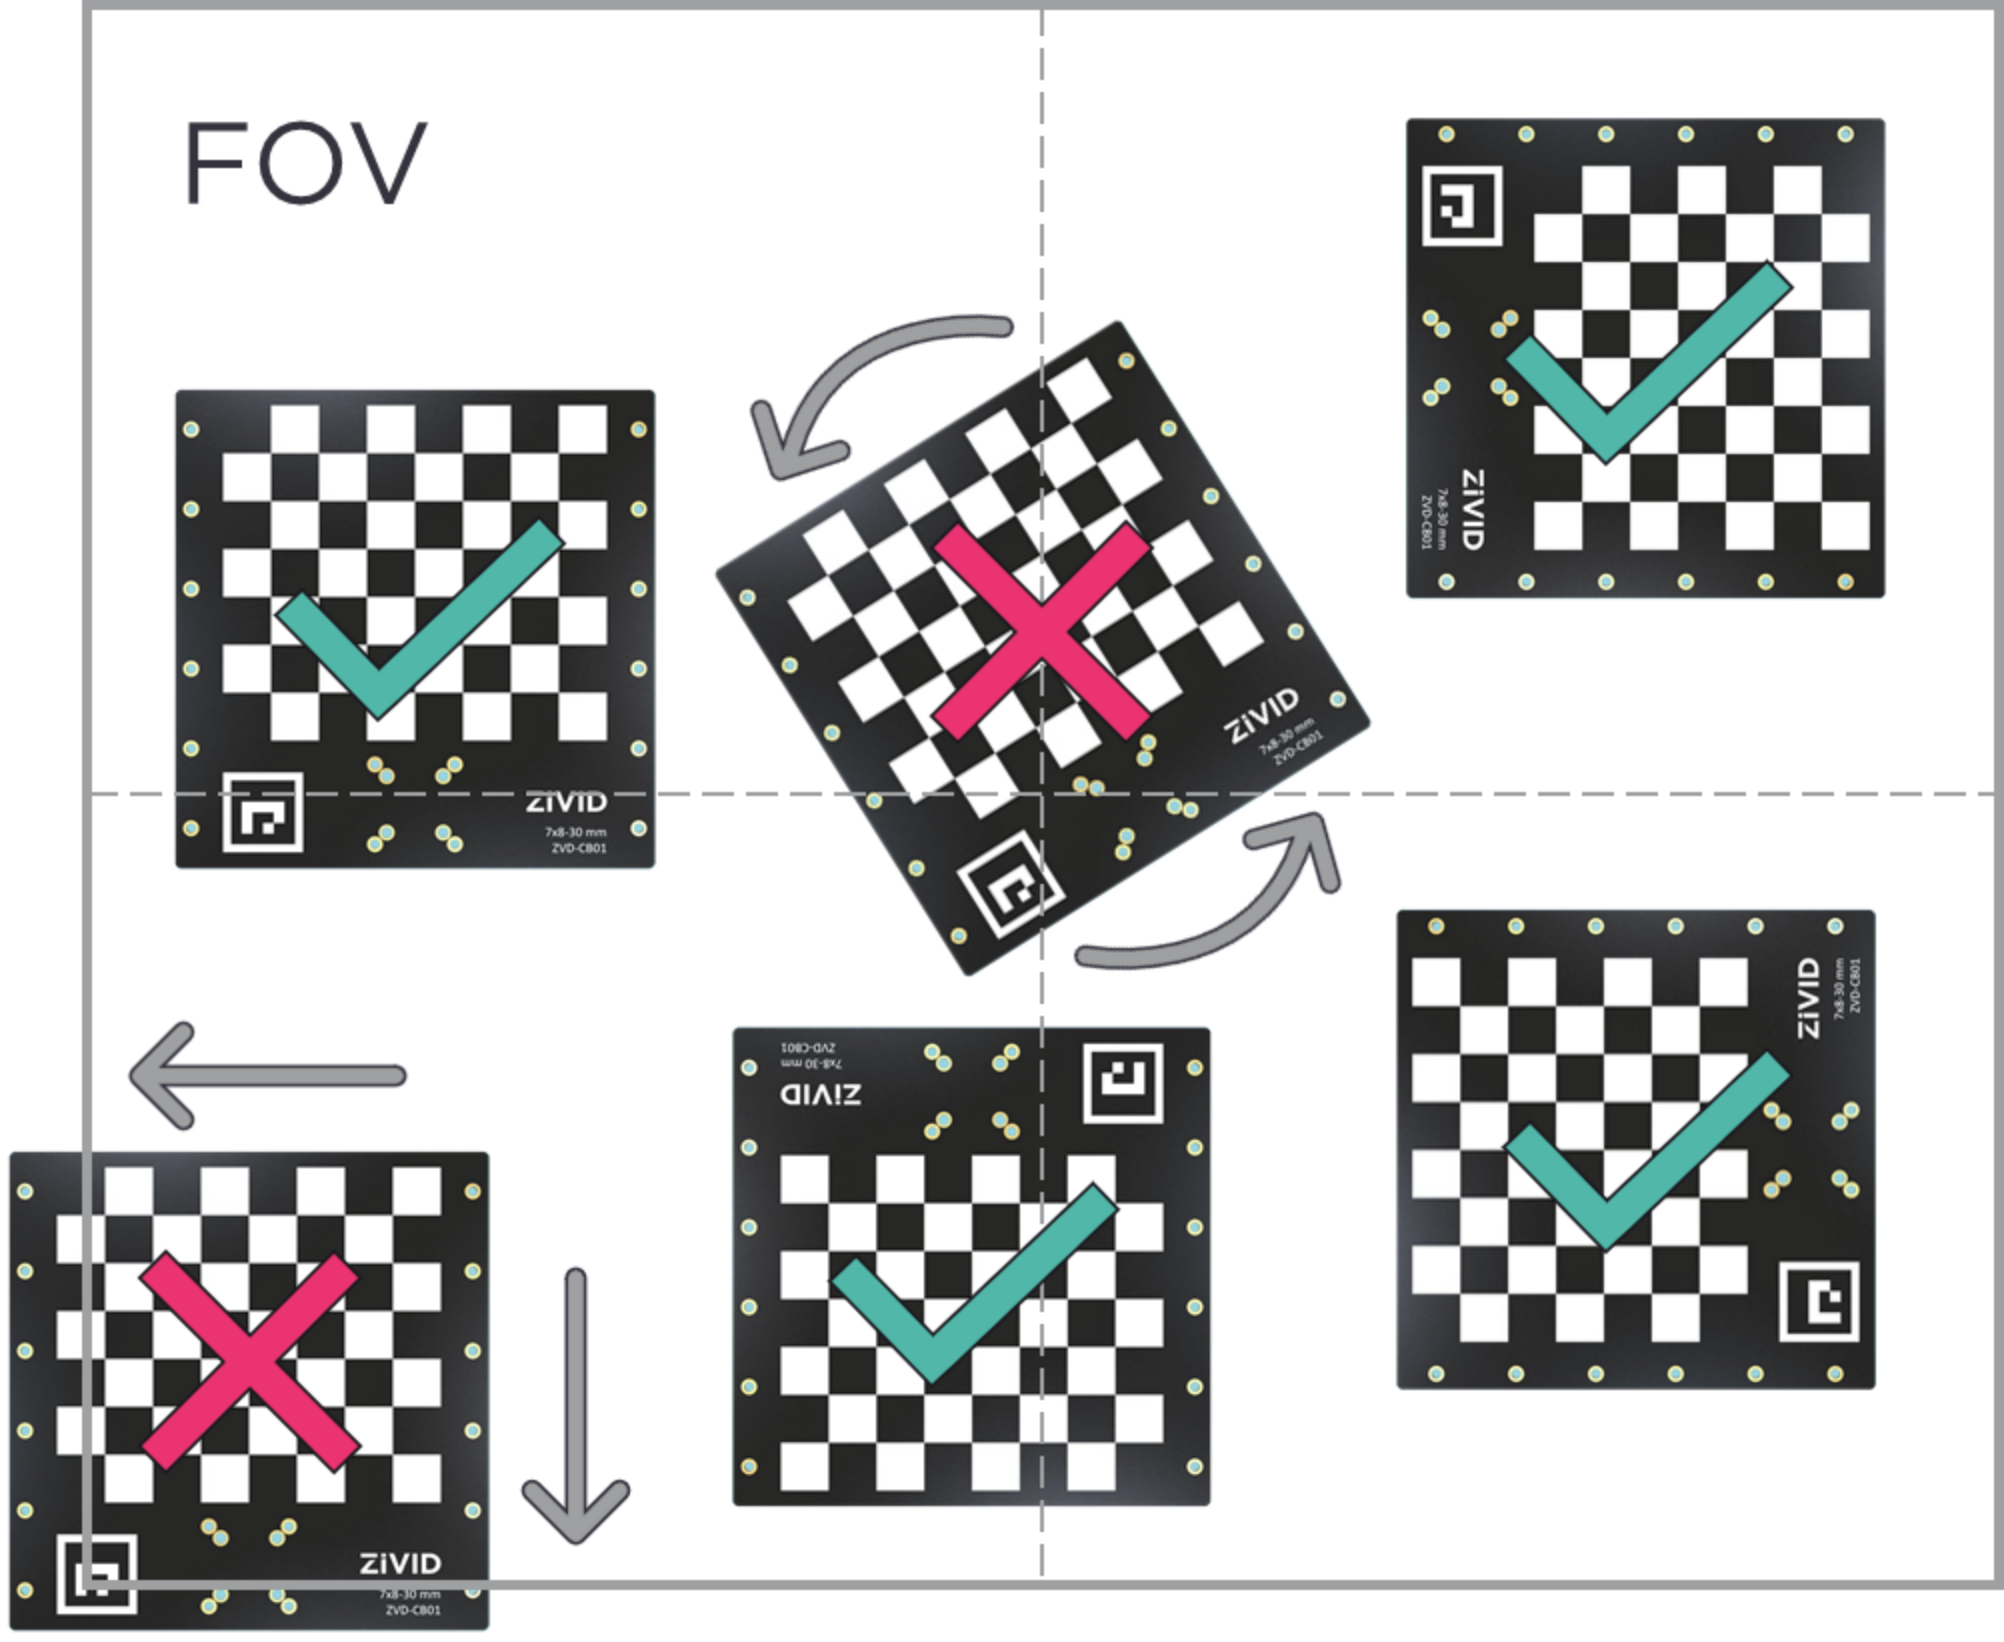
Try to align the board as much as possible in the X, Y, and Z axis, so the checkerboard surface appears as a flat plane to the camera. The rotation tolerance for the infield correction tool is 15 degrees.
Be mindful of ambient lighting conditions if used at long distances.
Mount the board on a robot for optimal stability and repeatability.
The infield correction should be performed once the camera is mounted where it will be used in production. For example, if the camera is imaging a pallet from above, then the infield correction should be performed on-site with the camera facing downward.
Orienting the Correction Board
When using the infield correction tool, it is important to find the best position for the Zivid calibration target. For the tool to work, the target must be oriented with the checkerboard facing towards the camera.

The entire board must be in the field of view of the camera, including the fiducial marker.
The board should be aligned approximately perpendicular (flat) to the camera depth axis.
The board can be oriented 0, 90, 180 or 270 degrees (+/- 15 degrees) from the perspective of the camera (one edge of the board approximately horizontal in the image).
Note
Support for different orientations of the calibration board added in 2.6 SDK.
Covering Distances for Correction
When applying infield correction, it is important to cover the entire working distance within which objects will be imaged. If possible, it is even better to cover more distance above and below this threshold, as shown in the image below.

Camera Model |
Minimum Distance |
Maximum Distance |
|---|---|---|
Zivid One+ Small |
600 mm |
1000 mm |
Zivid One+ Medium |
600 mm |
2000 mm |
Zivid One+ Large |
1200 mm |
3000 mm |
Zivid Two M70 |
450 mm |
1300 mm |
Zivid Two L100 |
600 mm |
1600 mm |
Note
The 600 mm distance is the closest that the Zivid calibration board is within Zivid One+ camera’s full view. For Zivid Two, that distance is 450 mm.
Correcting for larger FOV
If objects are being picked at the edges of the frame, it is important to cover the center and the edges with the infield correction. Multiple captures at the same distance can provide a better correction metric.

If the application has a short working range (e.g., 1000 mm to 1200 mm in Z), then use the method with multiple captures at each of the distances. This can provide a better correction for this range.
Warm-up
It is recommended to Warm-up the camera before running infield correction. For optimized performance, use the same capture cycle during warmup and infield correction as in your application. To further reduce the impact of temperature dependent performance factors, enable Thermal Stabilization.