ROI Box via ArUco Marker
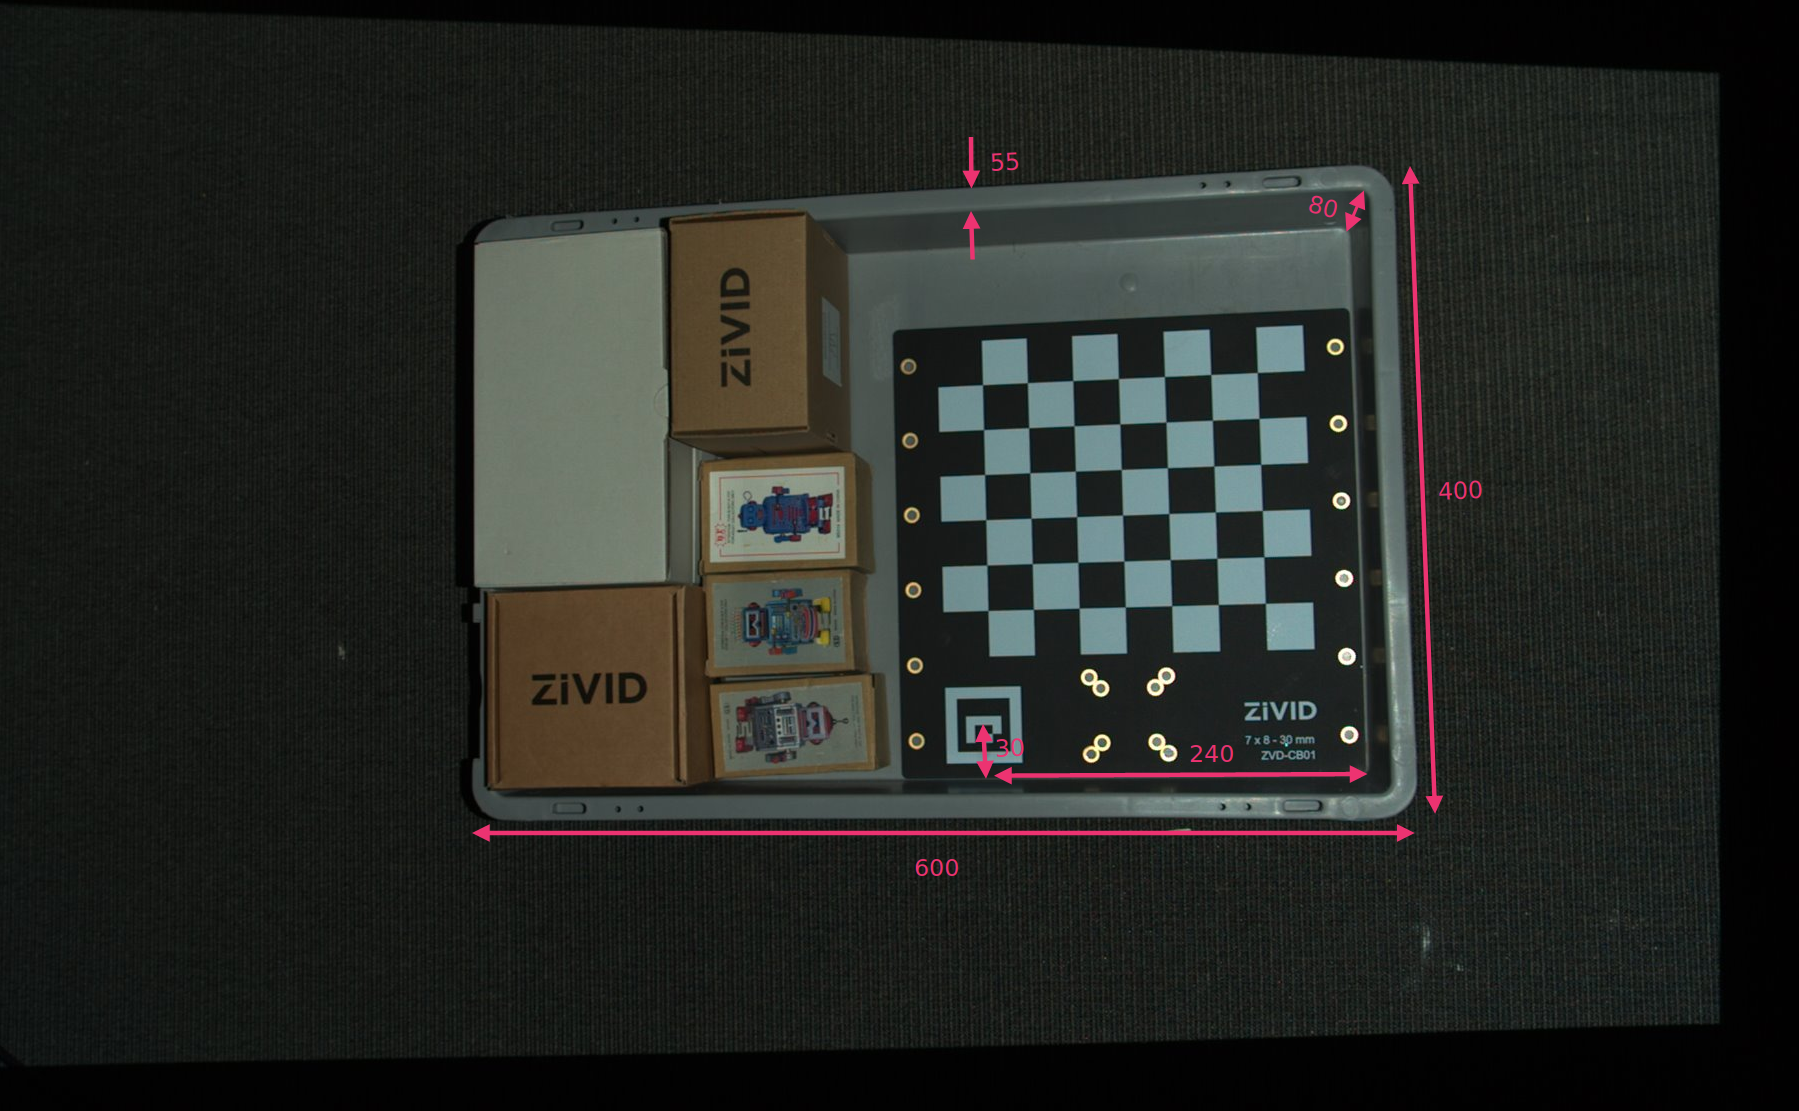
This tutorial demonstrates how to find the ROI box parameters using an ArUco marker and how to filter the contents of a bin using it. We are here using the ArUco marker on the Zivid calibration board, and assume the calibration board is placed in the bottom right corner of the bin. The bin size is also assumed known and is used to set the dimensions of the ROI box. This way you can automatically find the ROI parameters in the camera frame.
This tutorial uses a file camera for the scene in the image below for demonstration.
Note
The file camera can be downloaded from Sample Data.
First, we capture a point cloud of the ArUco marker.
const auto fileCamera = std::string(ZIVID_SAMPLE_DATA_DIR) + "/BinWithCalibrationBoard.zfc";

std::cout << "Creating virtual camera using file: " << fileCamera << std::endl;
auto camera = zivid.createFileCamera(fileCamera);

auto settings = Zivid::Settings{ Zivid::Settings::Acquisitions{ Zivid::Settings::Acquisition{} } };

const auto originalFrame = camera.capture(settings);
auto pointCloud = originalFrame.pointCloud();
The ArUco marker frame has its origin in the center of the ArUco marker.

We define the position of the bottom-right corner of the ROI box relative to the ArUco marker frame, and the ROI box size. Then we subtract the width of the bin edge from the length and width to remove the bin walls.
const float roiBoxLength = 545.F;
const float roiBoxWidth = 345.F;
const float roiBoxHeight = 150.F;
// Coordinates are relative to the ArUco marker origin which lies in the center of the ArUco marker.
// Positive x-axis is "East", y-axis is "South" and z-axis is "Down".
const Zivid::PointXYZ roiBoxLowerRightCornerInArUcoFrame{ 240.F, 30.F, 5.F };
const Zivid::PointXYZ roiBoxUpperRightCornerInArUcoFrame{ roiBoxLowerRightCornerInArUcoFrame.x,
                                                          roiBoxLowerRightCornerInArUcoFrame.y - roiBoxWidth,
                                                          roiBoxLowerRightCornerInArUcoFrame.z };
const Zivid::PointXYZ roiBoxLowerLeftCornerInArUcoFrame{ roiBoxLowerRightCornerInArUcoFrame.x - roiBoxLength,
                                                         roiBoxLowerRightCornerInArUcoFrame.y,
                                                         roiBoxLowerRightCornerInArUcoFrame.z };
The three points that define the base frame of the ROI box can then be set.
Then we configure the ArUco marker.
std::cout << "Configuring ArUco marker" << std::endl;
const auto markerDictionary = cv::aruco::getPredefinedDictionary(cv::aruco::DICT_4X4_100);
std::vector<int> markerIds;
std::vector<std::vector<cv::Point2f>> markerCorners;
cv::Ptr<cv::aruco::DetectorParameters> detectorParameters = cv::aruco::DetectorParameters::create();
detectorParameters->cornerRefinementMethod = cv::aruco::CORNER_REFINE_SUBPIX;
Since we are using OpenCV, we need to convert the 2D image from the point cloud to OpenCV image format.
We then detect the ArUco marker in the 2D image.
Then we estimate the pose of the ArUco marker to transform the three points into the camera frame of reference.
std::cout << "Estimating pose of detected ArUco marker" << std::endl;
const auto transformMarkerToCamera = estimateArUcoMarkerPose(pointCloud, markerCorners[0]);
std::cout << "Transforming the ROI base frame points to the camera frame" << std::endl;
const auto roiPointsInCameraFrame = transformPoints(
    std::vector<Zivid::PointXYZ>{ pointOInArUcoFrame, pointAInArUcoFrame, pointBInArUcoFrame },
    transformMarkerToCamera);
Hint
Learn more about Position, Orientation and Coordinate Transformations to understand how this works.
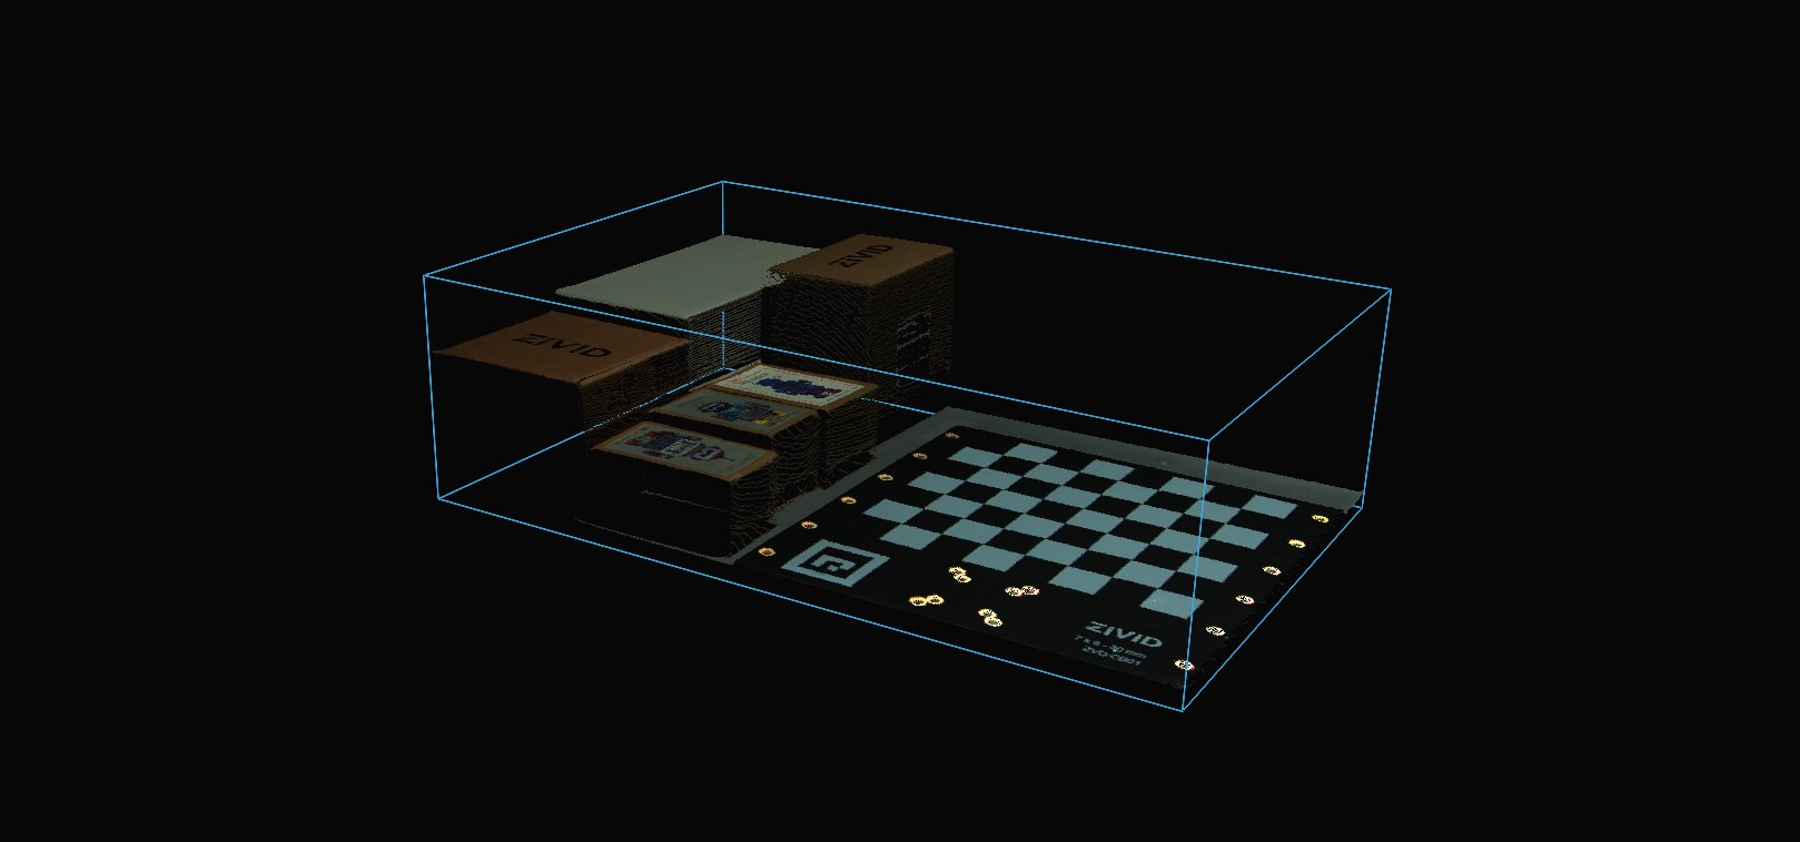
Now we can filter the point cloud based on the size and position of the ROI box. The first extent is set to a small negative value to include the floor, and the second extent is set to the desired height of the box.
settings.set(Zivid::Settings::RegionOfInterest{
    Zivid::Settings::RegionOfInterest::Box::Enabled::yes,
    Zivid::Settings::RegionOfInterest::Box::PointO{ roiPointsInCameraFrame[0] },
    Zivid::Settings::RegionOfInterest::Box::PointA{ roiPointsInCameraFrame[1] },
    Zivid::Settings::RegionOfInterest::Box::PointB{ roiPointsInCameraFrame[2] },
    Zivid::Settings::RegionOfInterest::Box::Extents{ -10, roiBoxHeight } });
Finally, we take a new capture and visualize the filtered point cloud.

To filter the point cloud based on a ROI box, you can run our code sample.
Sample: ROIBoxViaArucoMarker.cpp
./ROIBoxViaArucoMarker
Tip
Modify the code sample if you wish to use this in your own setup:
Replace the file camera with your actual camera and settings.
Place the calibration board in the bottom right corner of your bin.
Modify the ROI box size to your bin size.
Run sample!
You can now save the capture settings with the ROI parameters, remove the calibration board and use the settings on the whole bin.