Optimizing Color Image
Introduction
This tutorial aims to help you optimize the color image quality of the captures from your Zivid camera. We first cover using the essential tools for getting good color information: tuning acquisition and color settings. Then we address the most common challenges (blooming/over-saturation and color inconsistency from HDR) and provide our recommendations on how to overcome them.
Adjusting Acquisition Settings
The quality of the color image you get from the Zivid camera depends on the acquisition settings. This tutorial does not cover finding a combination of exposure settings (exposure time, aperture, brightness, and gain) to get the desired dynamic range; Getting the Right Exposure for Good Point Clouds covers that. This tutorial focuses on tuning the specific acquisition settings that affect the color image quality.
Exposure time and projector brightness do not impact the color image quality. On the other hand, higher aperture values are key to avoiding blurry color images; see the figure below. A good rule-of-thumb is 5.66 or higher f-number values (smaller apertures). For a more detailed explanation and guidance, see Depth of Focus and Depth of Focus Calculator.
|
|
Single capture with aperture 10.37 |
Single capture with aperture 3.67 |
Note
The images above are captured outside of optimal imaging distance to emphasize the out-of-focus effect for large aperture values; images are less blurry when captured in the optimal range.
We advise using low gain values, e.g., 1-2, because high gain values increase image noise (granularity) levels, thus decreasing the 2D image quality; see the figure below.
|
|
Single capture with gain 1 |
Single capture with gain 16 |
We often adjust the acquisition settings to reach the required dynamic range and capture time, focusing on point cloud quality first. With such an approach, the color image quality is a function of the settings we optimized for the 3D quality with a given capture time. The downside of this approach is that it does not always provide good color image quality. However, the fact is that high-quality color images (low blur, low noise, and balanced illumination) result in high-quality point clouds. With this in mind, it becomes clear that following the above fine-tuning guidelines to improve the color image quality also enhances the 3D quality. The key to achieving this is compensating for low gain and apertures (high f-numbers) with increased exposure time and projector brightness values.
Adjusting Color Settings
In addition to aperture and gain, the color image quality depends on gamma, color balance, and tone mapping color settings. This section aims to give insights into optimizing these settings to get desired color quality in the color image. More information about the color settings can be found here: Processing Settings.
Gamma
Cameras encode luminance differently than the human eye. While the human eye has an emphasis on the darker end of the spectrum, a camera encodes luminance on a linear scale. To compensate for this effect, gamma correction is applied to either darken or brighten the image and make it closer to human perception.
Note
The Gamma correction value ranges between 0.25 and 1.5 for Zivid cameras.
The lower the Gamma value, the lighter the scene will appear. If the Gamma value is increased, then the scene will appear darker.
|
|
Image captured with Gamma set to 0.6 |
Image captured with Gamma set to 1.3 |
It is questionable whether gamma correction is required for optimizing image quality for machine vision algorithms. Still, it helps us humans evaluate certain aspects of the color image quality, such as focus and grain/noise levels.
For an implementation example, check out Gamma Correction. This tutorial demonstrates how to capture a 2D image with a configurable gamma correction.
Color Balance
The color temperature of ambient light affects the appearance of the color image. You can adjust the digital gain to red, green, and blue color channels to make the color image look natural. Below, you can see an image before and after balancing the color.
Note
The color balance gains range between 1.0 and 8.0 for Zivid cameras.

Performing color balance can be beneficial in strong and varying ambient light conditions. Color balance is necessary when using captures without a projector or with low projector brightness values. In other words, when ambient light is a significant part of the light seen by the camera. There are two default color balance settings, with and without the projector. When projector brightness is set to 0 or off, the color balance is calibrated to 4500 K, typical in industrial environments. For projector brightness values above 0, the color balance is calibrated for the color temperature of the projector light.
For an implementation example, see Color Balance tutorial. This tutorial shows how to balance the color of a 2D image by taking images of a white surface (a piece of paper, wall, or similar) in a loop.
Tone Mapping
The tone mapping setting controls when tone mapping of colors is performed. Tone mapping normalizes the captured color image to the full available output range by applying a gain factor to the colors. Tone mapping setting has two possible values:
HdrOnly
Always
HdrOnly performs tone mapping for multi-acquisition HDR captures but not for single acquisition captures. Always performs tone mapping for all captures.
Note
It is not possible to disable tone mapping for HDR.
For single acquisition captures tone mapping can be used to brighten dark images.
|
|
Single capture with Tone Mapping set to HdrOnly |
Single capture with Tone Mapping set to Always |
For multi-acquisition HDR tone mapping is required to map high-dynamic-range colors to the more limited dynamic range output.
|
||
HDR with three acquisitions with Tone Mapping set to HdrOnly |
||
|
|
|
First of three HDR acquisitions with Tone Mapping set to HdrOnly |
Second of three HDR acquisitions with Tone Mapping set to HdrOnly |
Third of three HDR acquisitions with Tone Mapping set to HdrOnly |
Check out how to set processing settings with Zivid SDK, including gamma, color balance, and tone mapping:
std::cout << "Configuring processing settings for capture:" << std::endl;
Zivid::Settings settings{
    Zivid::Settings::Experimental::Engine::phase,
    Zivid::Settings::Processing::Filters::Smoothing::Gaussian::Enabled::yes,
    Zivid::Settings::Processing::Filters::Smoothing::Gaussian::Sigma{ 1.5 },
    Zivid::Settings::Processing::Filters::Noise::Removal::Enabled::yes,
    Zivid::Settings::Processing::Filters::Noise::Removal::Threshold{ 7.0 },
    Zivid::Settings::Processing::Filters::Outlier::Removal::Enabled::yes,
    Zivid::Settings::Processing::Filters::Outlier::Removal::Threshold{ 5.0 },
    Zivid::Settings::Processing::Filters::Reflection::Removal::Enabled::yes,
    Zivid::Settings::Processing::Filters::Experimental::ContrastDistortion::Correction::Enabled::yes,
    Zivid::Settings::Processing::Filters::Experimental::ContrastDistortion::Correction::Strength{ 0.4 },
    Zivid::Settings::Processing::Filters::Experimental::ContrastDistortion::Removal::Enabled::no,
    Zivid::Settings::Processing::Filters::Experimental::ContrastDistortion::Removal::Threshold{ 0.5 },
    Zivid::Settings::Processing::Color::Balance::Red{ 1.0 },
    Zivid::Settings::Processing::Color::Balance::Green{ 1.0 },
    Zivid::Settings::Processing::Color::Balance::Blue{ 1.0 },
    Zivid::Settings::Processing::Color::Gamma{ 1.0 },
    Zivid::Settings::Processing::Color::Experimental::ToneMapping::Enabled::hdrOnly
};
std::cout << settings.processing() << std::endl;
Console.WriteLine("Configuring processing settings for capture:");
var settings = new Zivid.NET.Settings() {
    Experimental = { Engine = Zivid.NET.Settings.ExperimentalGroup.EngineOption.Phase },
    Processing = { Filters = { Smoothing = { Gaussian = { Enabled = true, Sigma = 1.5 } },
                               Noise = { Removal = { Enabled = true, Threshold = 7.0 } },
                               Outlier = { Removal = { Enabled = true, Threshold = 5.0 } },
                               Reflection = { Removal = { Enabled = true } },
                               Experimental = { ContrastDistortion = { Correction = { Enabled = true,
                                                                                      Strength = 0.4 },
                                                                       Removal = { Enabled = true,
                                                                                   Threshold = 0.5 } } } },
                   Color = { Balance = { Red = 1.0, Green = 1.0, Blue = 1.0 },
                             Gamma = 1.0,
                             Experimental = { ToneMapping = { Enabled =
                                                                  ToneMappingEnabledOption.HdrOnly } } } }
};
Console.WriteLine(settings.Processing);
print("Configuring processing settings for capture:")
settings = zivid.Settings()
settings.experimental.engine = "phase"
filters = settings.processing.filters
filters.smoothing.gaussian.enabled = True
filters.smoothing.gaussian.sigma = 1.5
filters.noise.removal.enabled = True
filters.noise.removal.threshold = 7.0
filters.outlier.removal.enabled = True
filters.outlier.removal.threshold = 5.0
filters.reflection.removal.enabled = True
filters.experimental.contrast_distortion.correction.enabled = True
filters.experimental.contrast_distortion.correction.strength = 0.4
filters.experimental.contrast_distortion.removal.enabled = False
filters.experimental.contrast_distortion.removal.threshold = 0.5
color = settings.processing.color
color.balance.red = 1.0
color.balance.blue = 1.0
color.balance.green = 1.0
color.gamma = 1.0
settings.processing.color.experimental.tone_mapping.enabled = "hdrOnly"
print(settings.processing)
Dealing with Blooming
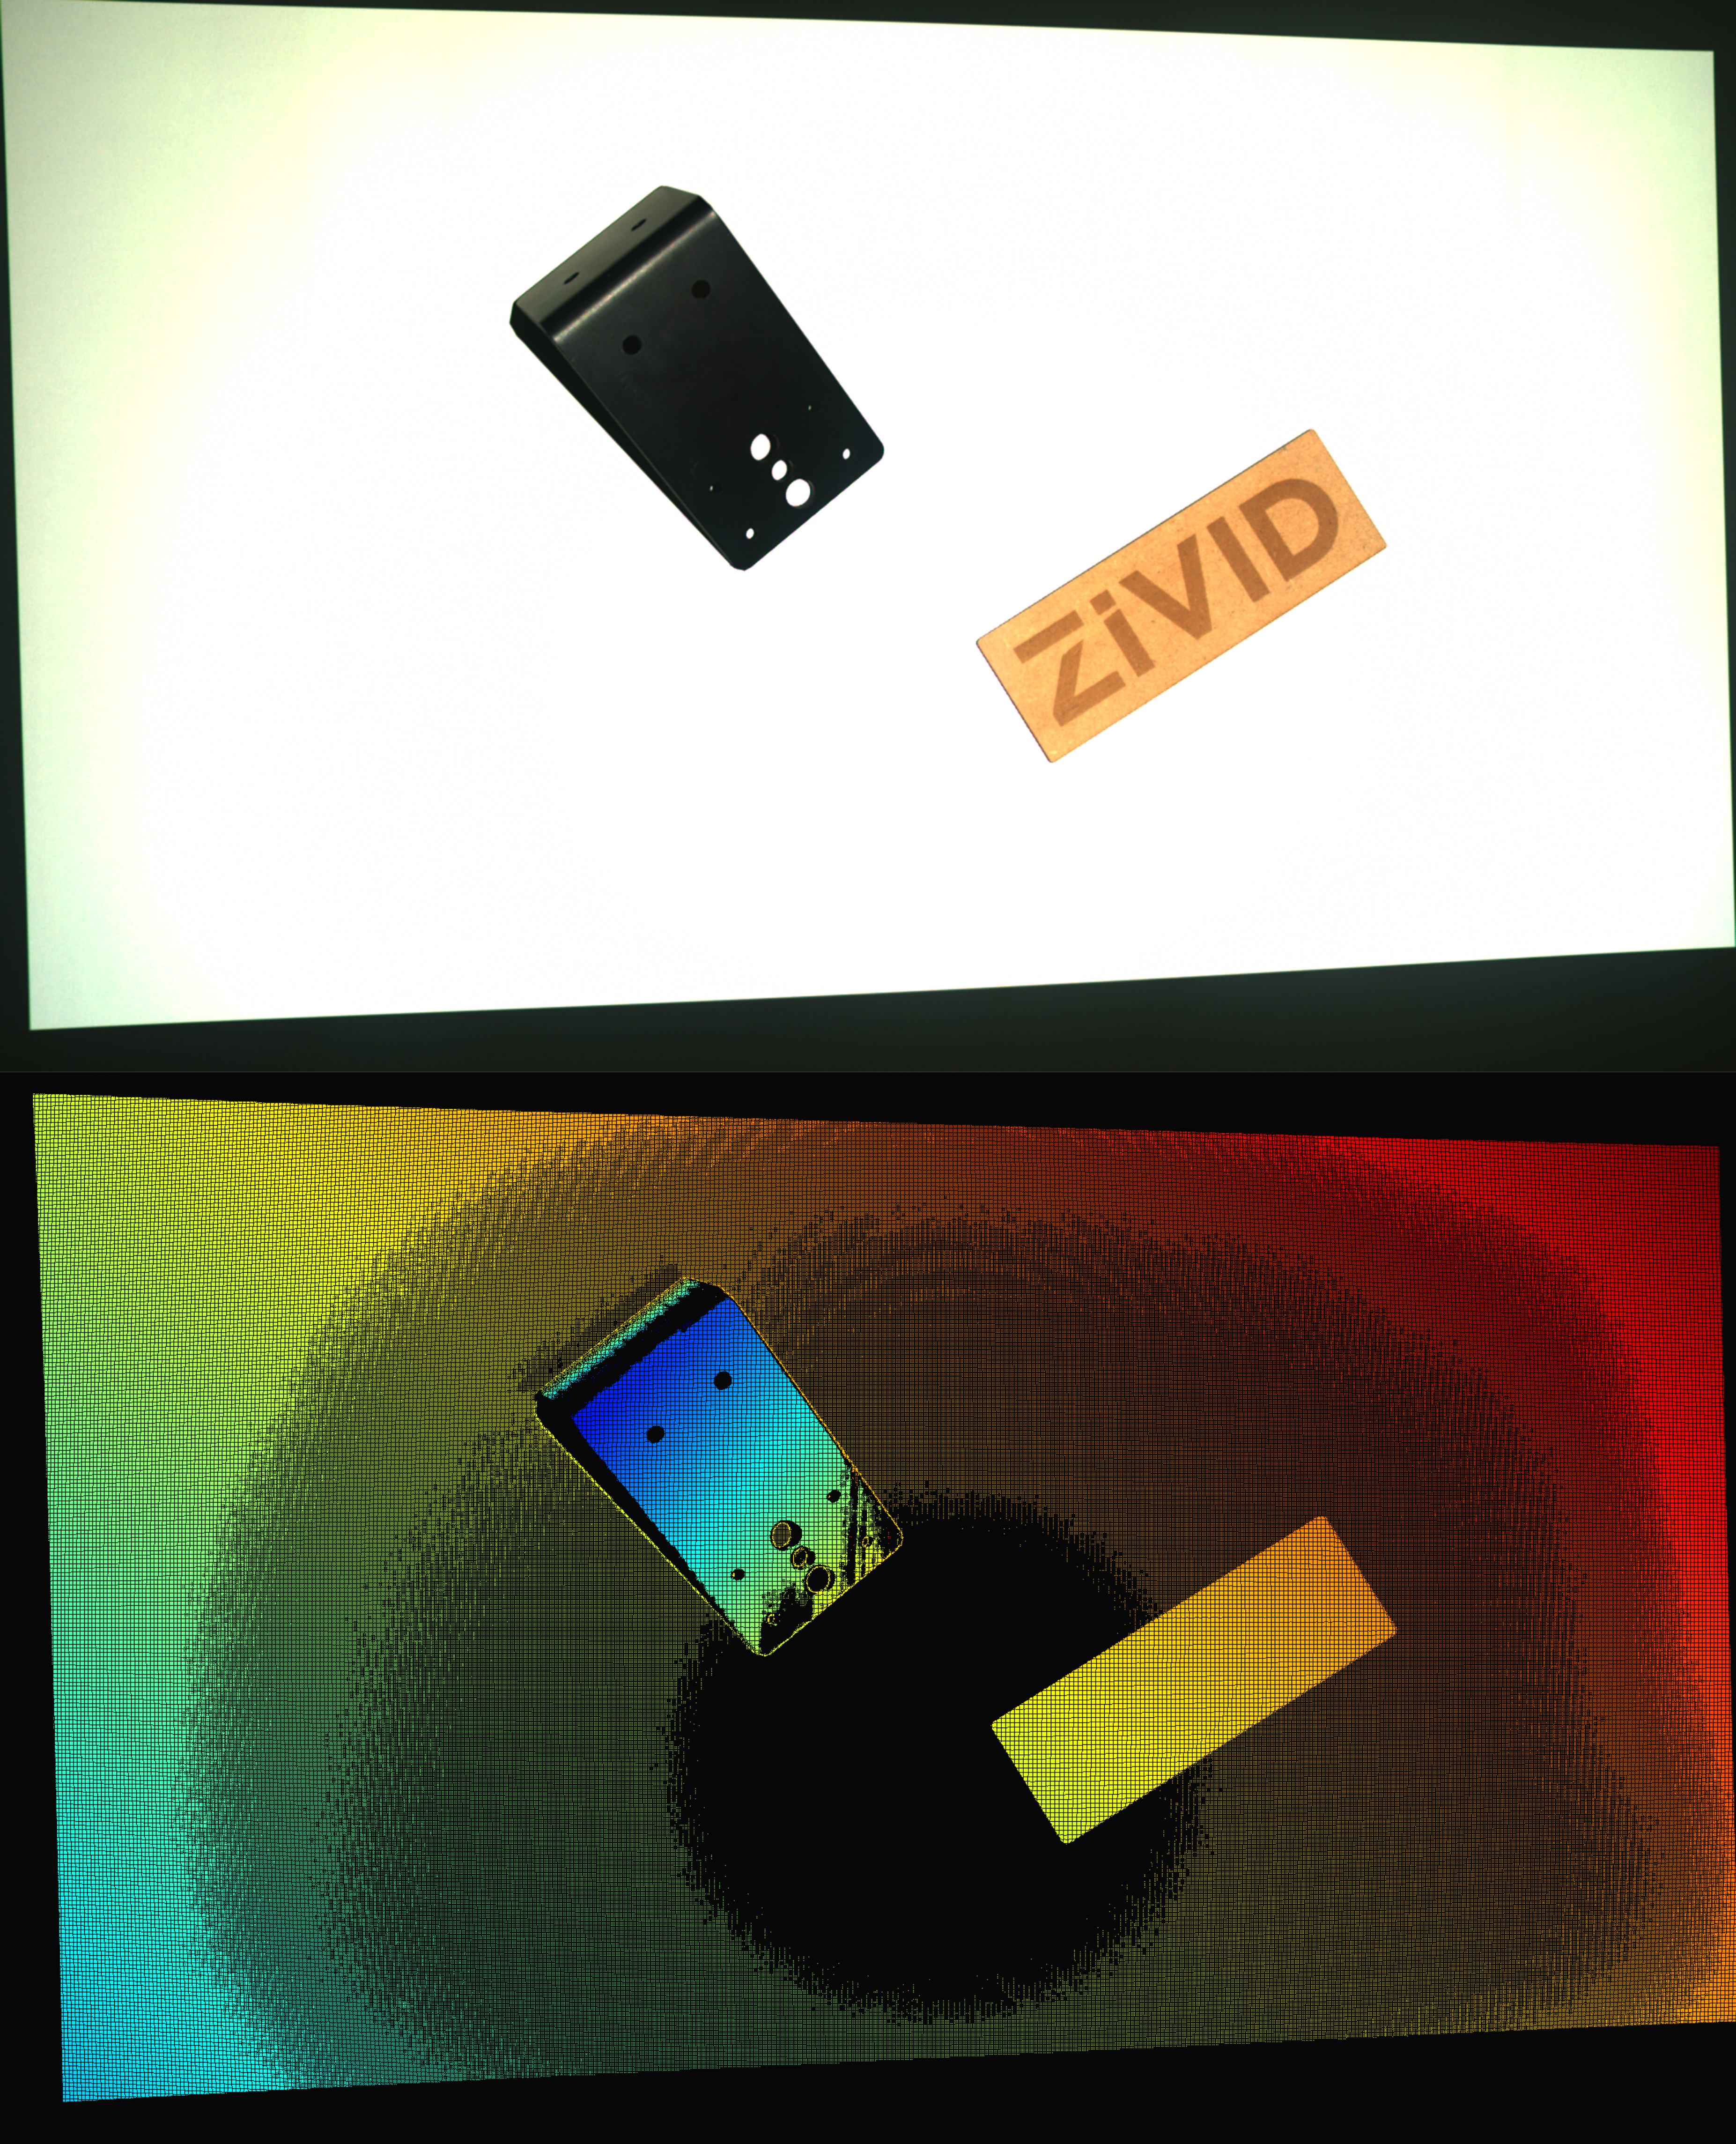
As discussed in Blooming - Bright Spots in the Point Cloud, blooming is an effect that occurs when extremely intense light from a point or region hits the imaging sensor and results in over-saturation. In this article we discuss how to avoid blooming in the scene.
There are multiple ways to handle blooming. The methods covered in this tutorial are: changing the background, changing the camera position and orientation, utilizing HDR, and taking an additional 2D capture.
Change the background
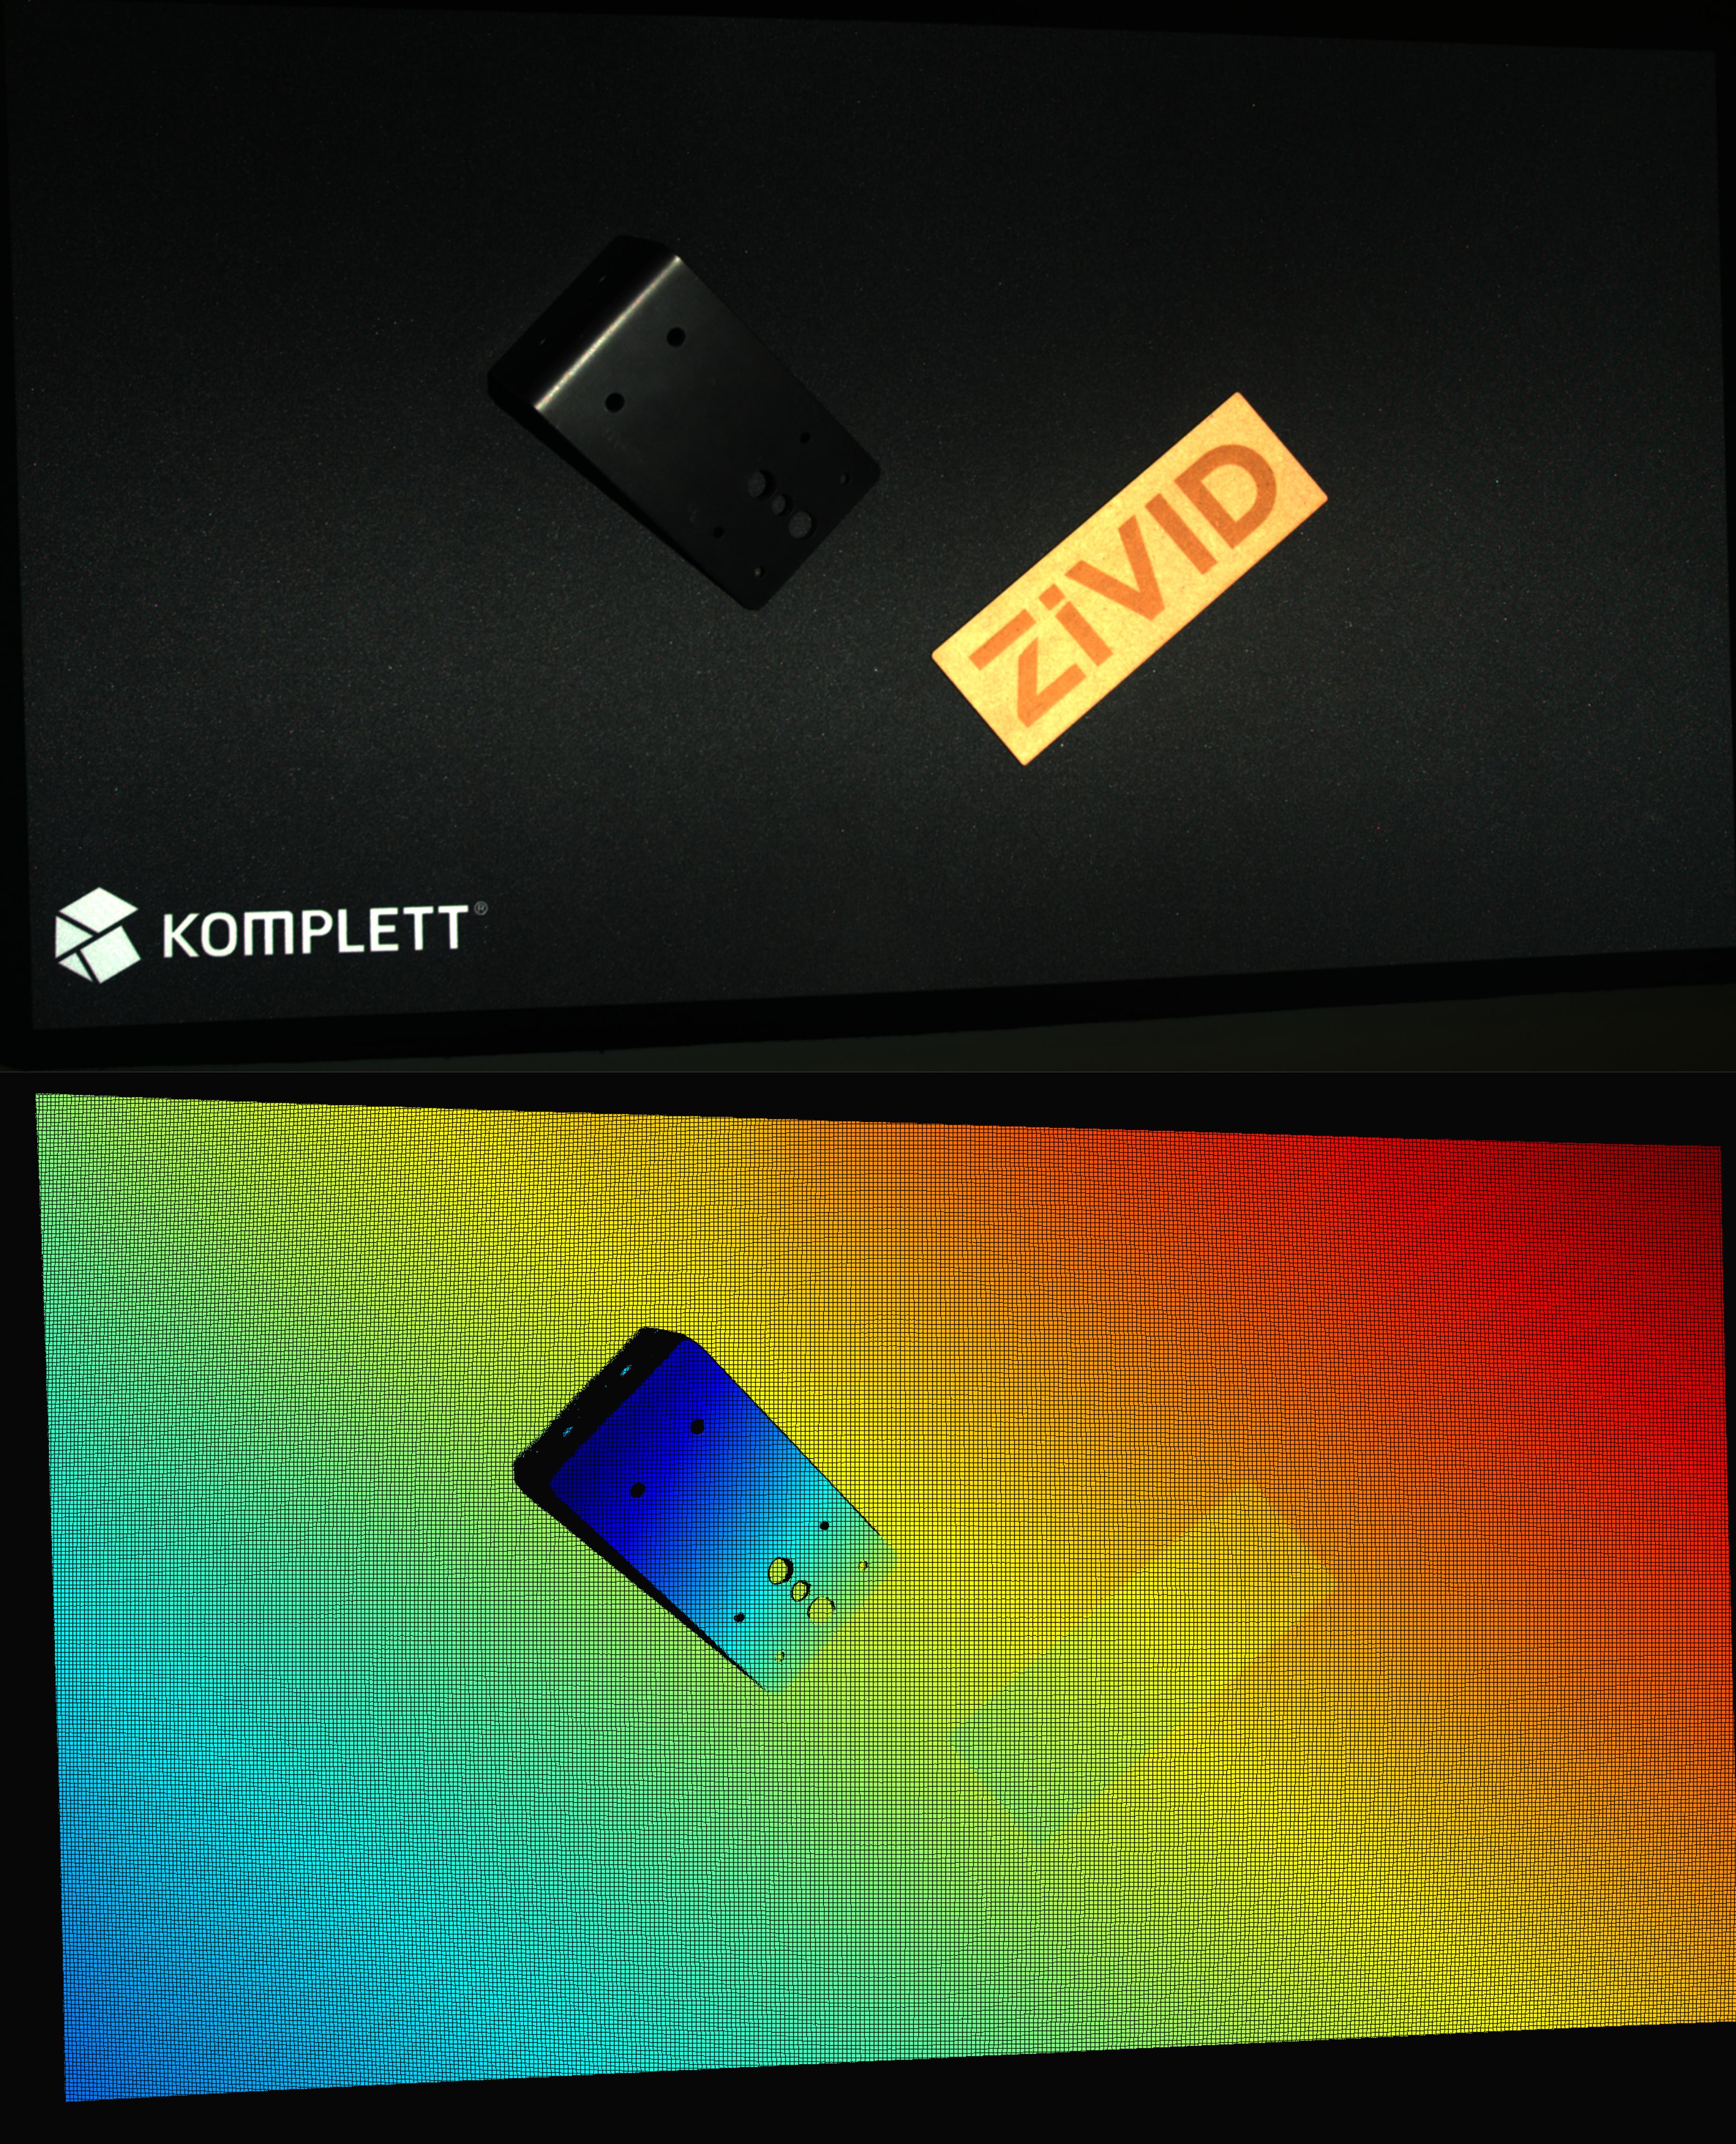
If the background is the blooming source, change the background material to a more diffuse and absorptive material (Optical Properties of Materials).
|
|
Scene with white background with blooming |
Same scene with black background and effect from blooming removed from the point cloud |
Angle the camera
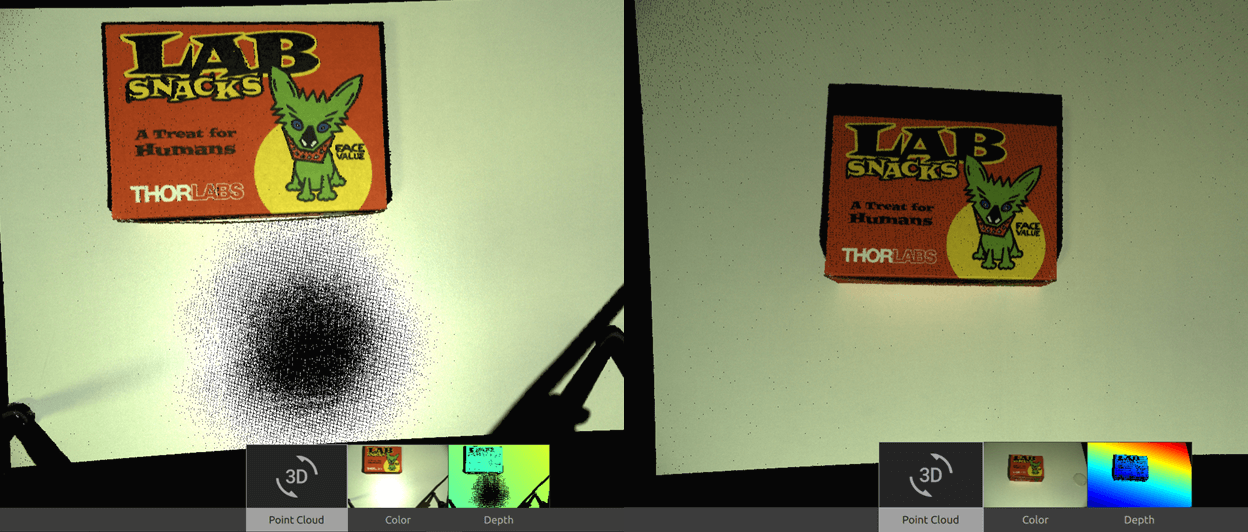
Changing the camera position and orientation is a cheap and efficient way of dealing with blooming. It is preferable to offset the camera and tilt it so that the projector and other light sources do not directly reflect into the camera. This is shown on the right side of the image below.
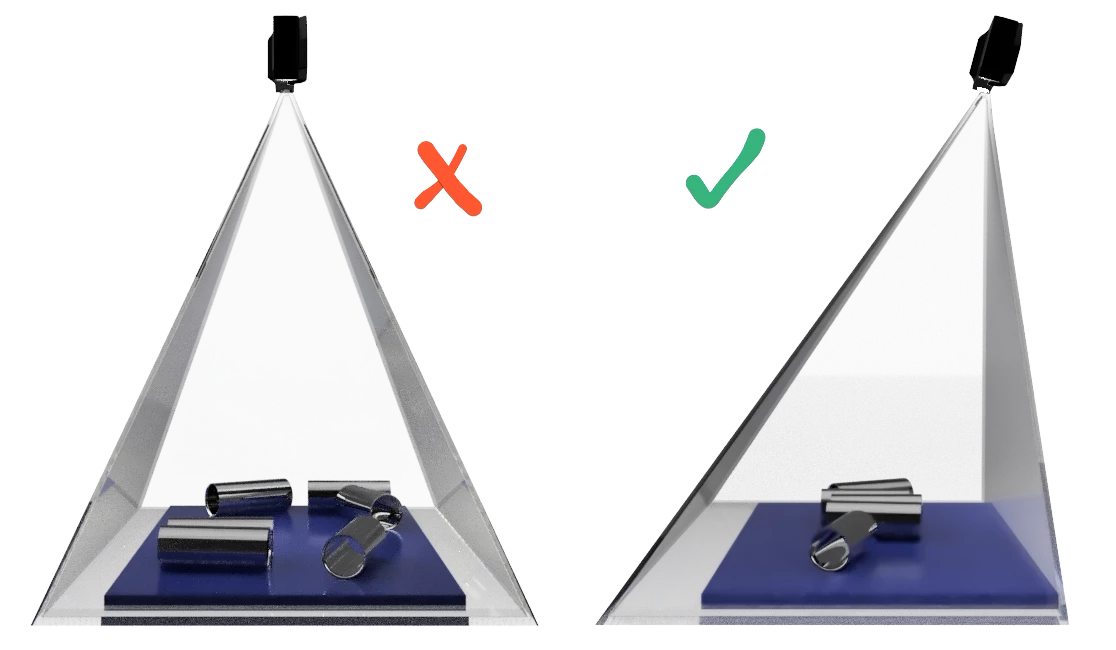
By simply tilting the camera, the data lost in the over-saturated region can be recovered, as seen in the right side of the image above. The left image below shows a point cloud taken when the camera is mounted perpendicular to the surface, while the right image shows the scene taken at a slight tilt.
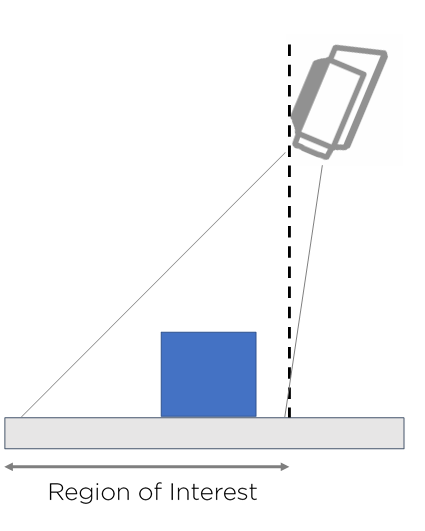
A simple rule of thumb is to mount the camera so that the region of interest is in front of the camera as shown in the image below:
HDR
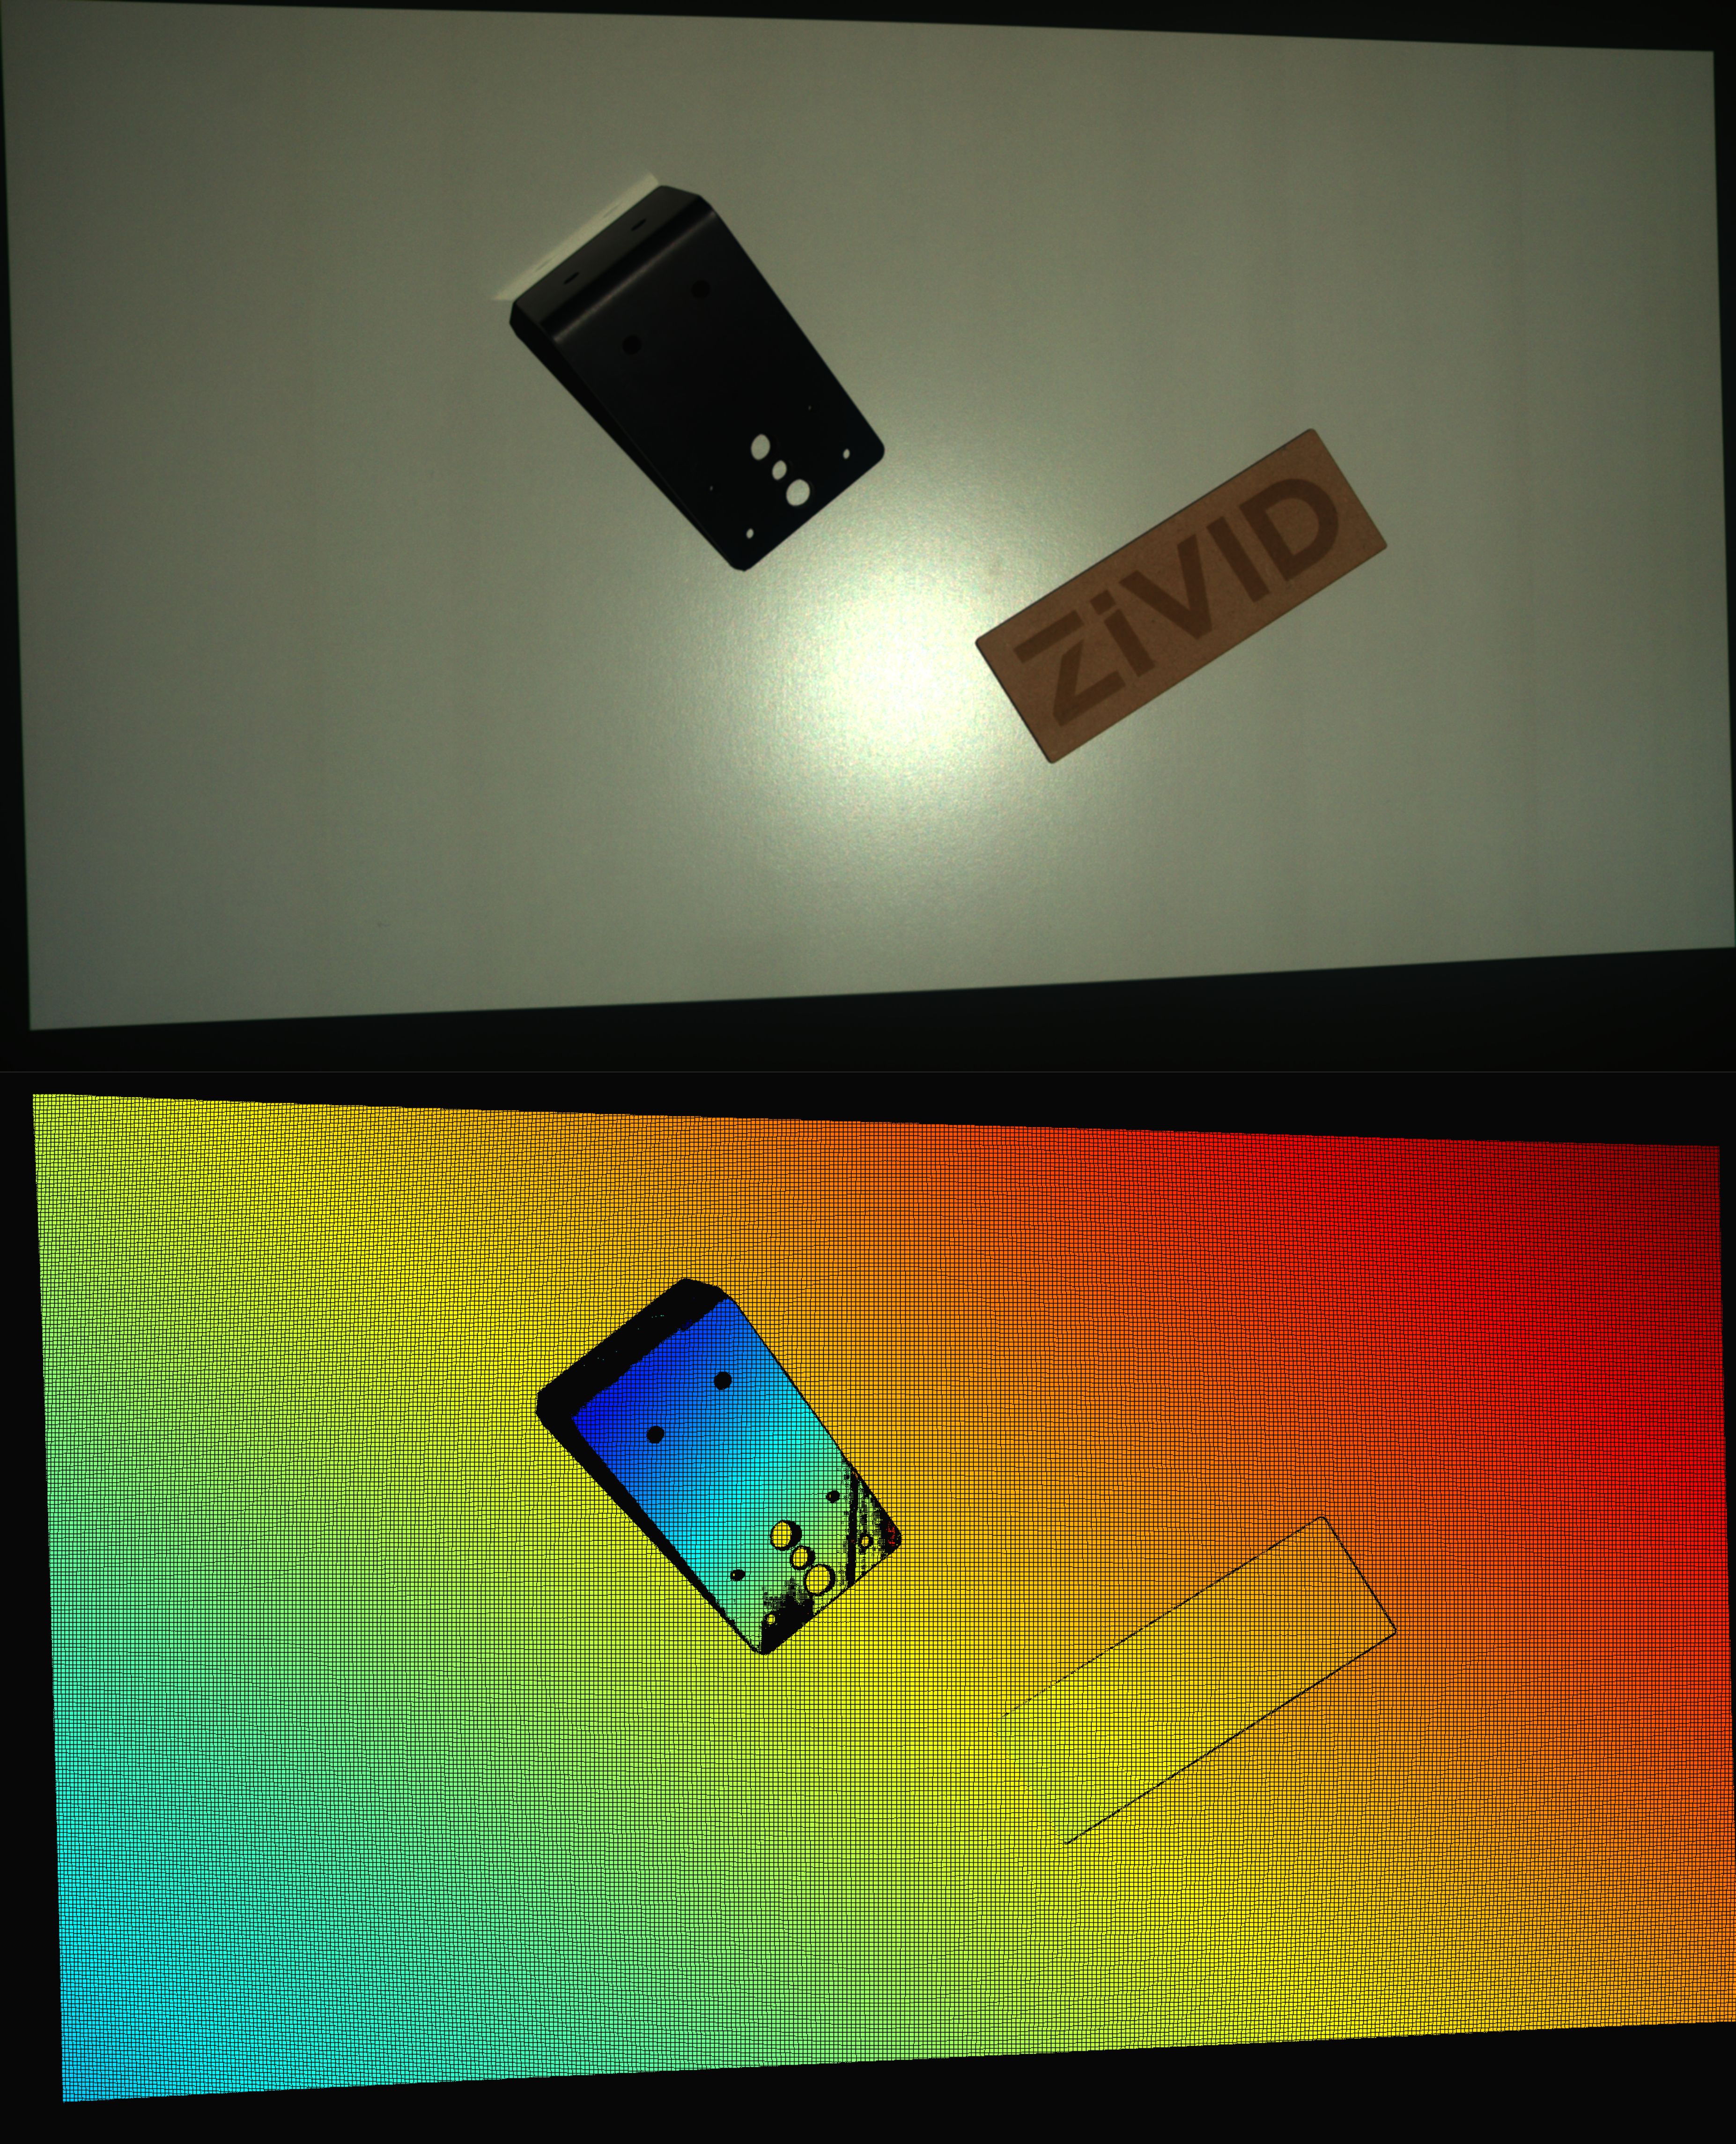
Use multi-acquisition 3D HDR by adding one or more 3D acquisitions to cover the blooming highlights. Keep in mind this will come at the cost of added capture time.
|
|
Scene with blooming (single capture) |
Same scene with effect from blooming removed from the point cloud (HDR) |
Following the above steps will most likely recover the missing points in the point cloud due to the blooming effect. However, there is still a chance that the over-saturated area remains in the color image.
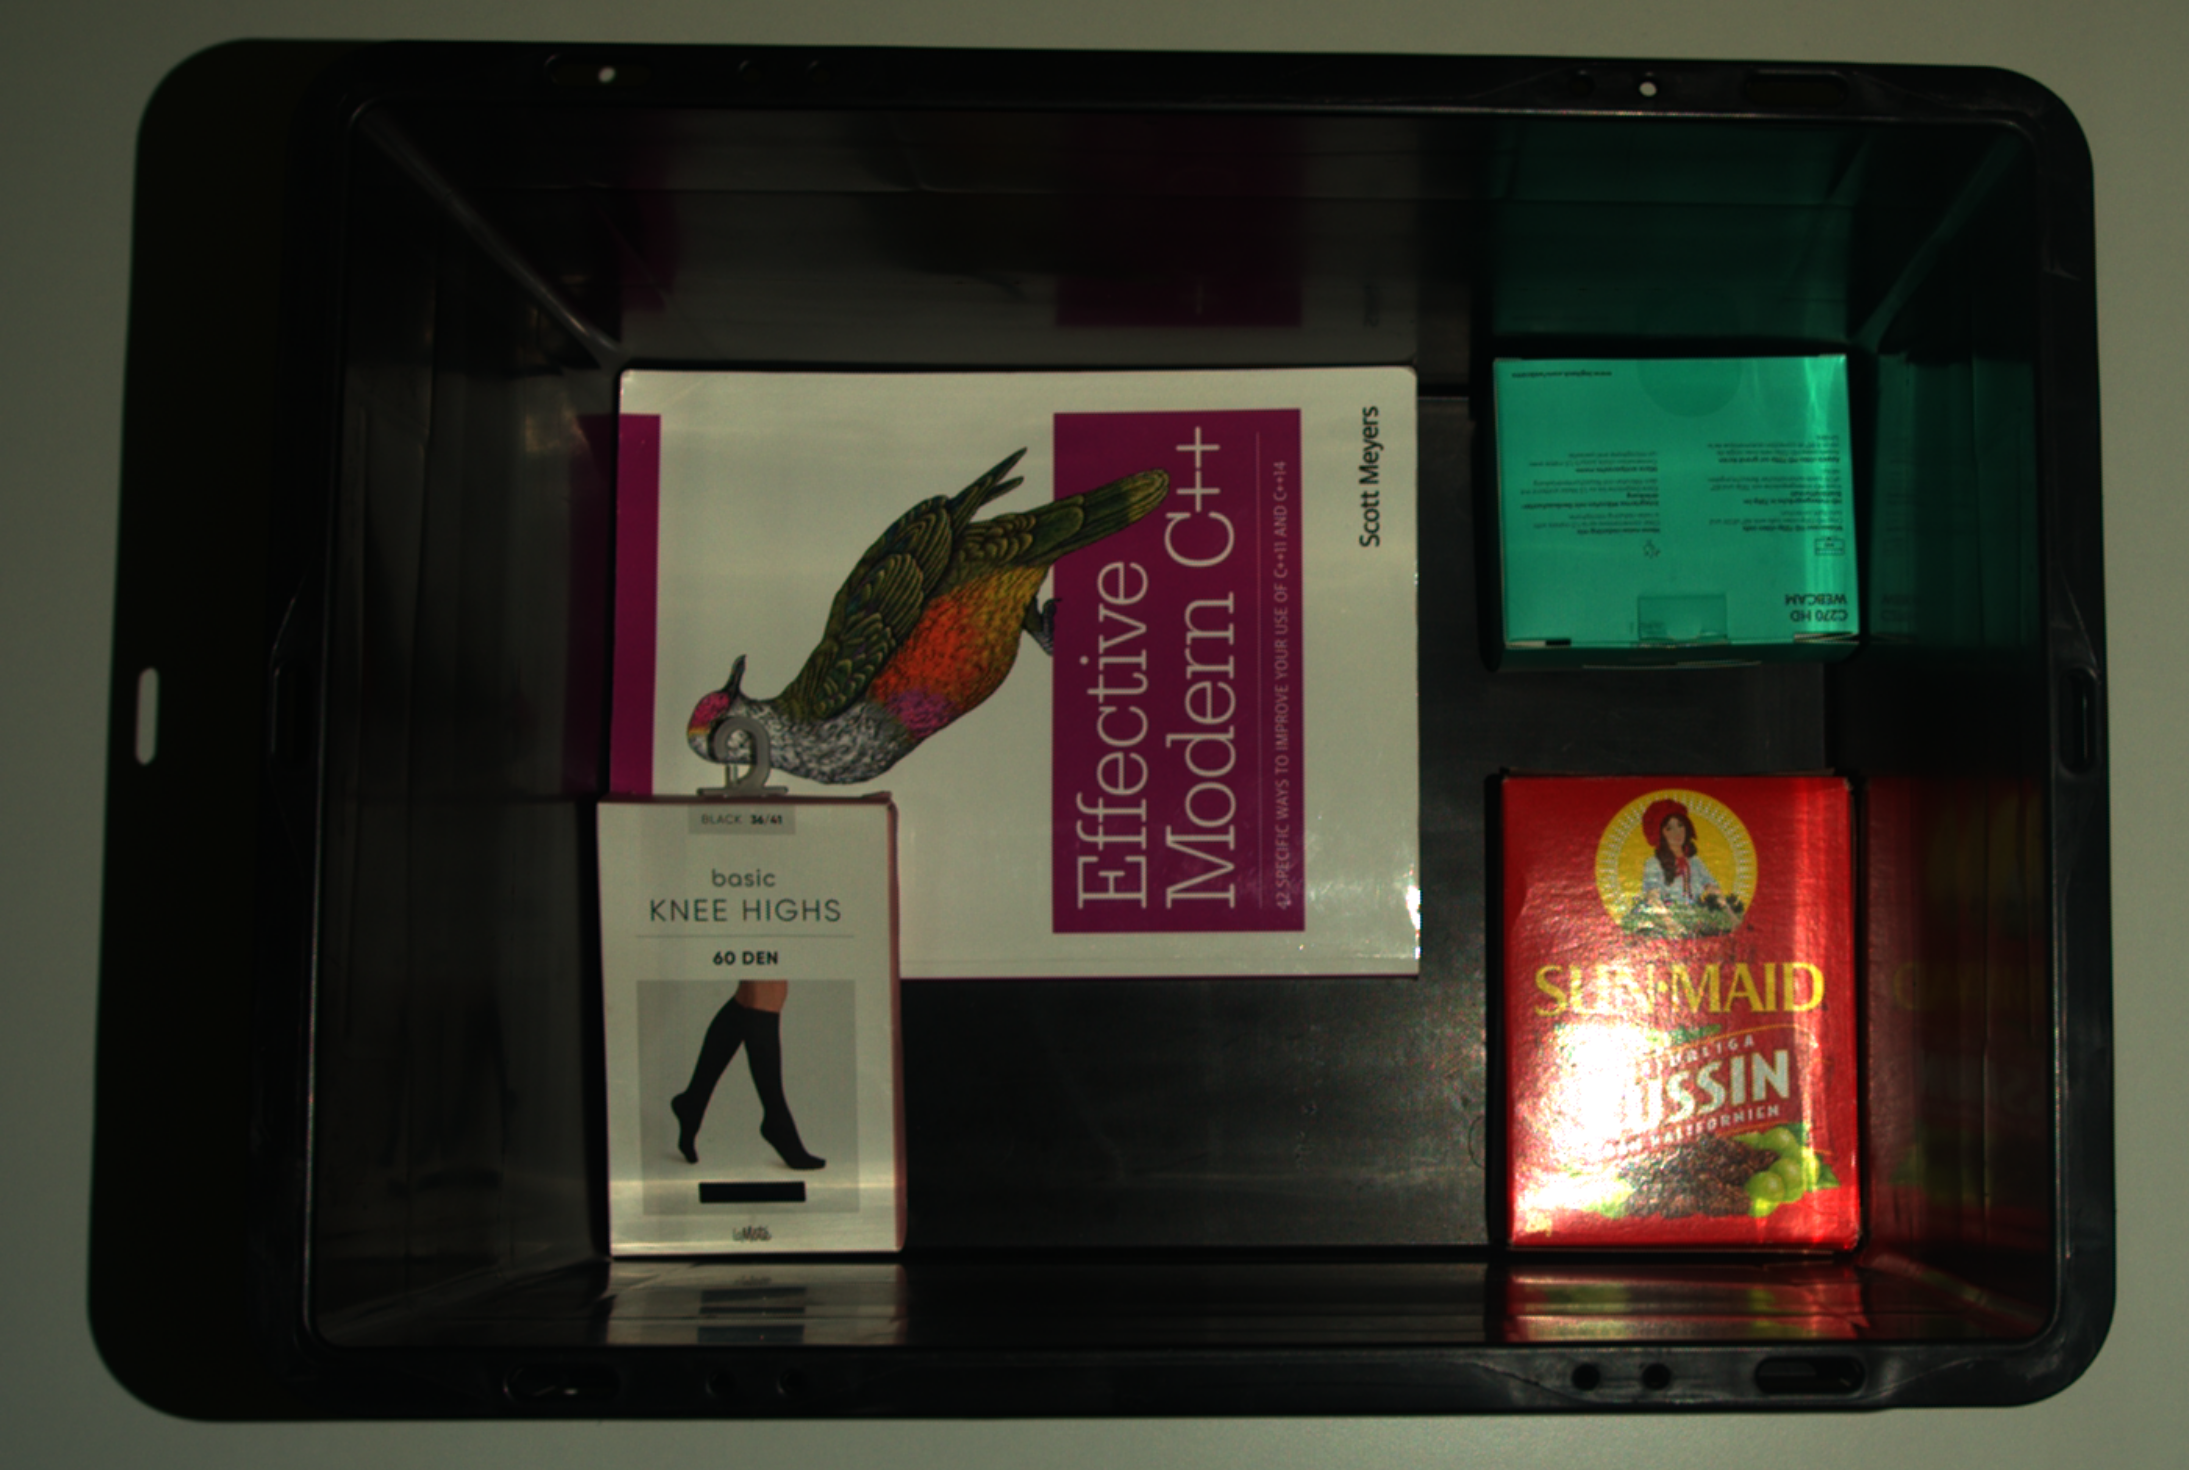
Over-saturation in the color image might not be an issue if you care only about the 3D point cloud quality. However, over-saturation can be a problem if you utilize machine vision algorithms on the color image, e.g., template matching.
Note
The color merge (tone mapping) algorithm used when acquiring HDR captures is the source of the over-saturation in the color image. This algorithm solves the challenging problem of mapping color images of different dynamic ranges into one color image with a limited dynamic range. However, the tone mapping algorithm has its limitation: the over-saturation problem.
Additional capture
A solution to overcome over-saturation in the color image is to add a separate capture and optimize its settings specifically for avoiding this image artifact. This approach assumes using the point cloud data from the main capture and the color image from the additional capture. The additional capture can be a 2D or 3D capture, with or without a projector. Whichever capture mode is used, it must be without tone mapping (Tone Mapping setting set to HdrOnly).
Note
Take the additional capture before or after the main capture. Decide based on, e.g., the algorithm execution time if you use different threads for algorithms that utilize 2D images and 3D point clouds.
Tip
Capturing a separate 2D image allows you to optimize the acquisition settings for color image quality (in most cases, we optimize settings for excellent point cloud quality).
With the projector
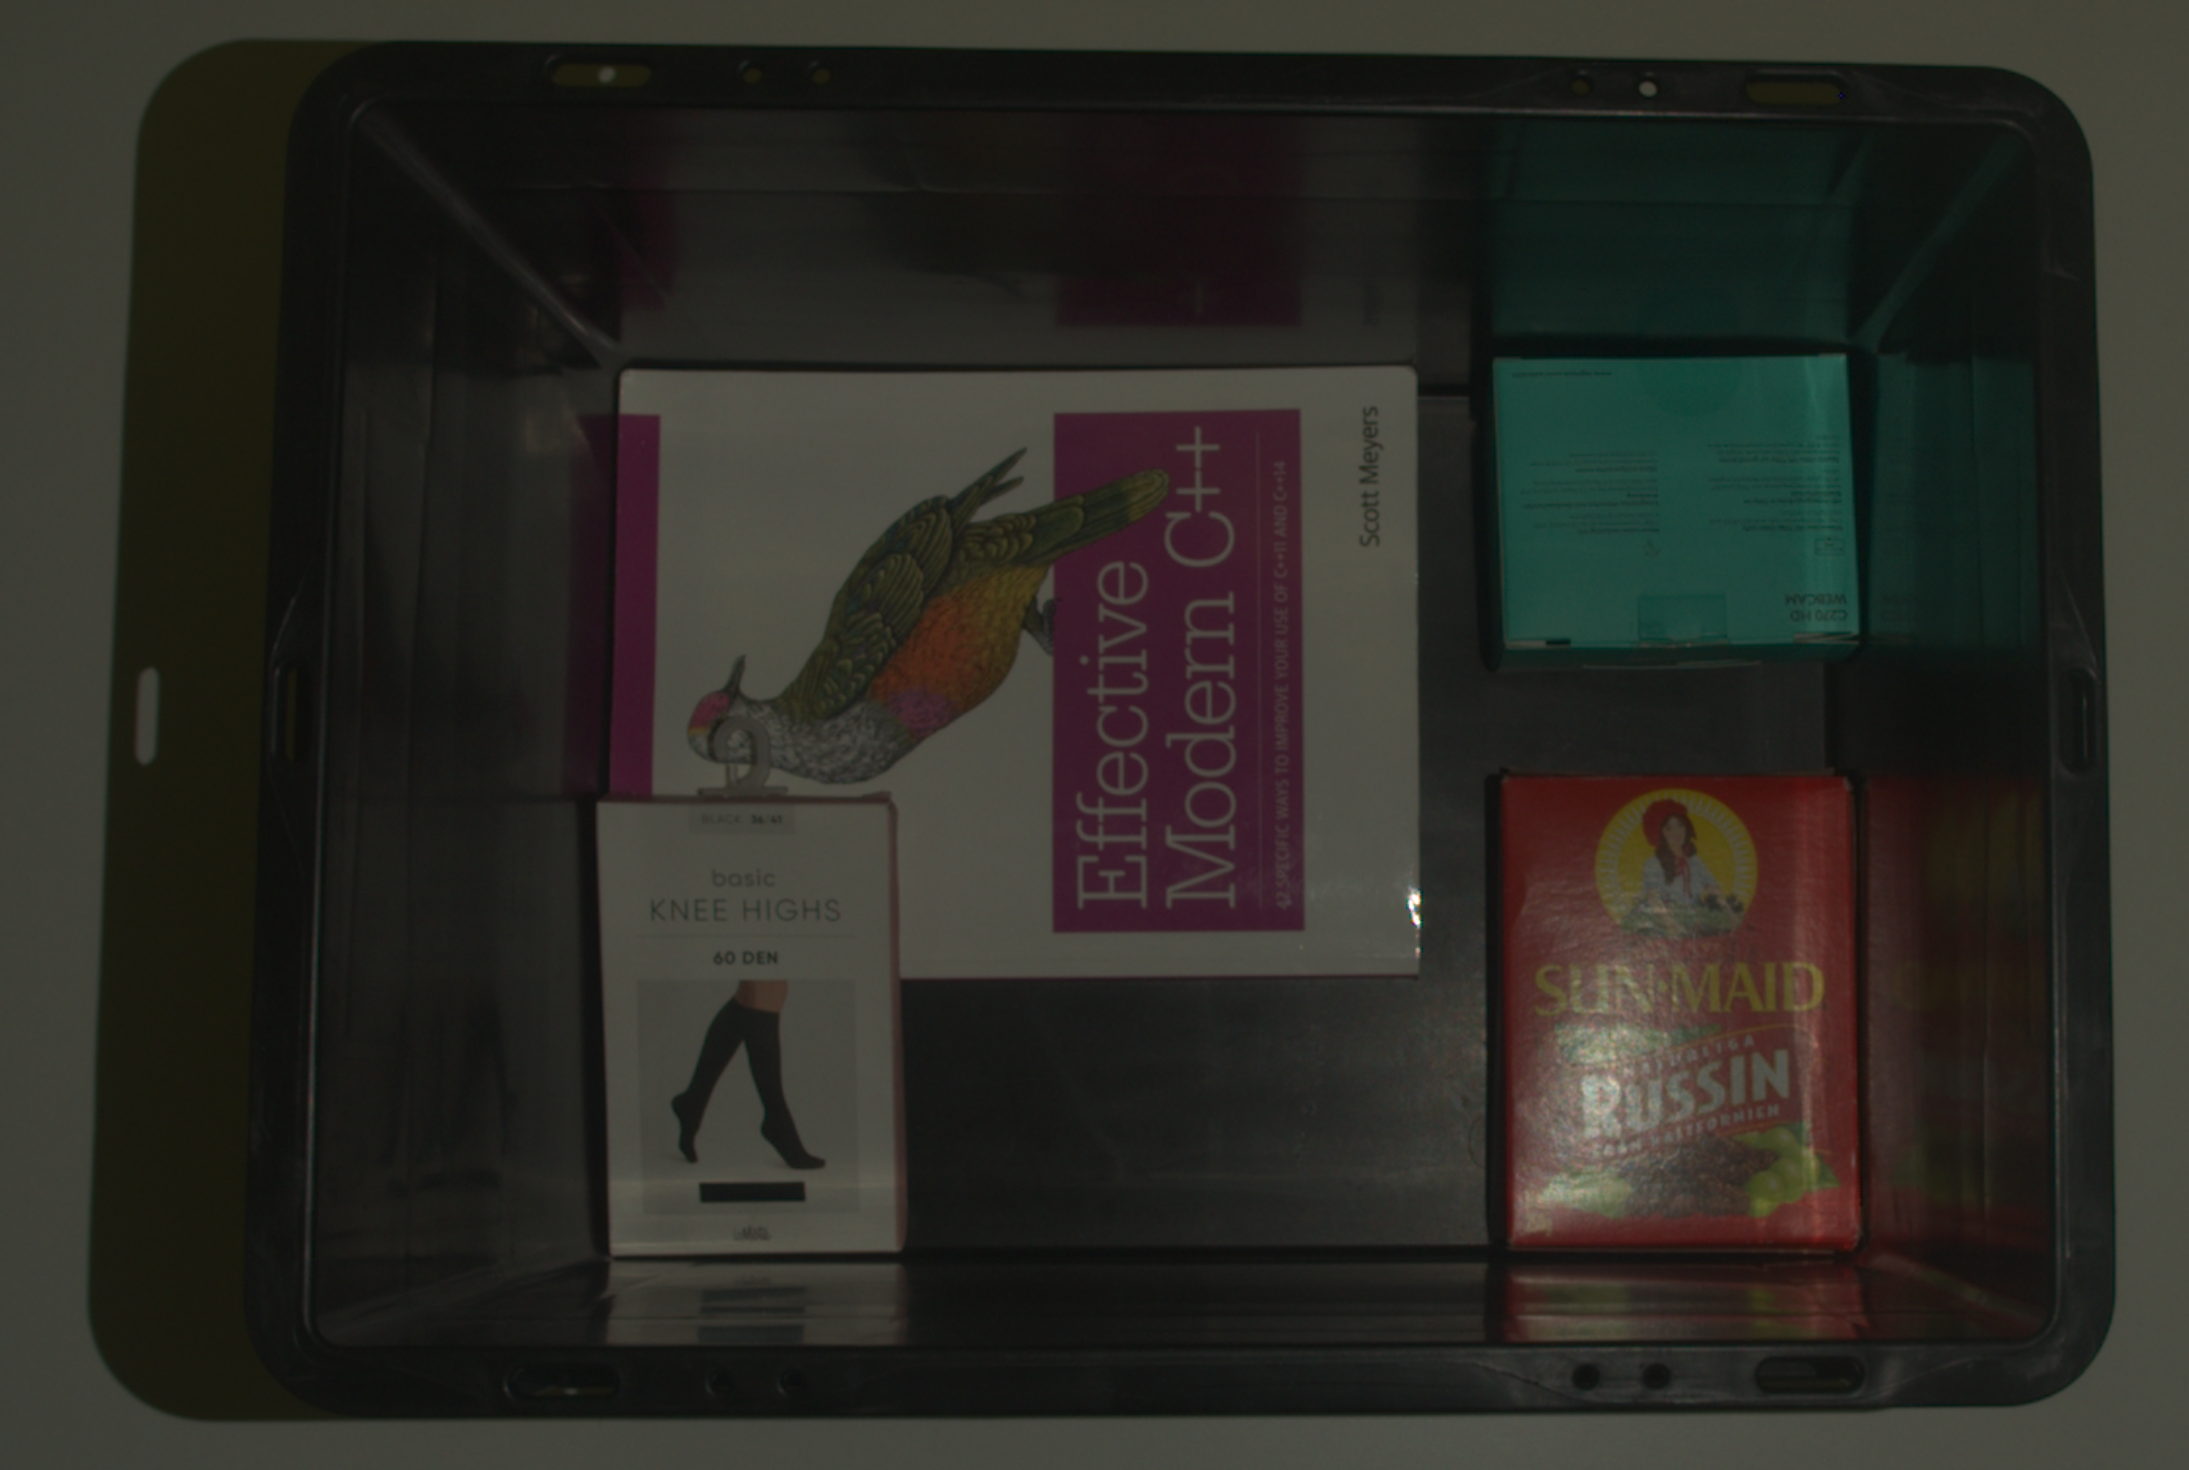
In some cases, over-saturation can be removed with the projector in use.
Without the projector
If the material of the object of imaging is specular, it is less likely that over-saturation will be removed. Therefore, it is worth considering turning the projector off.
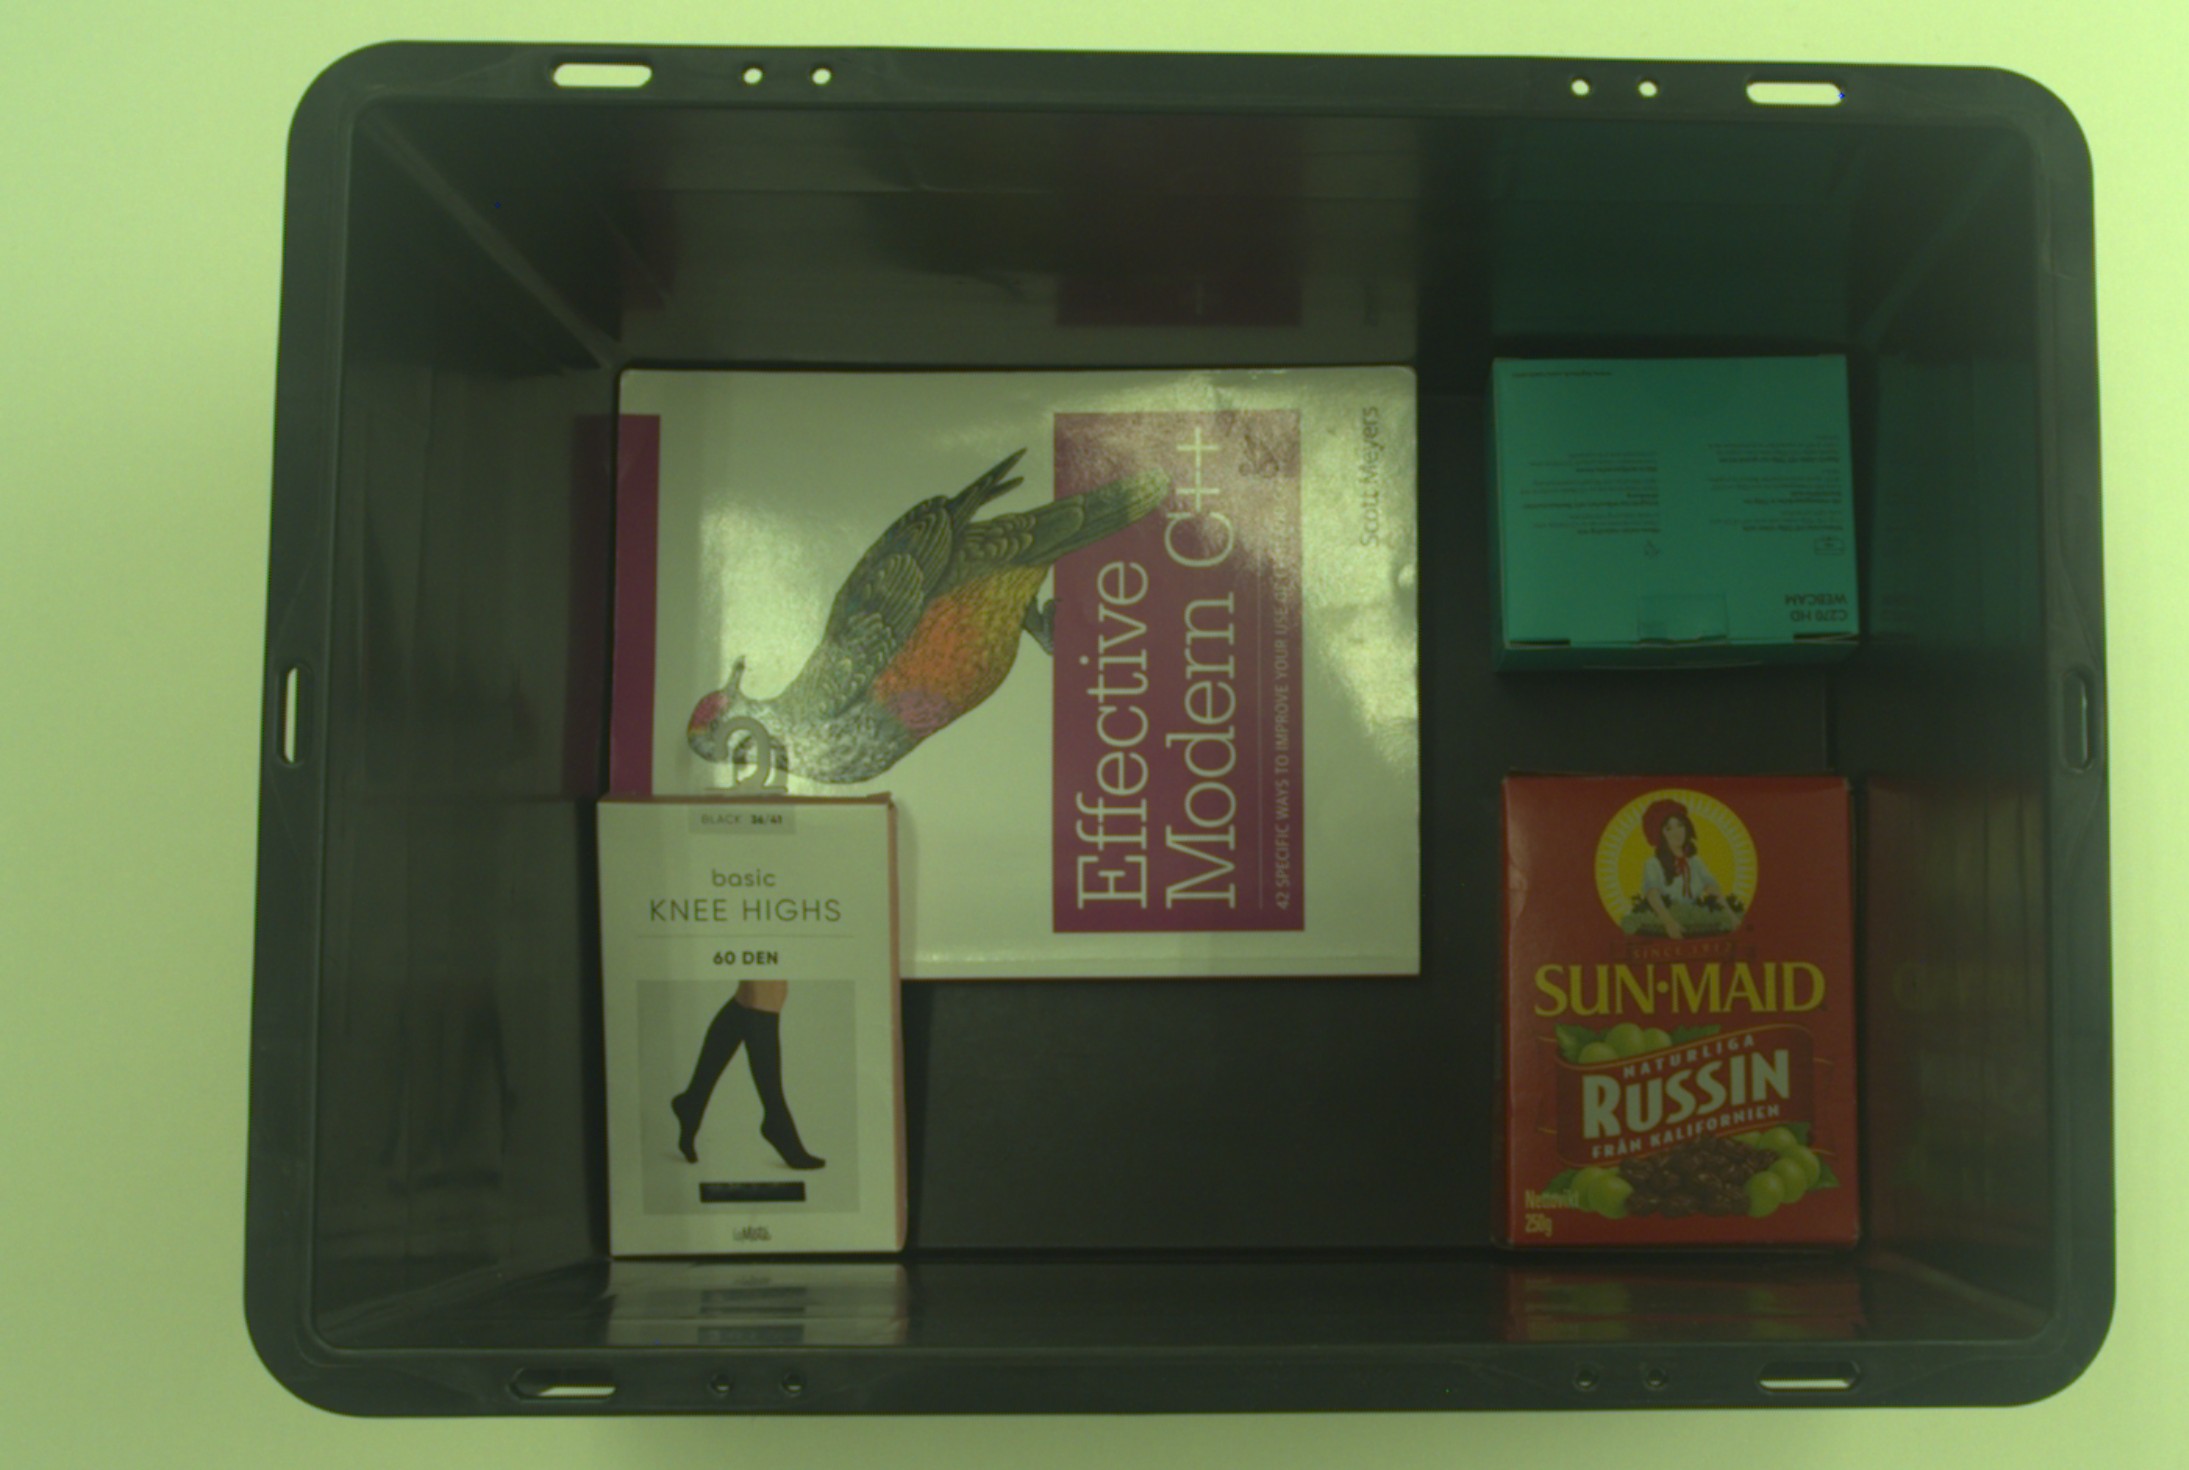
If capturing without the projector, you must ensure the camera gets sufficient light. The options are using settings with longer exposure times, higher gain values, and lower aperture values or adding an additional light source in the scene. Use diffuse lighting and turn it on only during the color image acquisition. If turned on during the main acquisition, the additional light source will likely decrease the point cloud quality.
Without the projector with color balance
Balancing the color is also most likely necessary when the projector is not used. For an implementation example, see Color Balance tutorial. This tutorial shows how to balance the color of a 2D image by taking images of a white surface (a piece of paper, wall, or similar) in a loop.
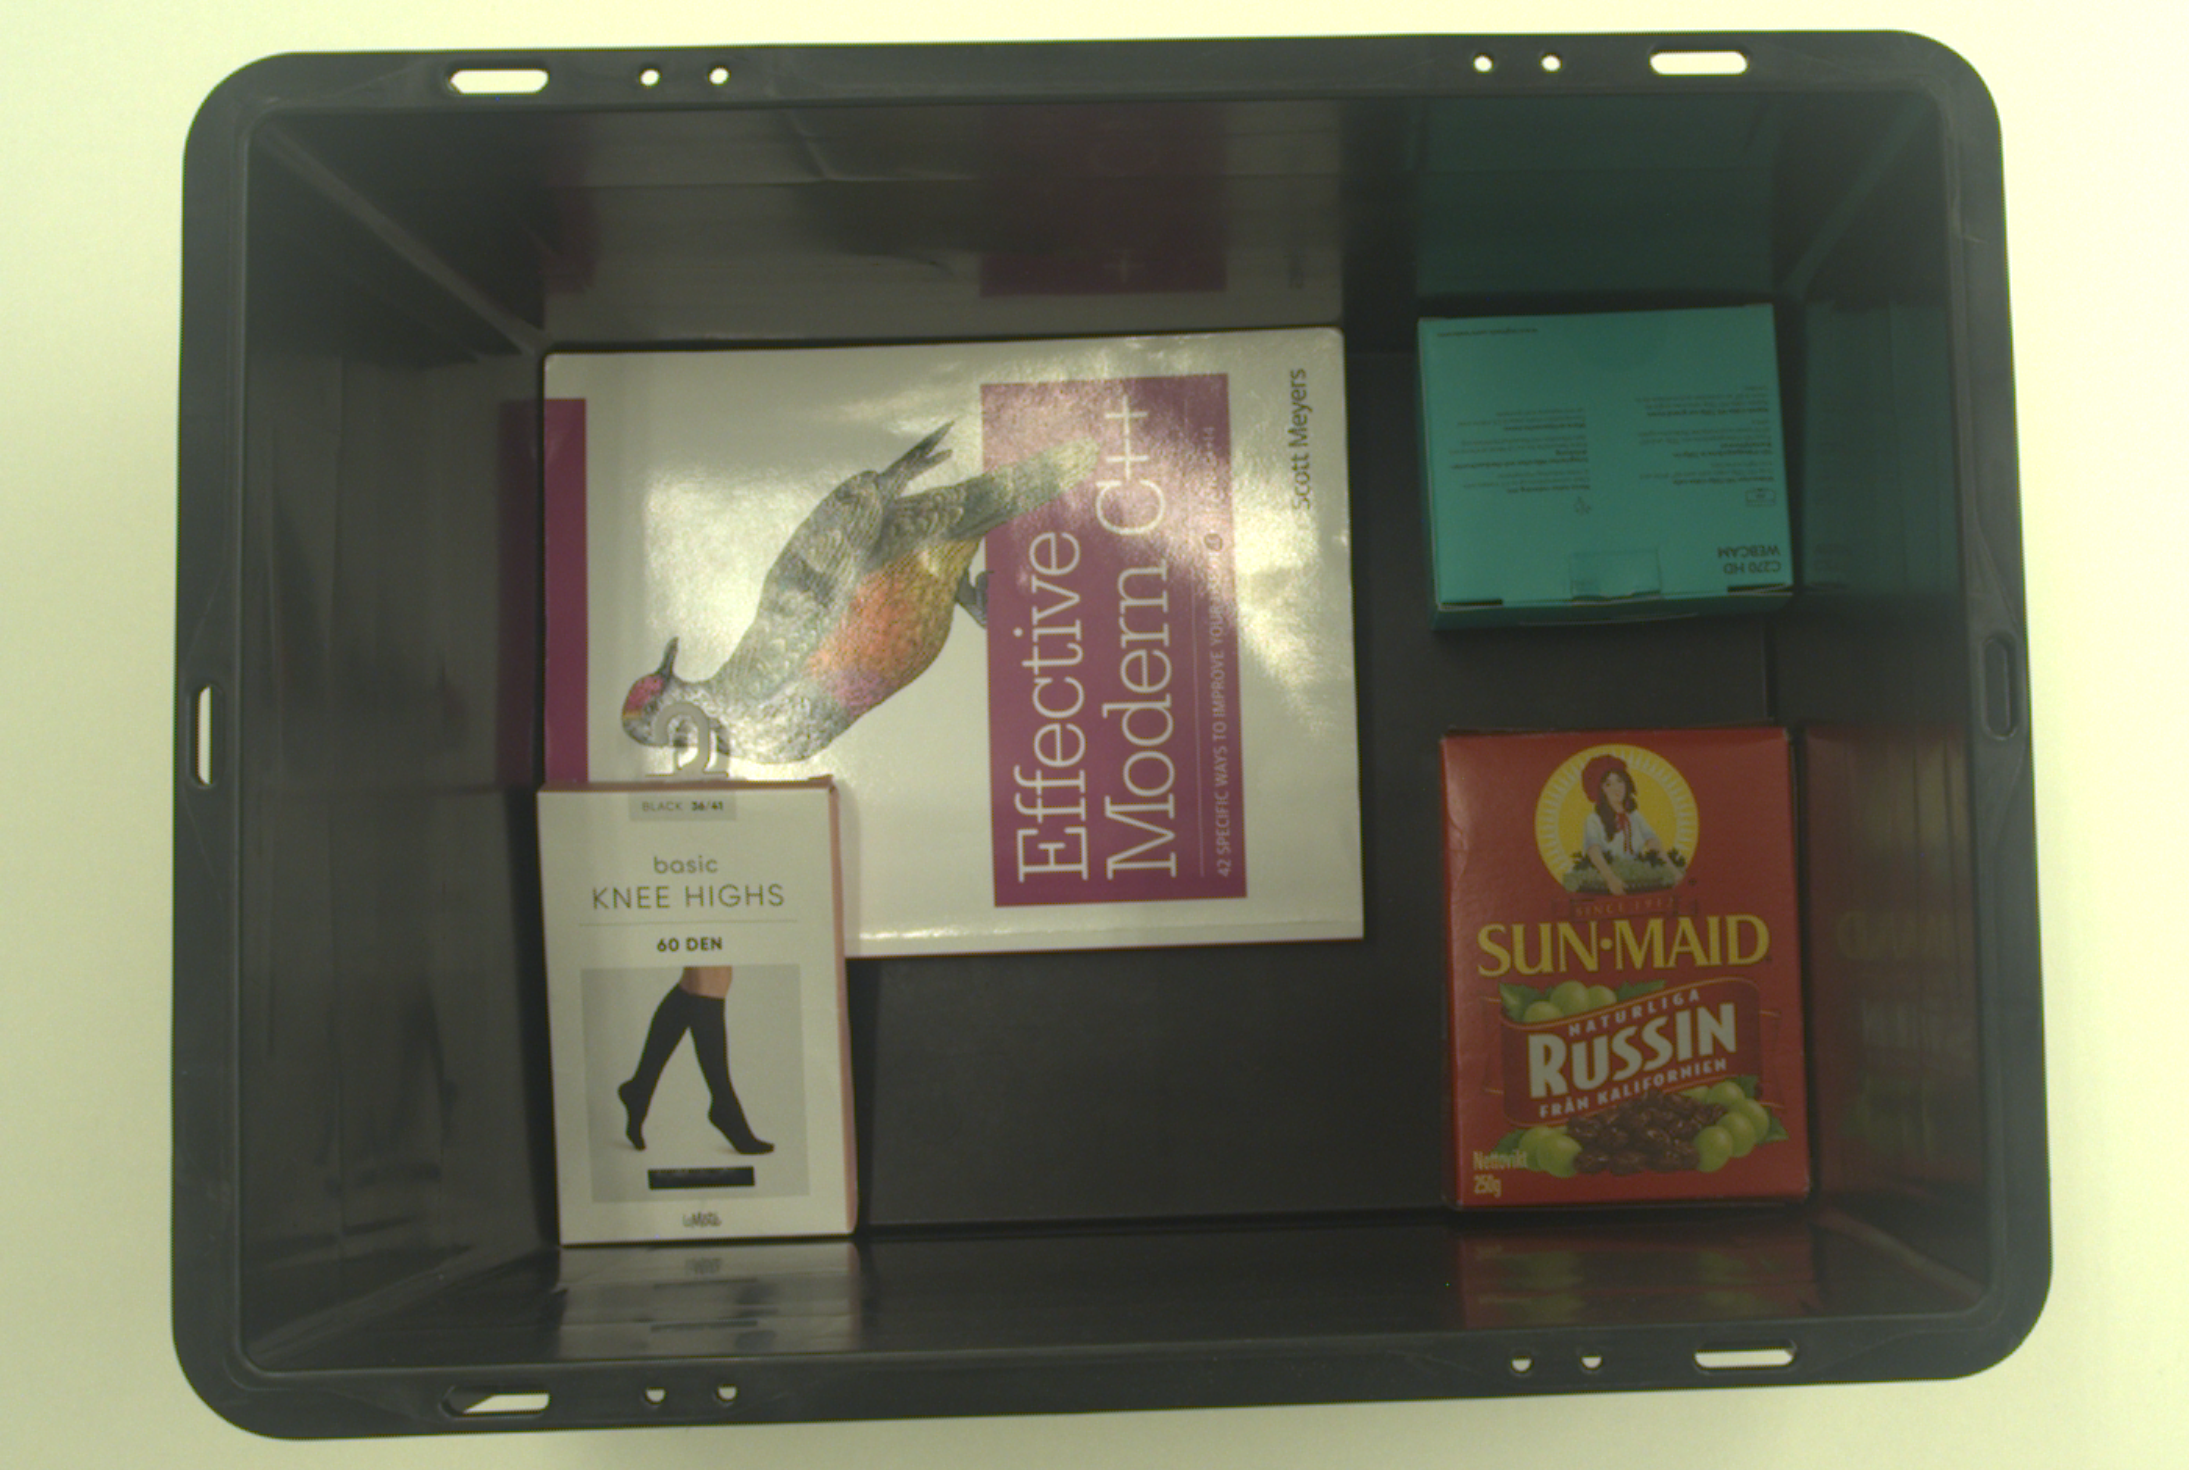
Note
It is intuitive and conceptually correct to use a 2D capture as the additional capture. If using a Zivid Two camera, always go for the 2D capture. However, if using Zivid One+, consider the limitation below on switching between 2D and 3D capture calls.
Limitation
Here, we explain limitation when performing captures in a sequence while switching between 2D and 3D capture calls.
Caution
If you perform captures in a sequence where you switch between 2D and 3D capture calls, the Zivid One+ (not Zivid Two) cameras have a switching time penalty. This time penalty happens only if the 2D capture settings use brightness > 0 because different patterns need to be flashed to the projector controller, and this takes time. As a result, there is a delay between the captures when switching the capture mode (2D and 3D). The delay is approximately 350 ms when switching from 3D to 2D and 650 ms when switching from 2D to 3D. Therefore, there can be roughly 1 s overhead in addition to the 2D capture time and 3D capture time. In SDK 2.6 and beyond, this limitation only happens when using 2D captures with brightness > 0.
2D Capture Settings |
||
Projector Brightness = 0 |
Projector Brightness > 0 |
|
Zivid Two |
None |
None |
Zivid One+ |
None |
350 - 900 ms switching time penalty |
Tip
Zivid Two cameras do not have the time penalty that Zivid One+ cameras have; switching between 2D and 3D capture modes with Zivid Two happens instantly.
Note
Switching time between 3D and 2D capture modes has been removed for Zivid One+ cameras in 2.6 SDK for the 2D capture without the projector (projector brightness setting set to 0).
For Zivid One+ cameras, if you must use the projector, taking another 3D capture for the color image may be less time-consuming than taking another 2D capture with the projector. This approach assumes you use the point cloud data from the main 3D capture (single or HDR) and the color image from the additional 3D capture. If you use single capture for the main 3D capture, use the same exposure time for the additional 3D capture to optimize the capture time. If you use HDR, the exposure time of the last HDR acquisition should be the same as the exposure time of the additional 3D capture.
Dealing with Color Inconsistency from HDR
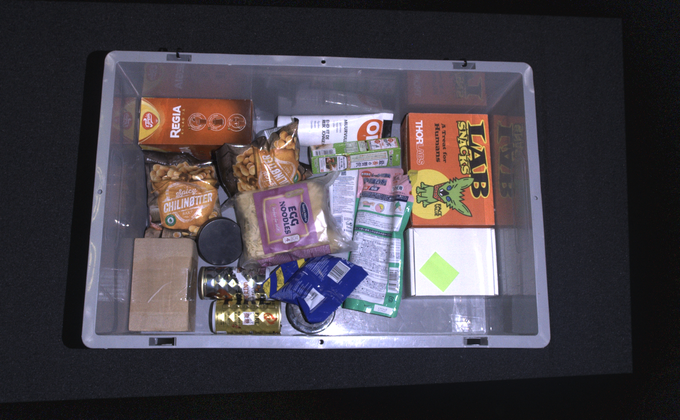
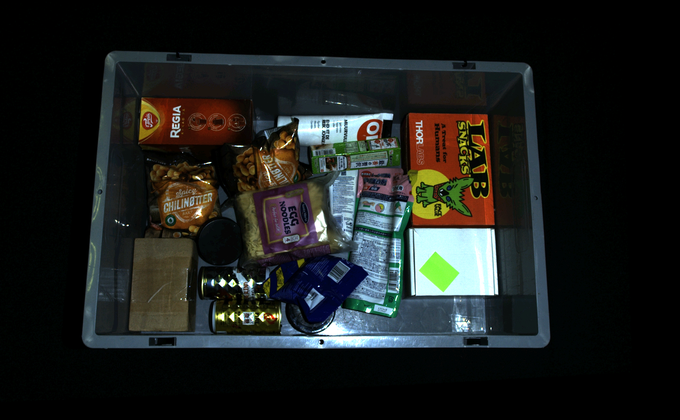
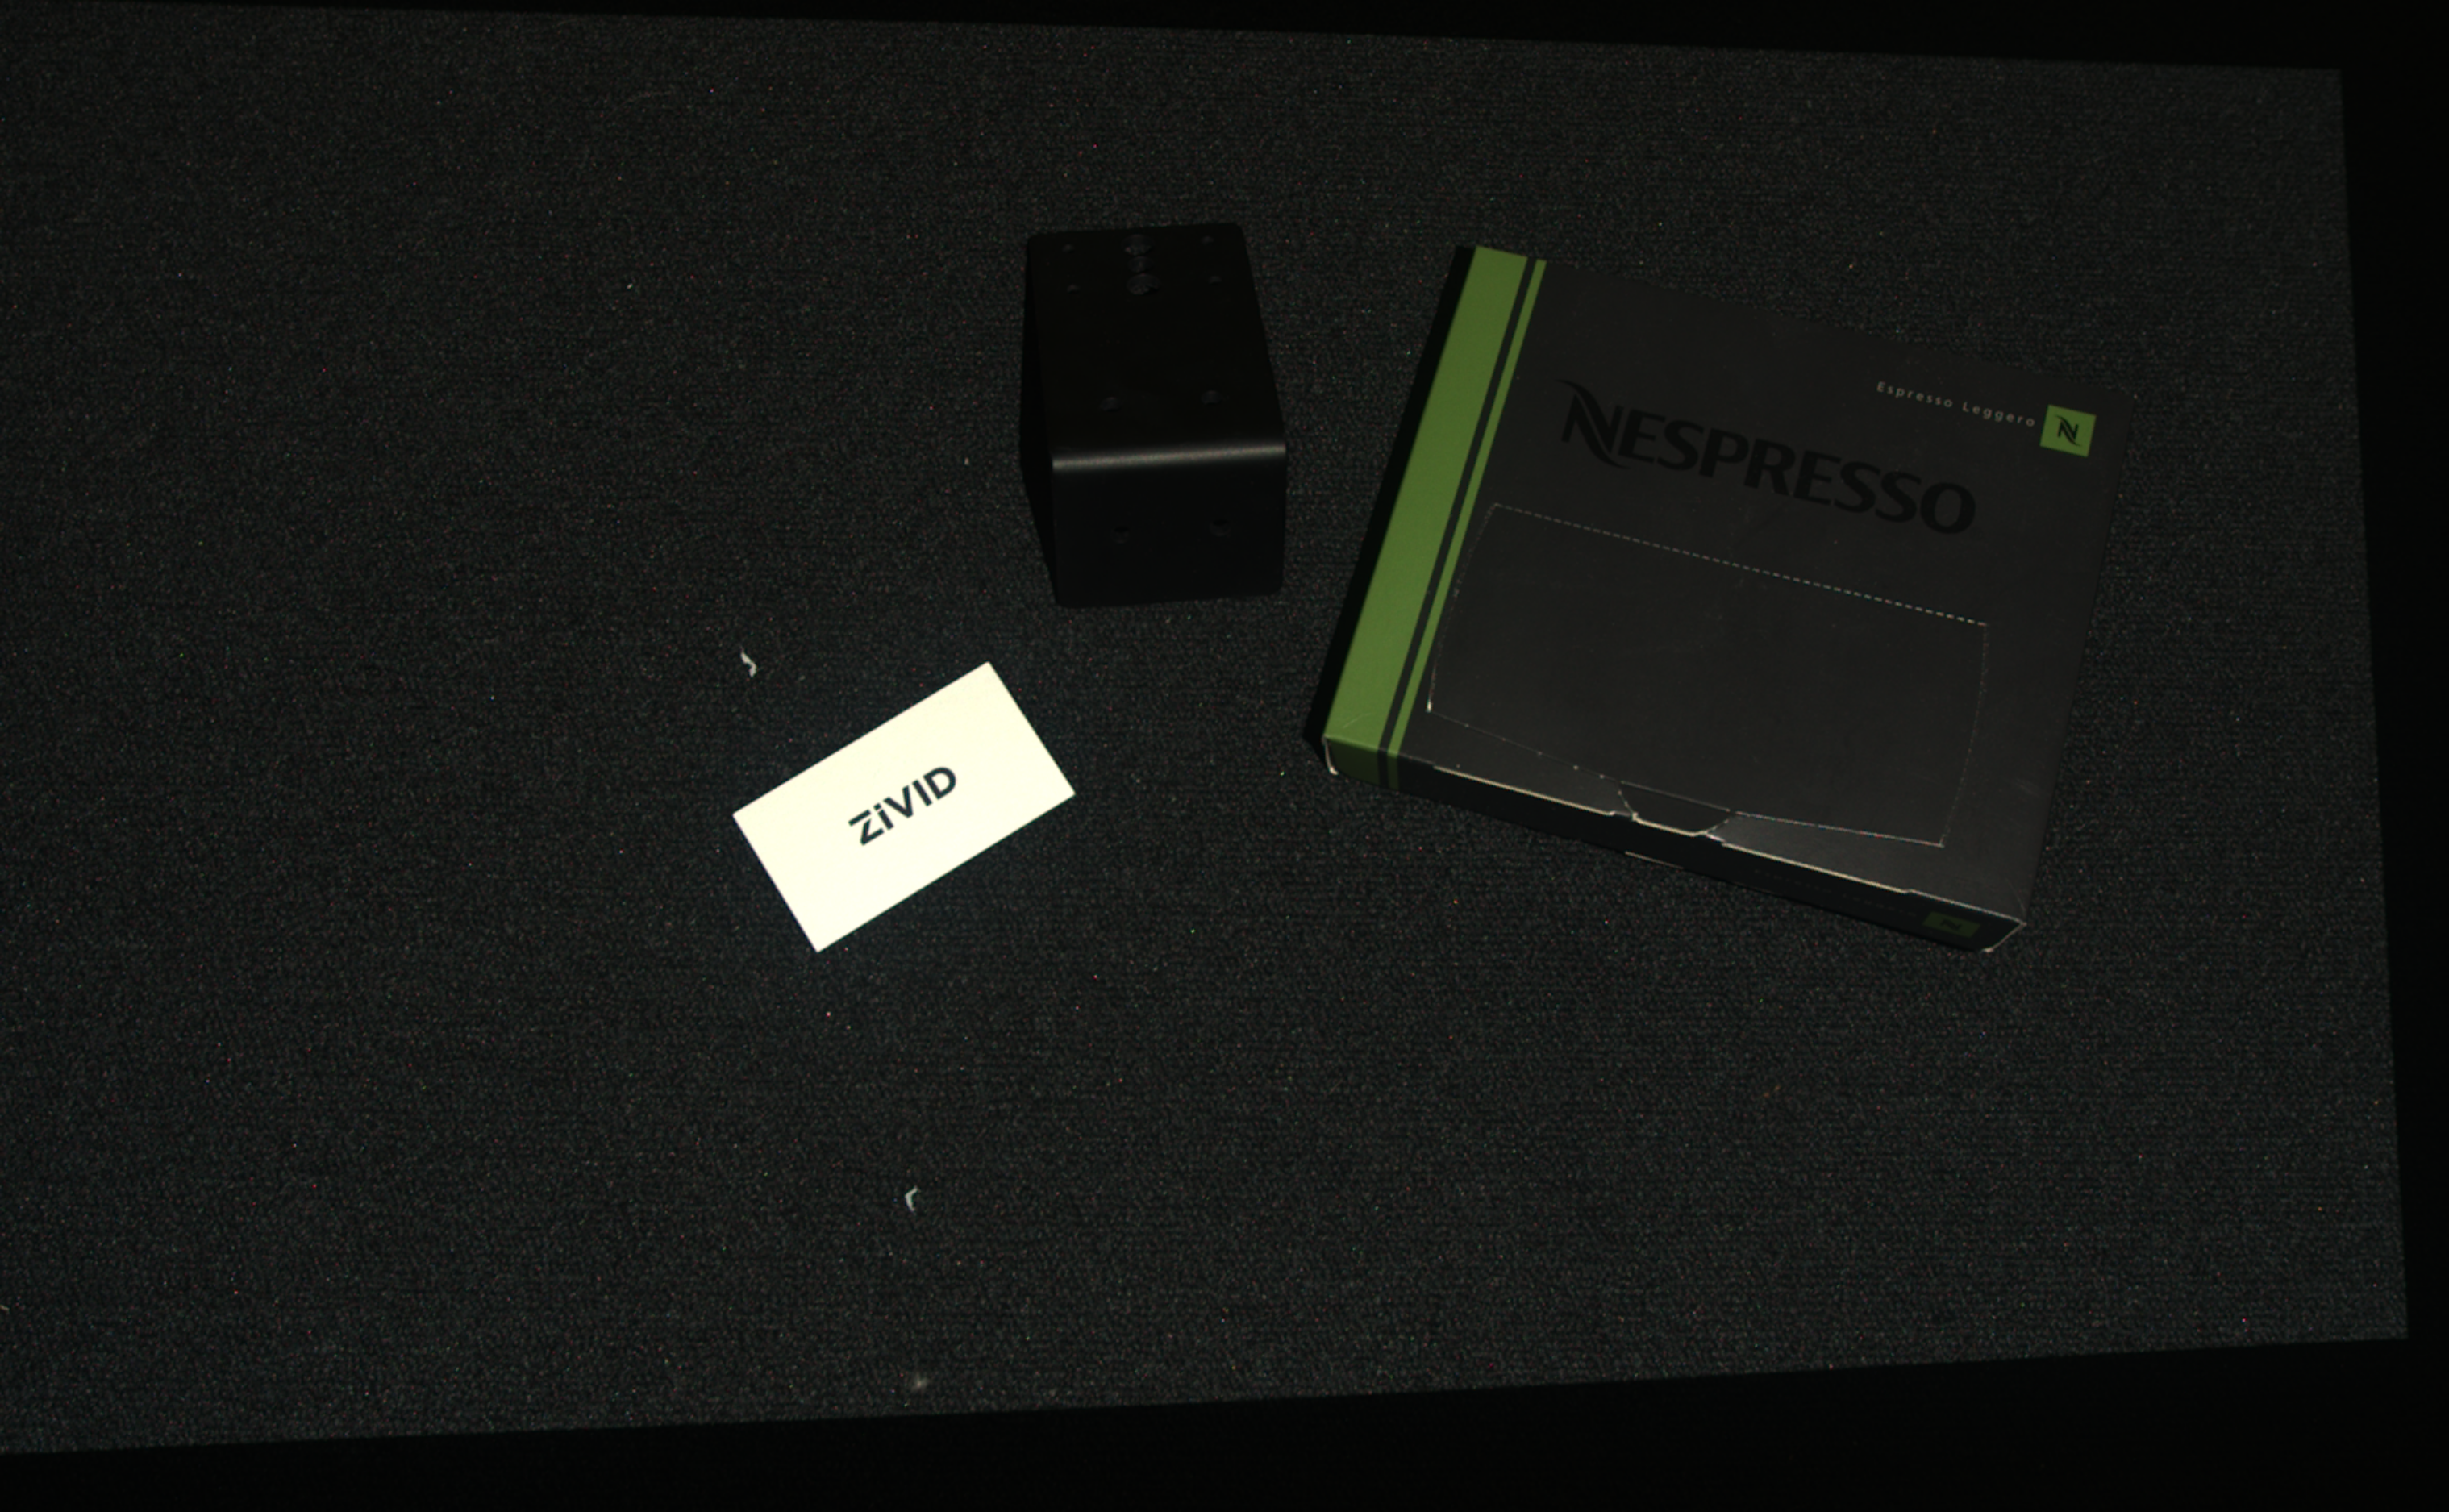
The color image from the multi-acquisition HDR capture is always a result of tone mapping. While tone mapping solves the challenging problem of optimizing the color for that particular capture, it has one downside. Since it is a function of the scene, the downside of the tone mapping technique is the inconsistency with changes in the scene. The following example explains this phenomenon.
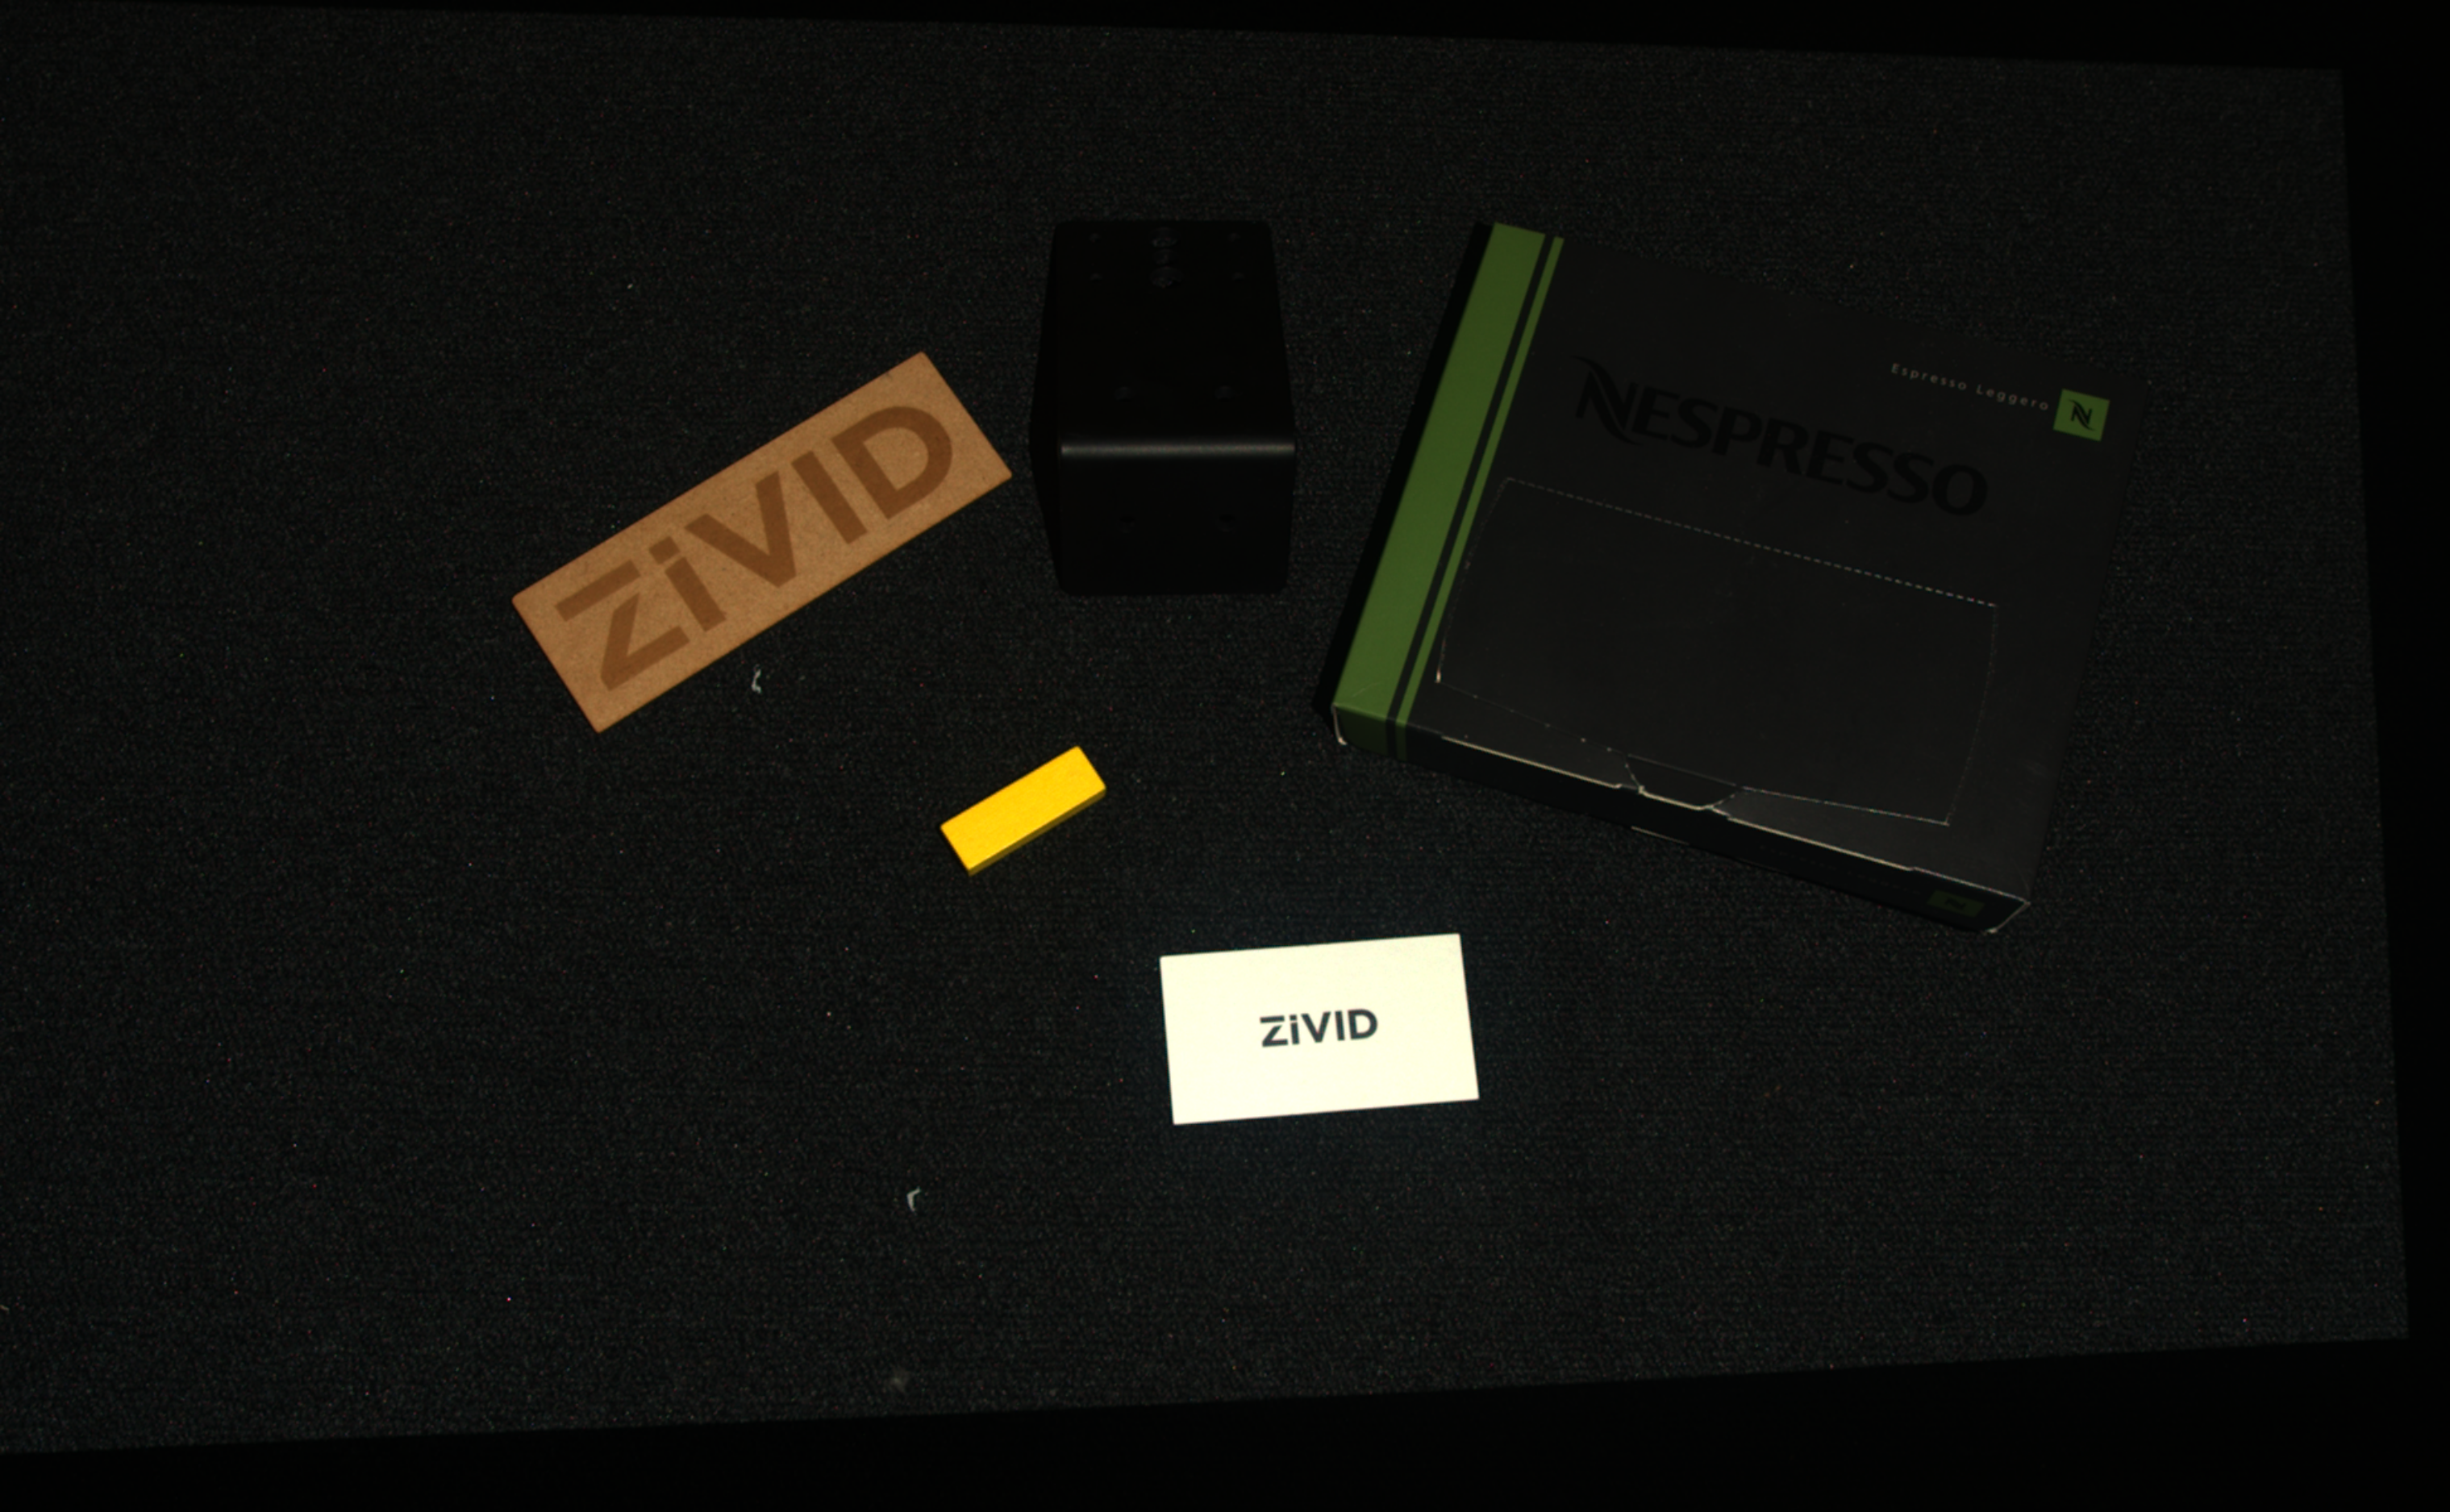
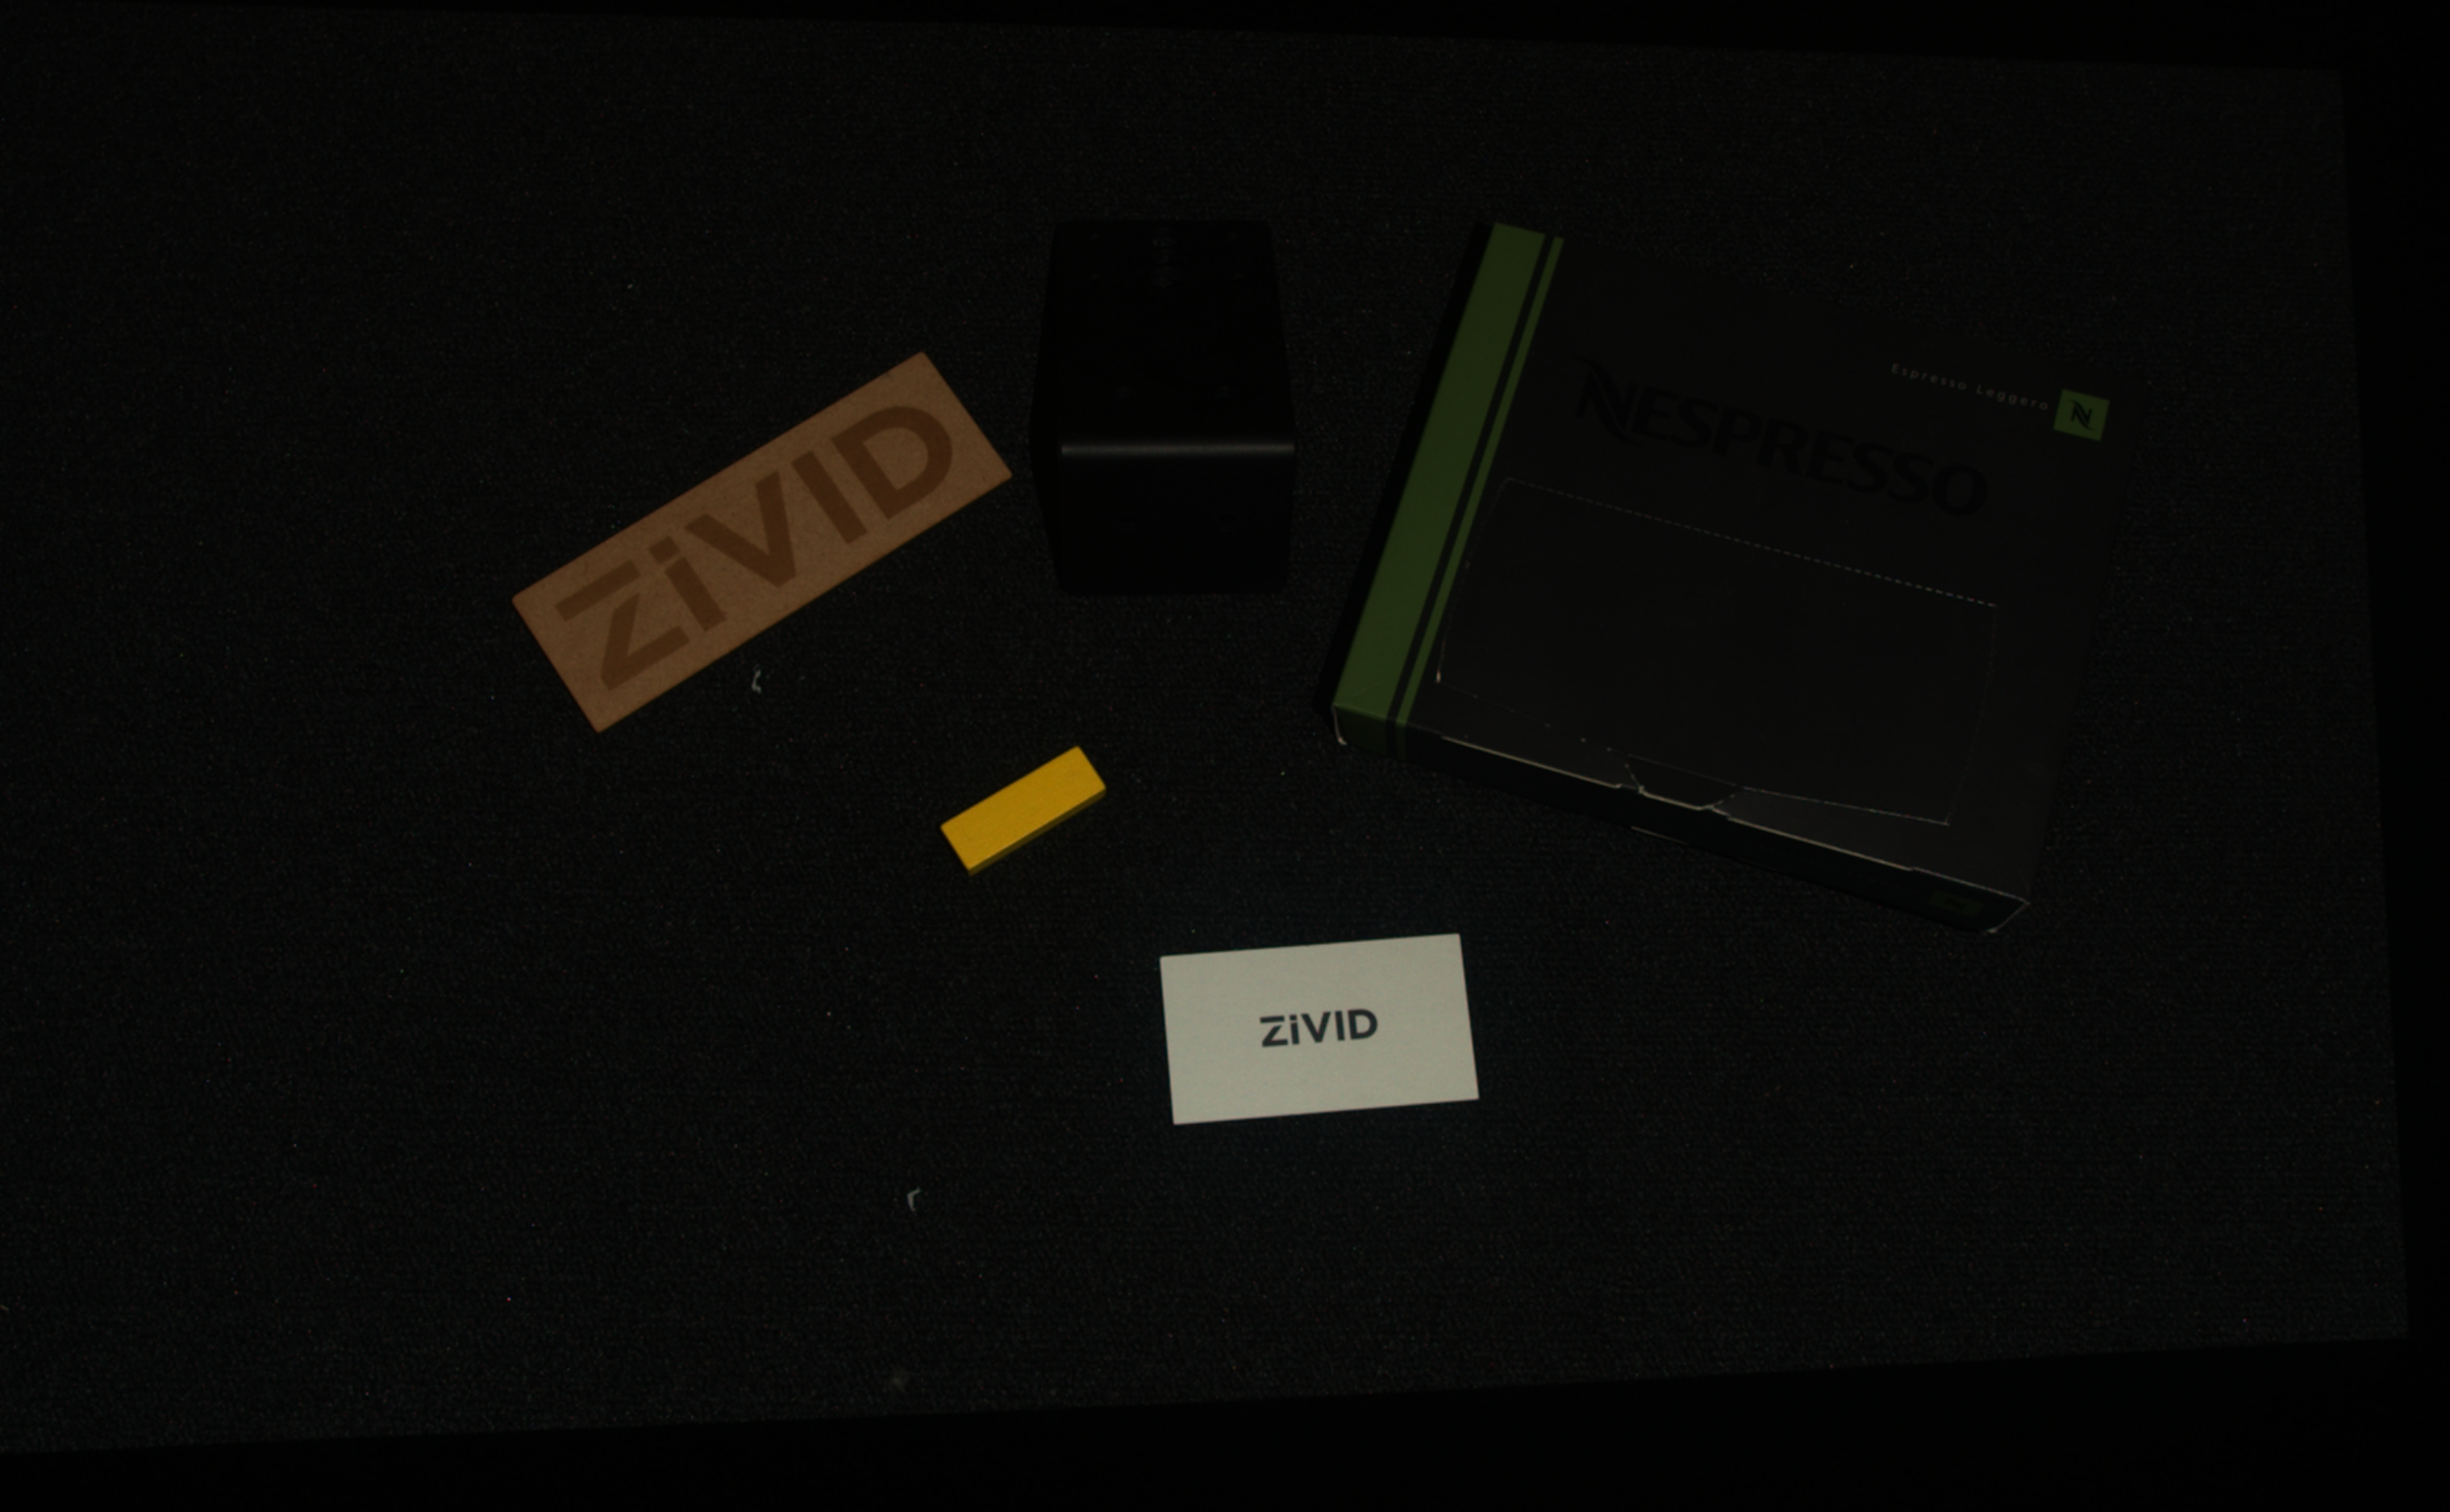
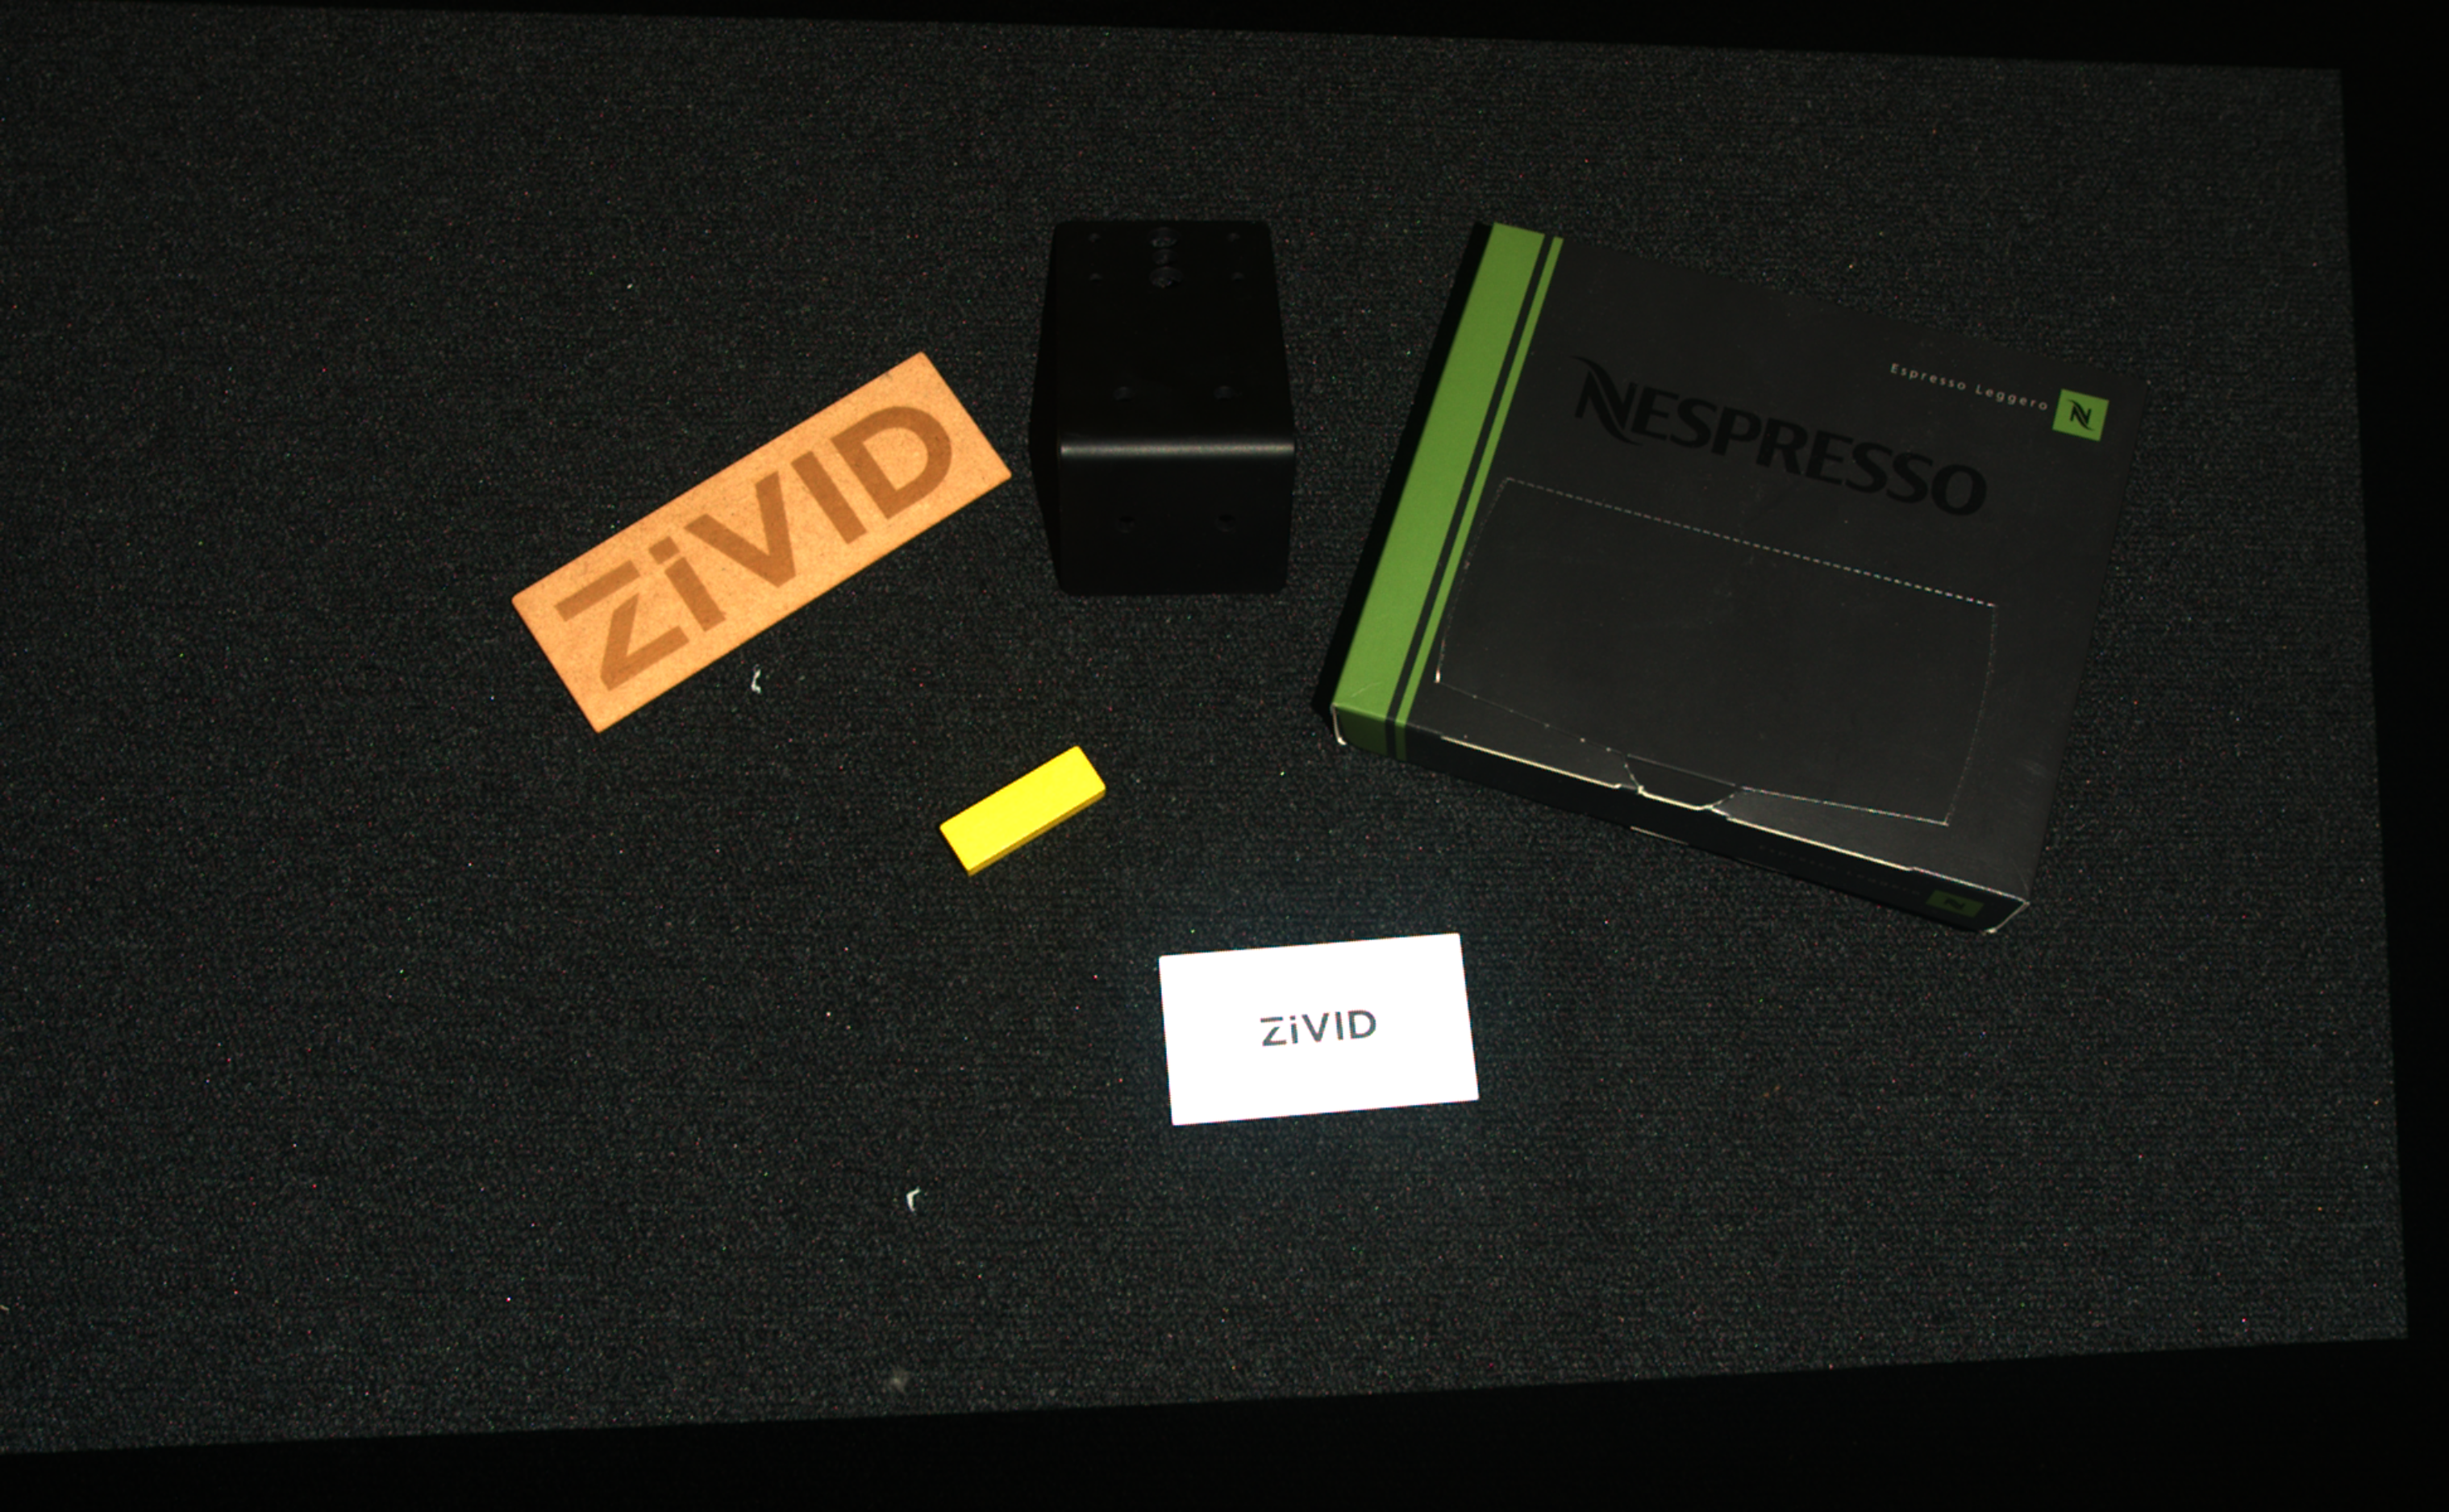
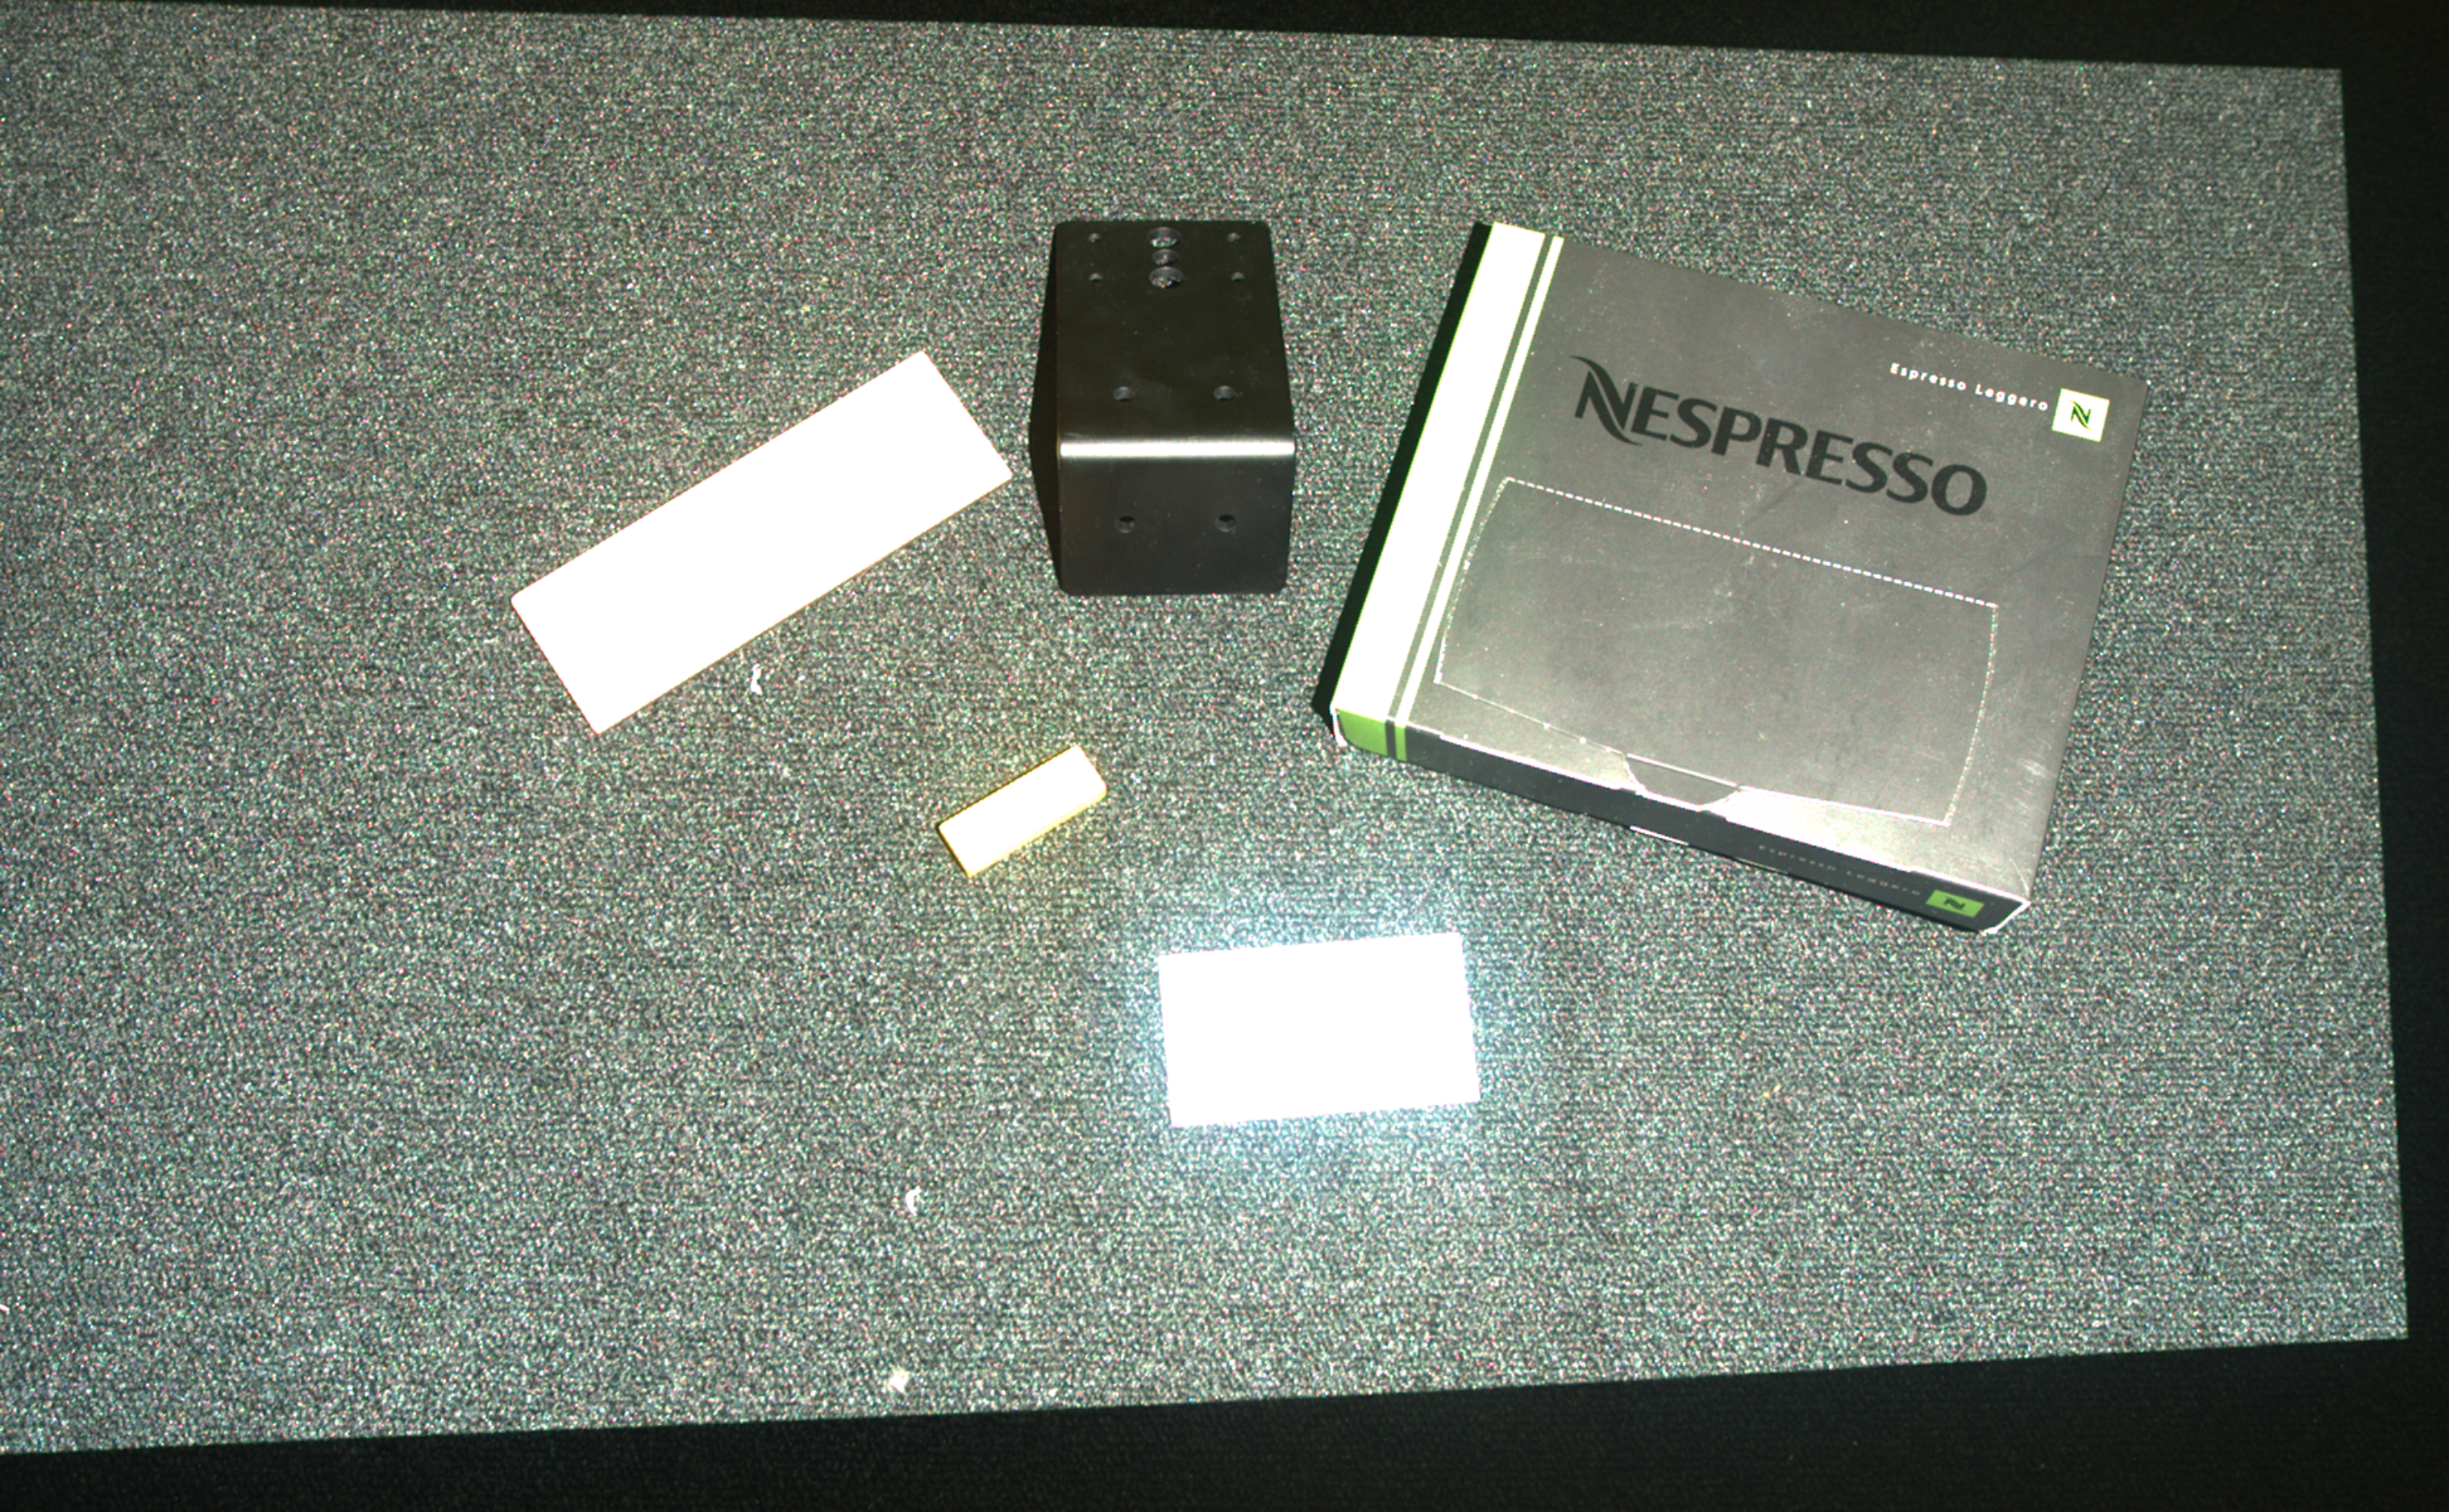
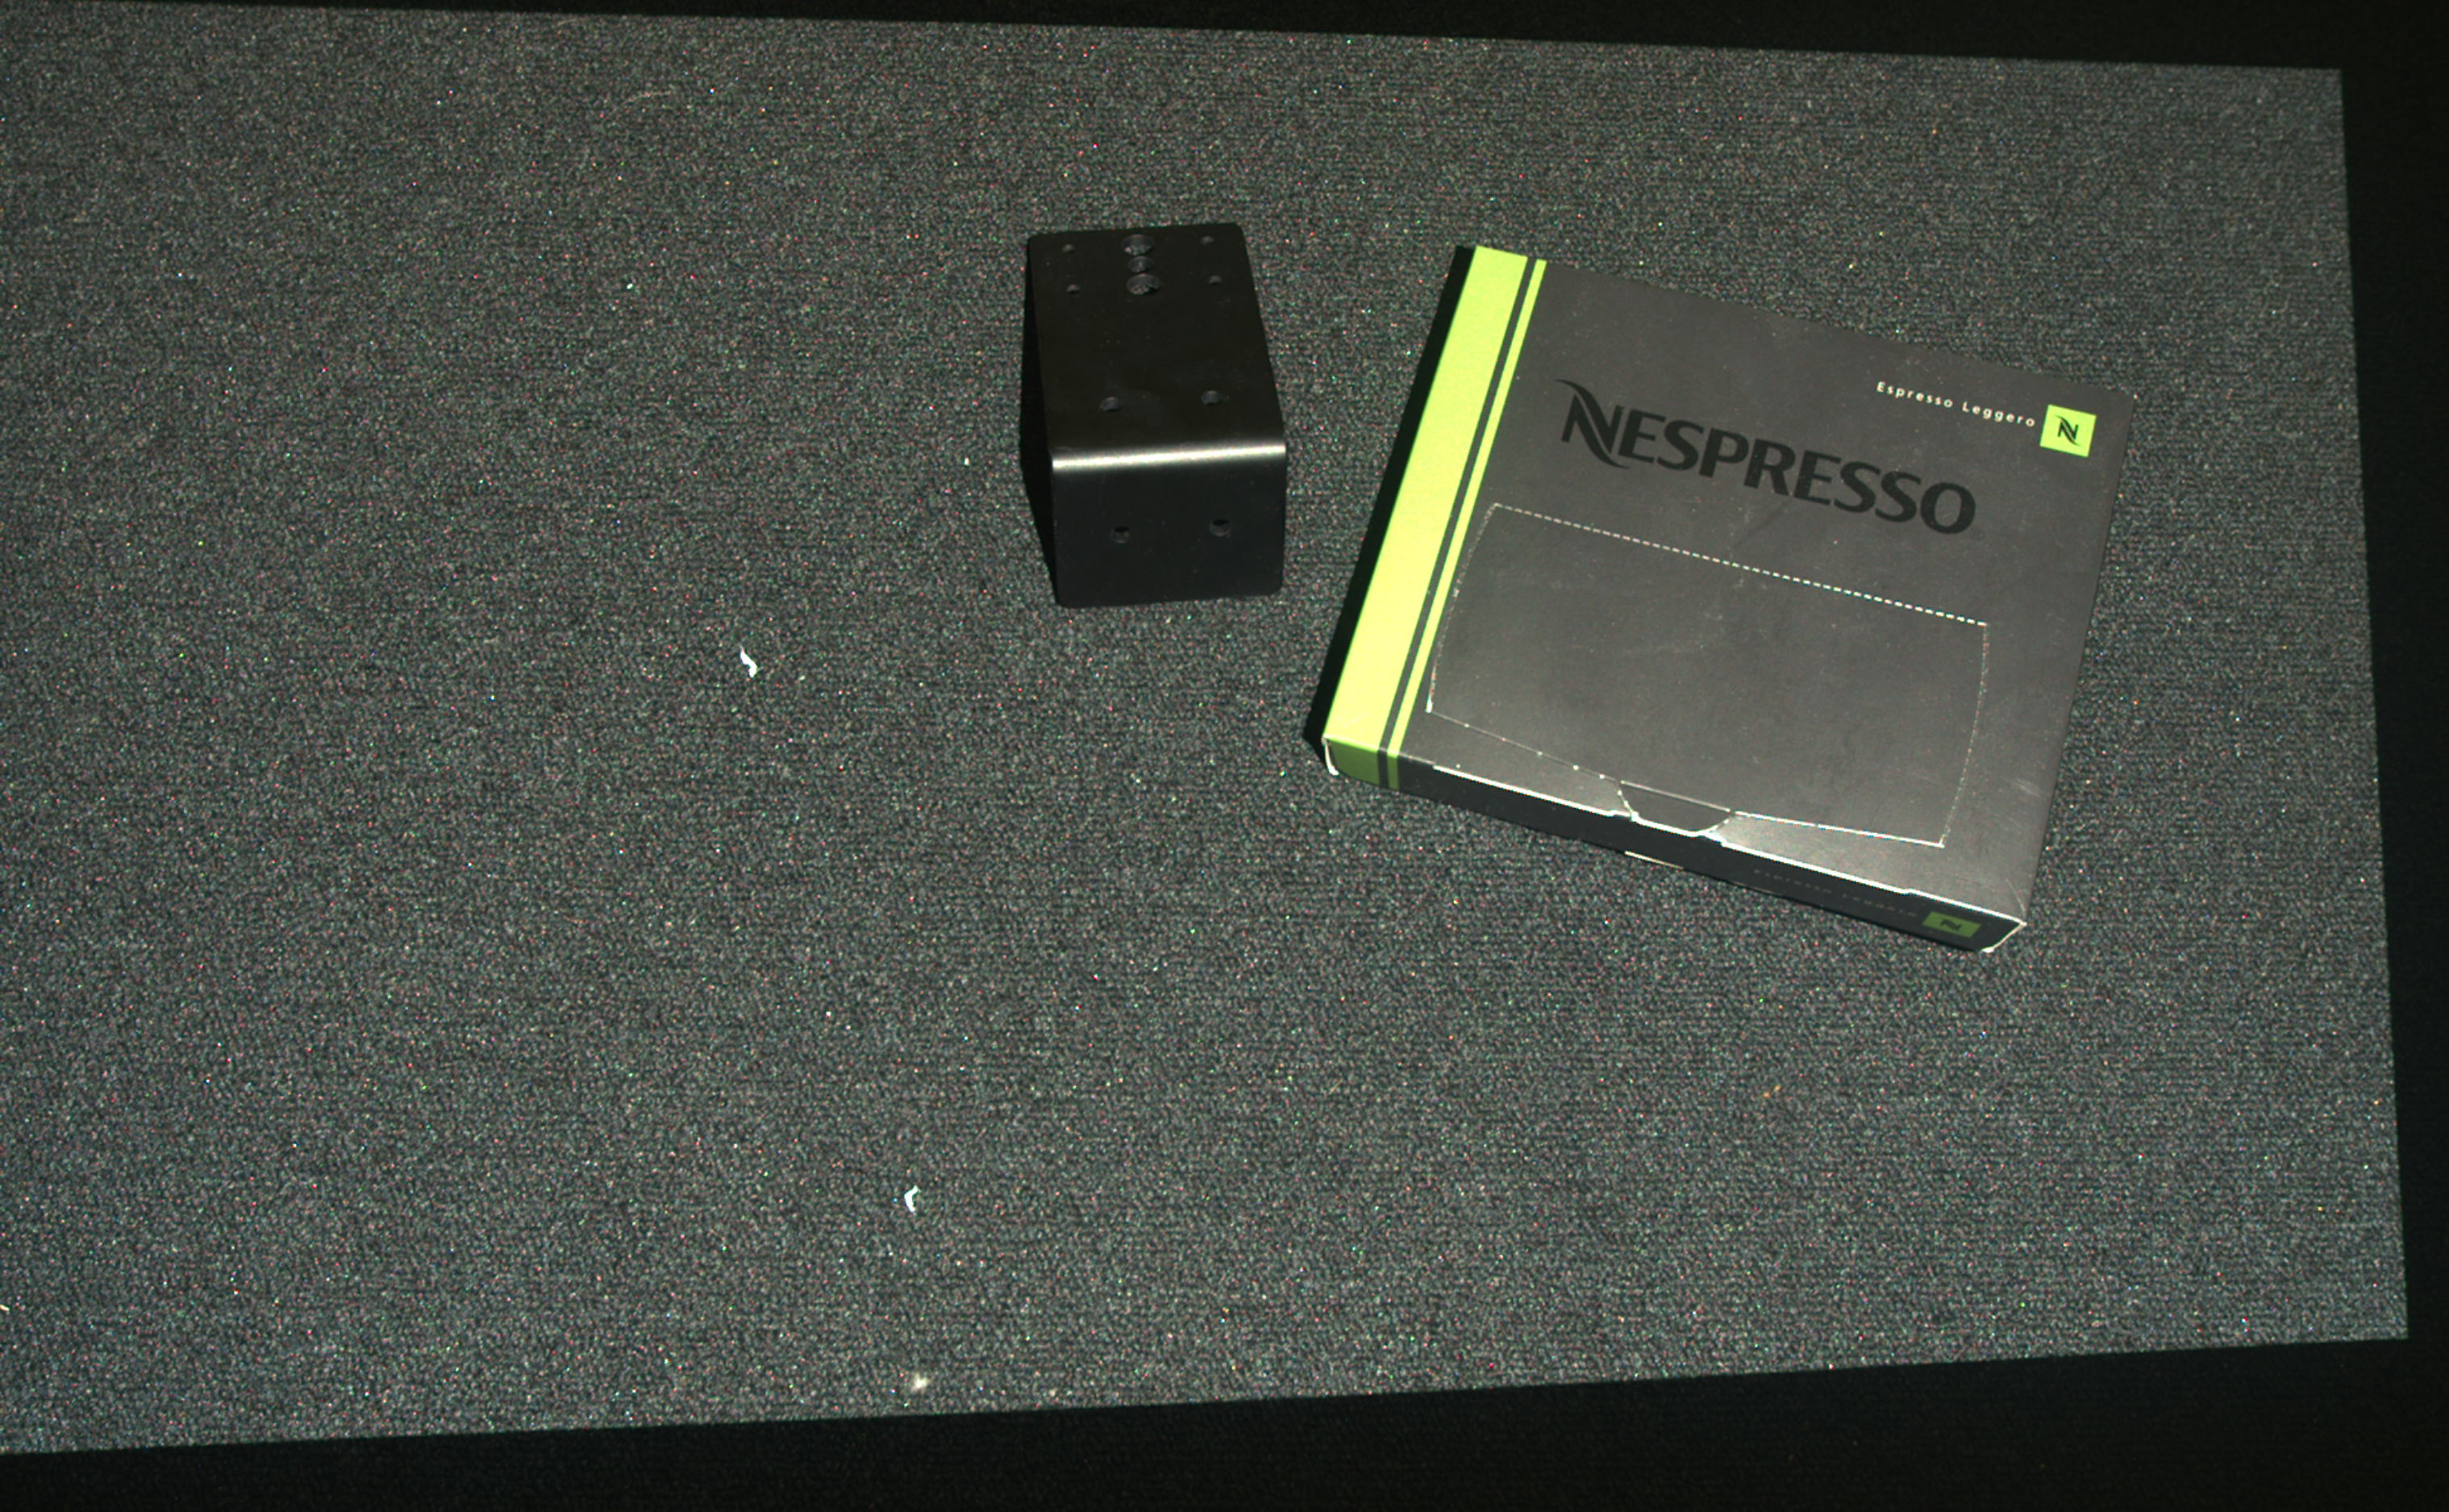
Let us say we have a relatively dark scene. We find acquisition settings that cover a wide enough dynamic range and perform a multi-acquisition HDR capture (figure on the left). We then add a bright object to the scene and capture it again with the same settings (figure on the right).
|
|
HDR capture of a dark scene |
HDR capture with the same settings of the same scene but with an additional bright object added |
Let us look at the output color image (figure on the right) and specifically at the dark objects initially in the scene (e.g., black box or floor in this case). We notice that the RGB values of these objects are different before and after adding the bright object to the scene.
The change of RGB values can be a problem for some applications, e.g., ones using algorithms that classify objects based on color information. The reason is that these algorithms will expect the RGB values to remain the same.
Additional Capture
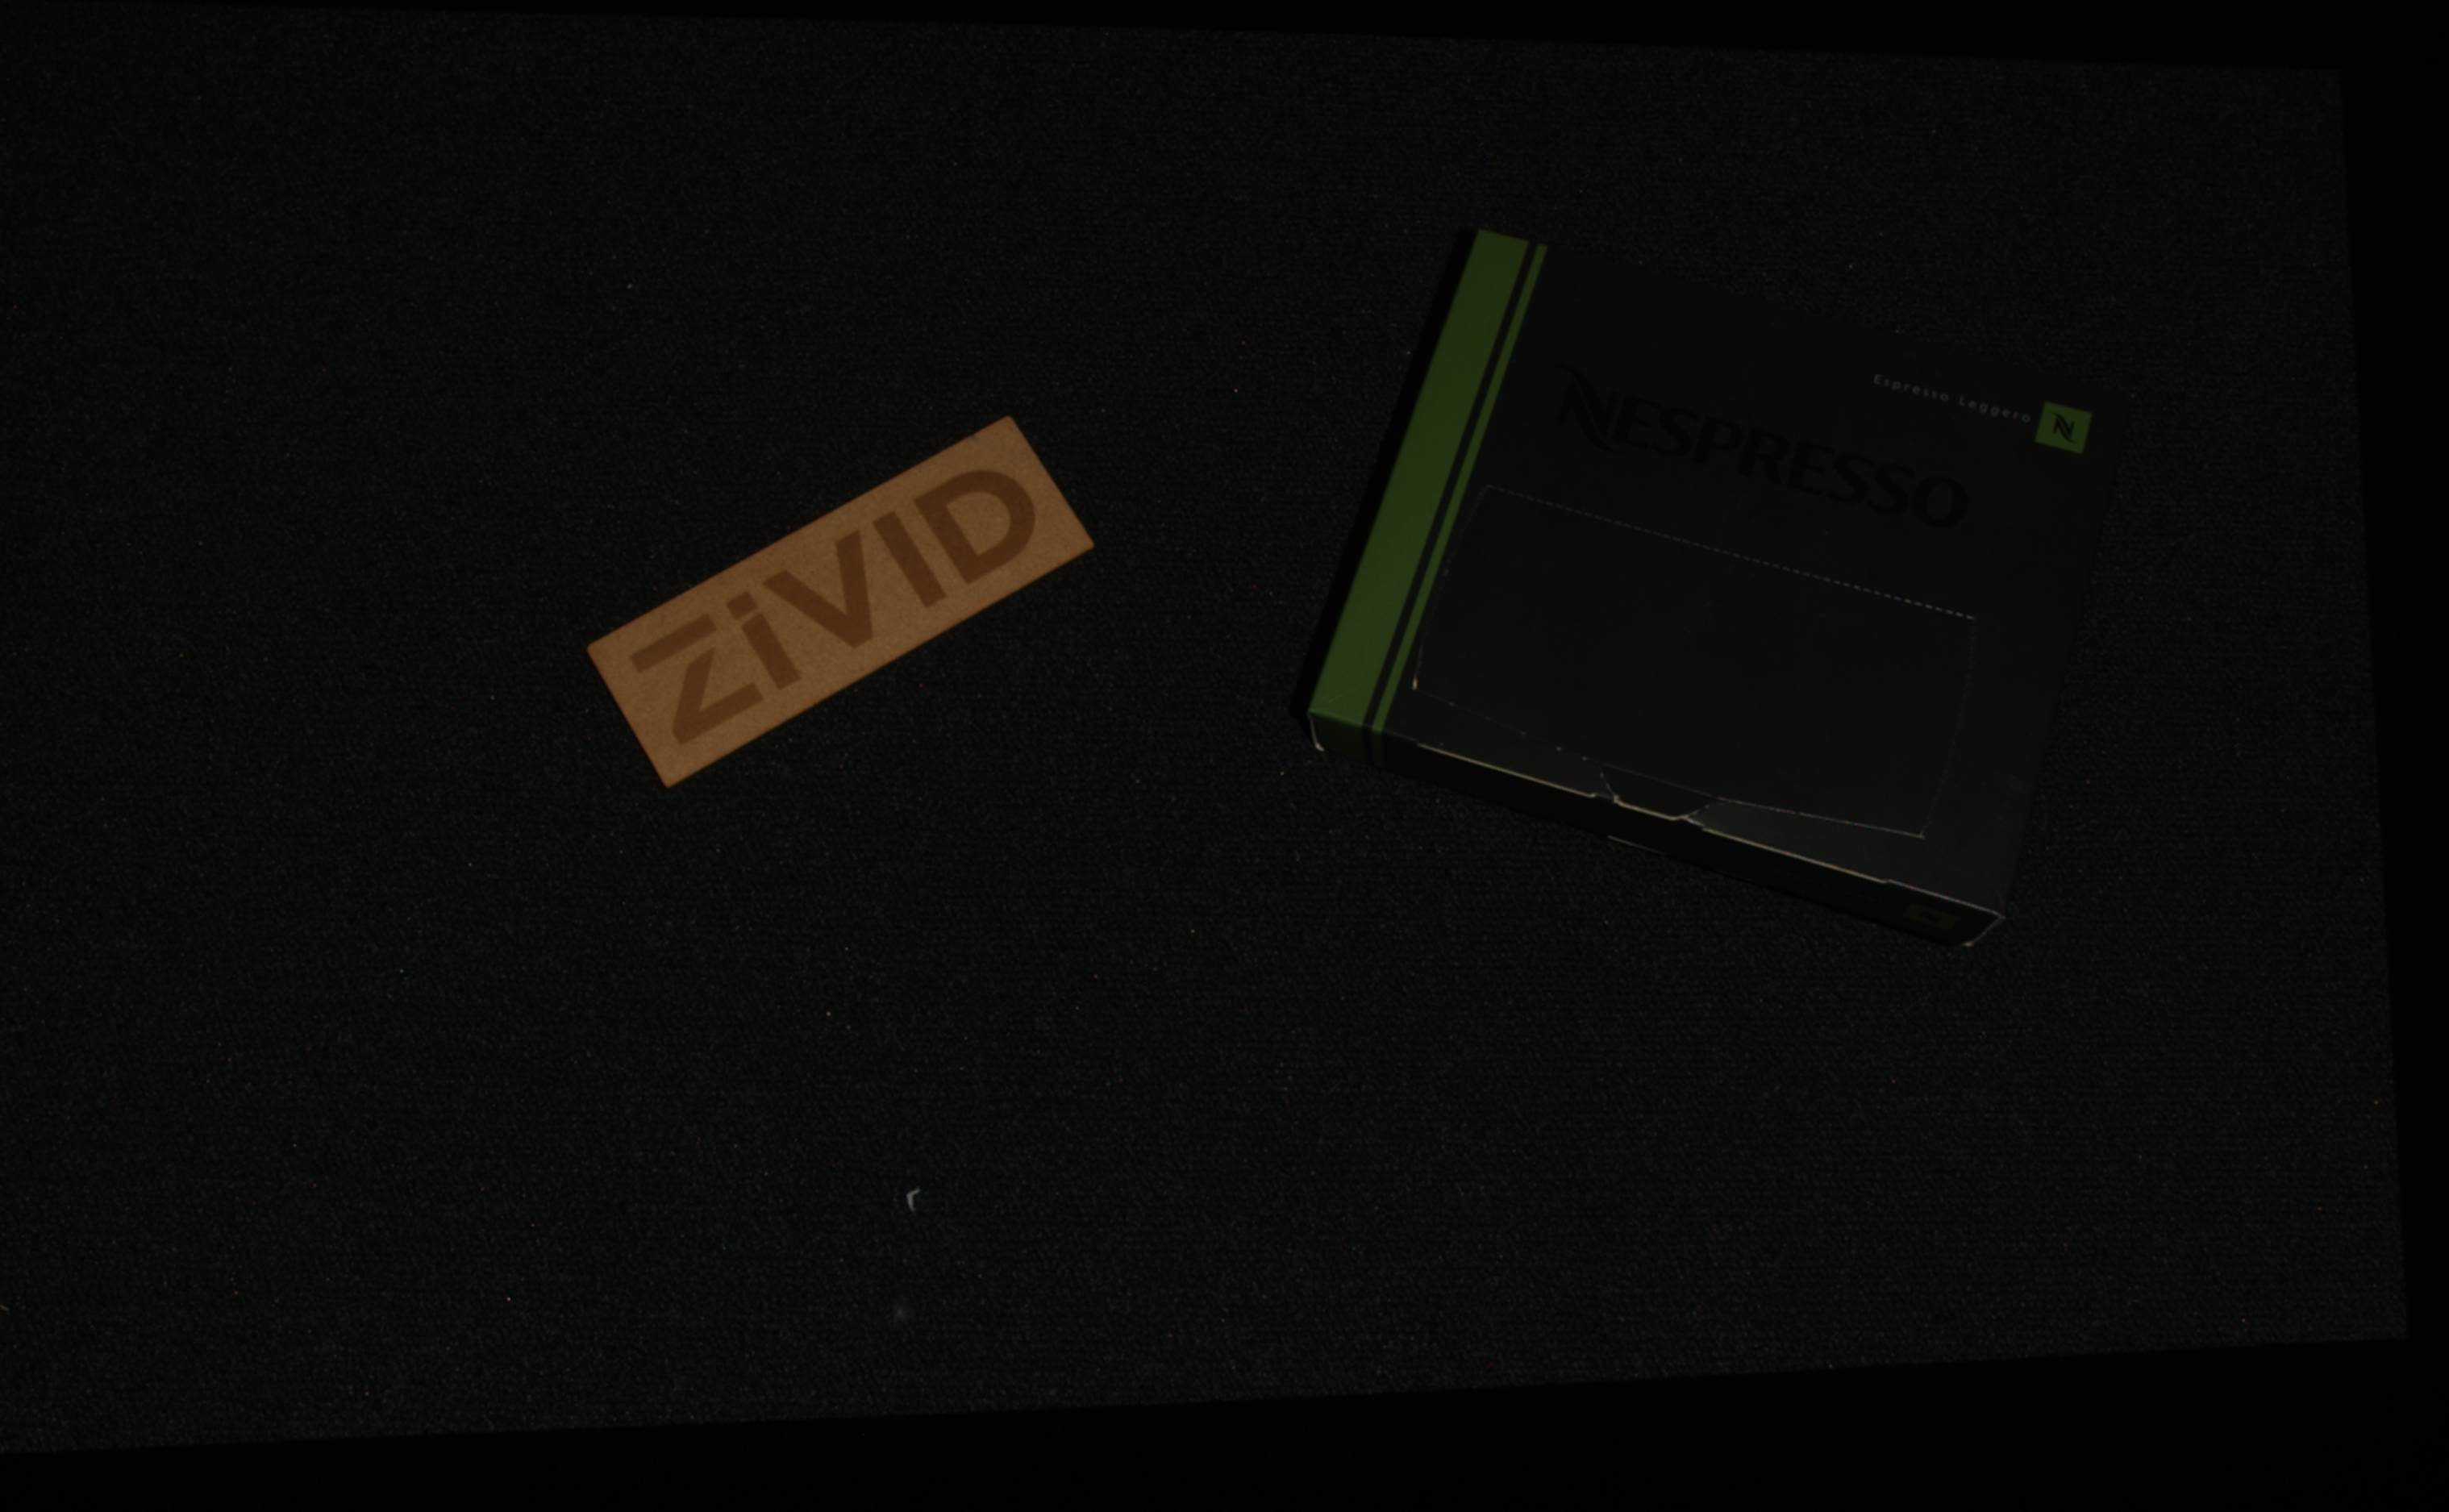
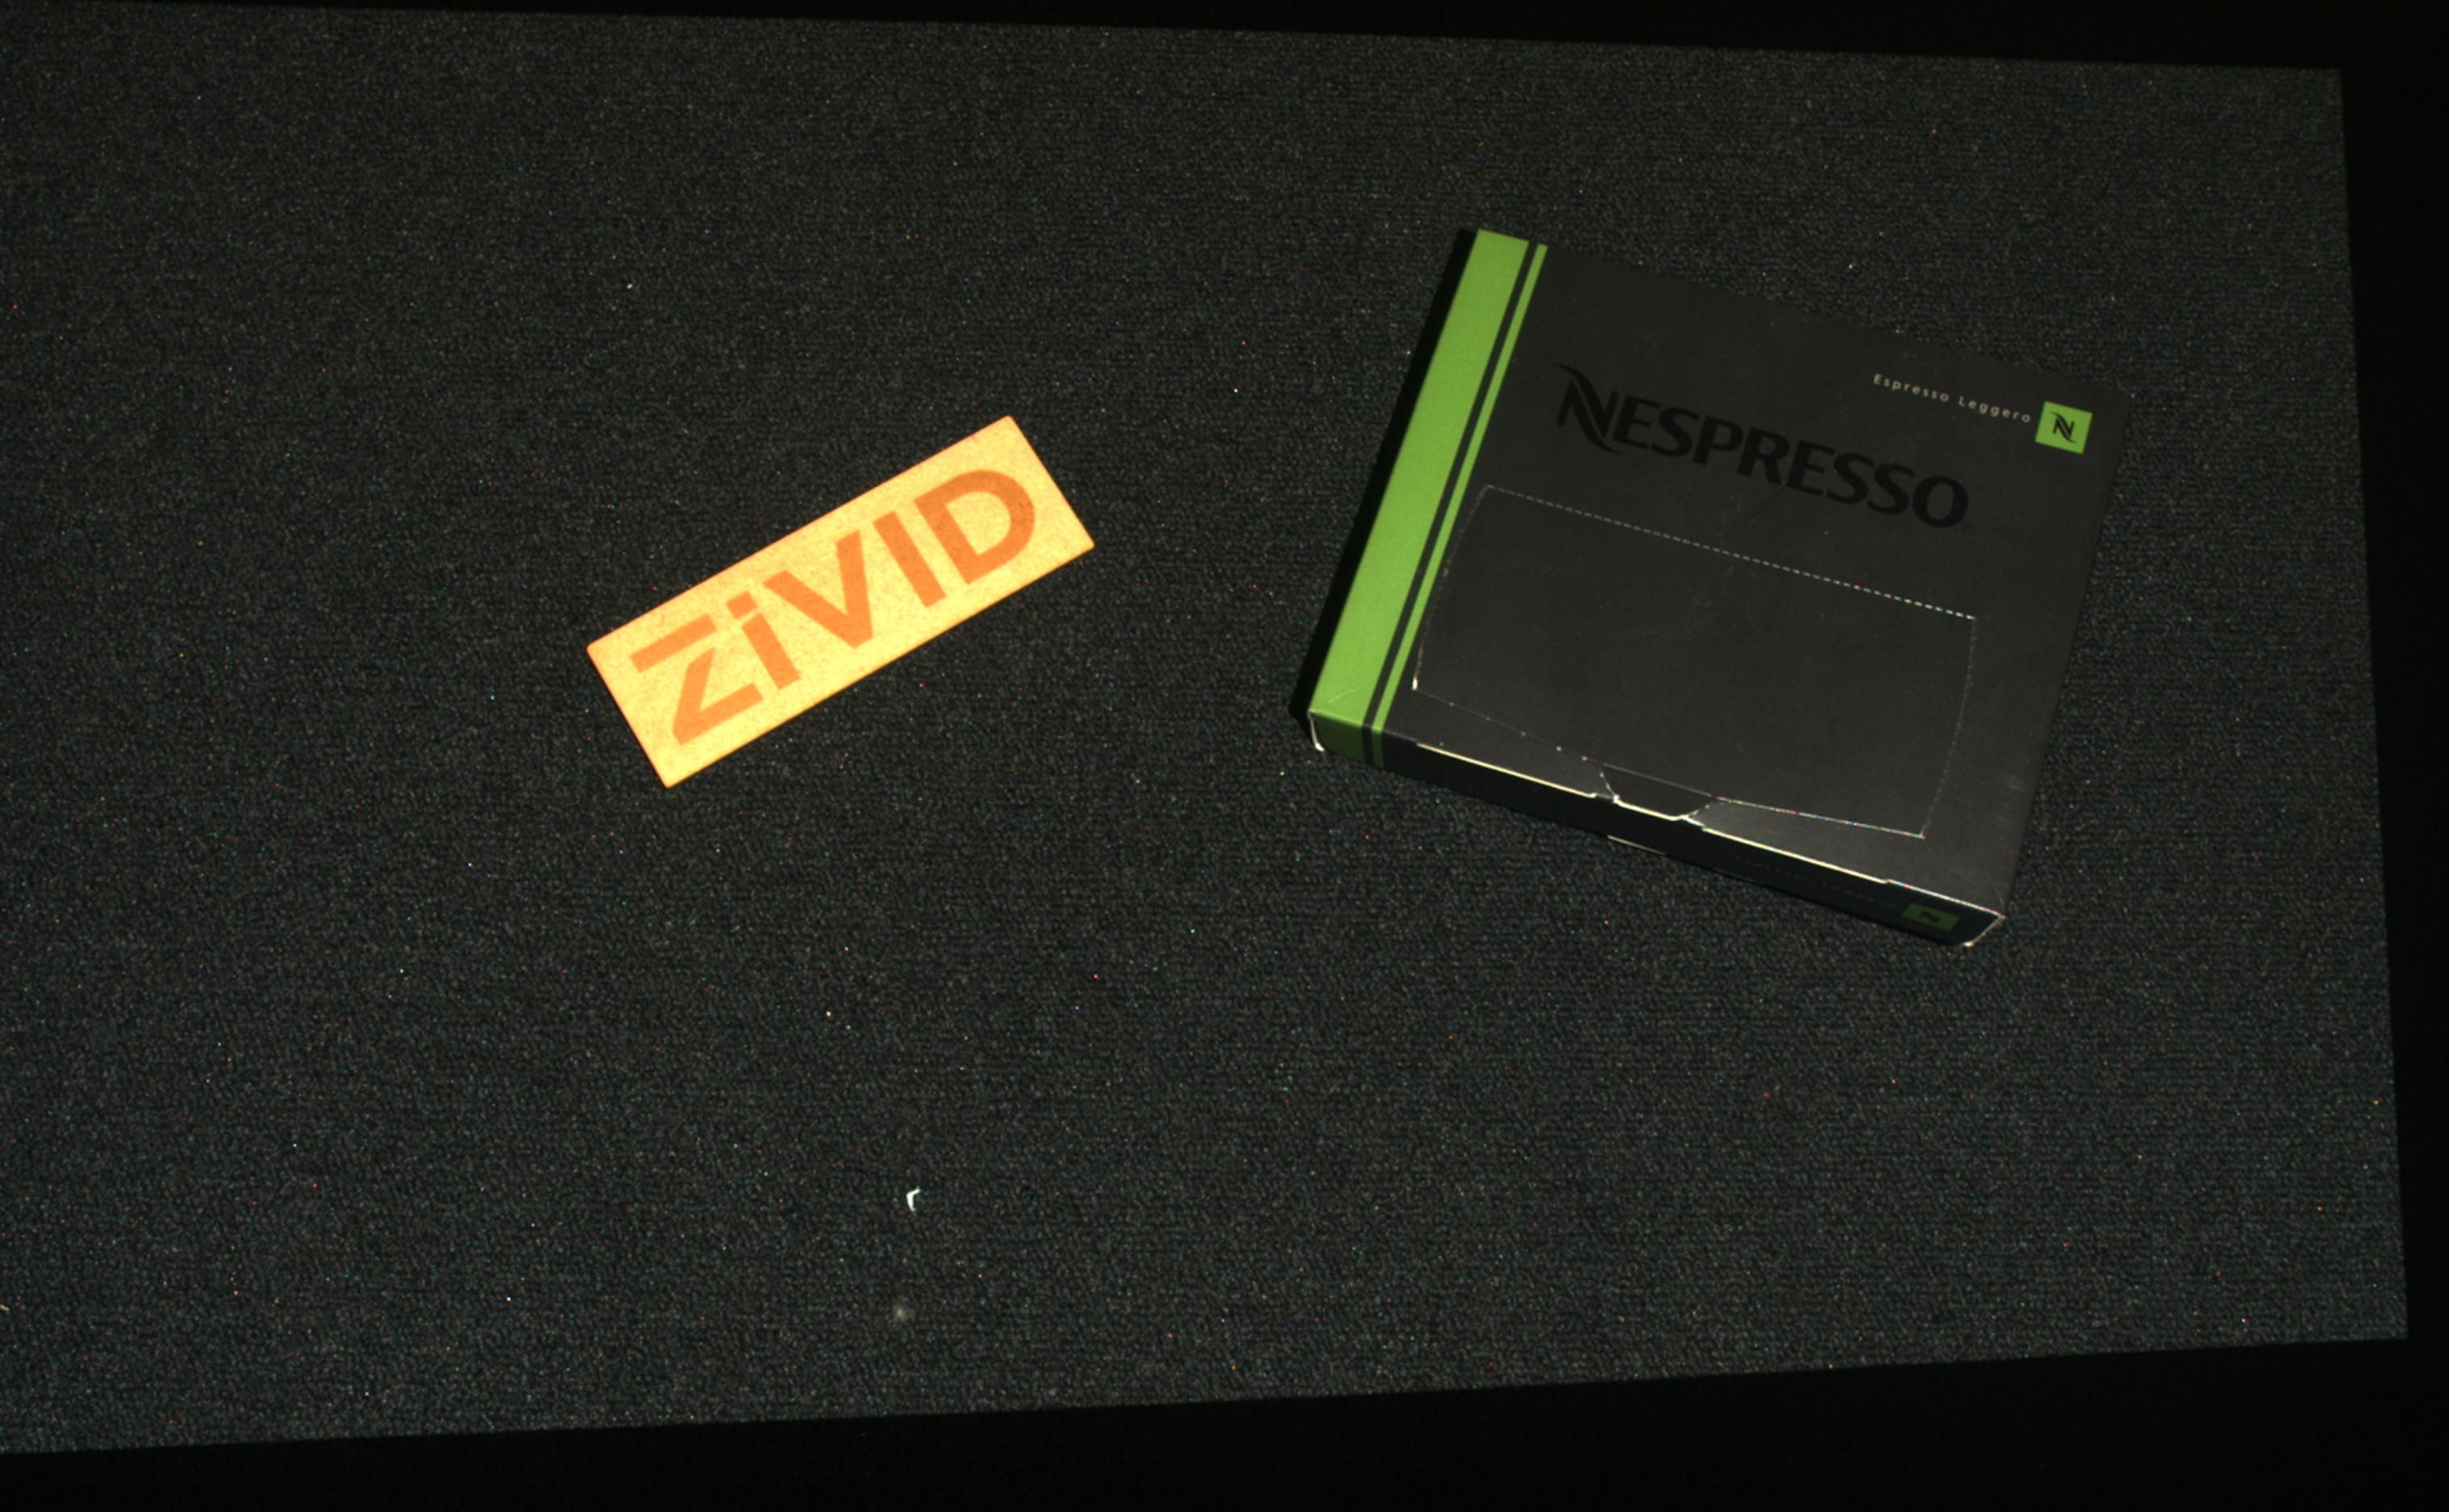
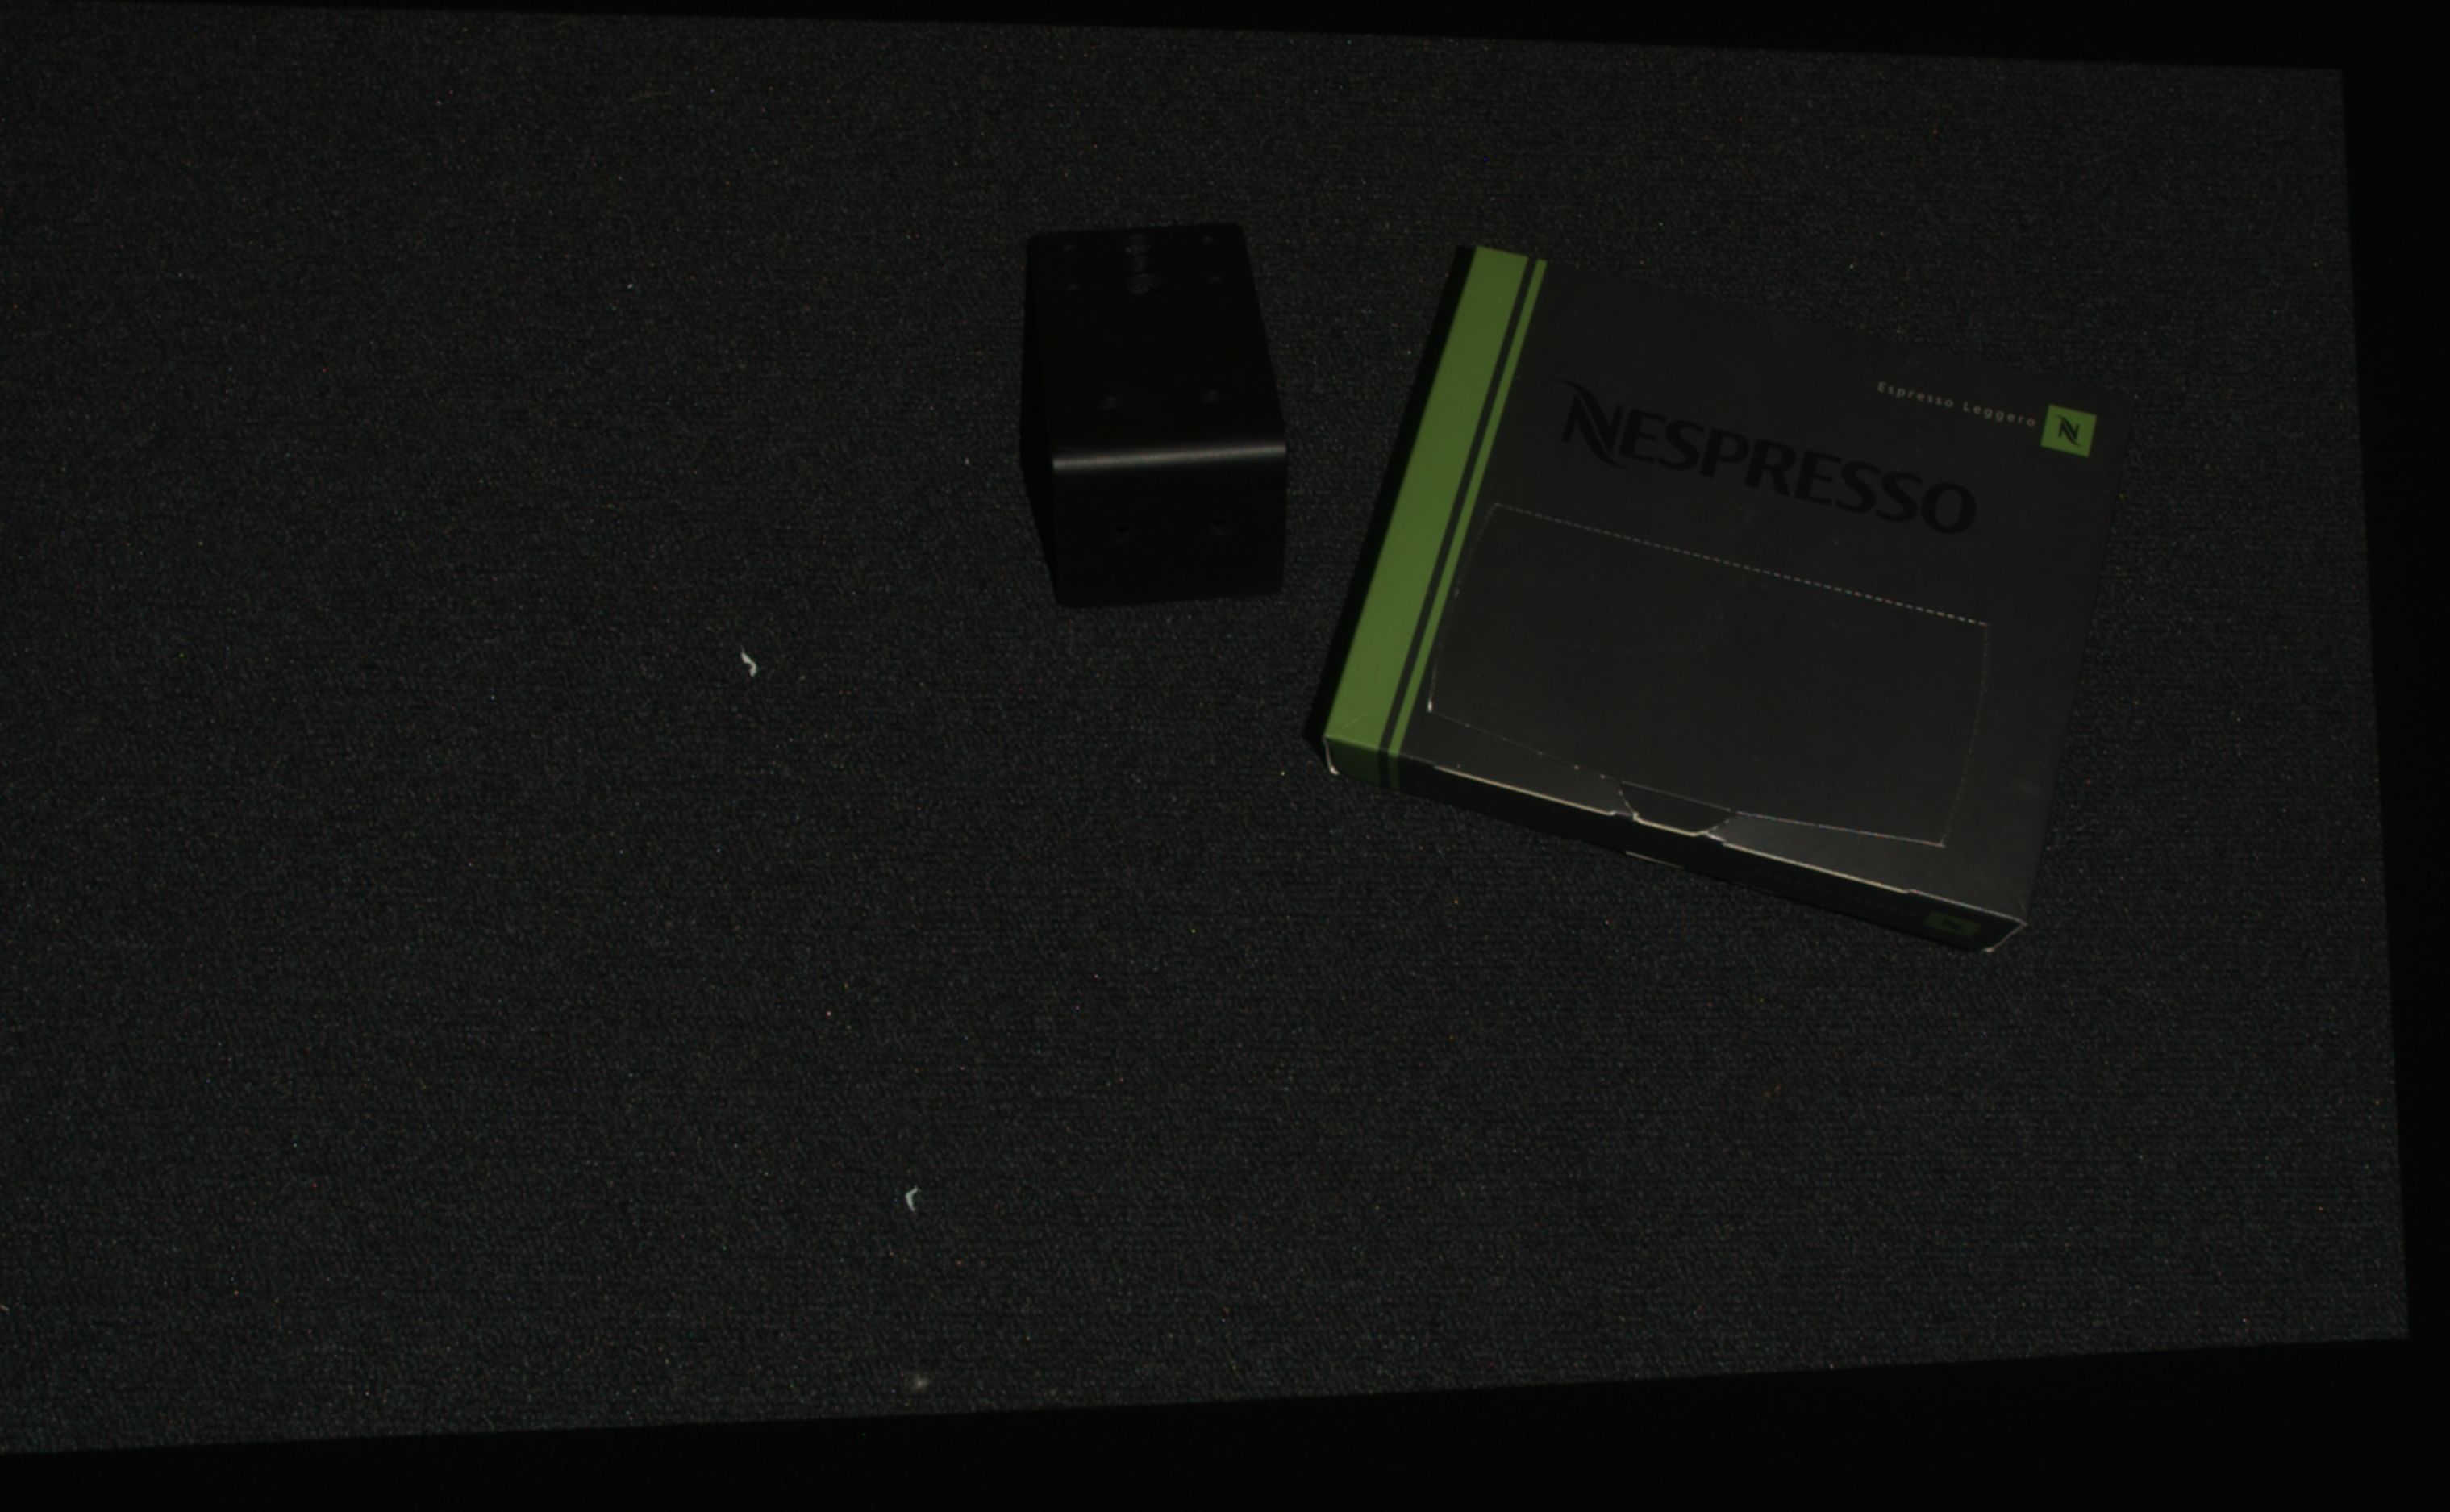
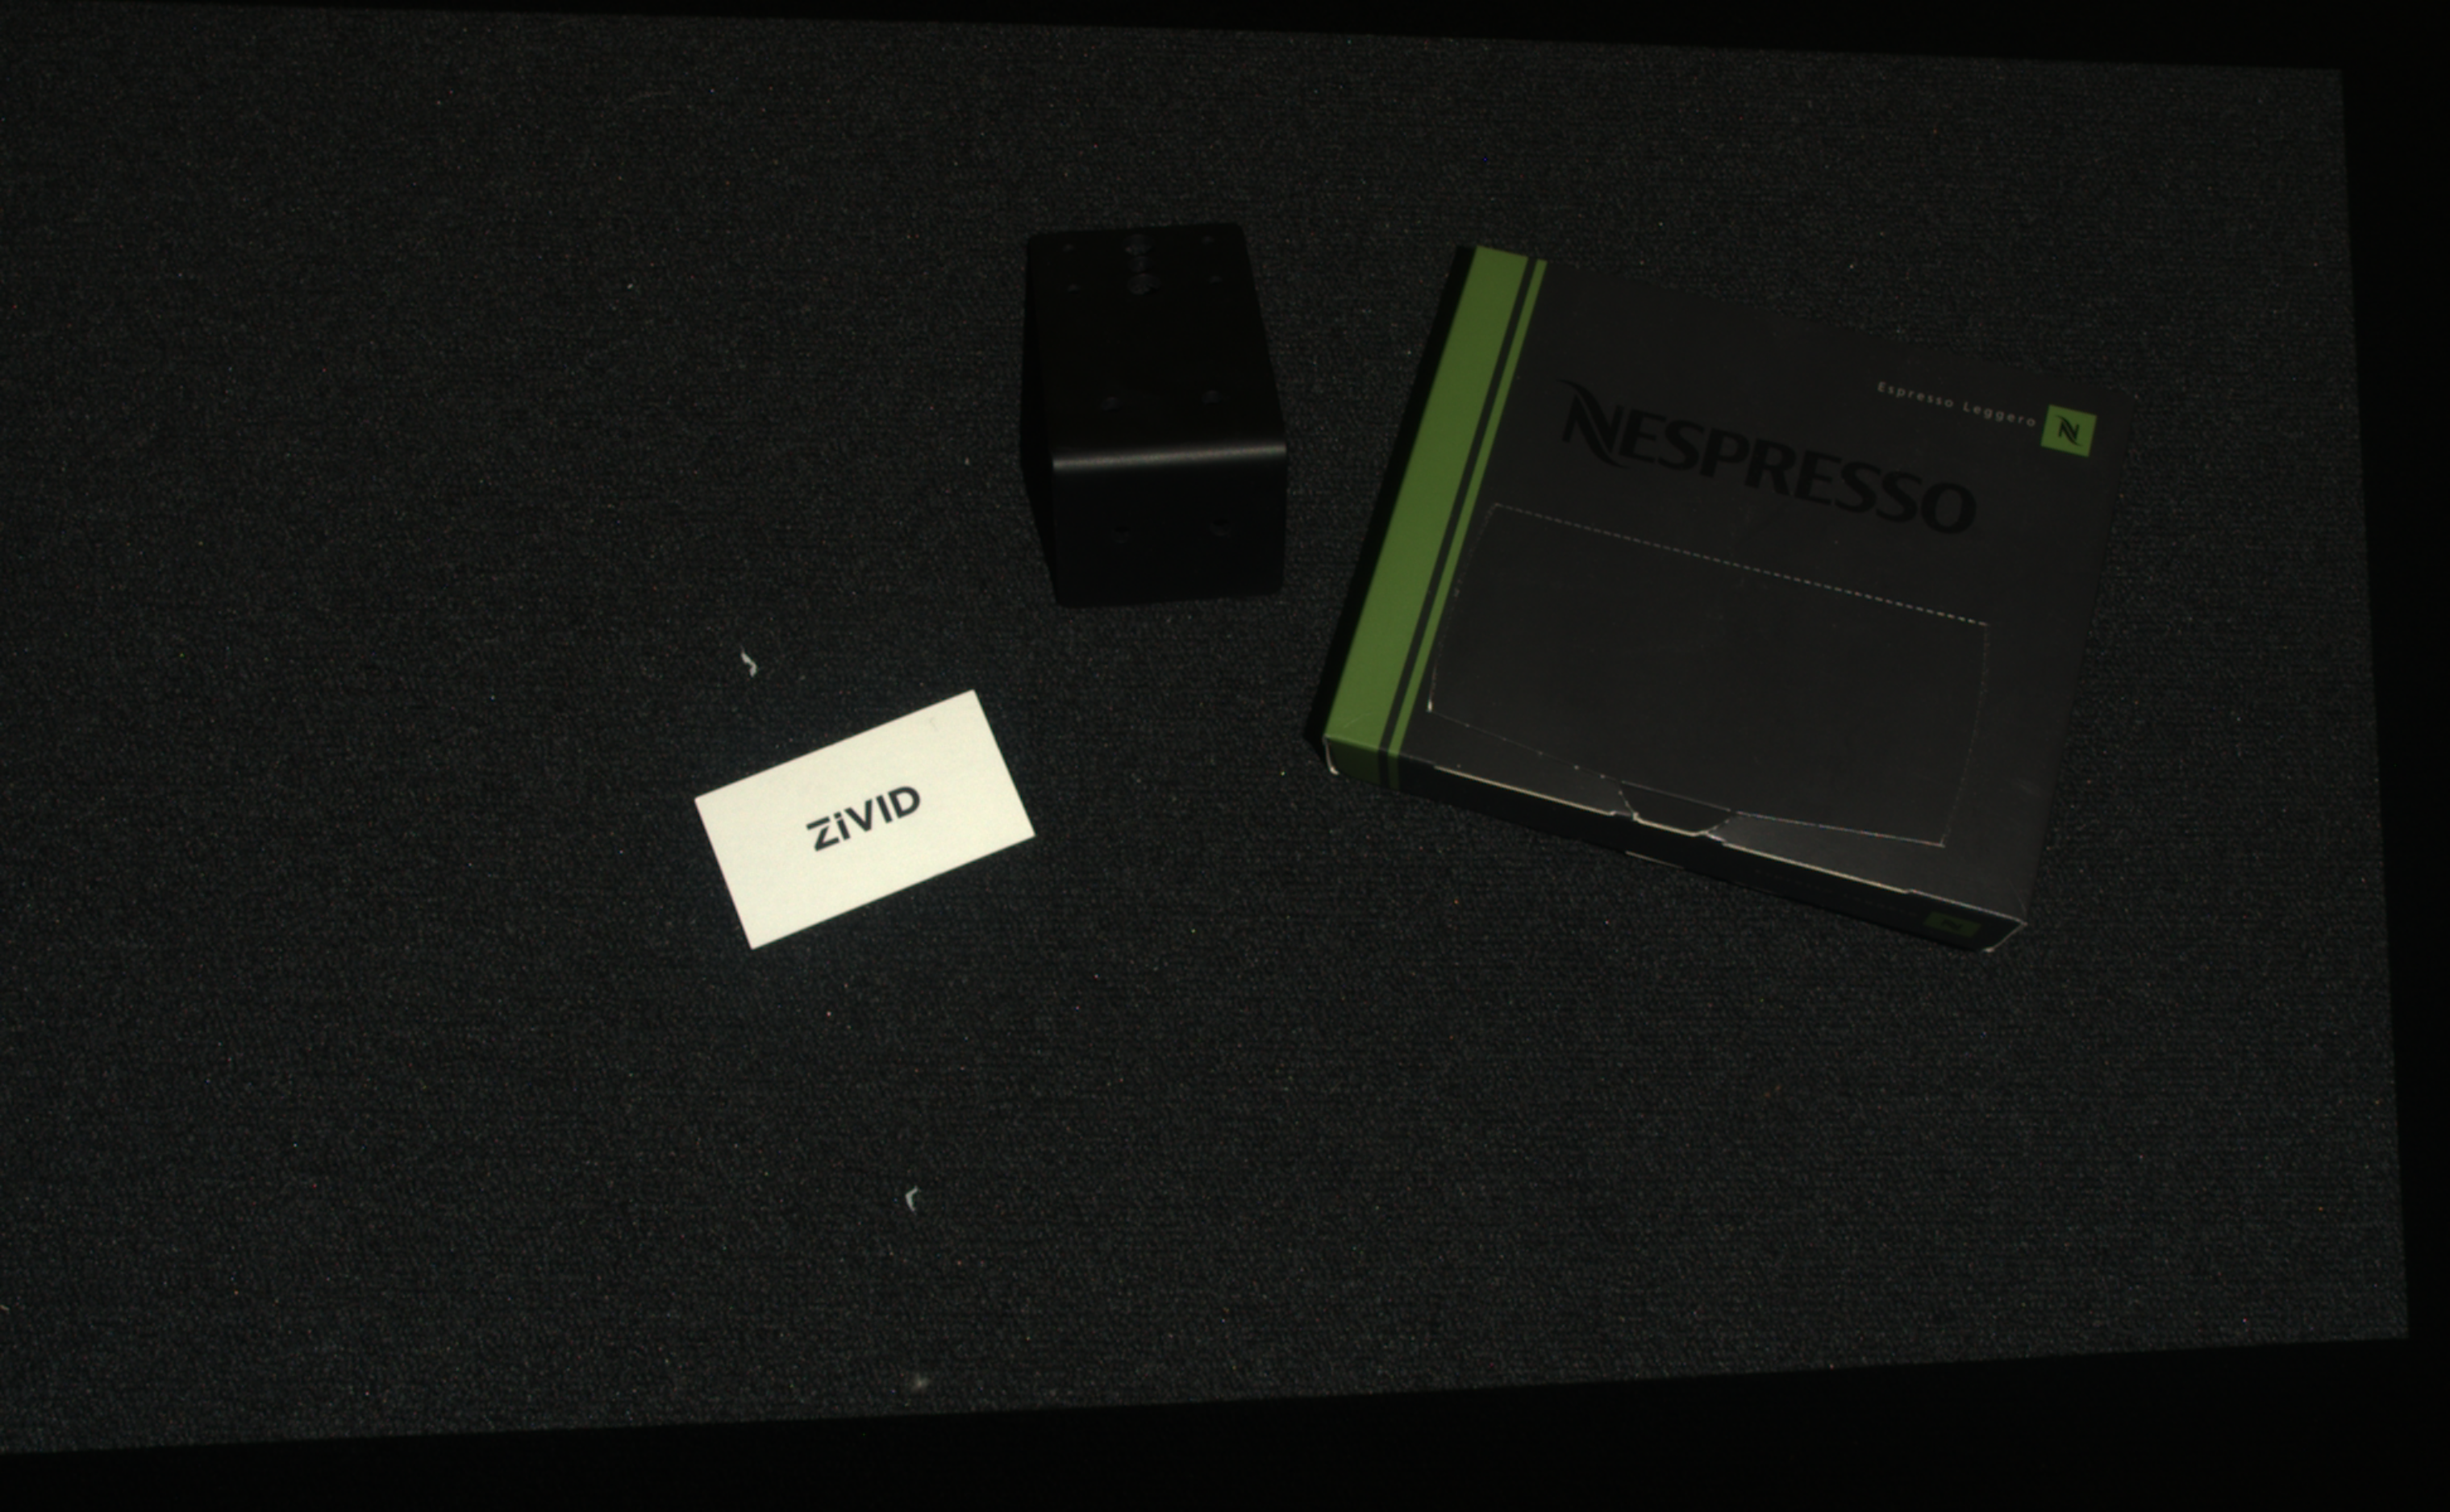
A solution to overcome the color inconsistency from HDR is to take a separate capture in addition to the main capture. This approach assumes using the main capture for getting the point cloud data and the additional capture for getting the color image. The additional capture can be a 2D or 3D capture, with or without a projector. Whichever capture mode is used, it must be without tone mapping (Tone Mapping setting set to HdrOnly).
|
|
Single capture of a dark scene with Tone Mapping set to HdrOnly |
Single capture with the same settings of the same scene but with an additional bright object added (Tone Mapping set to HdrOnly) |
Note
It is intuitive and conceptually correct to use a 2D capture as the additional capture. If using a Zivid Two camera, always go for the 2D capture. However, if using Zivid One+, consider the limitation below on switching between 2D and 3D capture calls.
Limitation
Caution
Zivid One+ camera has a time penalty when changing the capture mode (2D and 3D) if the 2D capture settings use brightness > 0. Therefore, an additional 2D capture may come with significant overhead (approx. 1 s) in total capture time if using the projector. On the other hand, the overhead is very low when the projector is not used (from SDK 2.6). If the projector must be used, it may be less time-consuming to take another 3D capture for the color image than another 2D capture with the projector. See Limitation when performing captures in a sequence while switching between 2D and 3D capture calls for a detailed explanation of the Zivid One+ behavior and considerations regarding switching capture modes.
Further reading
Continue to How to Get Good 3D Data on a Pixel of Interest.


