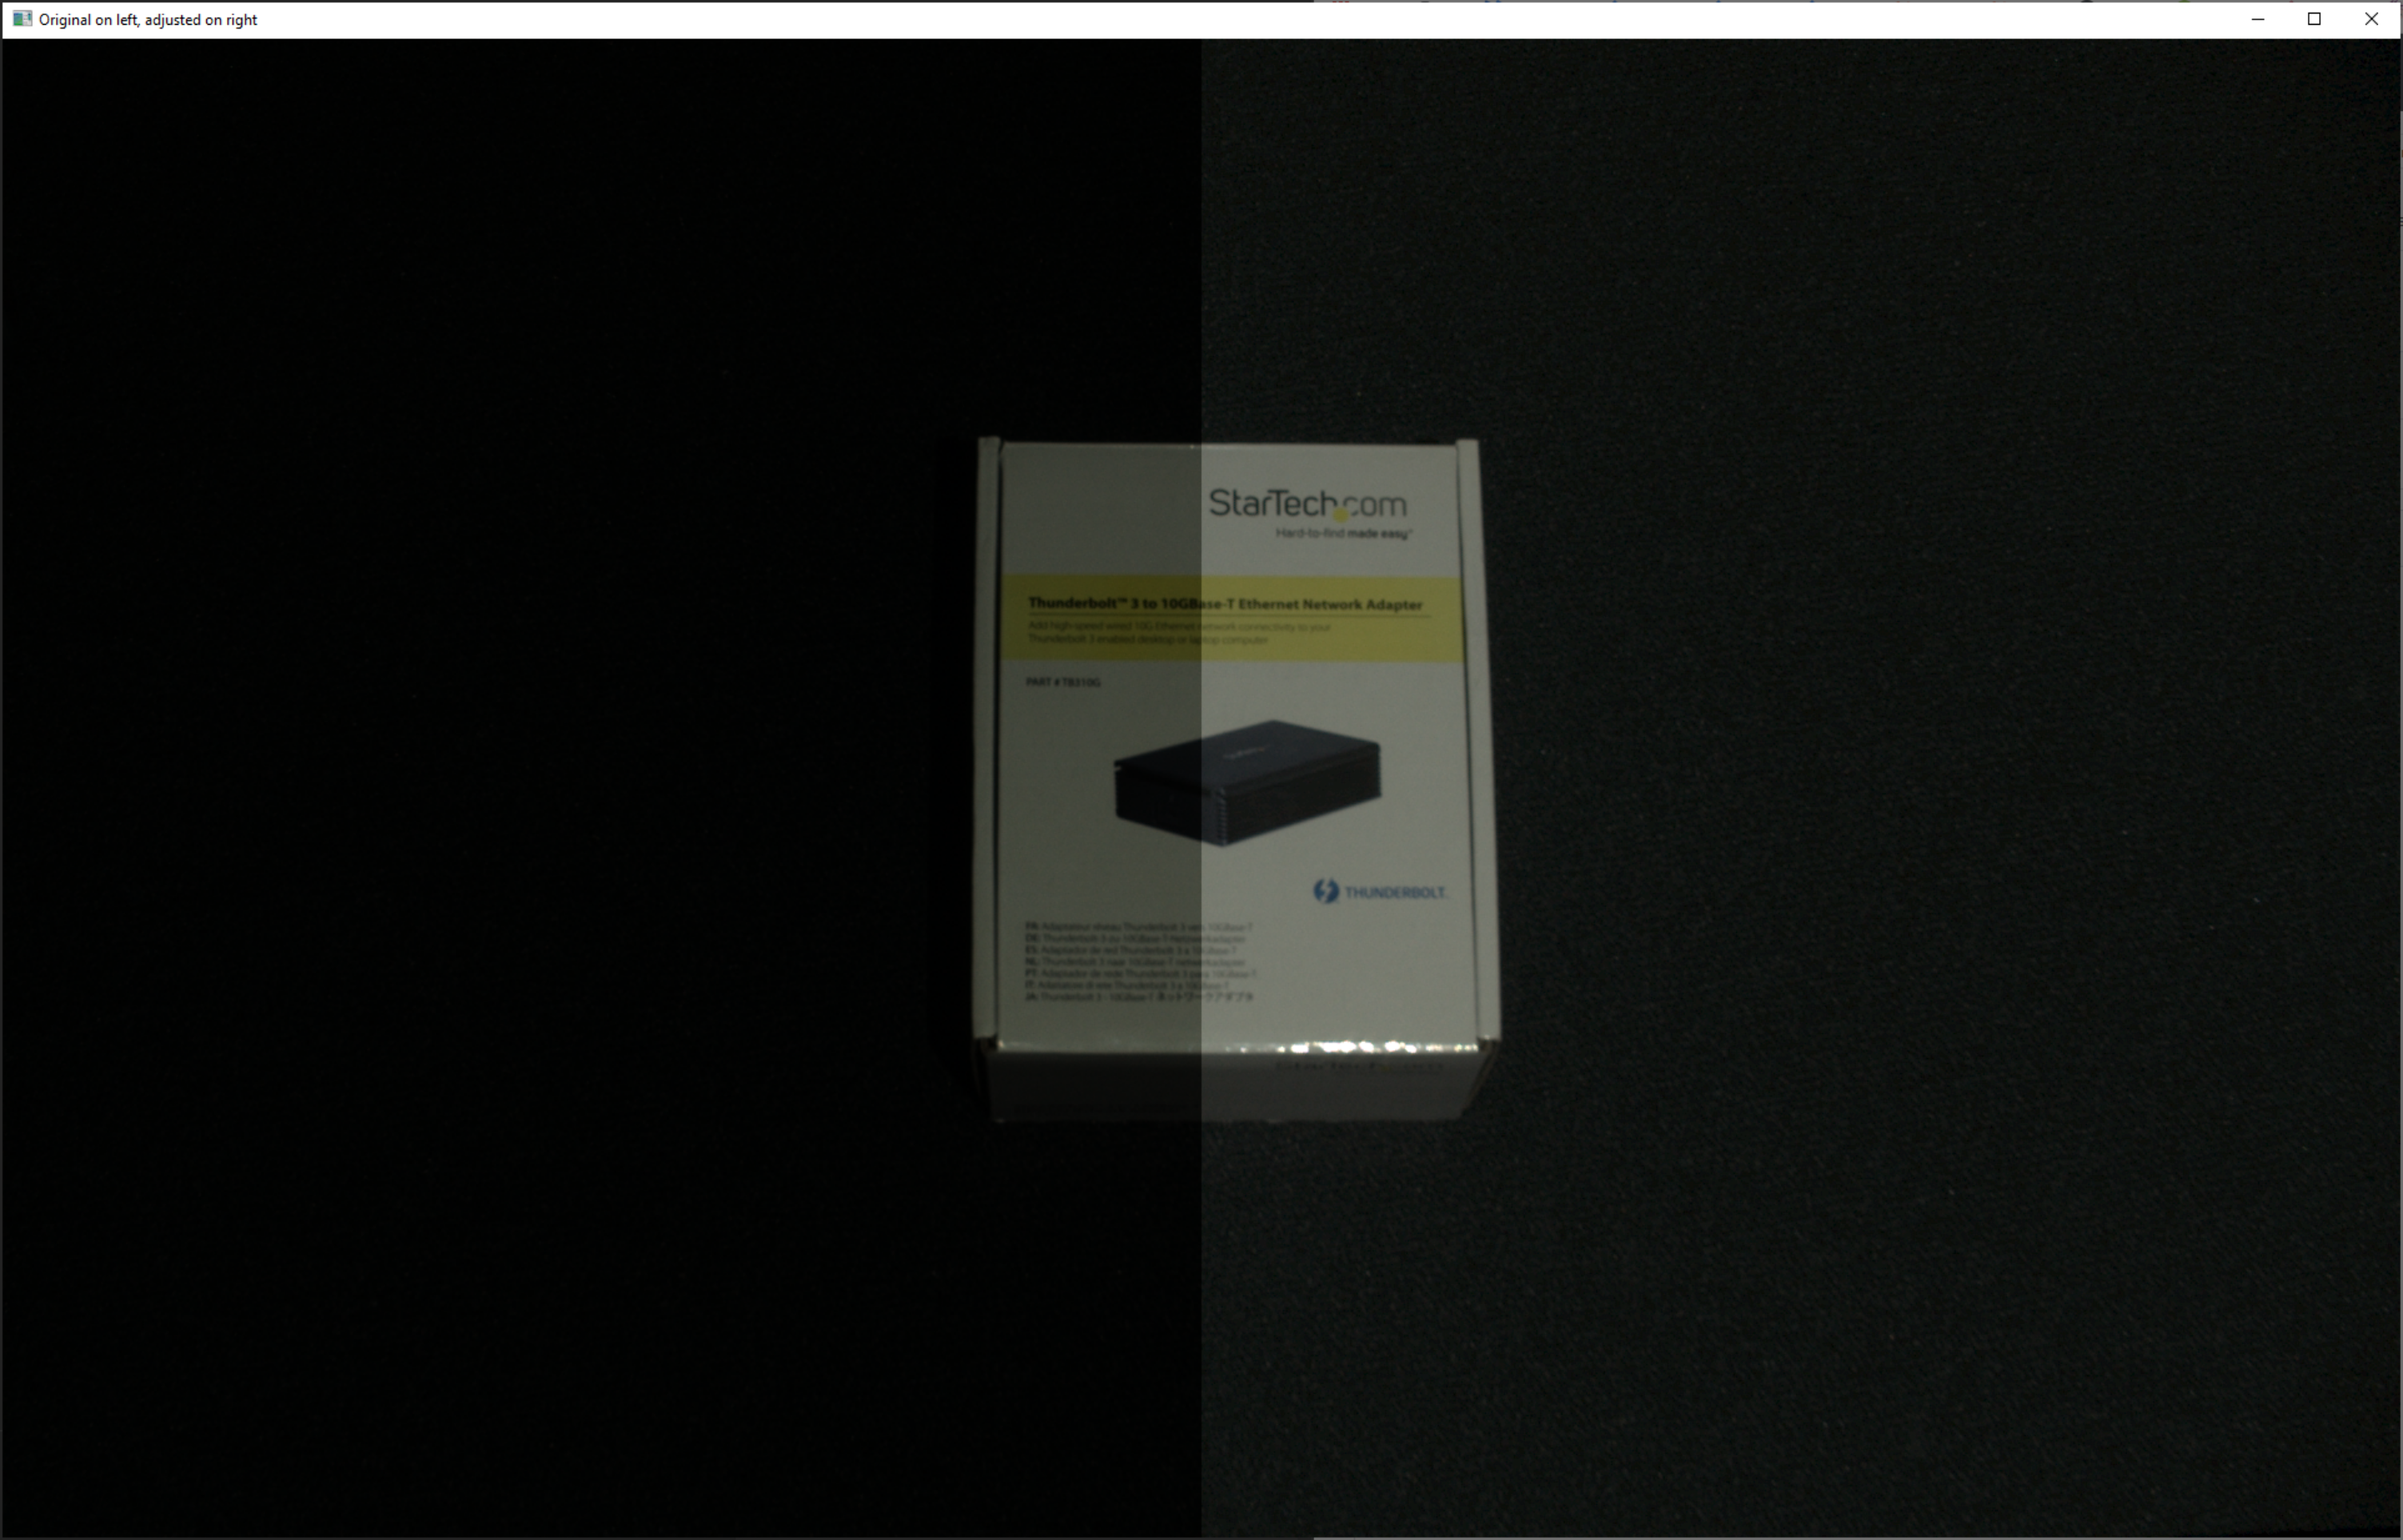
Gamma Correction
This tutorial demonstrates how to capture a 2D image with a configurable gamma correction.
First, we connect to the camera.
Then we get the gamma as command line argument from user.
We then capture the image with no gamma correction (gamma = 1.0) and with given gamma correction (in this case, gamma = 0.6).
The complete implementation of the function to capture a color image is given below.
def _capture_bgr_image(camera, gamma):
    """Capture and extract 2D image, then convert from RGBA and return BGR.

    Args:
        camera: Zivid Camera handle
        gamma: Gamma correction value

    Returns:
        BGR image (HxWx3 darray)

    """
    print("Configuring Settings")
    settings_2d = zivid.Settings2D(
        acquisitions=[zivid.Settings2D.Acquisition()],
    )
    settings_2d.processing.color.gamma = gamma

    print("Capturing 2D frame")
    with camera.capture(settings_2d) as frame_2d:
        image = frame_2d.image_rgba()
        rgba = image.copy_data()
        bgr = cv2.cvtColor(rgba, cv2.COLOR_RGBA2BGR)
        return bgr
Lastly, we display both images.
