在Windows的Visual Studio使用Zivid API创建C++ “Hello World “应用程序
说明
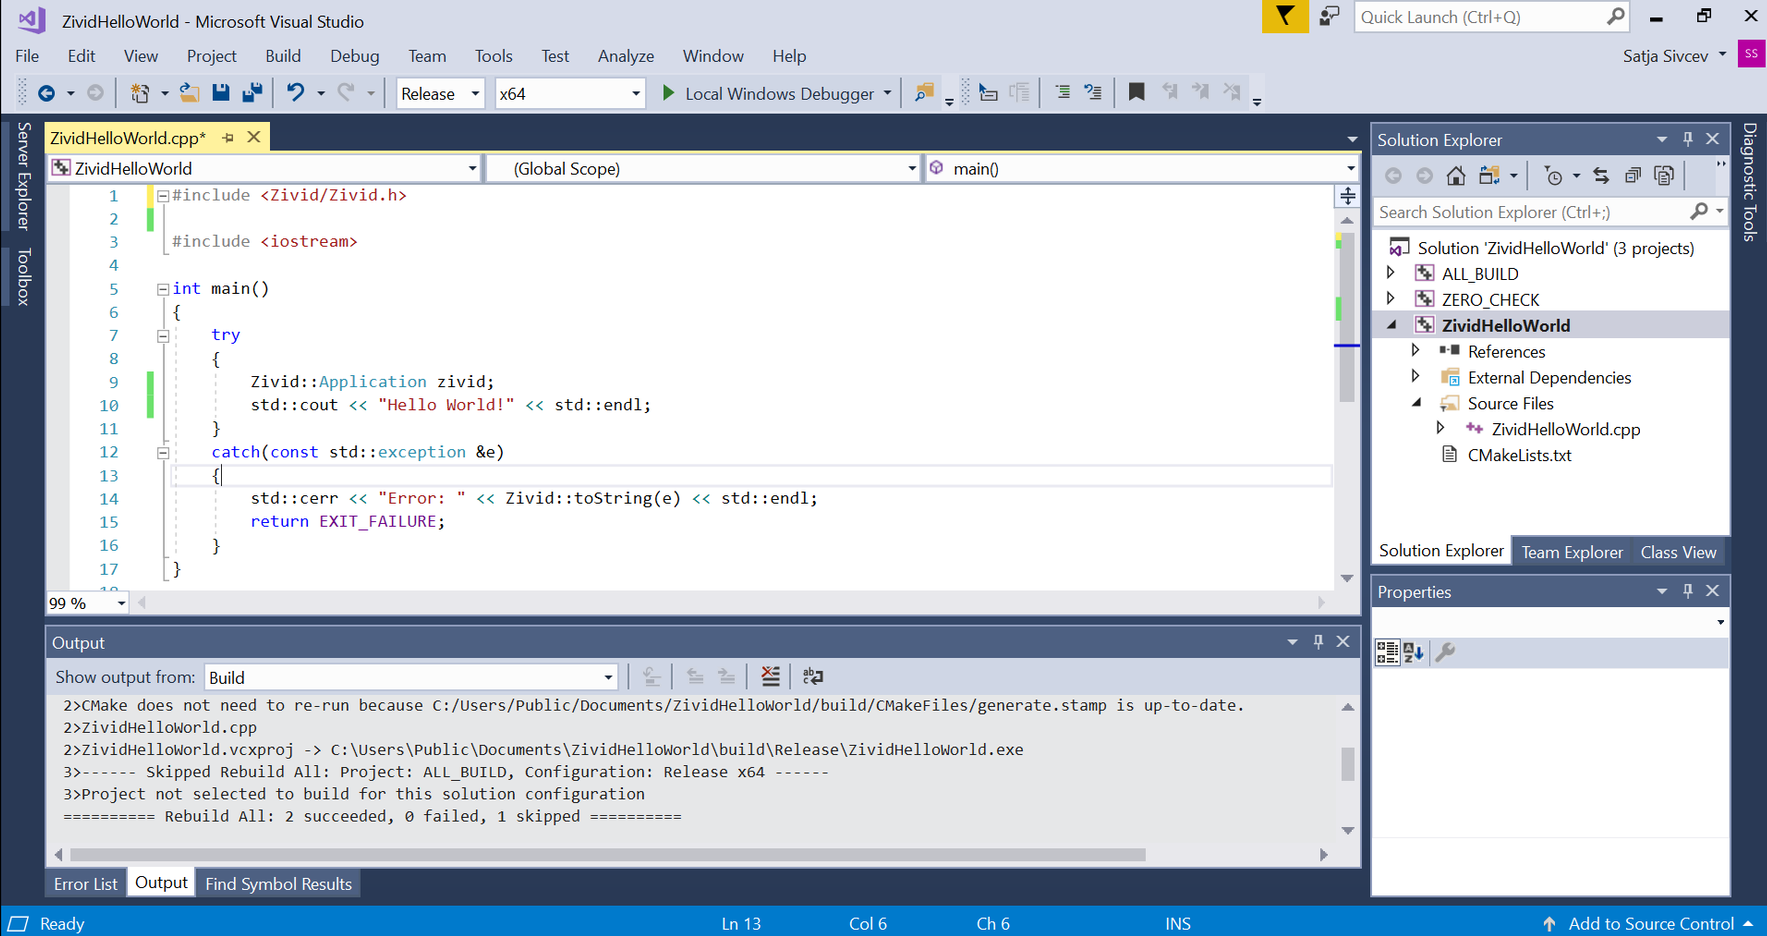
下面的屏幕截图提供了分步说明。
创建ZividHelloWorld.cpp和CMakeLists.txt
本教程使用的路径是 "C:/Users/Public/Documents/ZividHelloWorld"
#include <Zivid/Zivid.h>
#include <iostream>

int main()
{
    try
    {
        Zivid::Application zivid;
        std::cout << "Hello Zivid World!" << std::endl;
    }
    catch(const std::exception &e)
    {
        std::cerr << "Error: " << Zivid::toString(e) << std::endl;
        return EXIT_FAILURE;
    }
}
project(ZividHelloWorld)

cmake_minimum_required(VERSION 3.3.2 FATAL_ERROR)

set(CMAKE_CXX_STANDARD 11)

find_package(
    Zivid
    COMPONENTS Core
    REQUIRED)

add_executable(${PROJECT_NAME} ${PROJECT_NAME}.cpp)

target_link_libraries(${PROJECT_NAME} Zivid::Core Zivid::Visualization)
使用CMake配置解决方案
运行CMake (cmake-gui.exe),然后设置前两个条目:
Where is the source code |
|
Where to build the binaries |
|
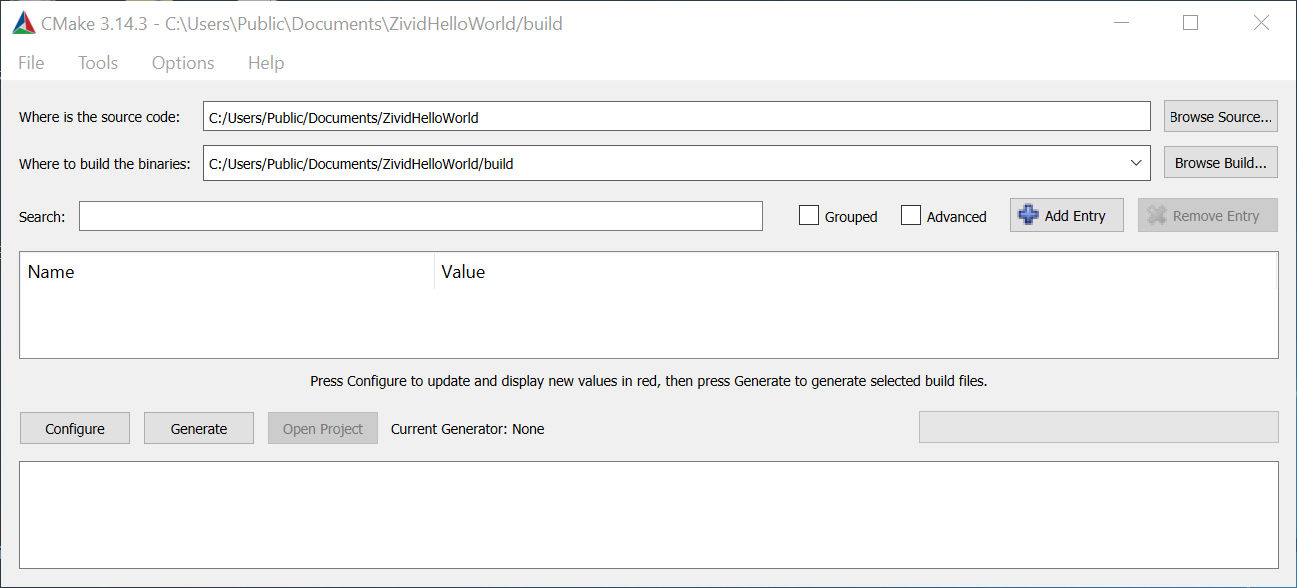
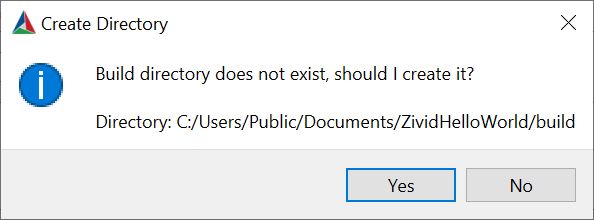
点击 Configure。出现提示时,单 击 Yes 创建一个新的构建目录。
设置前两个条目:
Specify the generator for this project |
Visual Studio 15 2017 |
Optional platform for generator |
x64 |
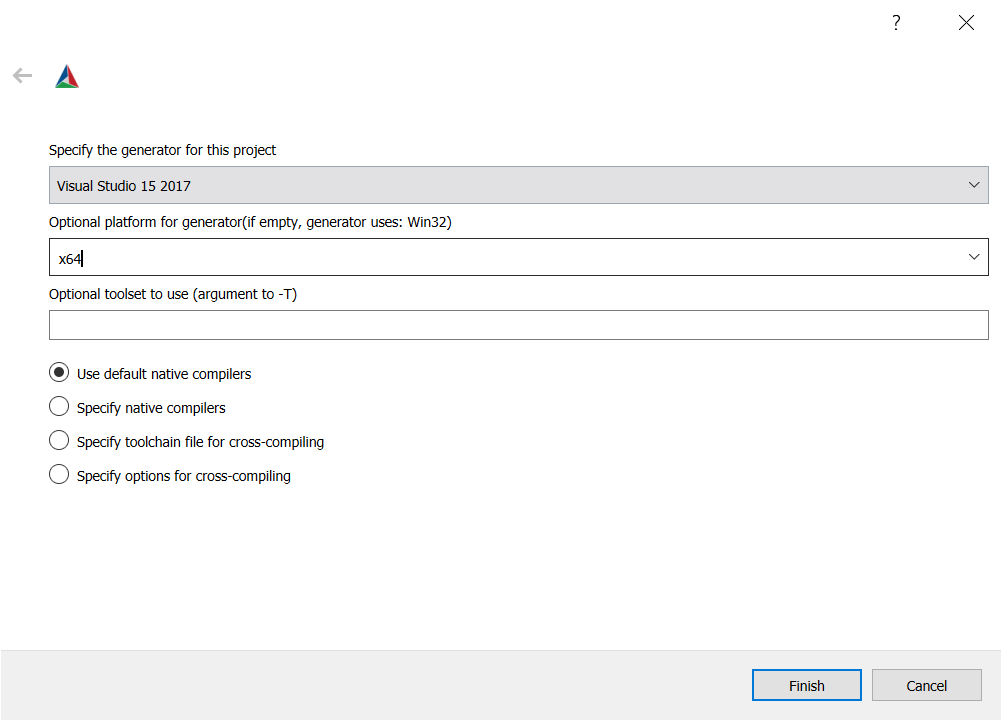
点击 Configure。
如 果 Zivid_DIR 的值为空, 将 C:/ProgramFiles/Zivid/CMake/Zivid 添加进去,如下图所示。
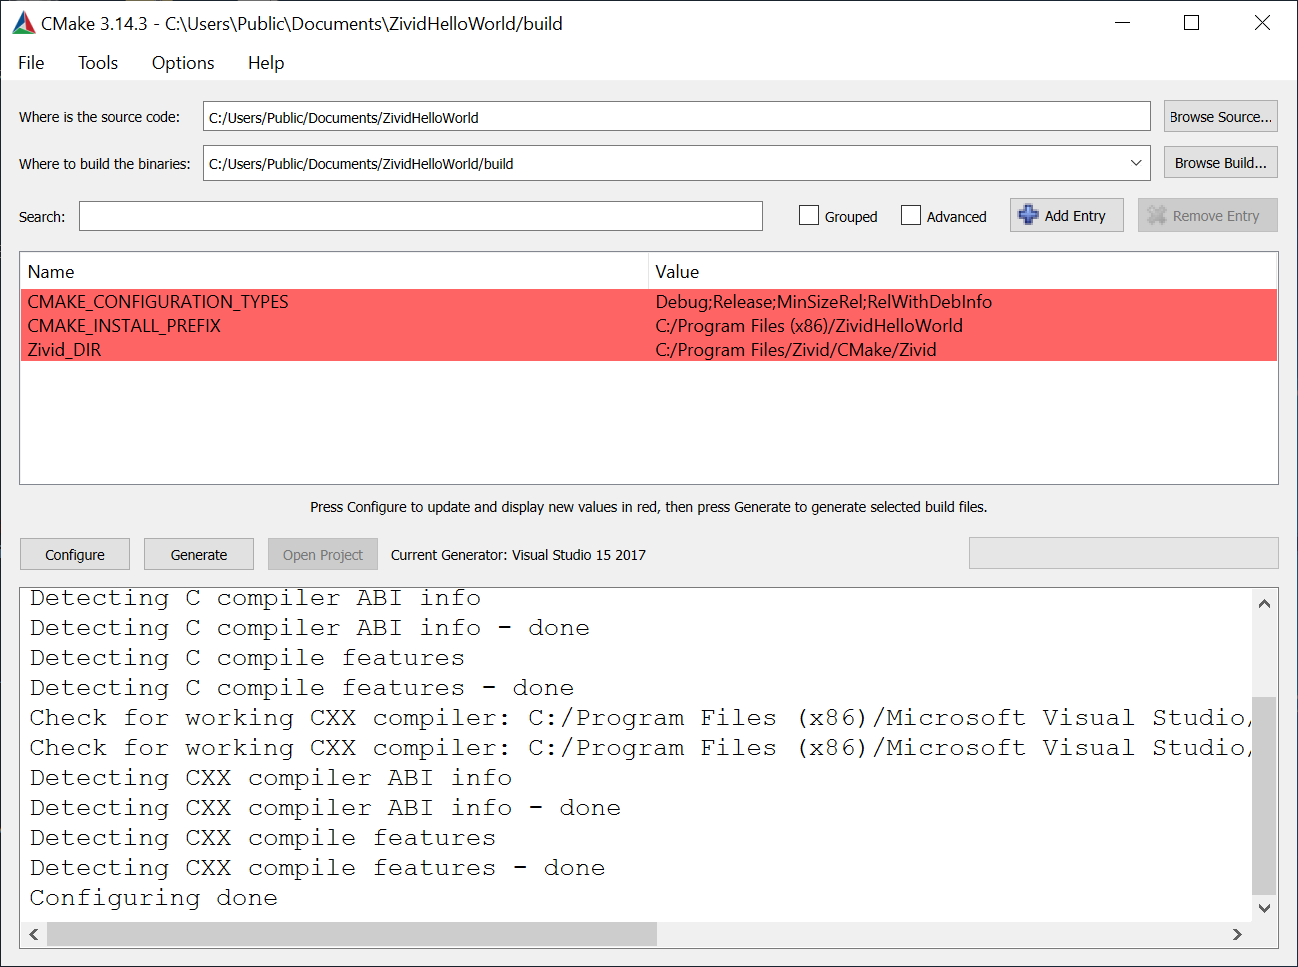
再次点击 Configure 。

点击 Generate。

点击 Open Project。
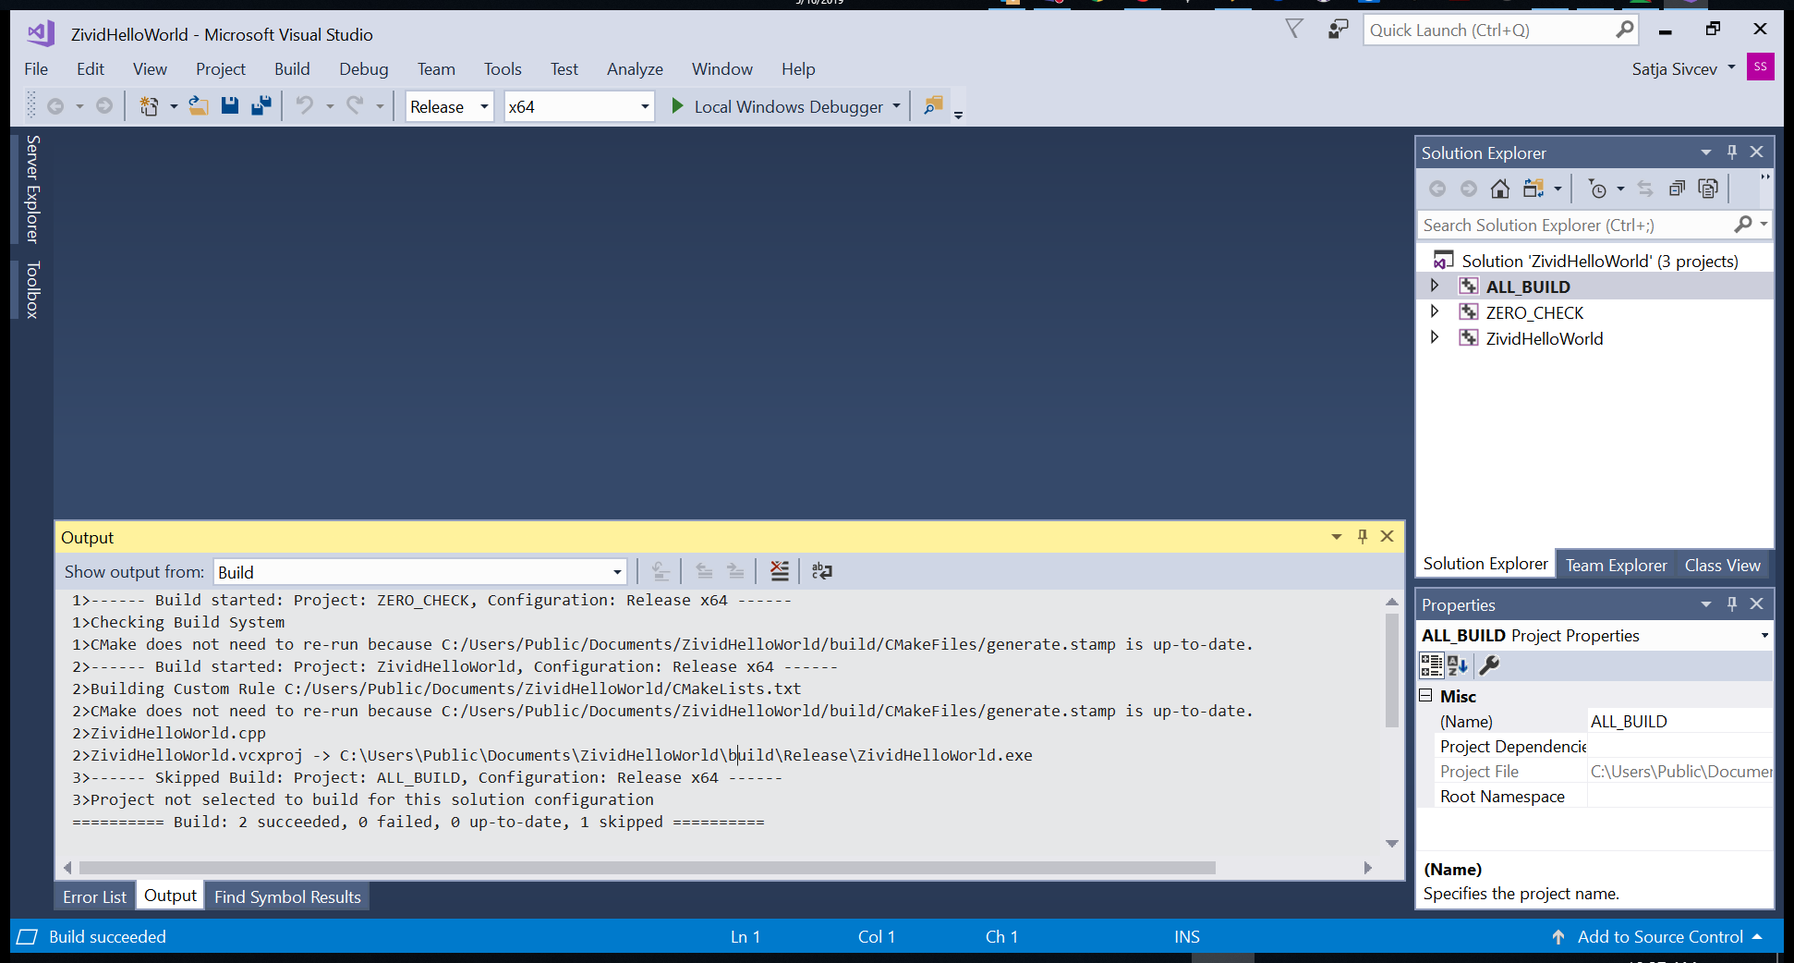
运行程序
在界面的右侧,右键单击 ZividHelloWorld,然后单击 Set as StartUp project。
Run the program by pressing F5 key.

To continue developing in Zivid and C++, check out Zivid C++ API reference and the tutorial to 使用 CMake 配置 C++ 示例并在 Windows 的 Visual Studio 中构建它们 on the next page.