How to Run a HALCON Sample
Introduction
This tutorial shows how to configure HALCON samples and run them in HDevelop, C++, and C#.
Requirements
Required
Note
The HALCON version tested with Zivid cameras is 19.05 Progress, 20.05 Progress, 21.11 Progress.
Optional
If you do not currently have a separate ply viewer installed, MeshLab is a straight forward option to see the point clouds generated from the samples provided.
Instructions
Step by step instructions are provided with screenshots below.
Configure environment variables for GenICam/HALCON
If you have already done this, you can skip to Run HALCON samples using HDevelop or Build and run HALCON samples using C++ or C#.
Some environment variables needs to be set before you can begin to use Zivid with GenICam. There are two options:
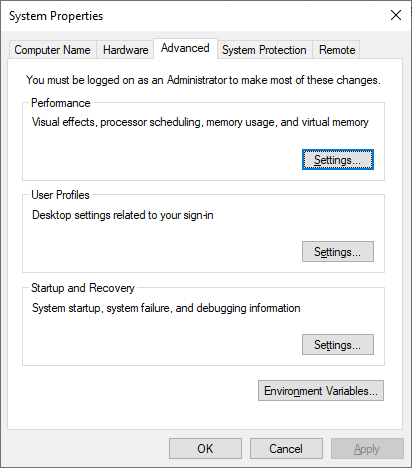
On your PC, navigate to System → Advanced System Settings → Environmental Variables
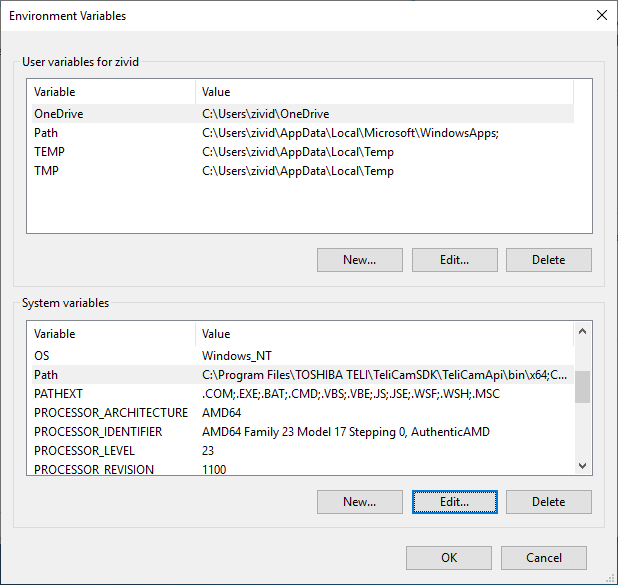
Under System variables, select Path variable and click Edit… (Do not click New at this stage or you will overwrite the existing value of the Path system variable!) and then add the following value by clicking New:
Variable name |
|
Variable value |
|
Note
Ensure to have the correct path for your Zivid installation.
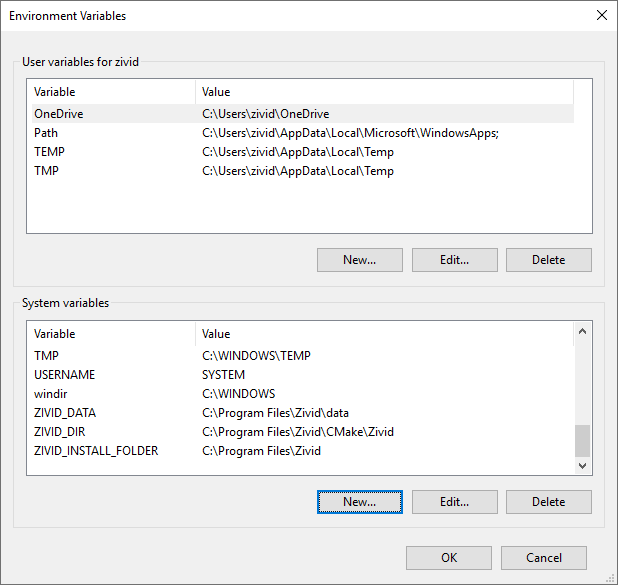
Click OK to go back to the Environment variables window and then click New to include the following system variable:
Variable name: |
|
Variable value |
|

Press the Win + R keys on your keyboard. Then, type cmd and press Enter.
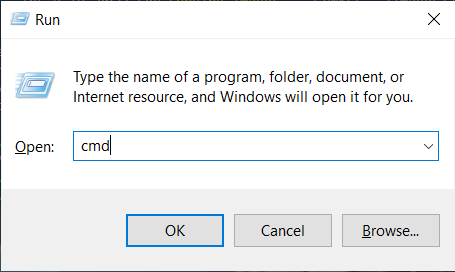
Type the following commands:
set PATH=%PATH%;C:\Program Files\Zivid\bin
set GENICAM_GENTL64_PATH=C:\Program Files\Zivid\bin
"%HALCONROOT%\bin\x64-win64\hdevelop.exe"
Note
Make sure to have the correct paths for your HALCON and Zivid installations

Run HALCON samples using HDevelop
Now that your environment variables are set, we are ready to run samples! The video below shows you how to run samples using Zivid camera in HALCON.
Open HDevelop, and click on Open Program. Go to the location where you downloaded the samples. If you have not downloaded them, you can do this from zivid-halcon-samples.
Note
All HDevelop samples are located inside the source/hdev folder
Open the sample that you would like to run, e.g. CaptureHDR.hdev.
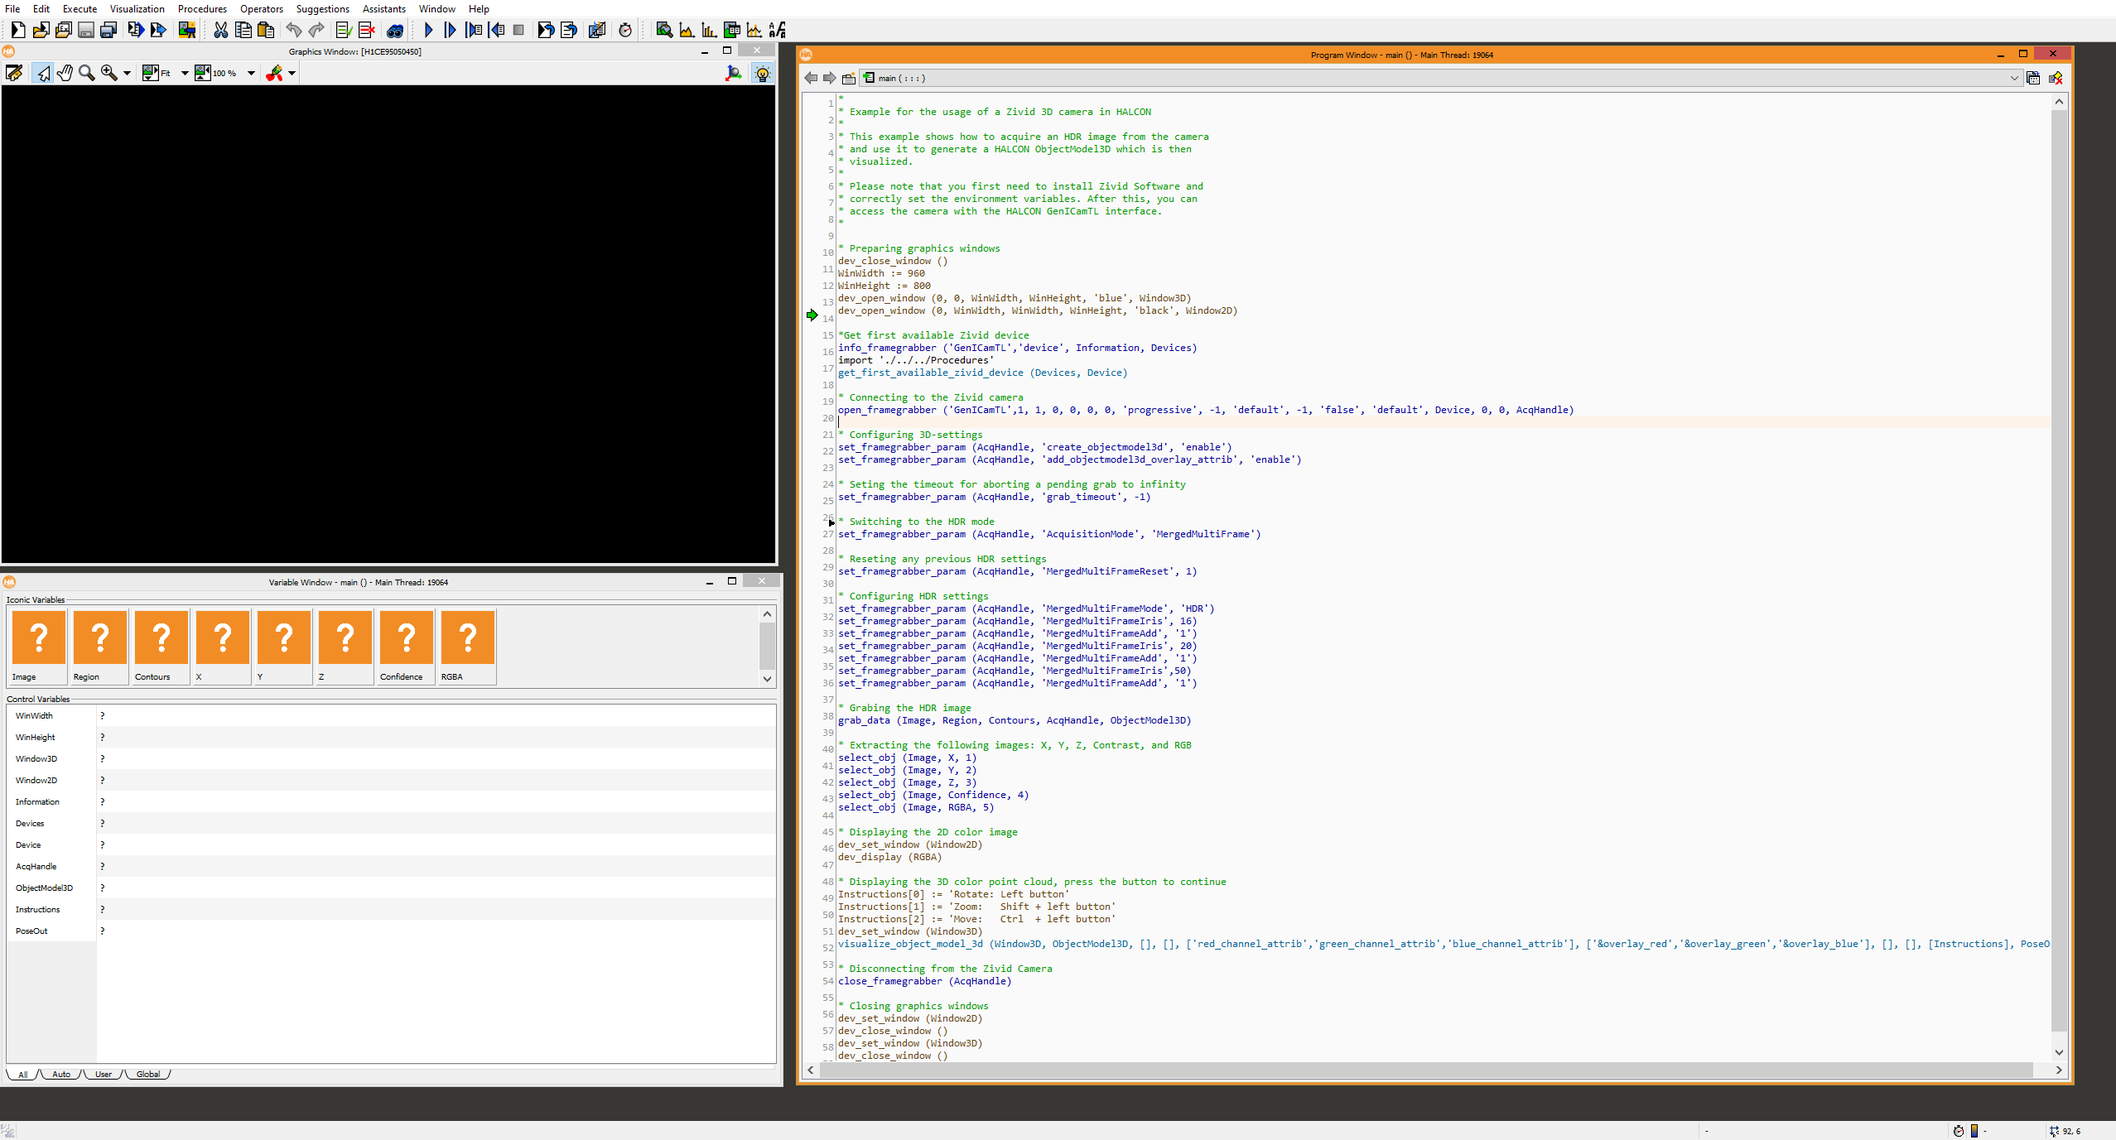
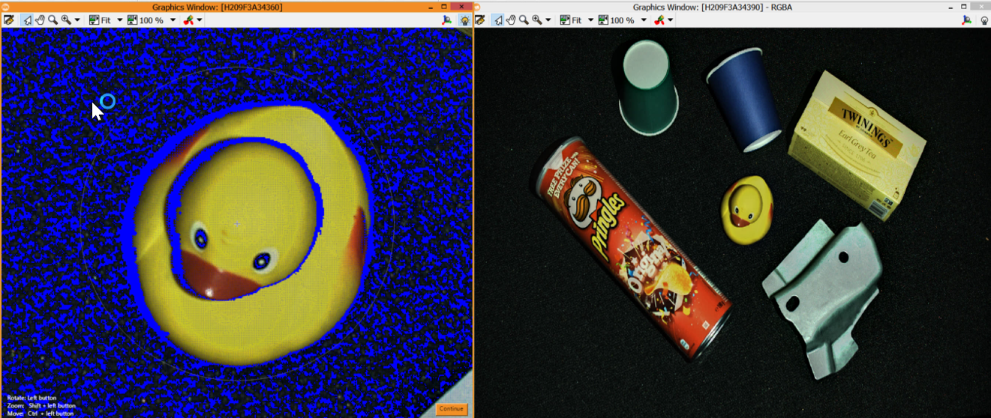
Run the program by pressing the F5 key. The program should now run successfully and display the 3D point cloud of your scene.
Build and run HALCON samples using C++ or C#
Select your language:
To run C++ HALCON samples, we will use CMake to configure the samples.
Note
All C++ samples are located inside the source/cpp folder
Run CMake (cmake-gui.exe), then set the top two entries:
Where is the source code |
|
Where to build the binaries |
|
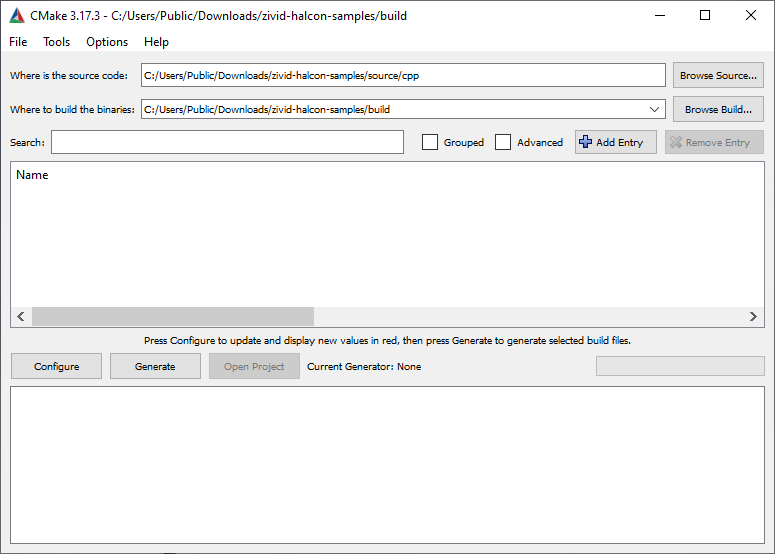
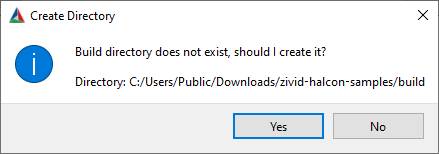
Click Configure. When prompted, click Yes to create a new build directory.
Specify the generator for this project |
|
Optional platform for generator |
|
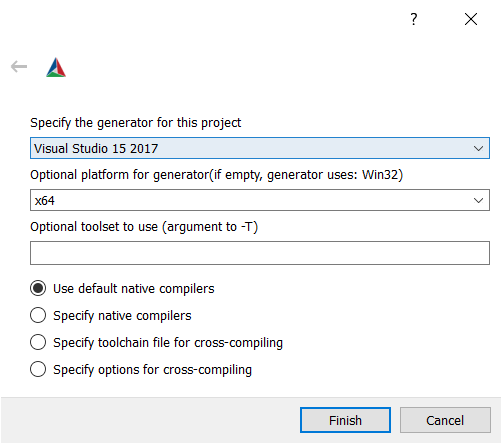
Click Finish.
Then click on Configure, Generate, and Open Project.
To build and run samples, you must first change the build configuration from Debug to Release. Build the solution by pressing Ctrl + Shift + B.
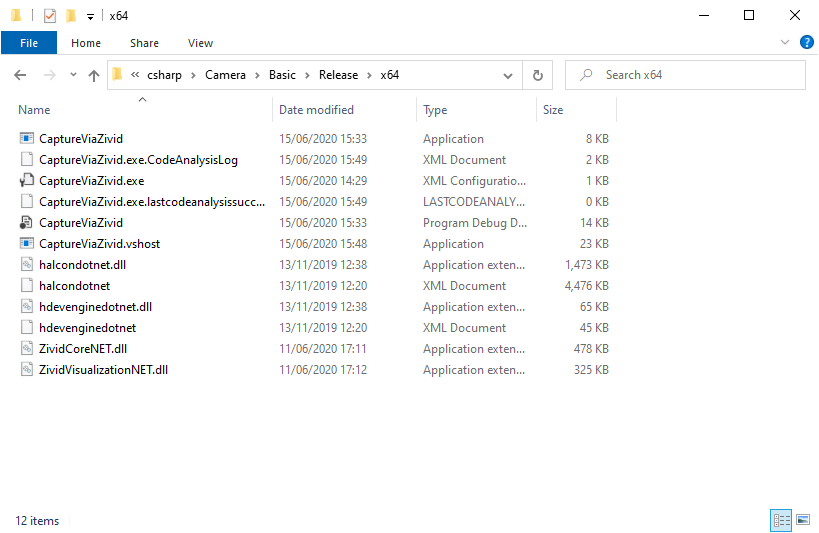
To run the sample, navigate to the Release folder in File Explorer and double click on the sample you want to run.
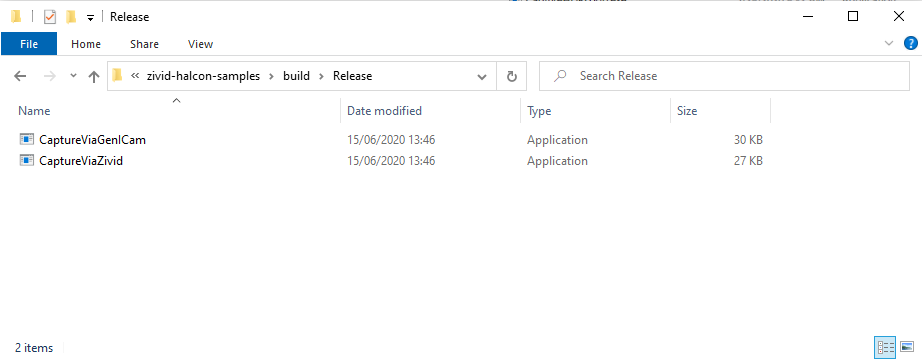
Note
All C# samples are located inside the source/csharp folder
Navigate to the sample folder location you saved the samples and open one of the samples, e.g. CaptureHalconViaZivid.cs.
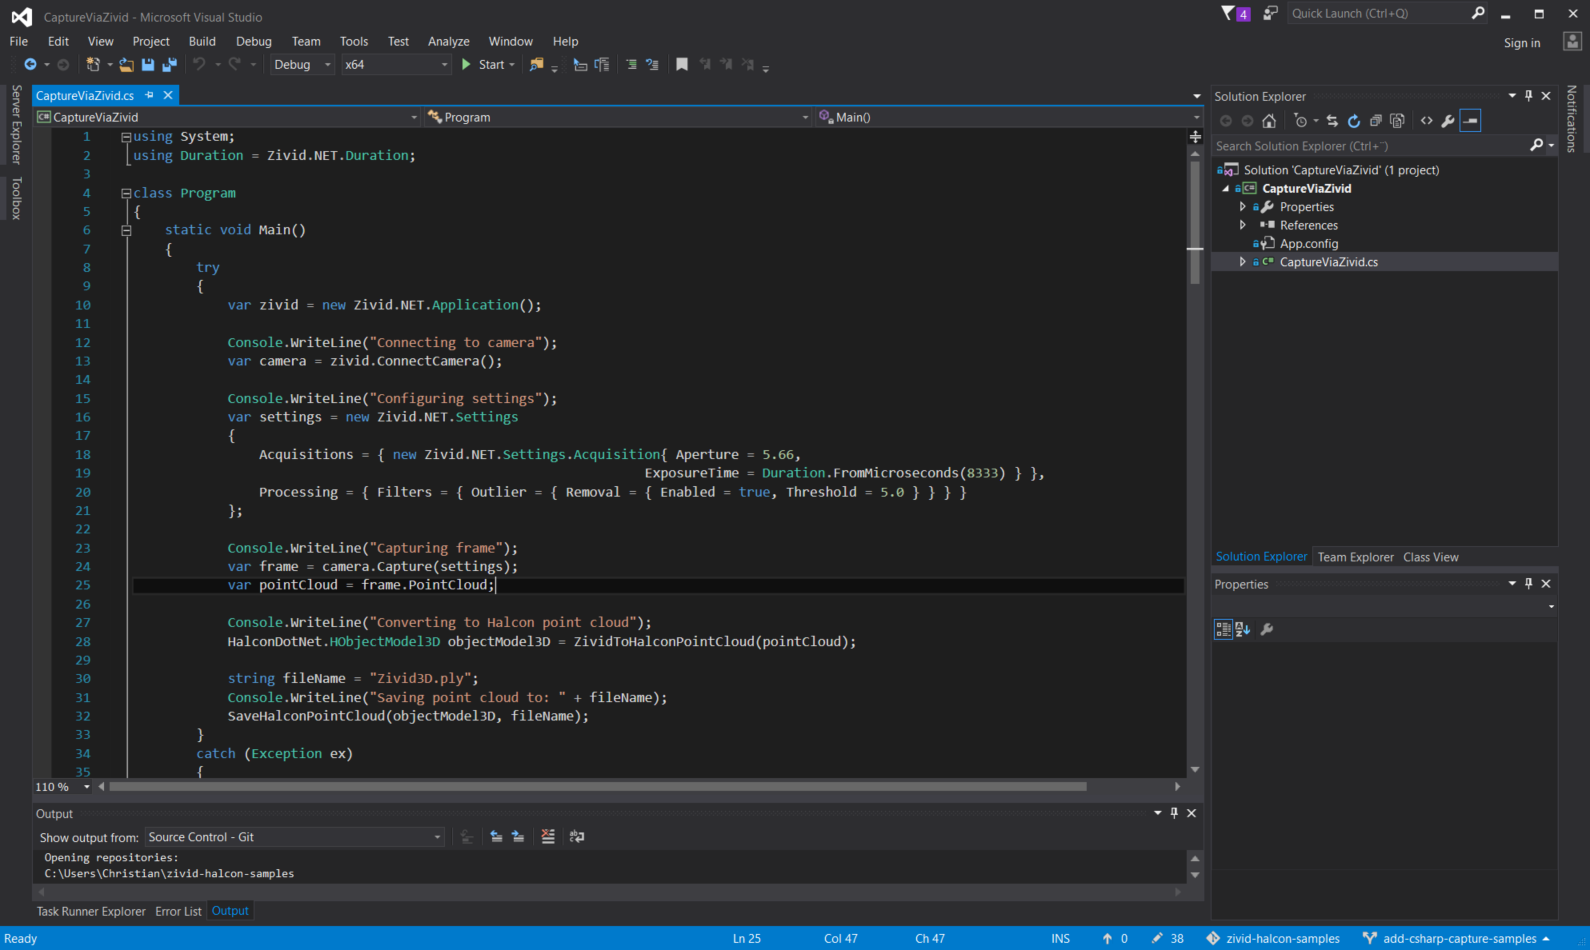
To build and run samples, you must first change the build configuration from Debug to Release. Build the solution by pressing Ctrl + Shift + B.
To run the sample, navigate to the Release folder in File Explorer and double click on the sample you want to run.
