Configure C++ Samples With CMake and Build Them in Visual Studio in Windows
Introduction
This tutorial shows how to configure the Zivid C++ Samples with CMake and then build them with Visual Studio in Windows.
Requirements
Instructions
Step by step instructions is provided with screenshots below.
Install external dependencies
Install required dependencies based on the sample programs you want to run; see the table below.
Sample program |
PCL |
Eigen |
OpenCV |
|---|---|---|---|
ReadPCLVis3D |
YES |
||
CaptureWritePCLVis3D |
YES |
||
MaskPointCloud |
YES |
YES |
|
PoseConversions |
YES |
YES |
|
UtilizeHandEyeCalibration |
YES |
YES |
|
CaptureUndistortRGB |
YES |
||
CreateDepthMap |
YES |
Clone Eigen
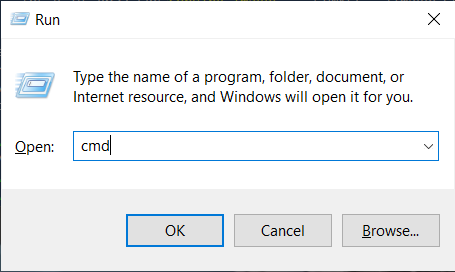
The Eigen version that is tested is 3.3.7. This version can be downloaded or cloned from eigenteam/eigen-git-mirror. To clone it from GitHub, launch the Command Prompt by pressing Win + R keys on the keyboard, then type cmd and press Enter.
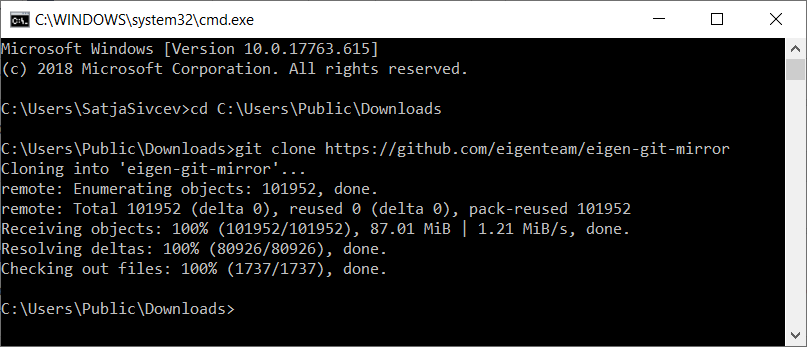
Navigate to a location where you want to clone the repository:
cd C:\Users\Public\Downloads
Then run the following command (install Git if necessary):
git clone https://github.com/eigenteam/eigen-git-mirror
Install PCL
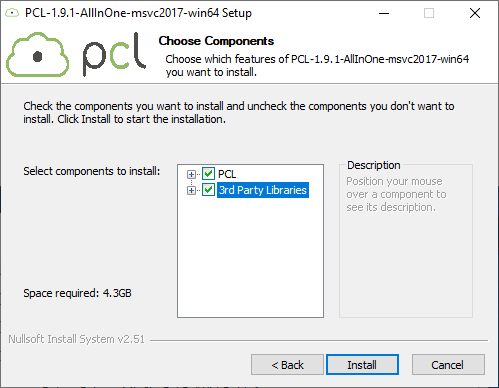
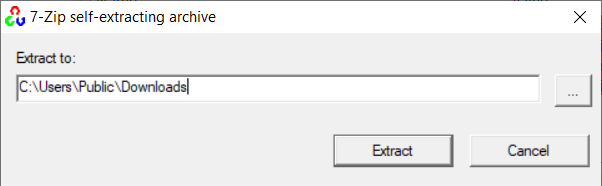
The PCL version that is tested is 1.9.1. Download and install prebuilt PCL binaries: pcl_1.9.1. Check the option to install 3rd Party Libraries including OpenNI.
Install OpenCV
The OpenCV version that is tested is 4.1.0. Download and install prebuilt OpenCV binaries: opencv_4.1.0.
Set PATH system variable for PCL and OpenCV
Some settings must be included in the PATH system variable before you can build Zivid C++ Samples.
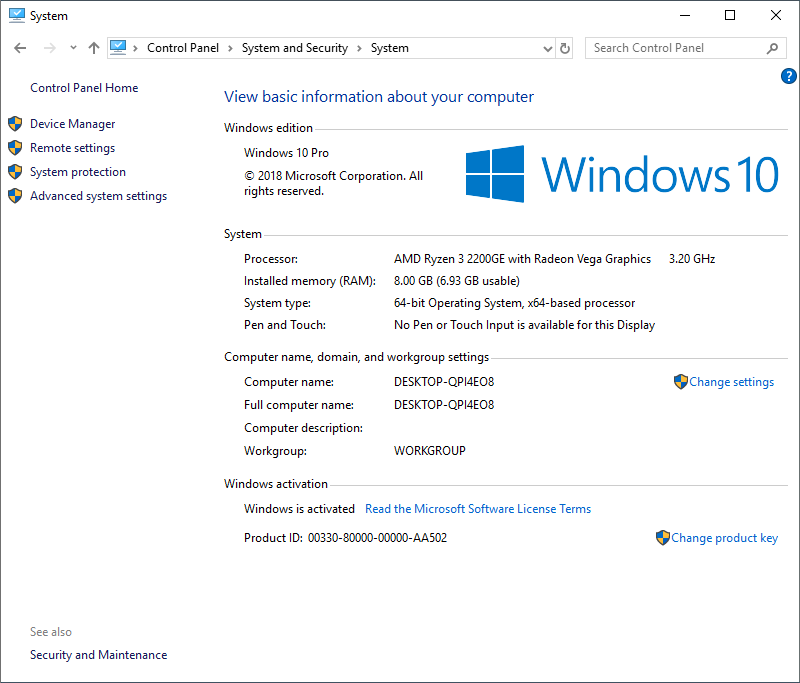
On your PC, navigate to Control Panel → System and Security → System → Advanced System Settings → Environment Variables.
Under System variables (bottom of the window), select Path variable and click Edit.
Warning
It is important to click Edit and not New in order not to overwrite the existing value(s) of the PATH system variable!
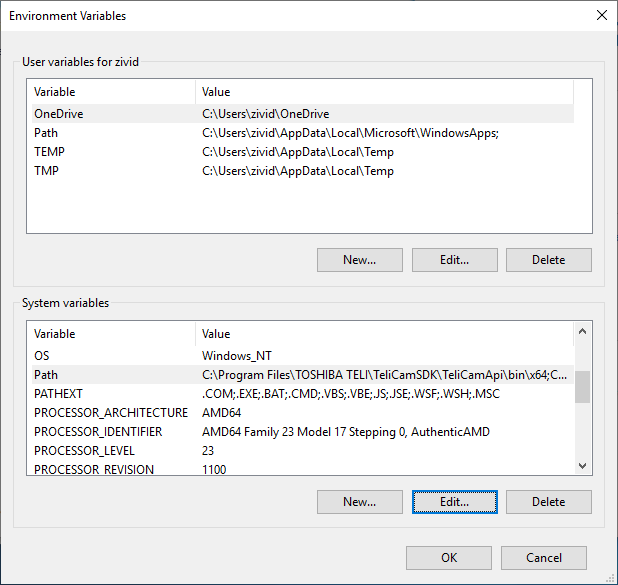
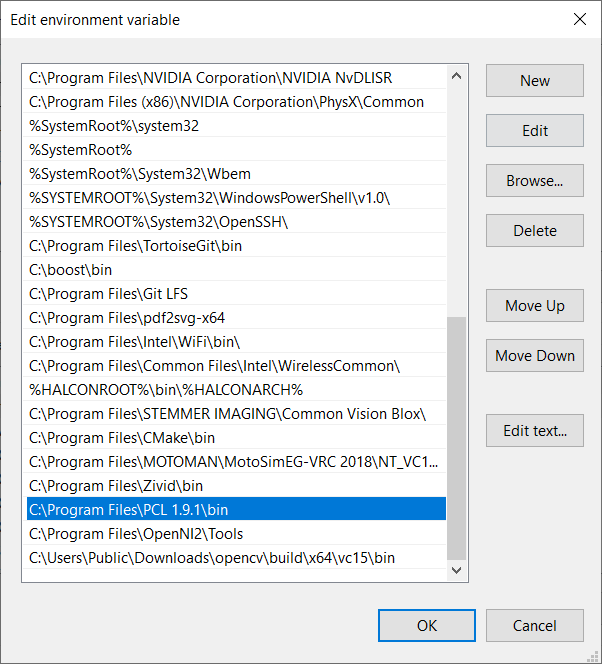
In the Environment variables window, click New (top-right corner of the window, in the section for user variables) and add the following values:
C:\Program Files\PCL 1.9.1\bin
C:\Program Files\OpenNI2\Tools
C:\Users\Public\Downloads\opencv\build\x64\vc15\bin
Note
Make sure to have the correct path for your PCL and OpenCV installations.
Clone C++ Samples
This is our GitHub zivid-cpp-samples repository. To clone it, launch the Command Prompt by pressing Win + R keys on the keyboard, then type cmd and press Enter.
Navigate to a location where you want to clone the repository (install Git if not already installed).
cd C:\Users\Public\Downloads
Then run the following command:
git clone https://github.com/zivid/zivid-cpp-samples
Configure the solution with CMake
Run CMake (cmake-gui.exe), then set the top two entries:
Where is the source code |
|
Where to build the binaries |
|

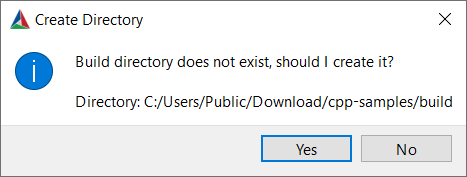
Click Configure. When prompted, click Yes to create a new build directory.
Set the top two entries:
Specify the generator for this project |
Visual Studio 15 2017 |
Optional platform for generator |
x64 |
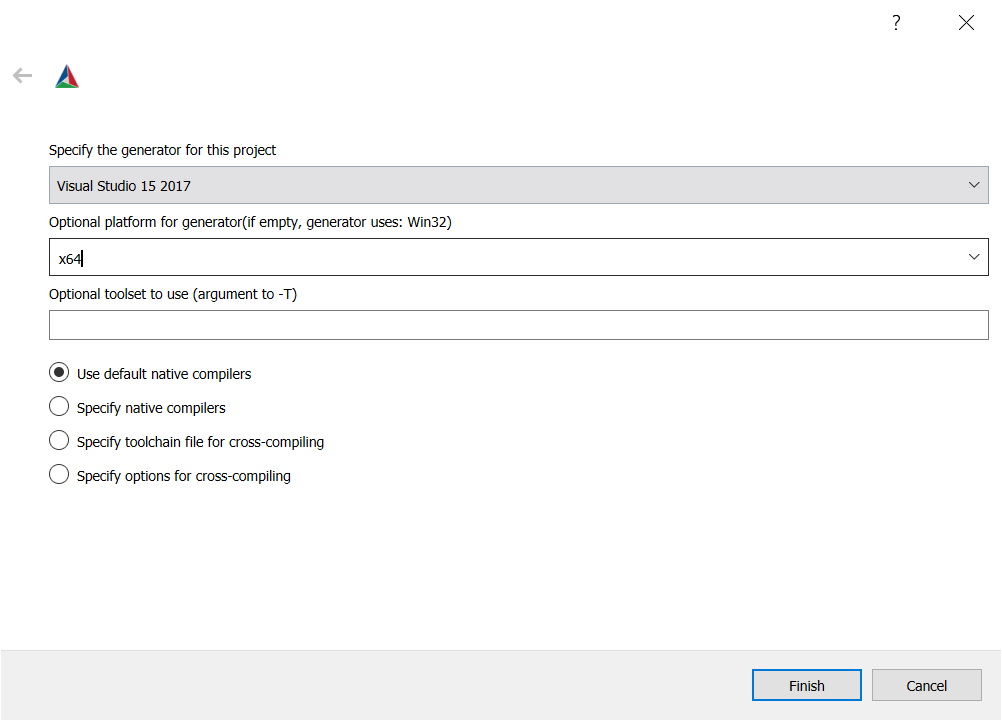
Click Configure.
Note
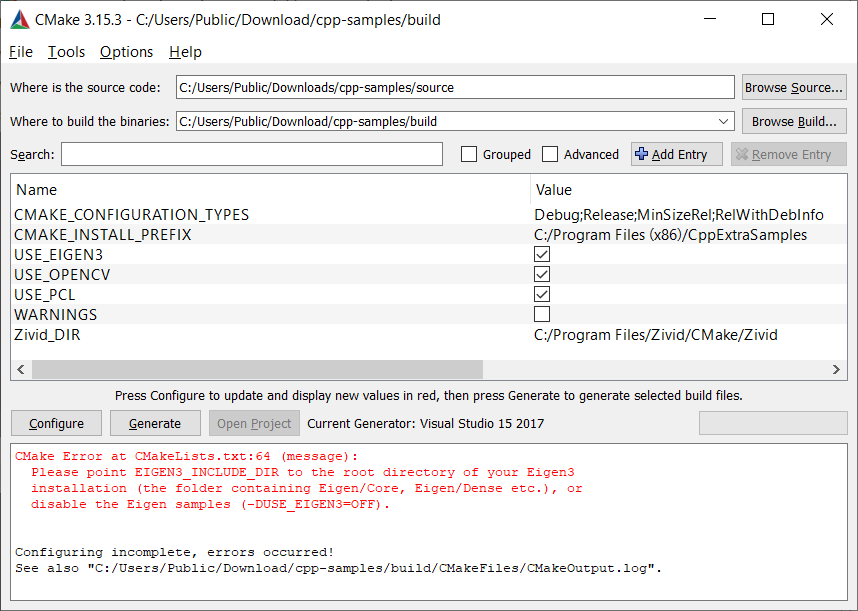
Some of the samples depend on external libraries, in particular, Eigen 3, OpenCV or PCL.
If you don’t want to configure those, uncheck USE_EIGEN, USE_OPENCV and USE_PCL, respectively.
Include Eigen
If you do want to use Eigen 3, click Add Entry to add the path of your Eigen3 installation.
Set the top three entries:
Name |
|
Type |
|
Value |
path chosen in Clone Eigen |
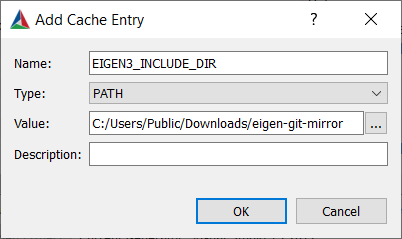
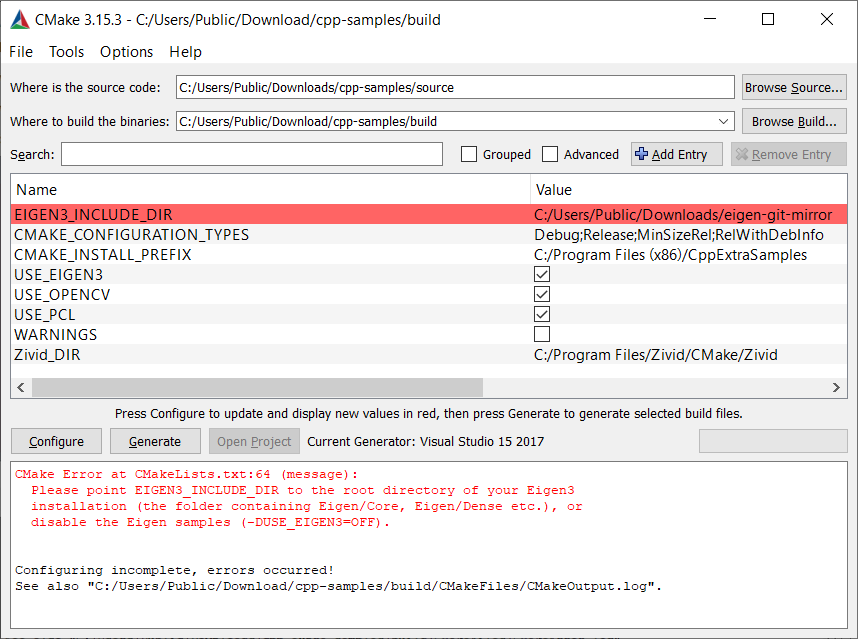
Click Configure again.

Include OpenCV
If you want to use OpenCV, add the path from Install OpenCV to the value of OpenCV_DIR.
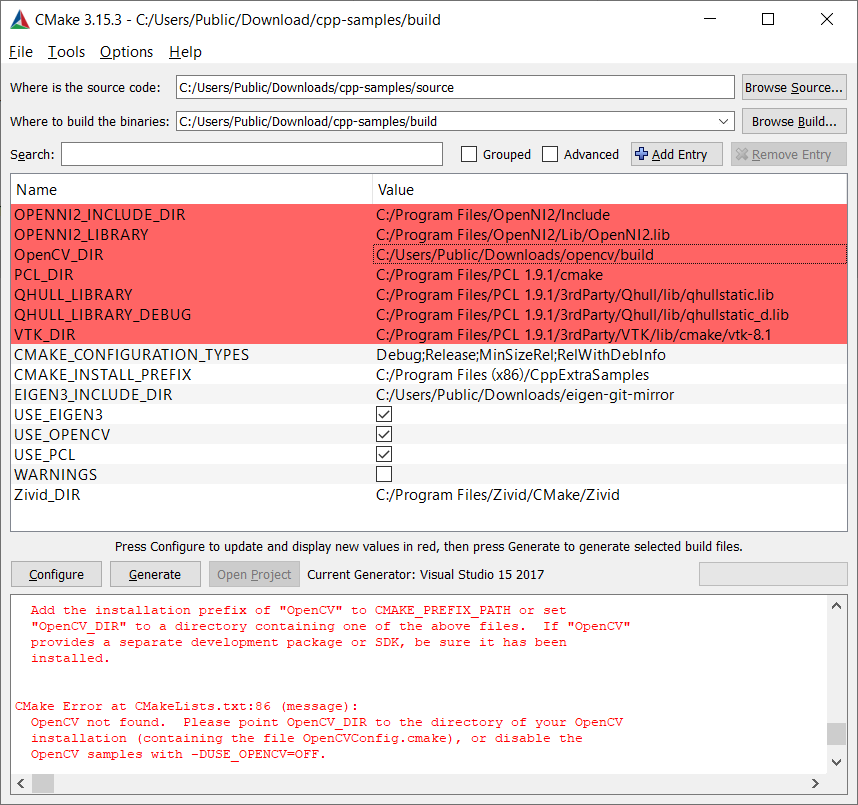
Click Configure again.
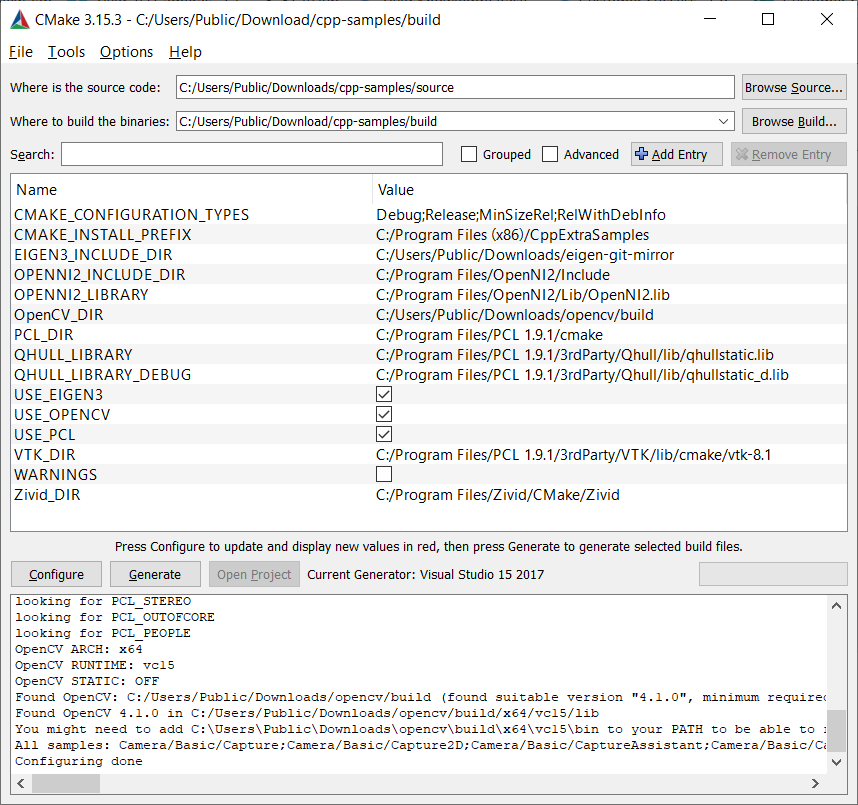
Click Generate.
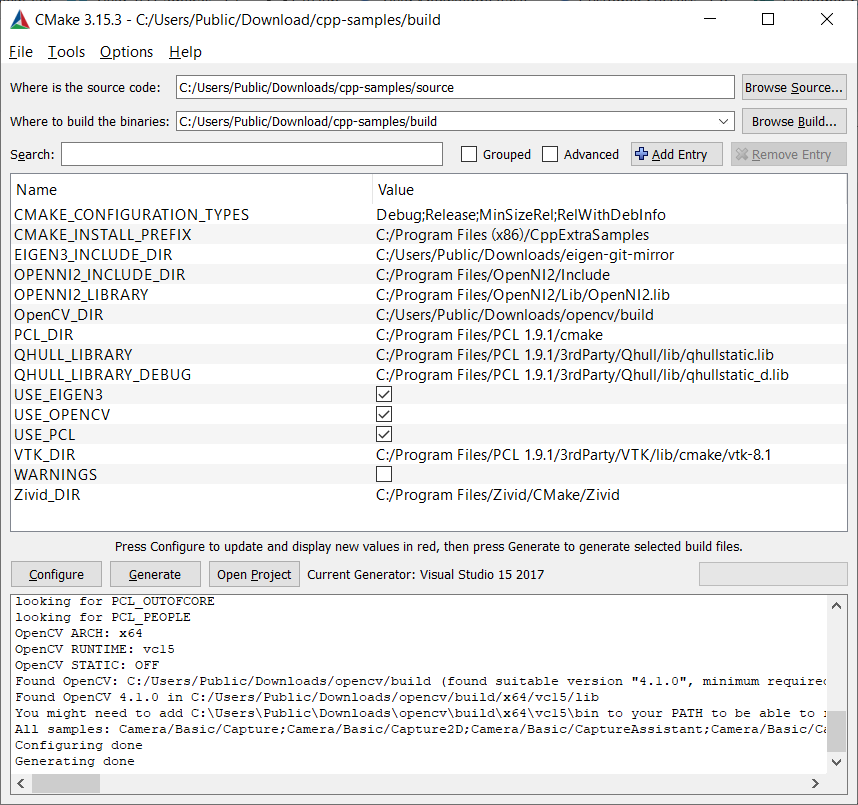
Click Open Project.
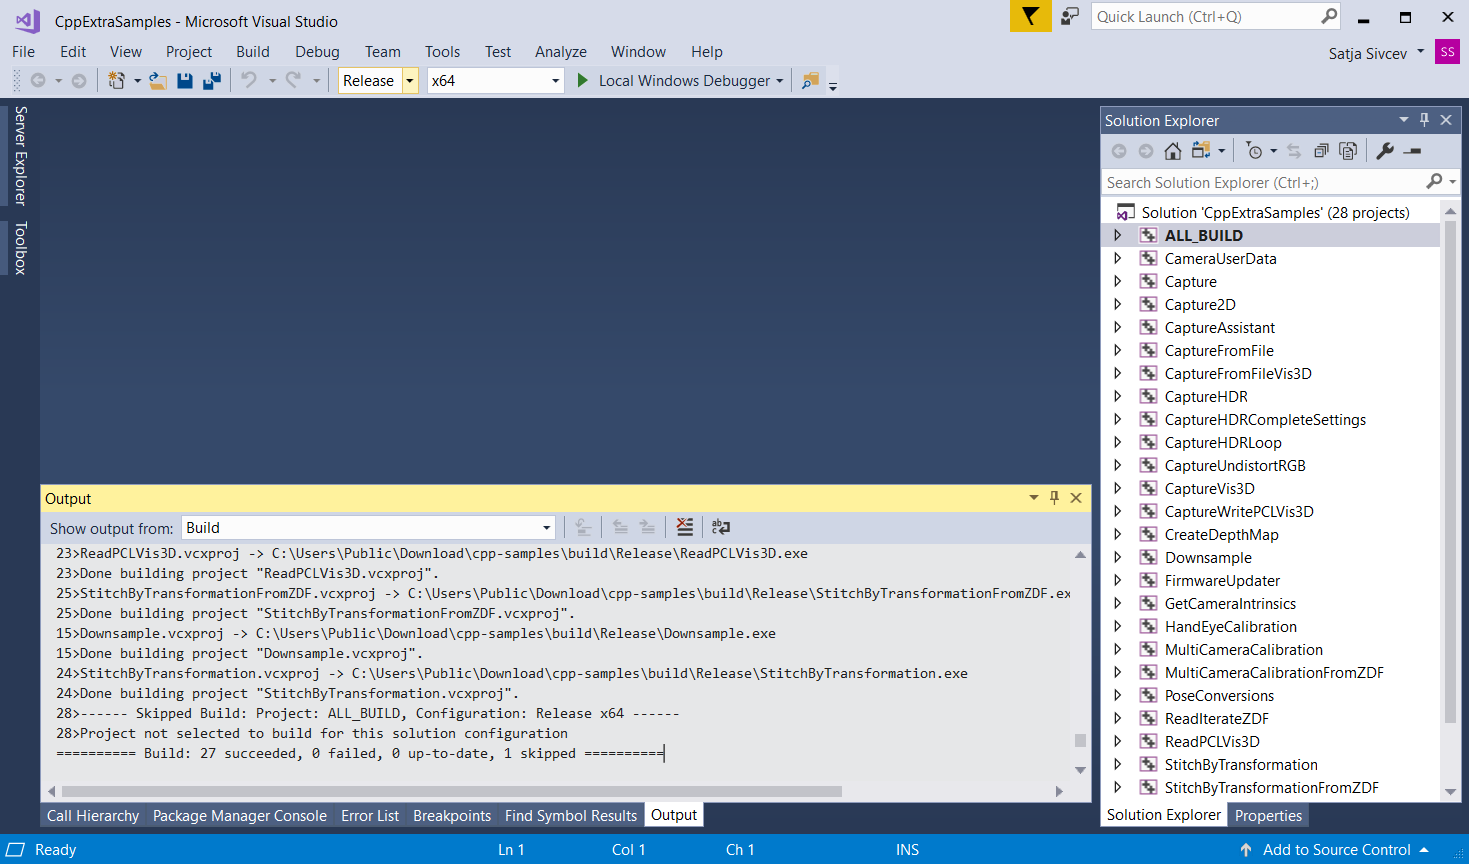
Build the solution
Change the build configuration from Debug to Release.
Build the solution by pressing Ctrl + Shift + B.
Run the sample program
Navigate to the Release folder in File Explorer.
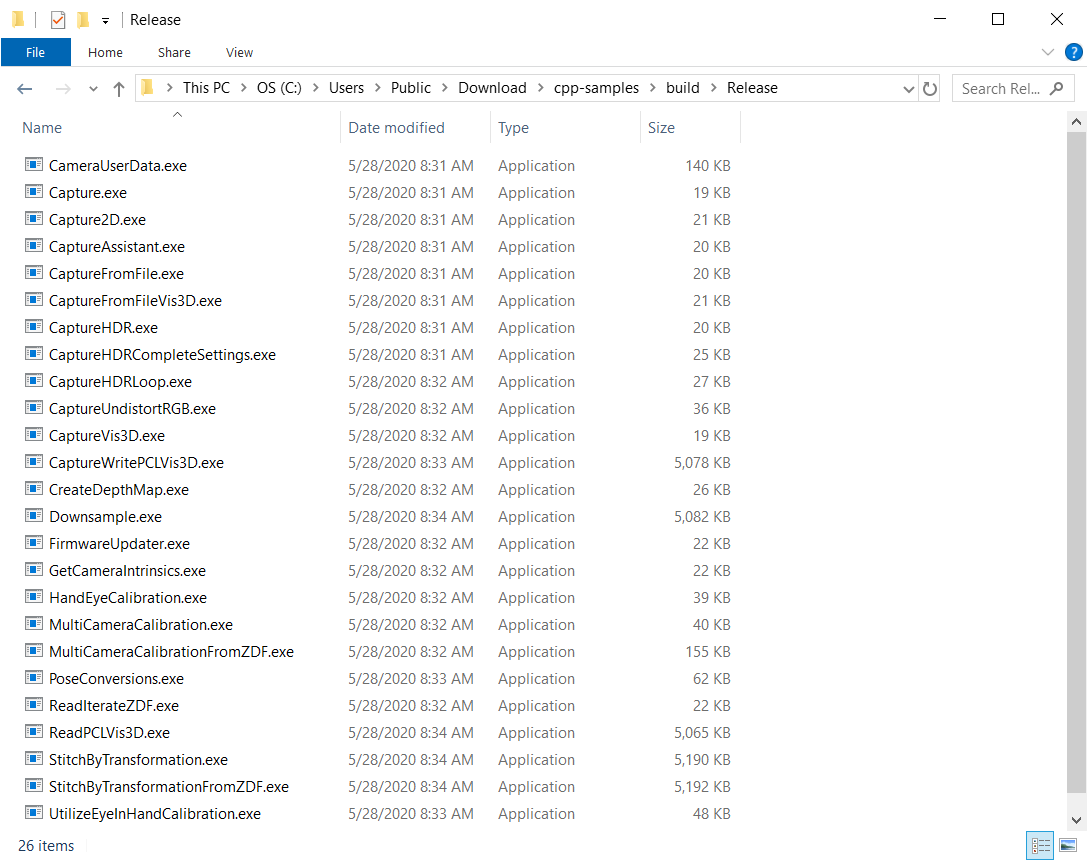
Run a sample program, e.g. CaptureVis3D.exe.
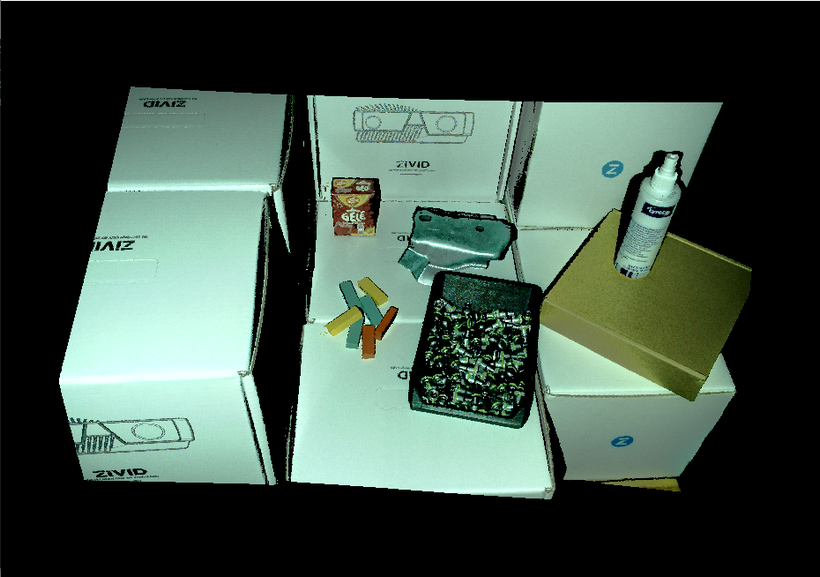
Close the window.
Note
Debug Program:
If you want to debug a program that depends on an input file you must change Working Directory to ${TargetDir}.