Infield Correction
Warning
Infield Correction is currently still experimental.
Infield correction is a maintenance tool designed to verify and correct for the dimension trueness of Zivid cameras. The user can check the dimension trueness of the point cloud at different points in the field of view (FOV) and determine if it is acceptable for their application. If the verification shows the camera is not sufficiently accurate for the application, then a correction can be performed to increase the dimension trueness of the point cloud. The average dimension trueness error from multiple measurements is expected to be close to zero (<0.1%).
Why is this necessary?
Our cameras are made to withstand industrial working environments and continue to return quality point clouds. However, like most high precision electronic instruments, sometimes they might need a little adjustment to make sure they stay at their best performance. When a camera experiences substantial changes in its environment or heavy handling it could require a correction to work optimally in its new setting.
Required Equipment
To perform infield correction the only tools needed are:
Zivid Software - SDK 2.2 or newer.
If on Linux, install tools deb package.
Included with Windows installation.
Official ZVD-CB01 Zivid calibration board with fiducial marker.
Zivid Calibration Board

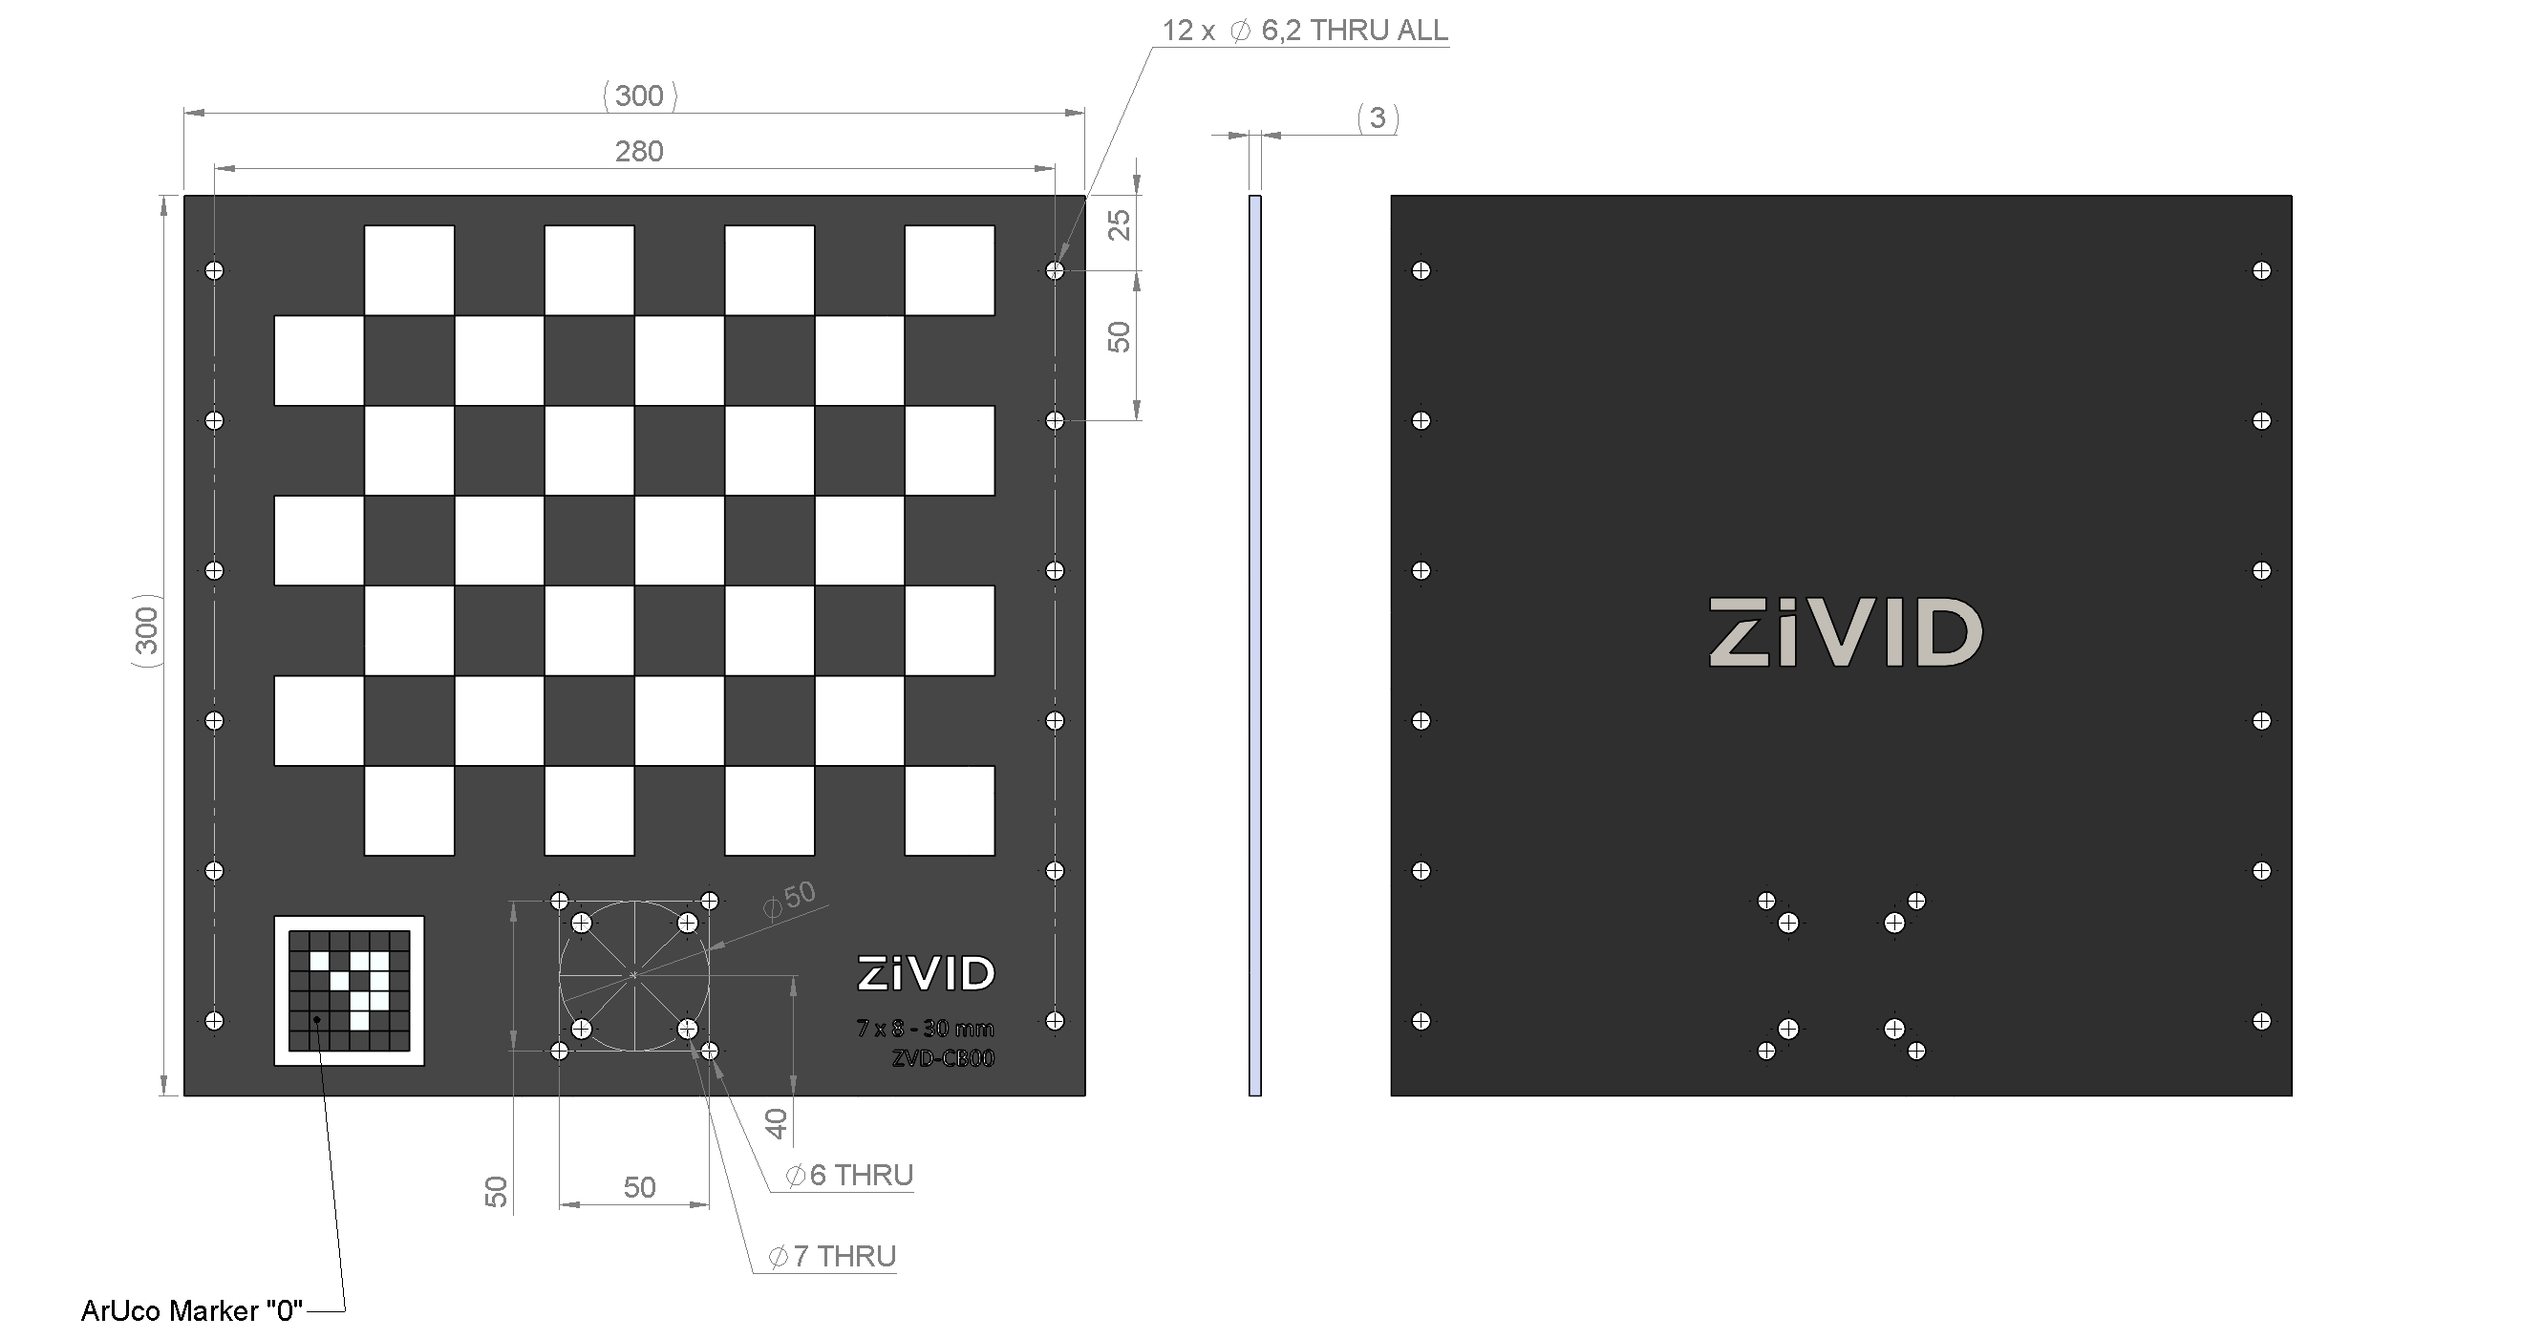
The Zivid calibration board is a 300 mm x 300 mm plate of aluminum weighing 460 g. The fiducial marker shows the board as being first in the series for detection with 30 mm x 30 mm checkers in an 8x7 grid. The board comes in white silkscreen. The holes at the bottom center, as well as the holes along the sides are all suitable for mounting purposes. These boards have been qualified and individually verified by Zivid, and are known to have <0.05% error.
The Zivid calibration board fits the Zivid mounts and is compatible with standard ISO 9409-1-50-4-M6, a standard for the mechanical interface of robot end effectors. This allows the calibration board to be mounted directly to the robot end-effector using M6 screws. Alternatively, it can be installed on a Zivid On-Arm Mount with M5 screws. If the calibration board is stationary, we recommend mounting it on a Zivid Stationary Mount using M5 screws. It is straightforward to fix our stationary mounts to aluminum profiles with M6 screws and T-nuts. It is also possible to mount the board directly to aluminum profiles using M6 screws and T-nuts. We recommend using DIN 912 / ISO 4762 Hexagon or ISO 14579 Hexalobular socket head cap screws in stainless steel (A2 or A4) to fasten the calibration board. Use compatible flat washers to save the surface from rotation marks from screw heads, as well as nuts, when needed, both in stainless steel (A2 or A4).
To learn more about how to use infield correction check out the following pages:
Continue learning to develop with your Zivid camera by reading about Warm-up.
Version History
SDK |
Changes |
|---|---|
2.6.0 |
Support for different orientations of the calibration board is added.
Improved robustness of the checkerboard detection with regards to Blooming - Bright Spots in the Point Cloud.
Improved command line experience when verifying in-field correction with |
2.3.0 |
Improved algorithm in order to yield better post-correction accuracy in some cases. Improved robustness of the checkerboard detection used in the calibration API and in-field correction. Fixed issue where users would get an exception with “No significant correction could be identified (noise >> signal).” even though the input data was actually sufficient to calculate a correction. |
2.2.0 |
Experimental In-field Correction API and command-line tool |