How to Deal with Blooming - Bright Spots in the Point Cloud
Introduction
As discussed in Blooming - Bright Spots in the Point Cloud blooming is an effect that occurs when extremely intense light from a point or region hits the imaging sensor and results in over-saturation. In this article we discuss how to avoid blooming in the scene.
How to deal with blooming
There are three ways to handle blooming:
Position and angle the camera such that direct reflections from the projector or ambient light sources do not directly reflect back into the camera.
Using 3D HDR at the expense of added acquisition time by adding a 3D frame that is exposed to cover the blooming highlights.
In the event that the background is the source of blooming, change the background material to a more diffuse and absorptive material (Optical Properties of Materials).
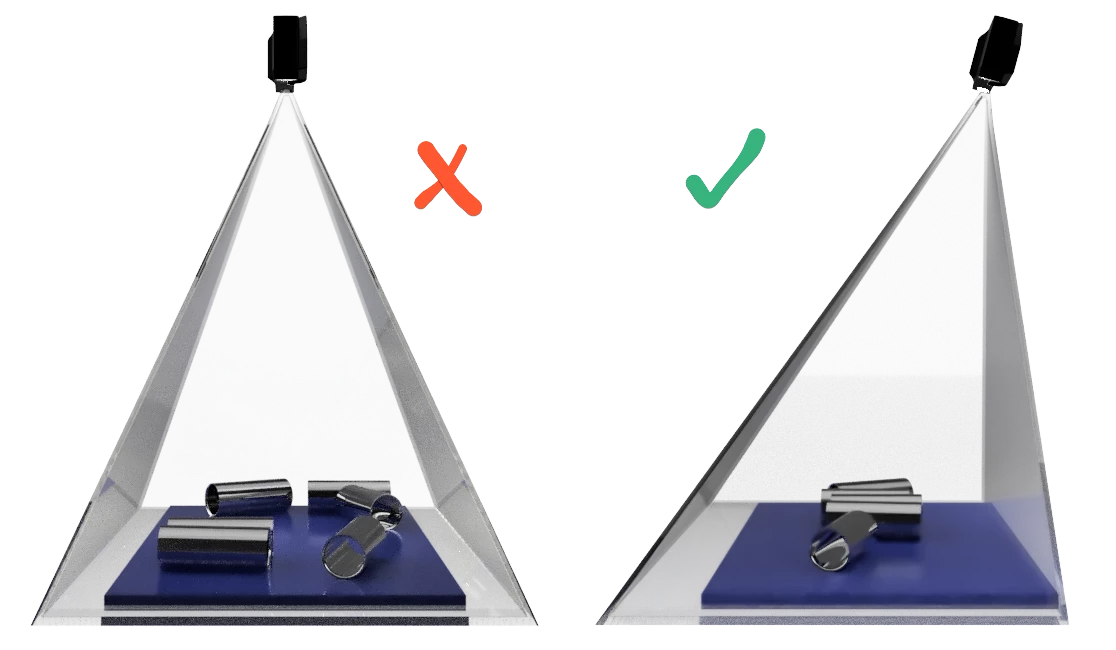
Changing the angle of the camera is a cheap and efficient way of dealing with blooming. As mentioned above, it is preferable to offset the camera and tilt it so that the projector and other light sources do not directly reflect back into the camera. This is shown on the right side of the image below.
By simply tilting the camera, the data lost in the over-saturated region can be recovered, as seen in the right side of the image above. The left image below shows a point cloud taken when the camera is mounted perpendicular to the surface, while the right image shows the scene taken at a slight tilt.

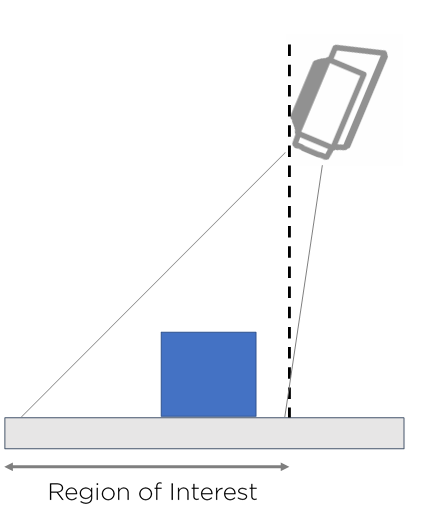
A simple rule of thumb is to mount the camera so that the region of interest is in front of the camera as shown in the image below: