How To Get Good Quality Data On Zivid Calibration Board
This tutorial aims to present how to acquire good quality point clouds of the Zivid calibration board for hand-eye calibration. It is a crucial step to get the hand-eye calibration algorithm to work as well as to achieve the desired accuracy. The goal is to configure camera settings that provide high-quality point clouds regardless of where the calibration board is seen in the working space.
It is assumed that you have already specified the robot poses at which you want to take images of the calibration board. In the next article, you can learn how to select appropriate poses for hand-eye calibration.
Note
To calibrate using the Zivid calibration board, ensure that the entire board, including the fiducial marker, is fully visible for each pose.
We will discuss two poses: the ‘near’ pose and the ‘far’ pose. The ‘near’ pose refers to the robot position where the imaging distance between the camera and the checkerboard is minimized. In eye-in-hand systems, this is when the robot-mounted camera is closest to the checkerboard. In eye-to-hand systems, it is when the robot positions the checkerboard closest to the stationary camera.
|
|
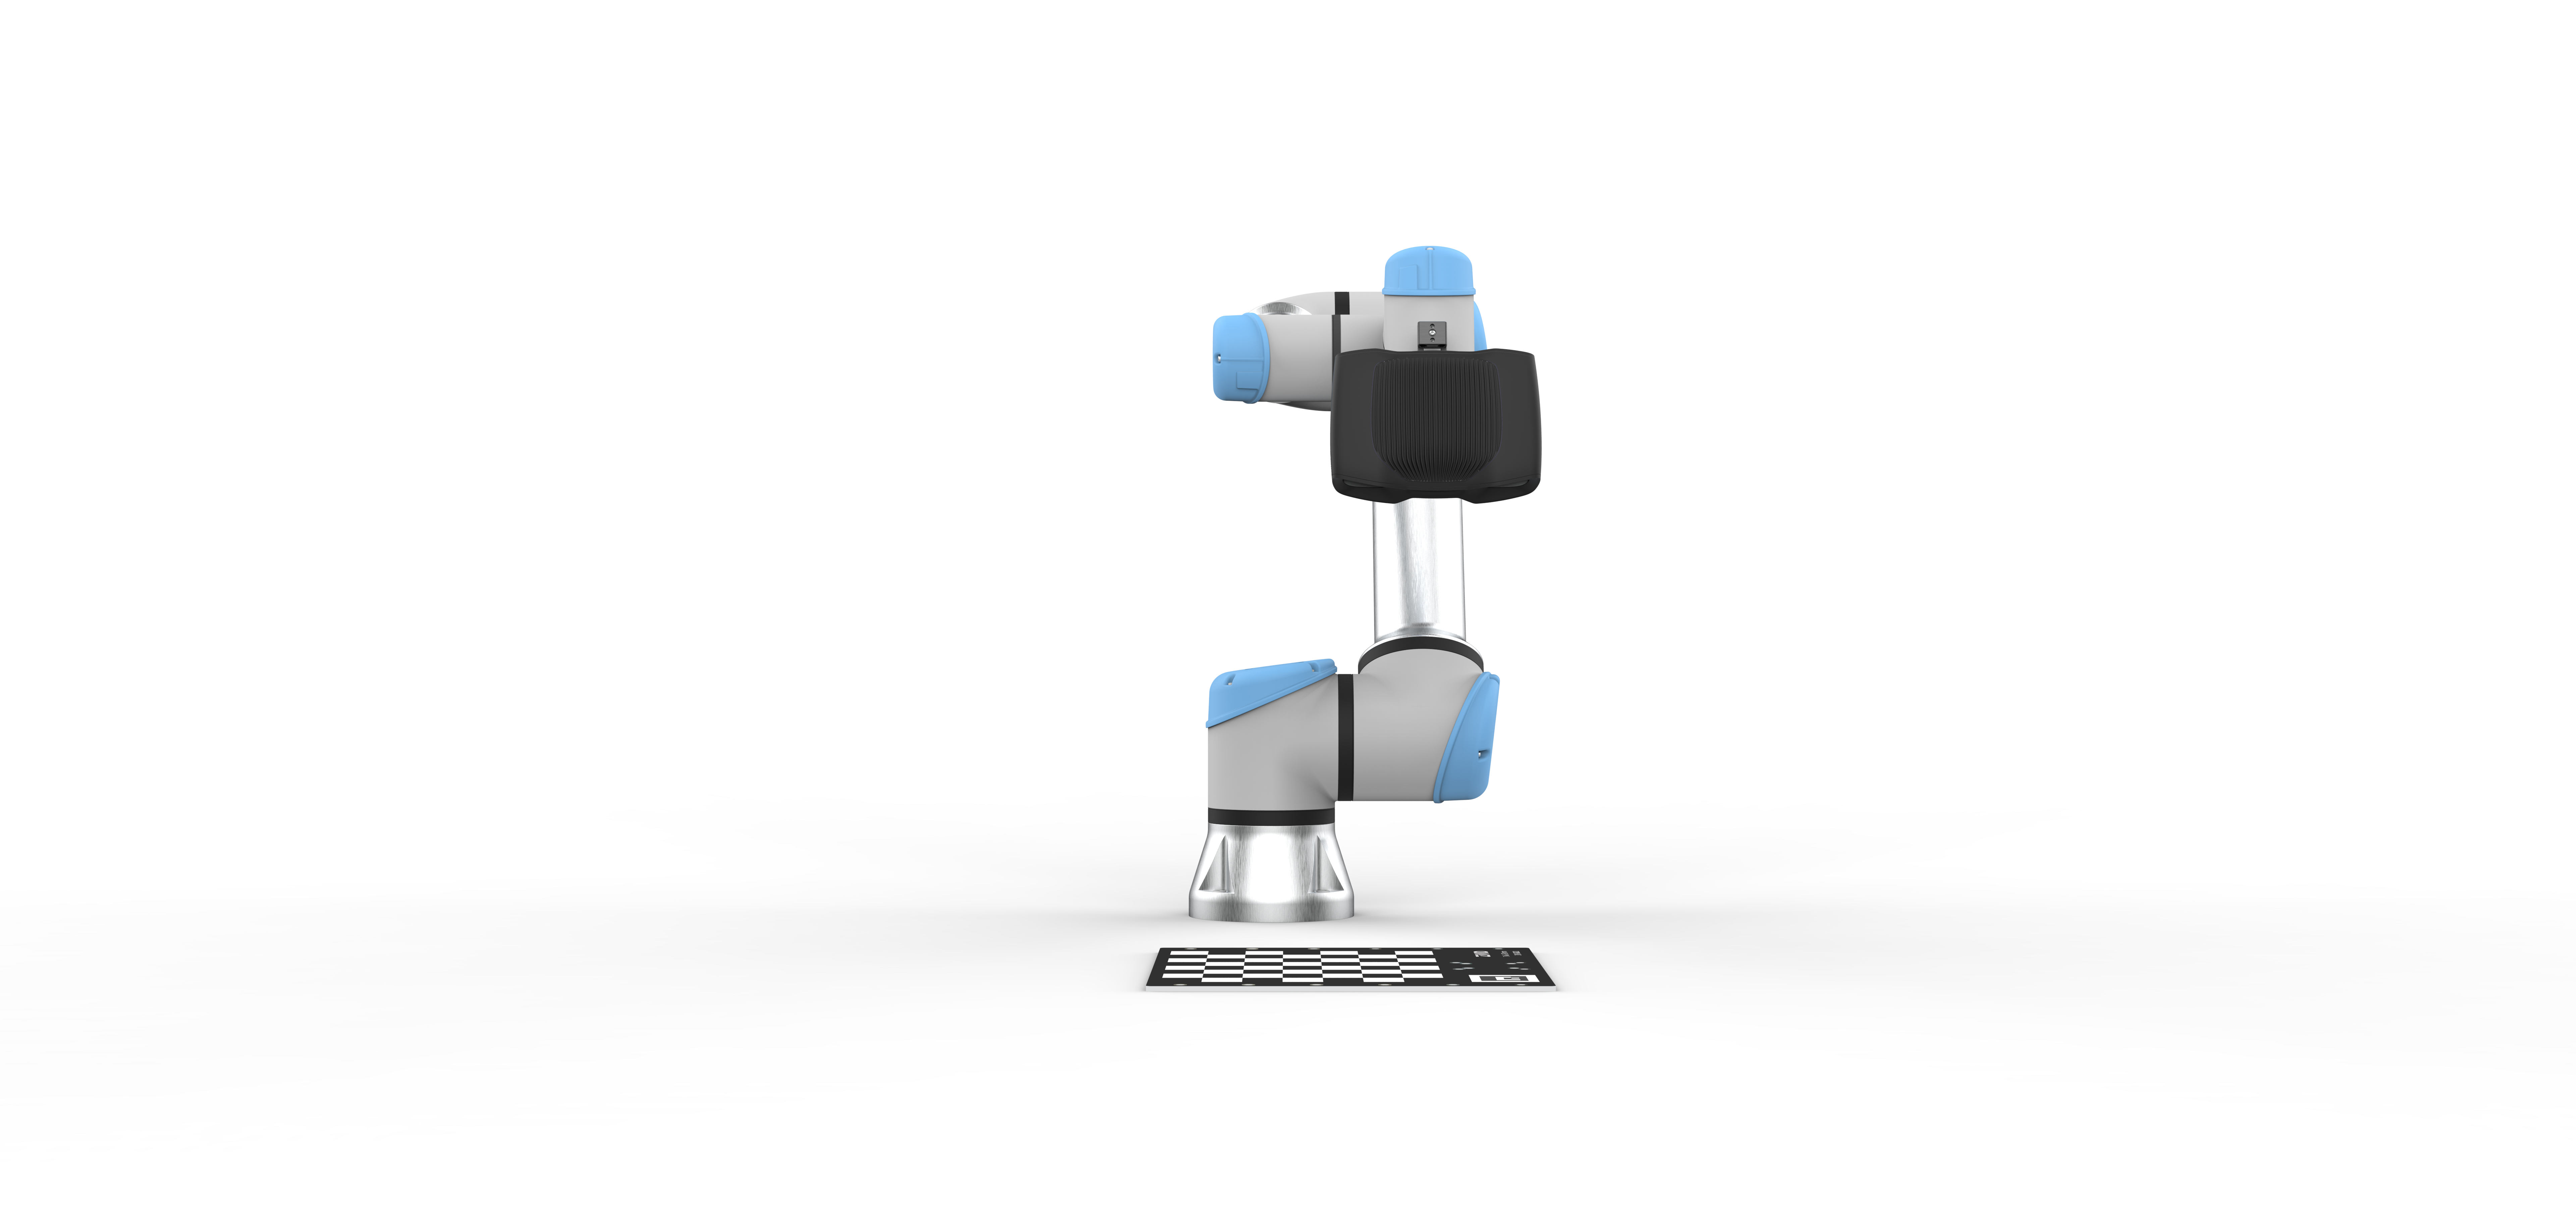
Eye-in-hand robot pose for a close capture of Zivid calibration board |
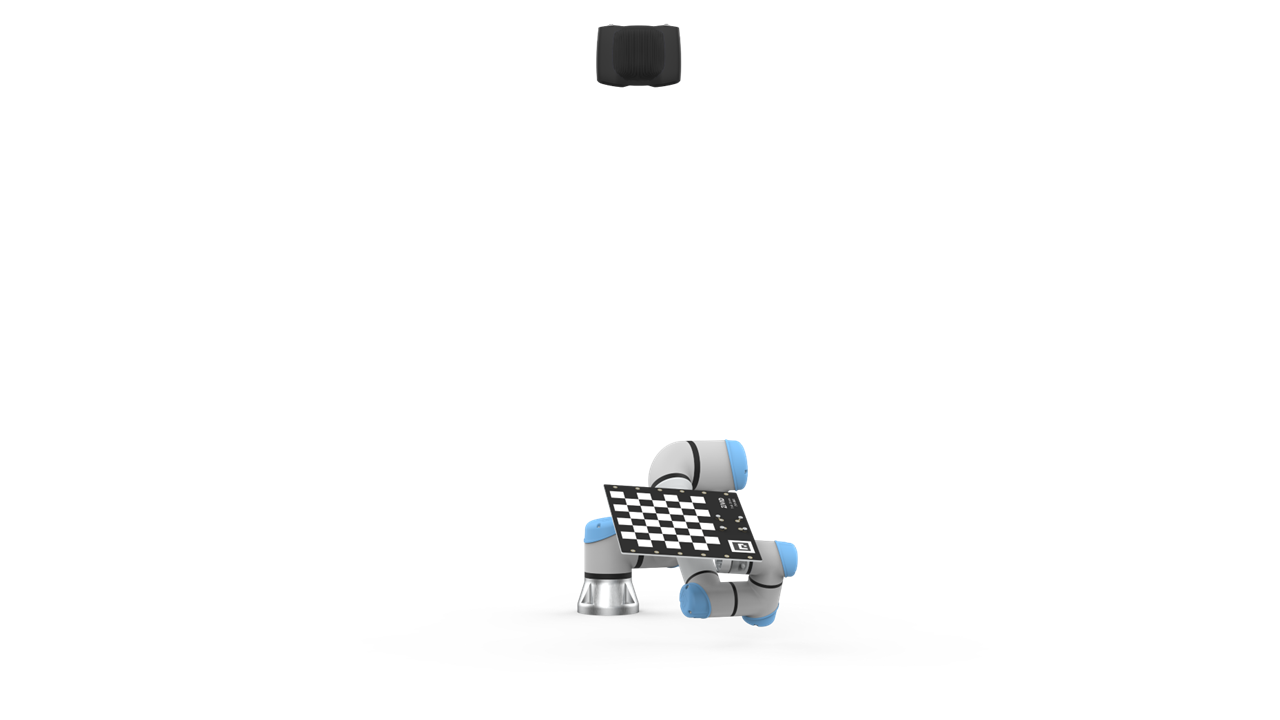
Eye-to-hand robot pose for a close capture of Zivid calibration board |
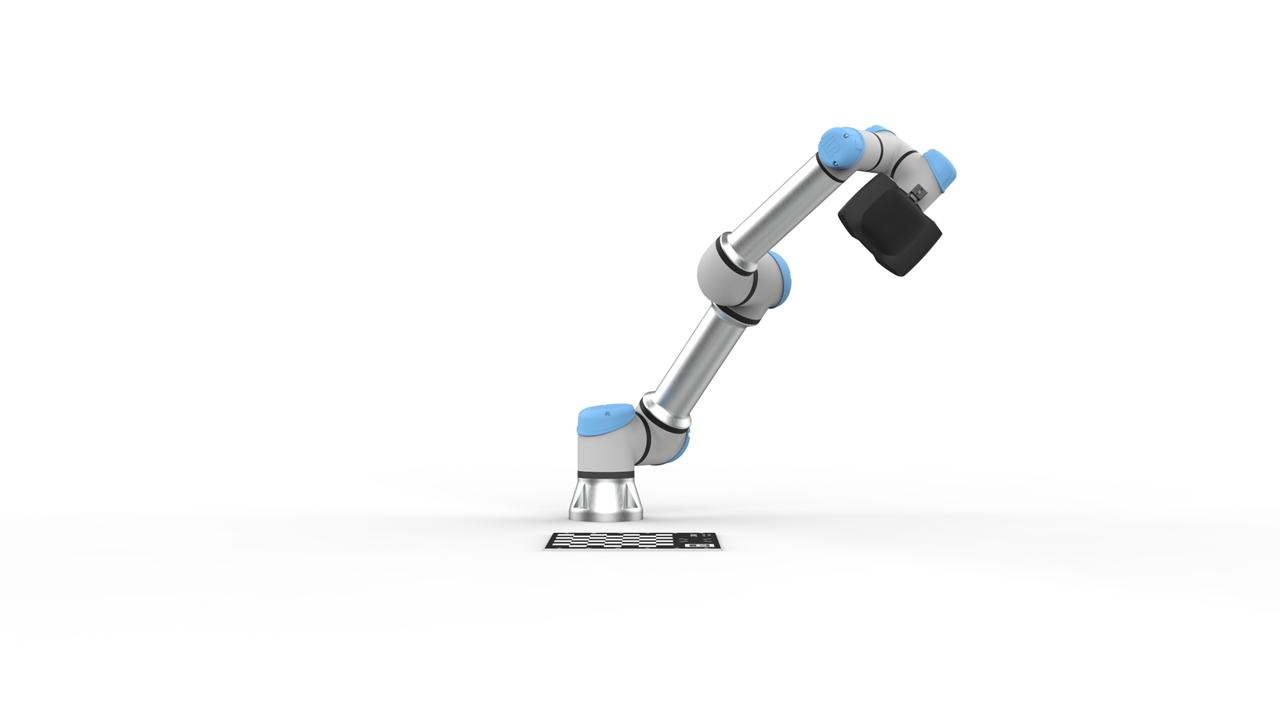
The ‘far’ pose refers to the robot position with the greatest imaging distance between the camera and the checkerboard. In eye-in-hand systems, this is when the robot-mounted camera is farthest away from the checkerboard. In eye-to-hand systems, it is when the robot positions the checkerboard farthest away from the stationary camera.
|
|
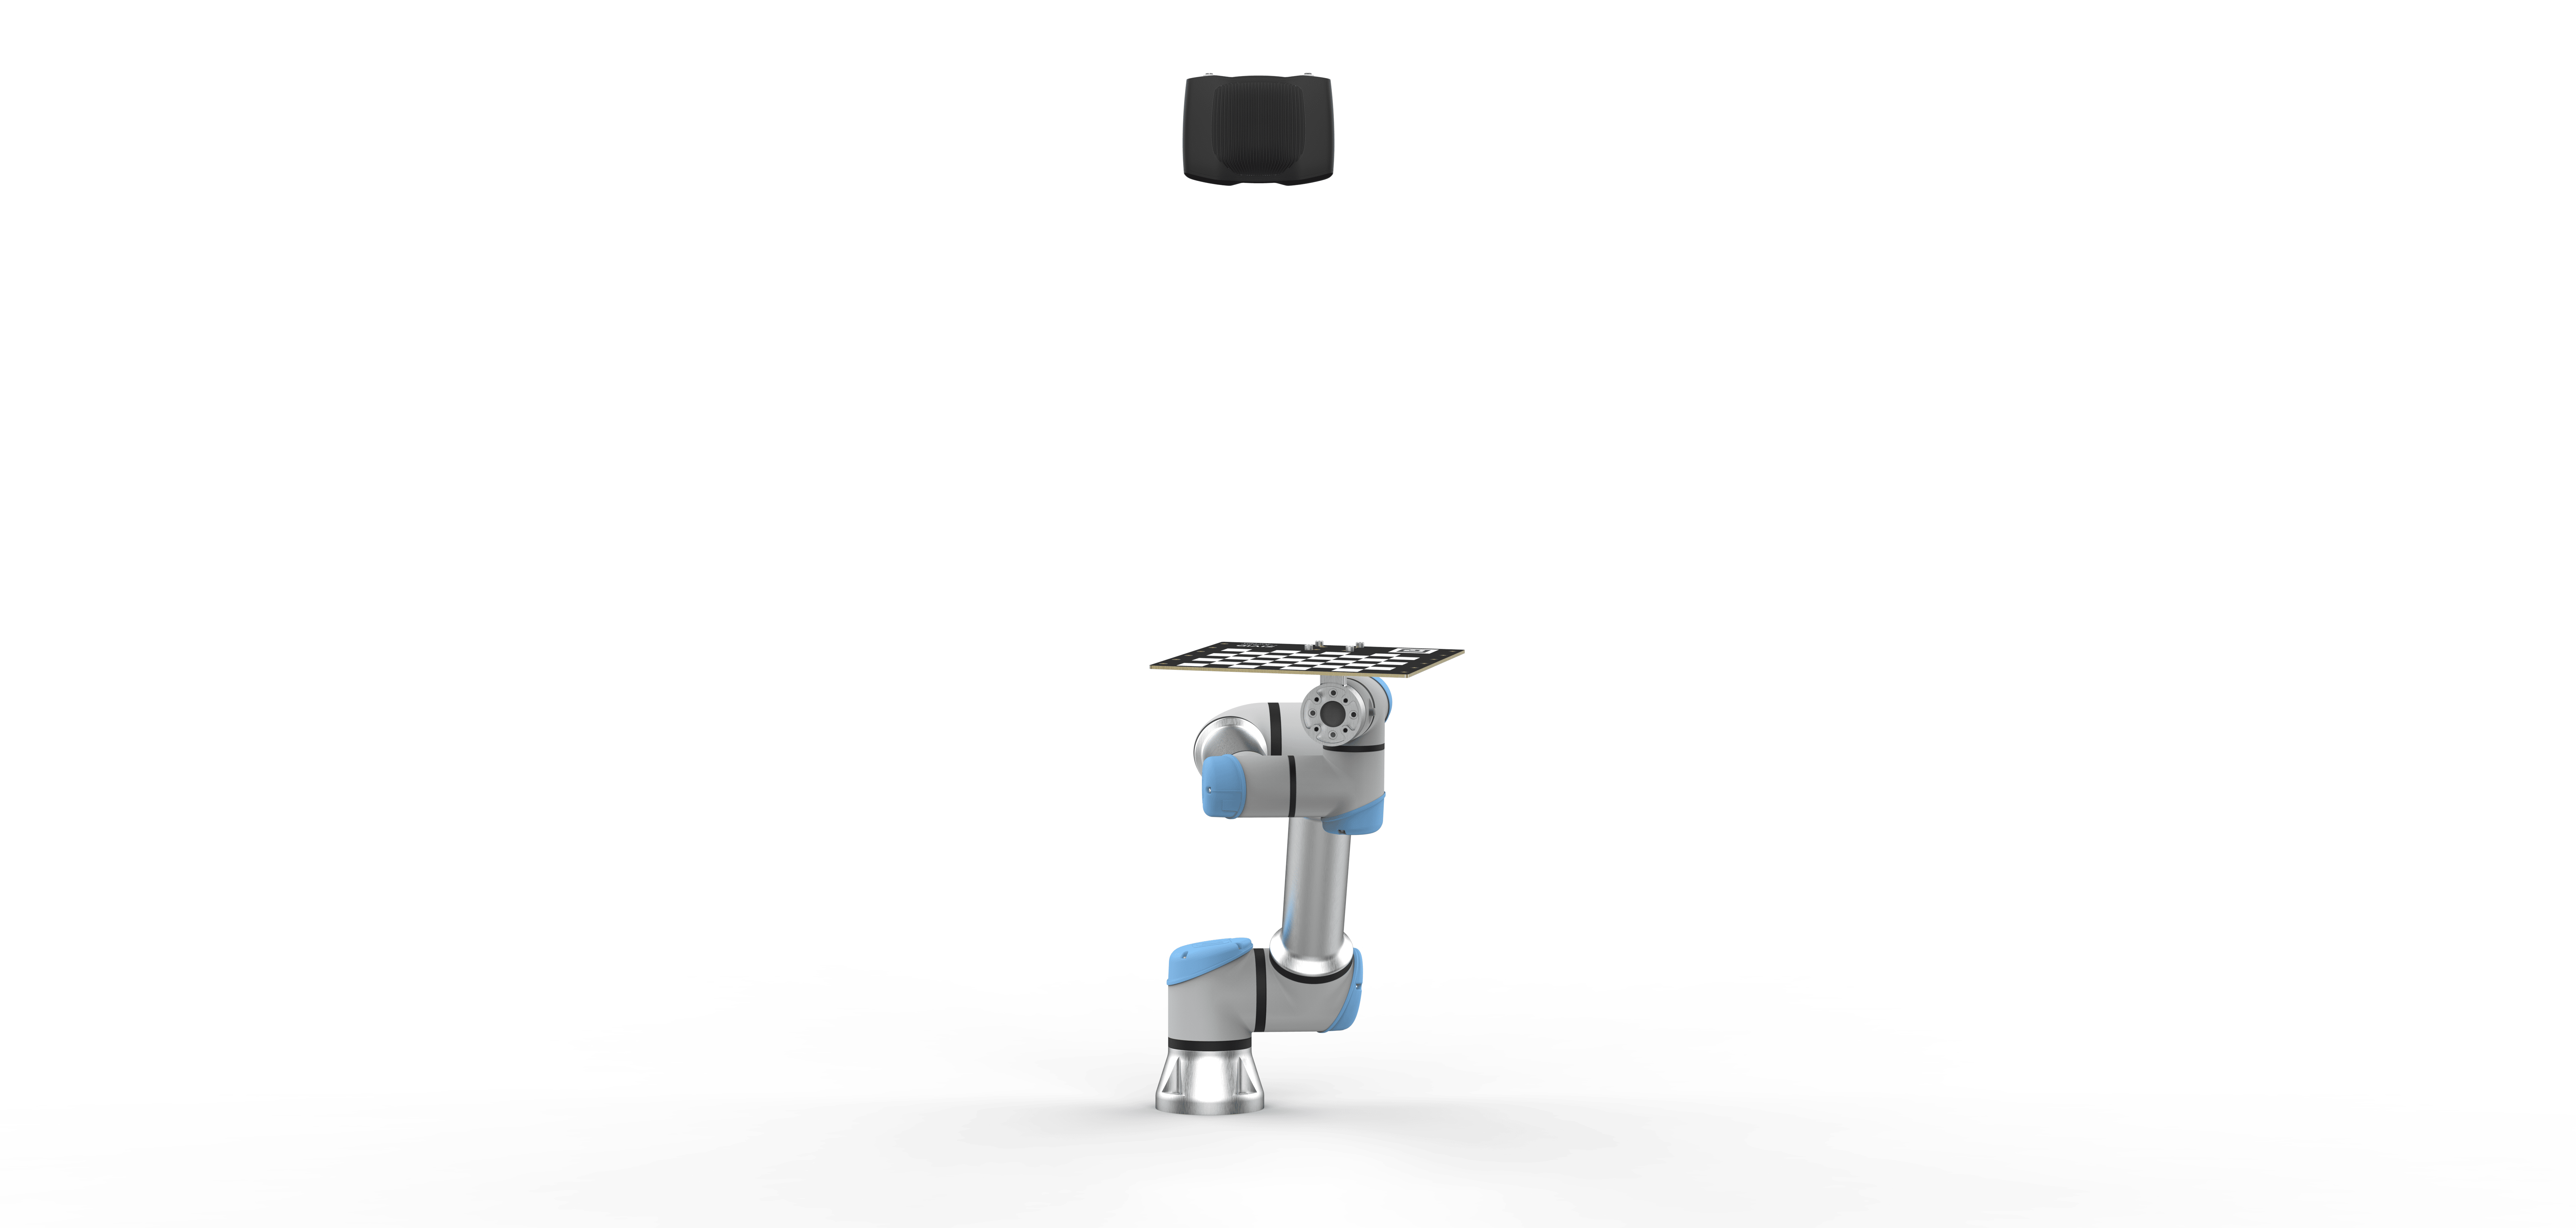
Eye-in-hand robot pose for a close capture of Zivid calibration board |
Eye-to-hand robot pose for the farthest capture of Zivid calibration board |
Tip
Try Calibration Board presets for the nearest and farthest away pose.
If you get a good result, you can skip the rest of the tutorial and use these settings.
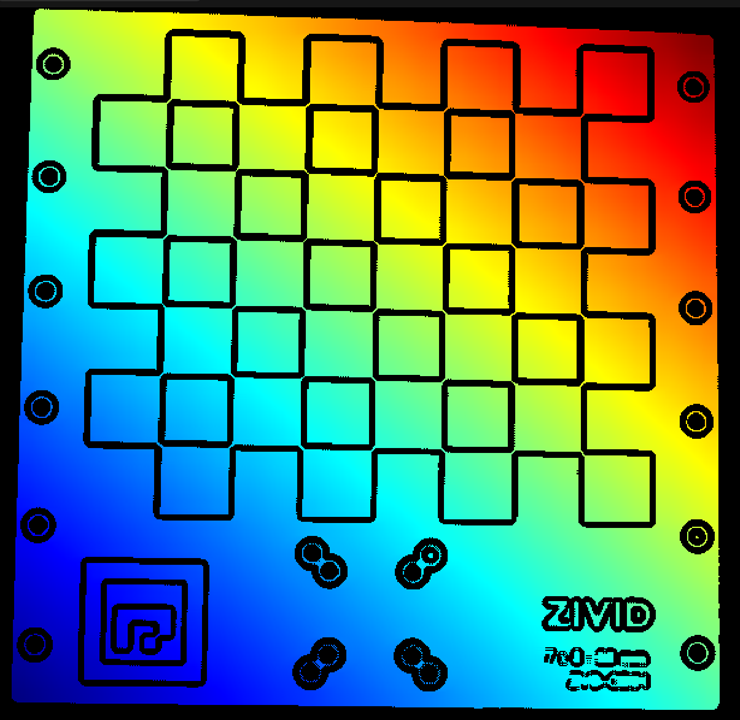
The expected result is illustrated below:
A step-by-step process for acquiring good point clouds for hand-eye calibration is presented as follows.
Possible scenarios
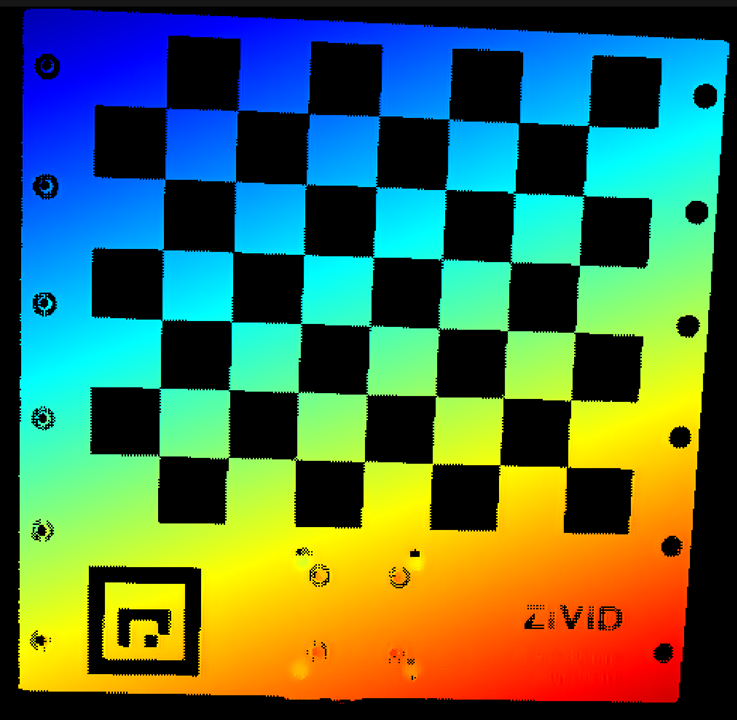
In the following tutorial, we will use the SNR map to check the signal quality of black and white pixels. The color indicator changes from red to dark blue as the SNR value increases. Below, you will find the SNR scale and all the possible cases you may come across in this tutorial.

|
|
|
|
|
The black areas are underexposed, and the quality of the white areas is not good. |
The quality of the black areas is not good and the white areas have a satisfactory quality. |
The quality of the black areas is satisfactory and the white areas have an optimal quality. |
The quality of the black areas is optimal and the white areas are overexposed. |
The black and white areas are overexposed. |
Base settings
First we will define the base settings for this tutorial.
Move the robot to the ‘near’ pose
Start Zivid Studio and connect to the camera
Set Vision Engine to phase
Set Sampling, Color to rgb.
Set Sampling, Pixel to all.
Set Exposure Time to 10000μs for a 50Hz grid frequency or 8333μs for a 60Hz grid frequency
Set f-number using depth of focus calculator
Minimum Depth-of-Focus (mm): Farthest working distance - Closest working distance
Closest working distance (mm): is the closest distance between the camera and the checkerboard
Farthest working distance (mm): is the farthest distance between the camera and checkerboard
Acceptable blur radius (pixels): 1
Set Projector Brightness to maximum
Set Gain to 1
Set Noise Filter to 5
Set Outlier Filter to 10
Set Reflection Filter to global
Turn off all other filters and leave all other settings to their default value.
Optimizing camera settings for the ‘near’ pose
Fine-tuning for ‘near’ White (Acquisition 1)
At this stage, ignore the black checkers and focus on the white checkers. Capture and analyze the white regions of Zivid calibration board. Use the following images as an example when Fine-tuning for white regions.
|
|
The quality of the the white areas is optimal, the black areas can be ignored (SNR map). |
The quality of the the white areas is optimal, the black areas can be ignored (Depth map). |
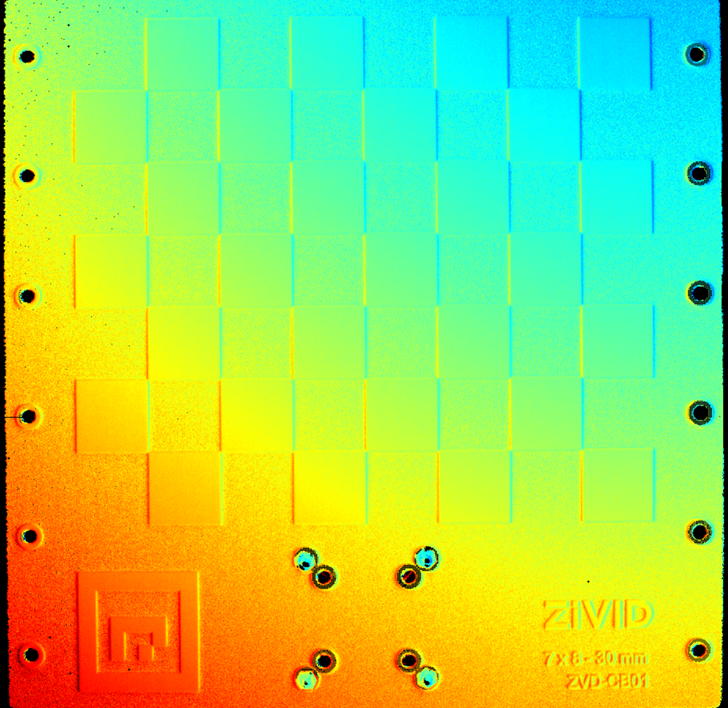
Image is underexposed (white pixels are too dark)
Increase the Exposure Time
Increase the exposure time by increments of 10000μs [50Hz] or 8333μs [60Hz] until there is good data on the white checkers.
Decrease the f-number
Image is overexposed (white pixels are saturated)
Reduce the Exposure Time
Reducing the exposure time can lead to the appearance of waves on the point cloud due to interference from ambient light (from the power grid). If there are no waves, keep reducing the exposure time until you have good data on the white checkers.
If you reach the exposure time limit, and the data is not good enough or the point cloud is wavy, follow the next option.
Increase the f-number
Reduce the Projector Brightness
At this point, one of four acquisitions (“Acquisition 1”) is tuned.
Fine-tuning for ‘near’ Black (Acquisition 2)
Turn off the “Acquisition 1” and clone it. This “Acquisition 2” needs to be tuned to have good data on the back part of Zivid calibration board. Therefore, it’s expected to overexpose the white checkers. Look at the following image as an example, where we have no data on the white part of the checkerboard due to overexposed white pixels:
|
|
White pixels overexposed and good data on the black pixels (SNR map). |
White pixels overexposed and good data on the black pixels (Depth map). |
Darker surfaces require higher light exposure.
Image is underexposed (black pixels are too dark)
Increase the Projector Brightness
Increase Exposure Time
Increase the exposure time by increments of 10000μs [50Hz] or 8333μs [60Hz] until there is good data on the black checkers of Zivid calibration board If the limit has been reached and the data is not yet good enough, follow the next option.
Decrease f-number
Increase Gain
Optimizing camera settings for the ‘far’ pose
Fine tuning for ‘far’ White (Acquisition 3)
Turn off the “Acquisition 2” and clone the “Acquisition 1”. Again, let’s ignore the black checkers and just focus on the white ones. Capture and analyze the white regions of Zivid calibration board.
Image is underexposed (white pixels are too dark)
Increase the Projector Brightness
Increase the Exposure Time
Increase the exposure time by increments of 10000μs [50Hz] or 8333μs [60Hz] until there is good data on the black checkers of Zivid calibration board If the limit has been reached and the data is not yet good enough, follow the next option.
Decrease f-number
Image is overexposed (white pixels are saturated)
Reduce the Exposure Time
Reducing the exposure time can lead to the appearance of waves on the point cloud due to interference from ambient light (from the power grid). If there are no waves, keep reducing the exposure time until you have good data on the white checkers.
If you reach the exposure time limit, and the data is not good enough or the point cloud is wavy, follow the next option.
Increase the f-number
Reduce the Projector Brightness
Fine-tuning for ‘far’ Black (Acquisition 4)
Turn off the “Acquisition 3” and clone the “Acquisition 2”.
This “Acquisition 4” needs to be tuned in order to have good data on the back part of Zivid calibration board. Therefore, it’s expected to overexpose the white checkers.
Darker surfaces require higher light exposure.
Image is underexposed (black pixels are too dark)
Increase the Projector Brightness
Increase Exposure Time
Increase the exposure time by increments of 10000μs [50Hz] or 8333μs [60Hz] until there is good data on the black checkers of Zivid calibration board If the limit has been reached and the data is not yet good enough, follow the next option.
Decrease f-number
Increase Gain
At this point the settings for the four acquisitions are configured. Now it’s just missing adding the final filters.
Optimizing filters
Set Gaussian Smoothing to 5
Set Contrast Distortion, Correction to 0.4
Set Contrast Distortion, Removal to 0.5
Your point cloud should be similar to the point cloud shown at the top of the tutorial.
Note
In most cases, two acquisitions, one optimized for ‘near’ and the other for ‘far’ poses, will provide a good quality data on the checkerboard. Another option for determining the correct imaging settings is to utilize the Capture Assistant. However, it currently only offers optimal settings for the entire scene, rather than specifically for the checkerboard. While the Capture Assistant can still be effective for this purpose, it is recommended to use the method described above, as it consistently yields good results.
Let’s see how to realize the Hand-Eye Calibration Process.