How to deal with Color Inconsistency from HDR
Introduction
In this article we discuss how to overcome color inconsistency from HDR.
Problem
The color image from the multi-acquisition HDR capture is a result of tone mapping if Color Mode is set to ToneMapping or Automatic (default). While tone mapping solves the challenging problem of optimizing the color for that particular capture, it has a downside. Since it is a function of the scene, the tone mapping technique introduces color inconsistency with changes in the scene. The following example explains this phenomenon.
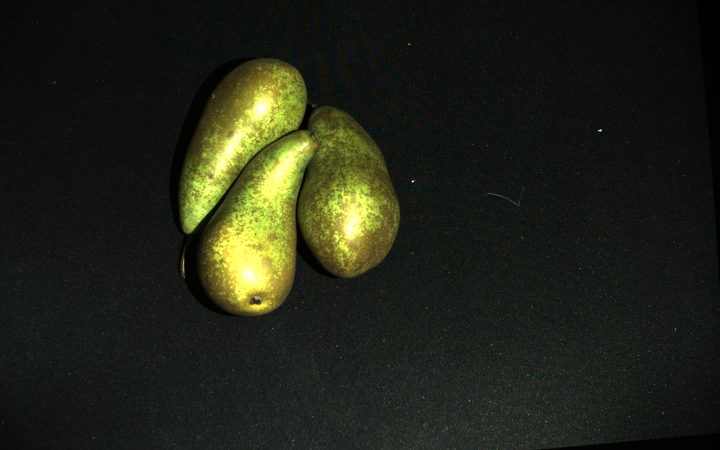
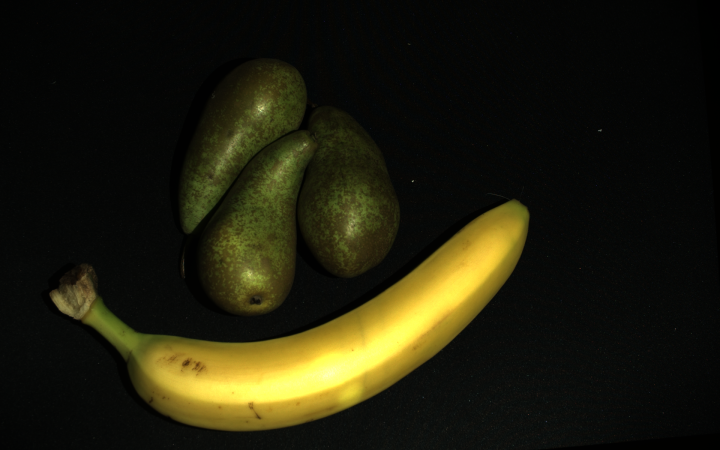
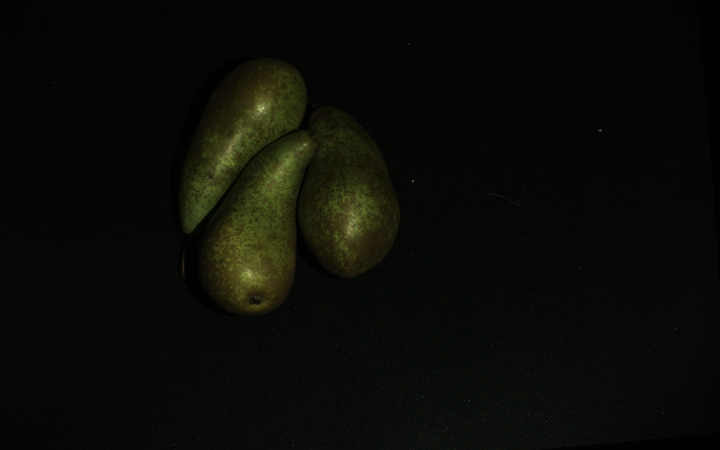
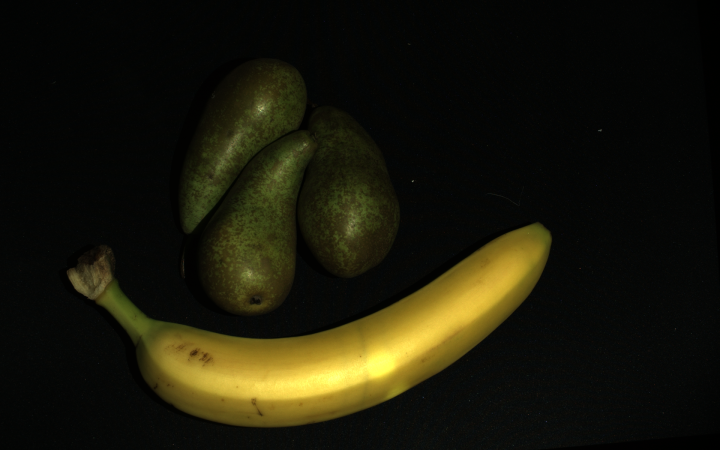
Let us say we have a relatively dark scene (pears on a black surface). We find acquisition settings that cover a wide enough dynamic range and perform a multi-acquisition HDR capture (figure on the left). We then add a bright object (banana) to the scene and capture it again with the same settings (figure on the right).
|
|
HDR capture of a dark scene (Color Mode: Automatic or ToneMapping) |
HDR capture with the same settings of the same scene but with an additional bright object added |
Let us look at the output color image (figure on the right) and specifically at the dark objects initially in the scene (pears or black surface). We notice that the RGB values of these objects are different before and after adding the bright object (banana) to the scene.
The change of RGB values can be a problem for some applications, e.g., ones using algorithms that classify objects based on color information. The reason is that these algorithms will expect the RGB values to remain the same (consistent) for repeated captures.
Solutions
HDR capture with UseFirstAcquisition Color Mode
Note
This solution can be used only with SDK 2.7 and higher. Change the KB to an older version in the top left corner to see a solution for SDK 2.6 or lower.
To overcome the color inconsistency from HDR, identify which of the acquisitions from your HDR capture gives the best color. We recommend the acquisition optimized for the brightest object in the scene to avoid saturation. Then, set that acquisition to be the first in the acquisition settings. Finally, capture your HDR with Color Mode set to UseFirstAcquisition.
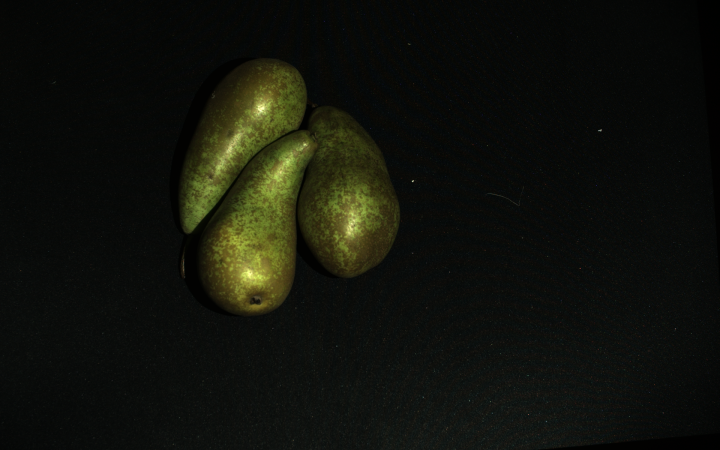
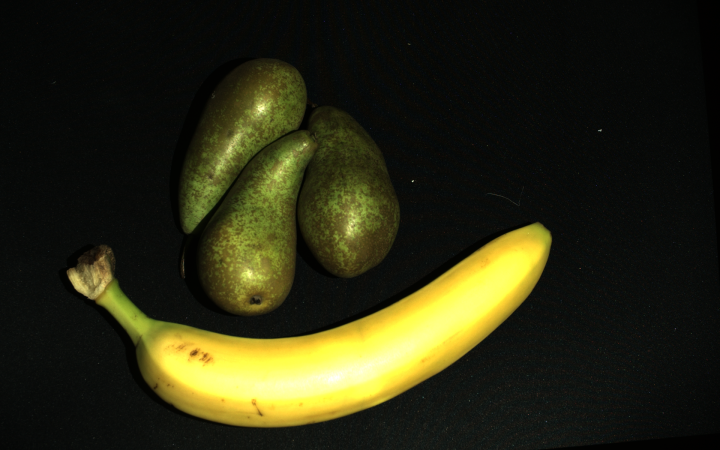
We will walk you through the process with an example. Let us assume that we have an HDR with two acquisitions. The first of the acquisitions is optimized for the dark objects (pears). The second is optimized for bright objects (banana). HDR capture with UseFirstAcquisition for Color Mode yields the following results.
|
|
HDR capture of a dark scene (Color Mode: UseFirstAcquisition) |
HDR capture with the same settings of the same scene but with an additional bright object added |
The color of the dark objects (pears) is the same in both images. The color consistency is preserved.
However, because the first acquisition is optimized for the dark objects, the brightest object in the scene (banana) is saturated. Saturation will likely cause issues, e.g., if we want to classify objects based on color. To overcome this problem, we can rearrange the acquisition settings. For the first acquisition we select the one optimized for the brightest object in the scene (banana). The second is optimized for the dark objects (pears). Now, we see that the color consistency is preserved with bright and dark objects captured together and separately. In addition, the brightest object (banana) is not saturated.
|
|
|
HDR capture of a dark scene (Color Mode: UseFirstAcquisition) |
HDR capture with the same settings of the same scene but with an additional bright object added |
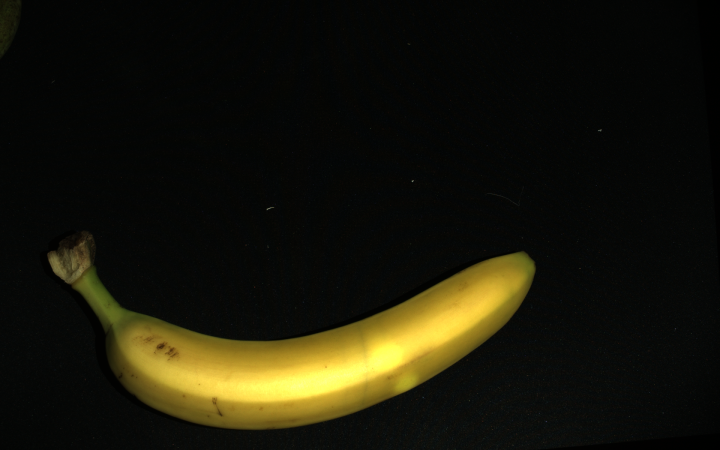
HDR capture with the same settings of the same scene but only with the bright object |
Note
The acquisition that provides the best color is an excellent acquisition. It is optimized for the brightest objects in the scene and thus also provides very good SNR for those objects. An additional acquisition is not needed to deal with color inconsistency in HDR; that acquisition is likely already part of your HDR acquisition settings.
If the color image is too dark, it can be fixed with the Gamma setting.
Caution
The first of the acquisitions the Capture Assistant returns is likely not the most suitable one for the color image. Therefore, if using the Capture Assistant and UseFirstAcquisition for Color Mode, you might need to rearrange your acquisitions.
Hint
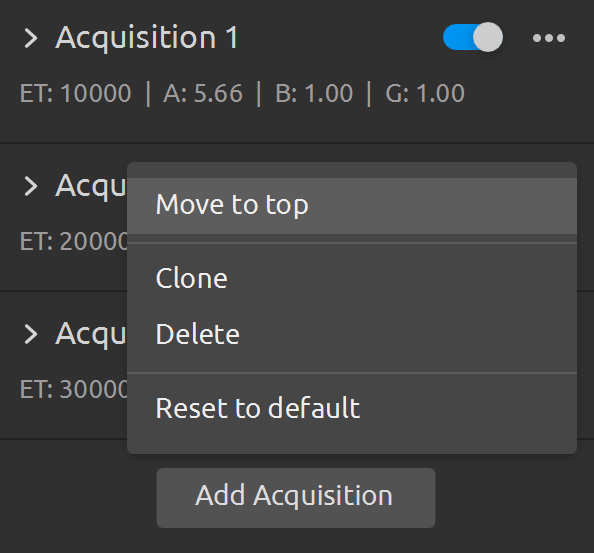
Make acquisition first in the sequence by clicking … → Move to top in Zivid Studio.
Additional Capture
Note
This solutions should be used only if you cannot use have to use Automatic or ToneMapping Color Mode for your HDR capture.
An alternative solution to overcome the color inconsistency from HDR is to take a separate capture in addition to the main capture. This approach assumes using the main capture for getting the point cloud data and the additional capture for getting the color image. The additional capture can be a 2D or 3D capture, with or without a projector. If you use 3D capture, it must be without tone mapping (Color Mode setting set to UseFirstAcquisition).
|
|
Single capture of a dark scene with Color Mode set to UseFirstAcquisition or Automatic |
Single capture with the same settings of the same scene but with an additional bright object added (Color Mode set to UseFirstAcquisition or Automatic) |
Note
It is intuitive and conceptually correct to use a 2D capture as the additional capture. If using a Zivid Two camera, always go for the 2D capture. However, if using Zivid One+, consider the limitation below on switching between 2D and 3D capture calls.
Limitation
Here, we explain limitation when performing captures in a sequence while switching between 2D and 3D capture calls.
Caution
If you perform captures in a sequence where you switch between 2D and 3D capture calls, the Zivid One+ (not Zivid Two) cameras have a switching time penalty. This time penalty happens only if the 2D capture settings use brightness > 0 because different patterns need to be flashed to the projector controller, and this takes time. As a result, there is a delay between the captures when switching the capture mode (2D and 3D). The delay is approximately 350 ms when switching from 3D to 2D and 650 ms when switching from 2D to 3D. Therefore, there can be roughly 1 s overhead in addition to the 2D capture time and 3D capture time. In SDK 2.6 and beyond, this limitation only happens when using 2D captures with brightness > 0.
2D Capture Settings |
||
Projector Brightness = 0 |
Projector Brightness > 0 |
|
Zivid Two |
None |
None |
Zivid One+ |
None |
350 - 900 ms switching time penalty |
Tip
Zivid Two cameras do not have the time penalty that Zivid One+ cameras have; switching between 2D and 3D capture modes with Zivid Two happens instantly.
Note
Switching time between 3D and 2D capture modes has been removed for Zivid One+ cameras in SDK 2.6. This applies when 2D capture is used with the projector turned off (projector brightness setting set to 0).
For Zivid One+ cameras, if you must use the projector, taking another 3D capture for the color image may be less time-consuming than taking another 2D capture with the projector. This approach assumes you use the point cloud data from the main 3D capture (single or HDR) and the color image from the additional 3D capture. If you use single capture for the main 3D capture, use the same exposure time for the additional 3D capture to optimize the capture time. If you use HDR, the exposure time of the last HDR acquisition should be the same as the exposure time of the additional 3D capture.
