Build a C# “Hello World” Application With Reference to Zivid .NET API in Visual Studio
Introduction
This tutorial shows how to create and start developing a C# application for Zivid in Visual Studio 2017.
Requirements
Instructions
Step by step instructions are provided with screenshots below.
Create a new project
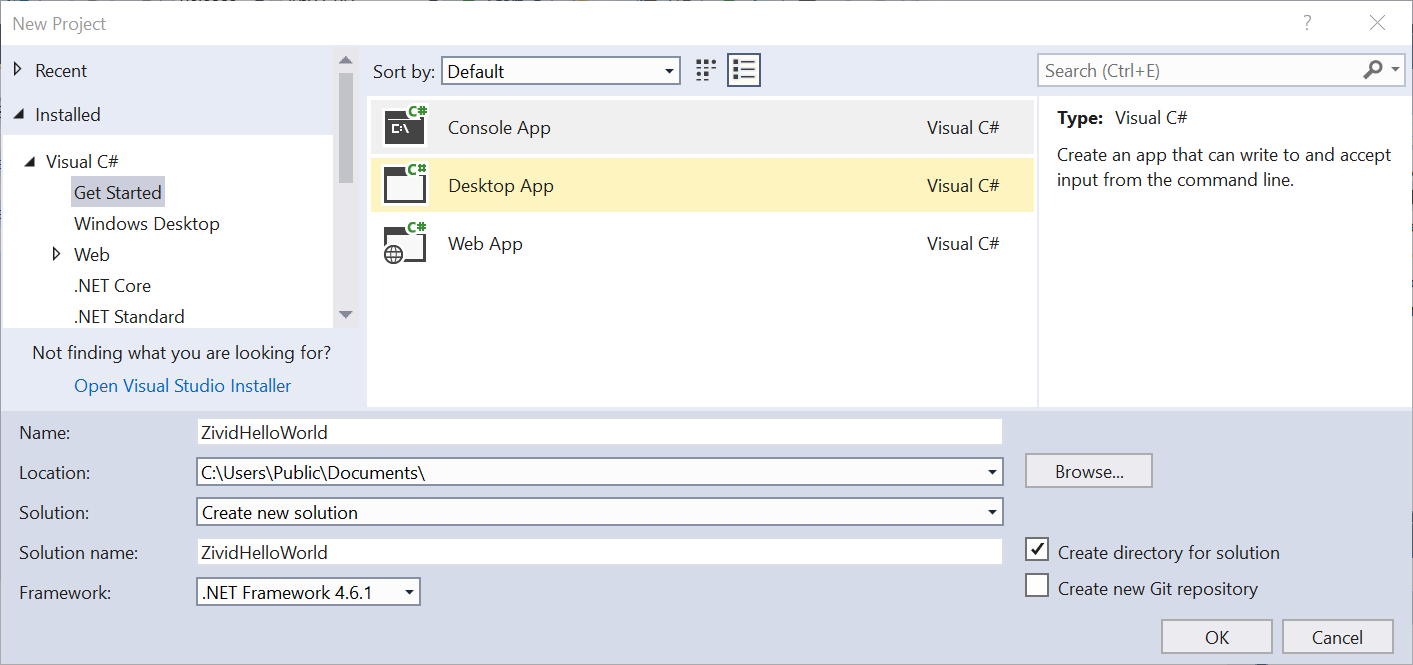
Run Visual Studio, then click File → New → Project….
Choose Console App for Visual C#, then add name (ZividHelloWorld) and location (C:\Users\Public\Documents\).
Add reference to Zivid .NET API
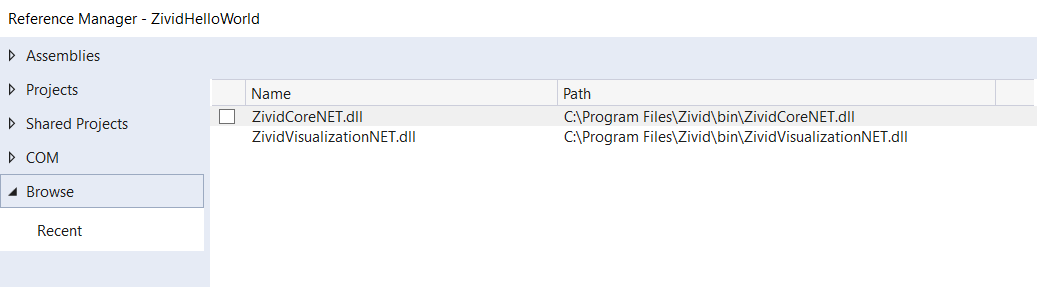
Right click on your project in solution explorer, then click Add → Reference… → Browse. Navigate to C:\Program Files\Zivid\bin and add ZividCoreNET.dll and ZividVisualizationNET.dll.
Select the correct platform target
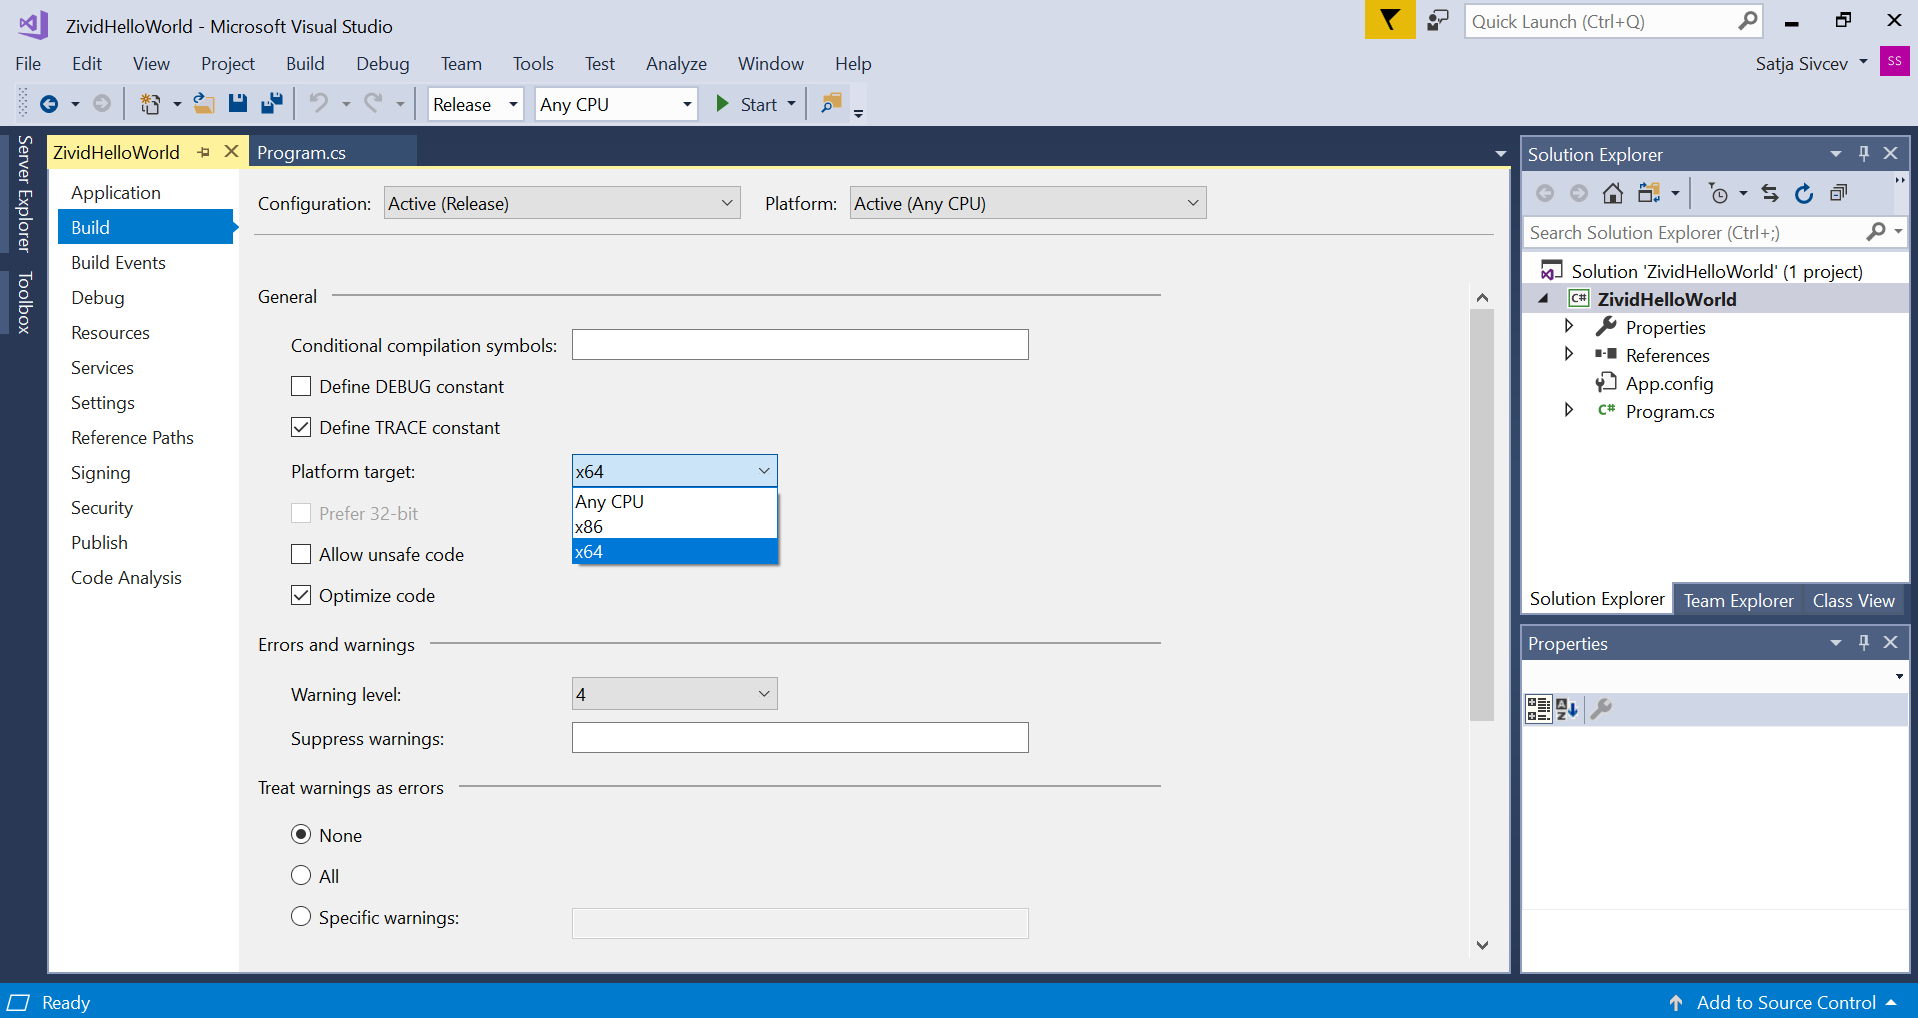
Right click on your project, then click Properties. Under Build, change Platform target to x64.
Add post-build event command line code
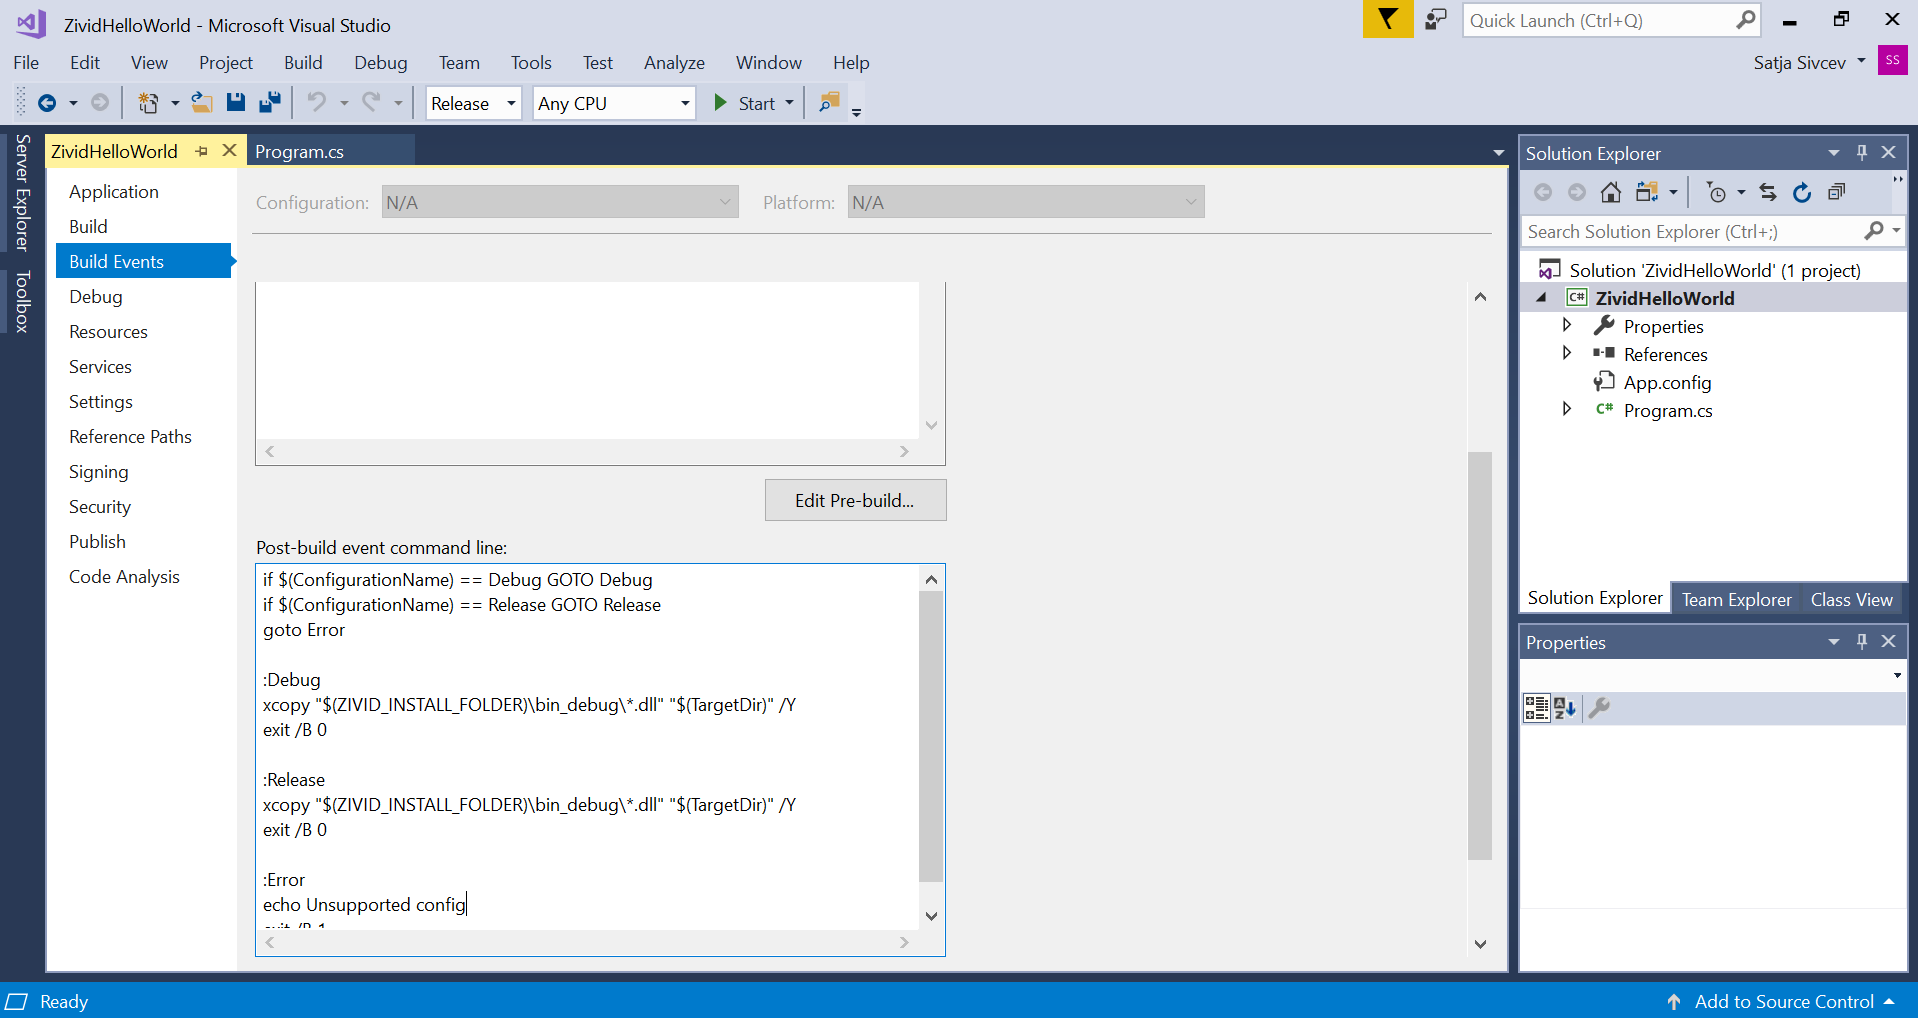
Under Build Events, add the following code block to the Post-build event command line:
if $(ConfigurationName) == Debug GOTO Debug
if $(ConfigurationName) == Release GOTO Release
goto Error

:Debug
xcopy "$(ZIVID_INSTALL_FOLDER)\bin_debug\*.dll" "$(TargetDir)" /Y
exit /B 0

:Release
xcopy "$(ZIVID_INSTALL_FOLDER)\bin\*.dll" "$(TargetDir)" /Y
exit /B 0
:Error
echo Unsupported config
exit /B 1
Add the main C# code
Go back to your program and replace the code with the following code block:
using System;

namespace ZividHelloWorld
{
    class ZividHelloWorld
    {
        static int Main()
        {
            try
            {
                var zivid = new Zivid.NET.Application();
                Console.WriteLine("Hello World!");
            }
            catch(Exception ex)
            {
                Console.WriteLine("Error: " + ex.Message);
                return 1;
            }
            return 0;
        }
    }
}
To continue developing in Zivid and C#, check out Zivid .NET API reference and the tutorial to Build C# Samples using Visual Studio on the next page.